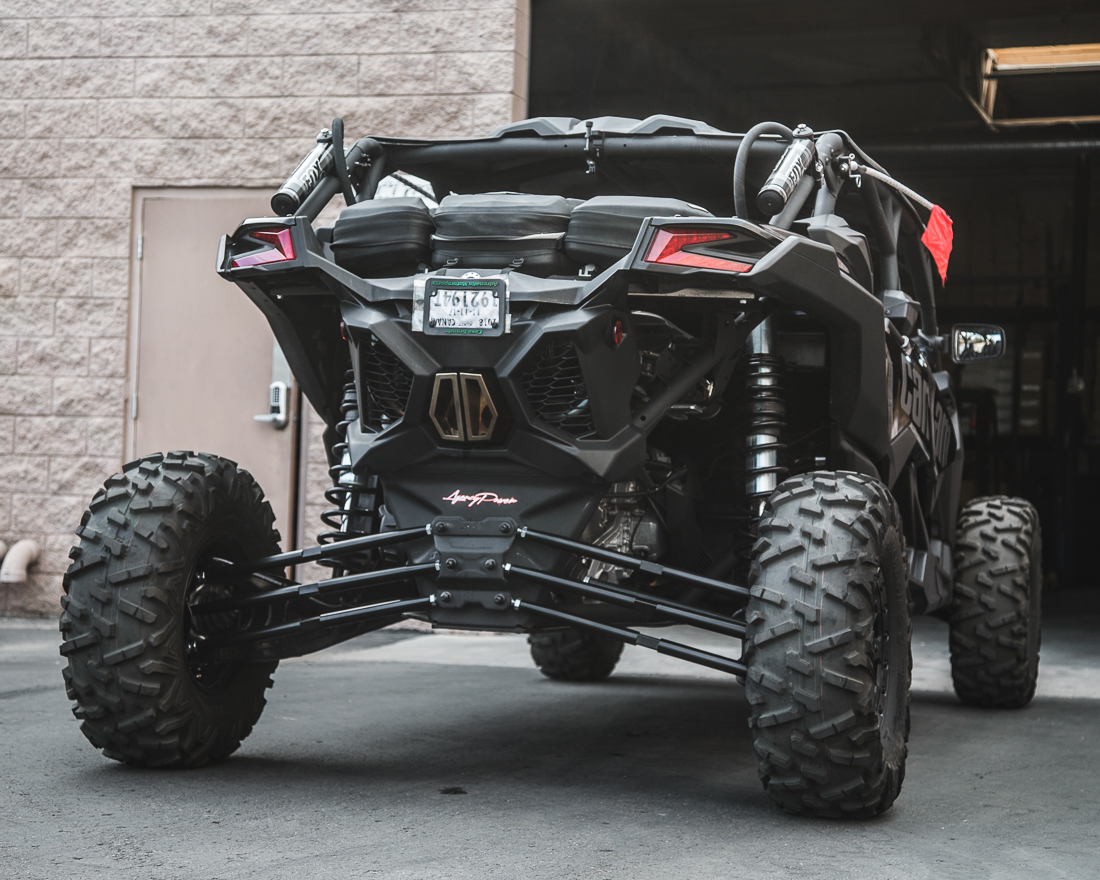
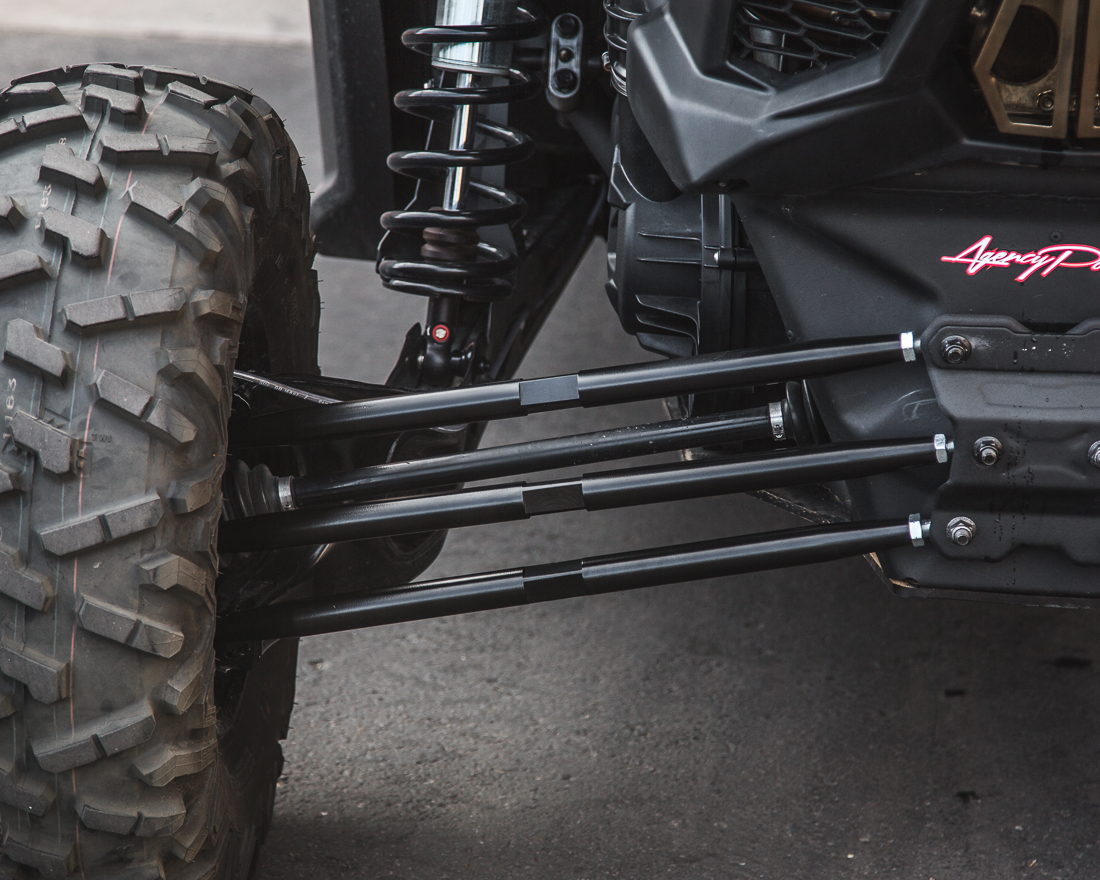
Can-Am Maverick X3 Rear Radius Rod Installation
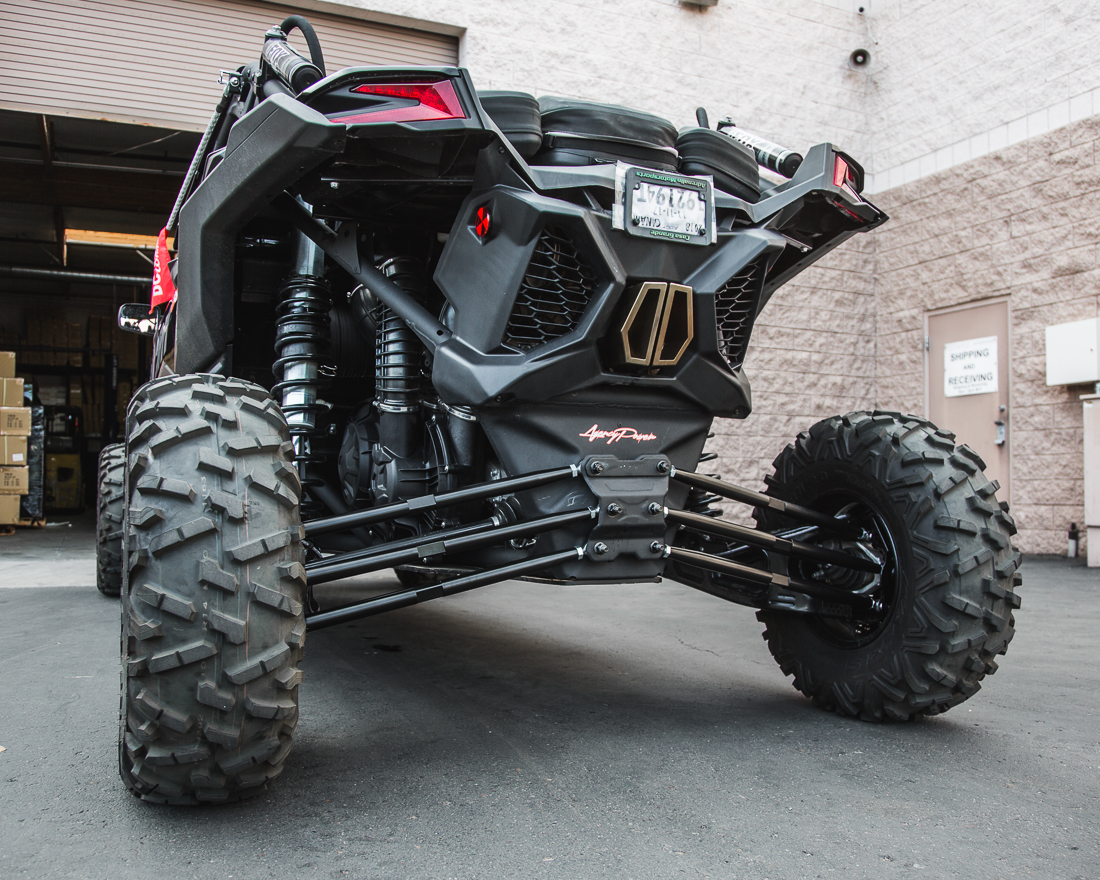
Agency Power Rear Radius Rods – Can-am Maverick X3xRS & X3xRS Max
Installation
We recommended the the installation and alignment be performed by a qualified professional.
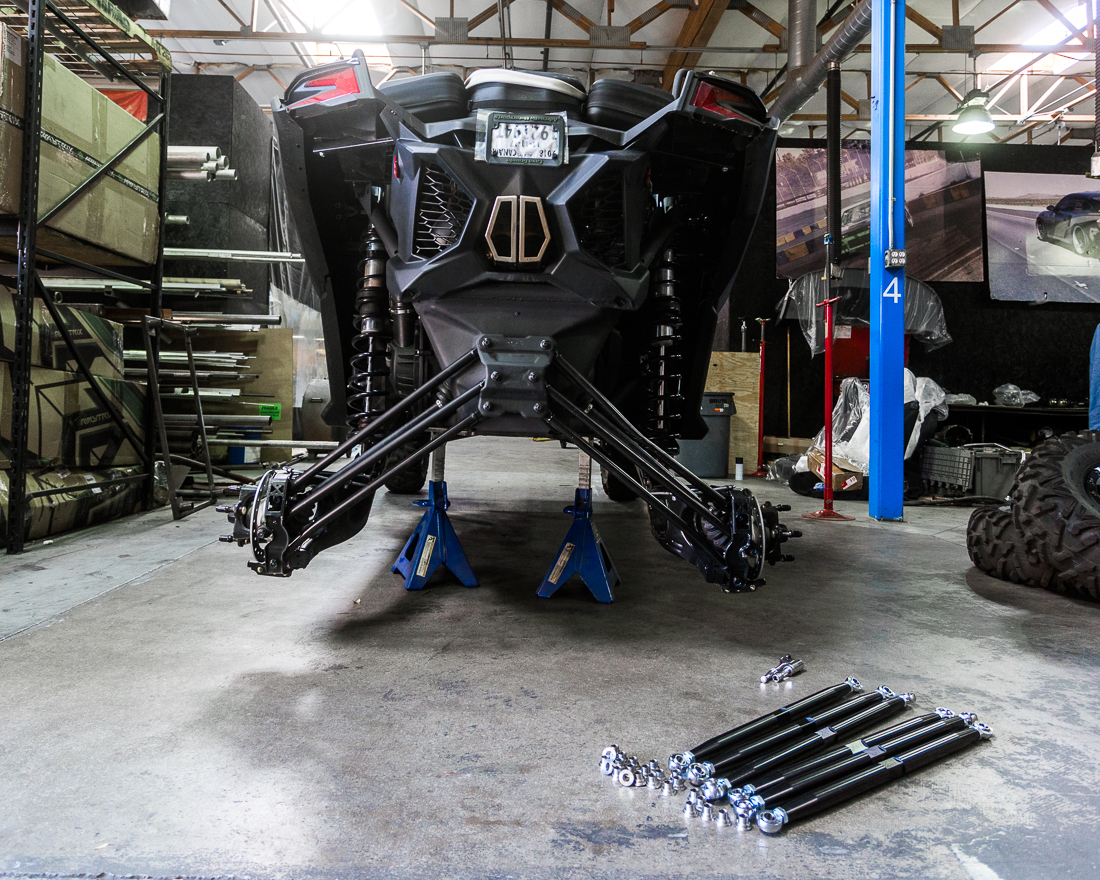
Step 1: Loosen the lug nuts on both rear wheels and lift the vehicle so that there is no tension on the rear of the suspension. Secure the vehicle with jack stands. NEVER attempt to work under any vehicle without properly securing it with jack stands. Please refer to your owners manual if you are unsure where to lift and support the vehicle.
Step 2: Remove both rear wheels
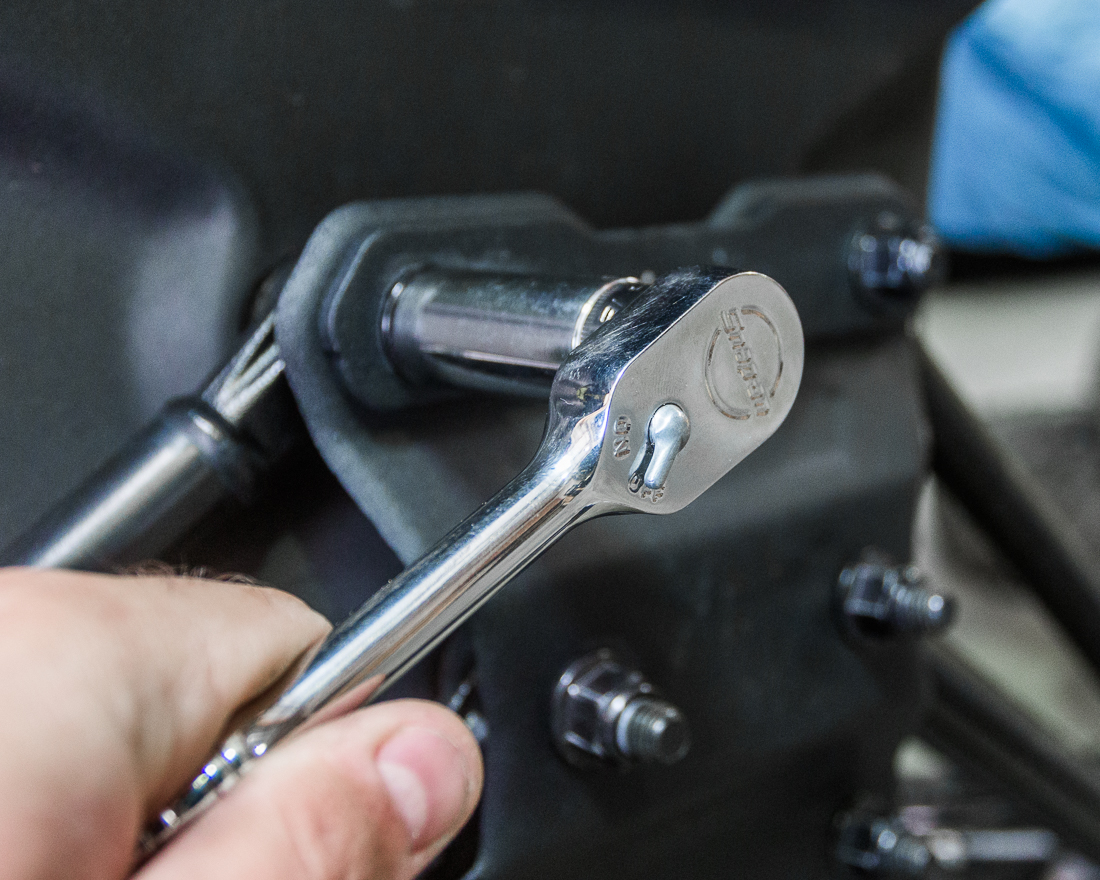
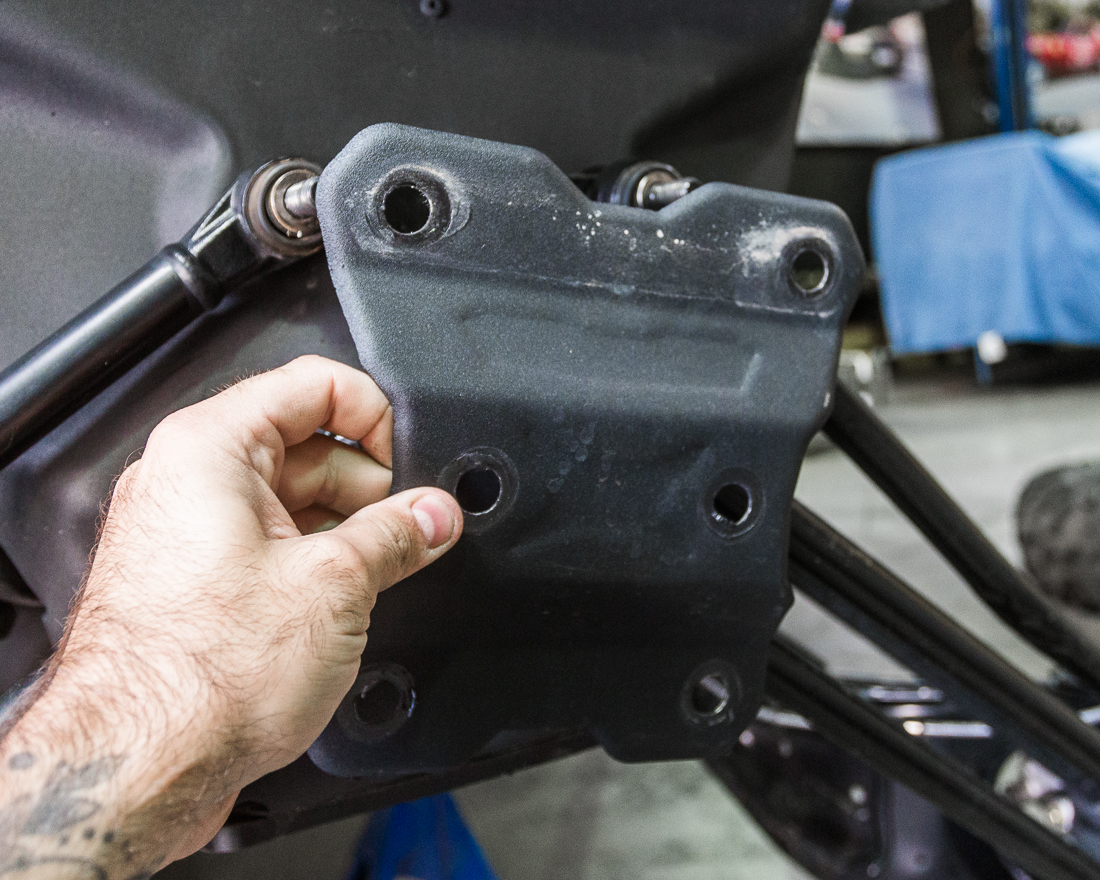
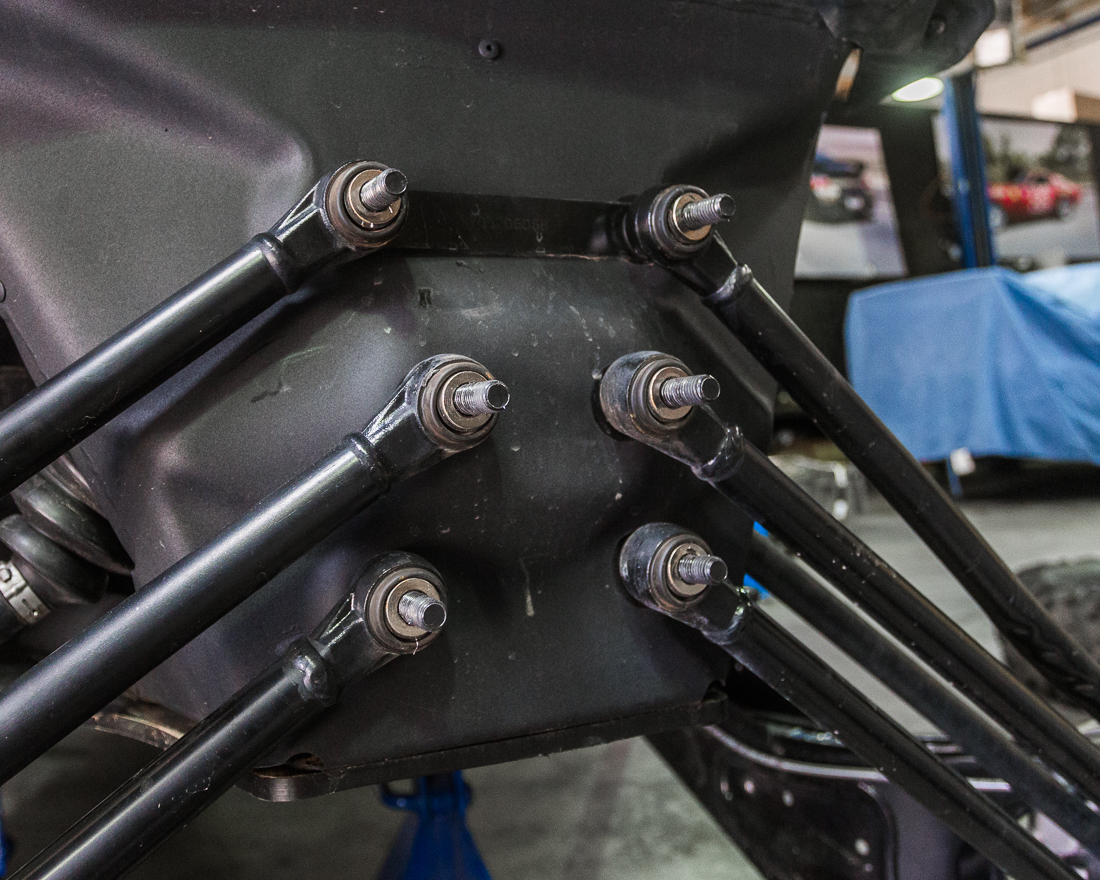
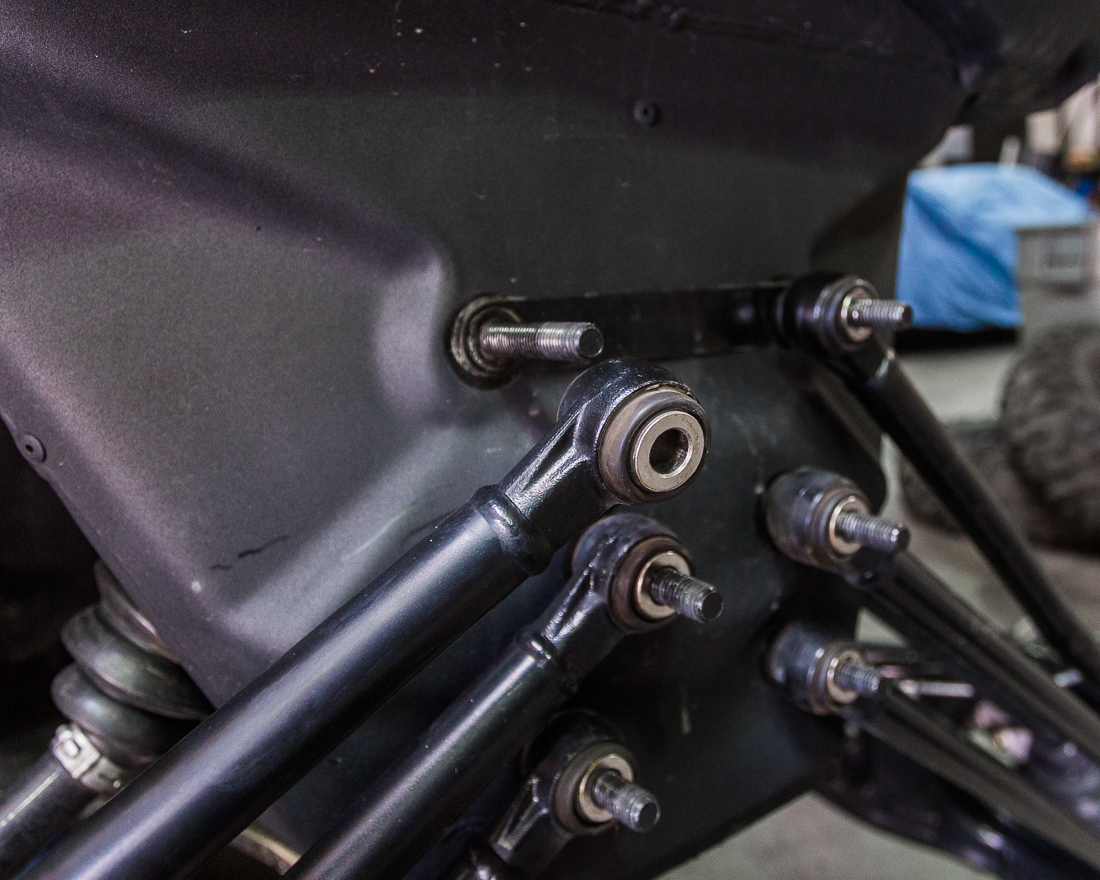
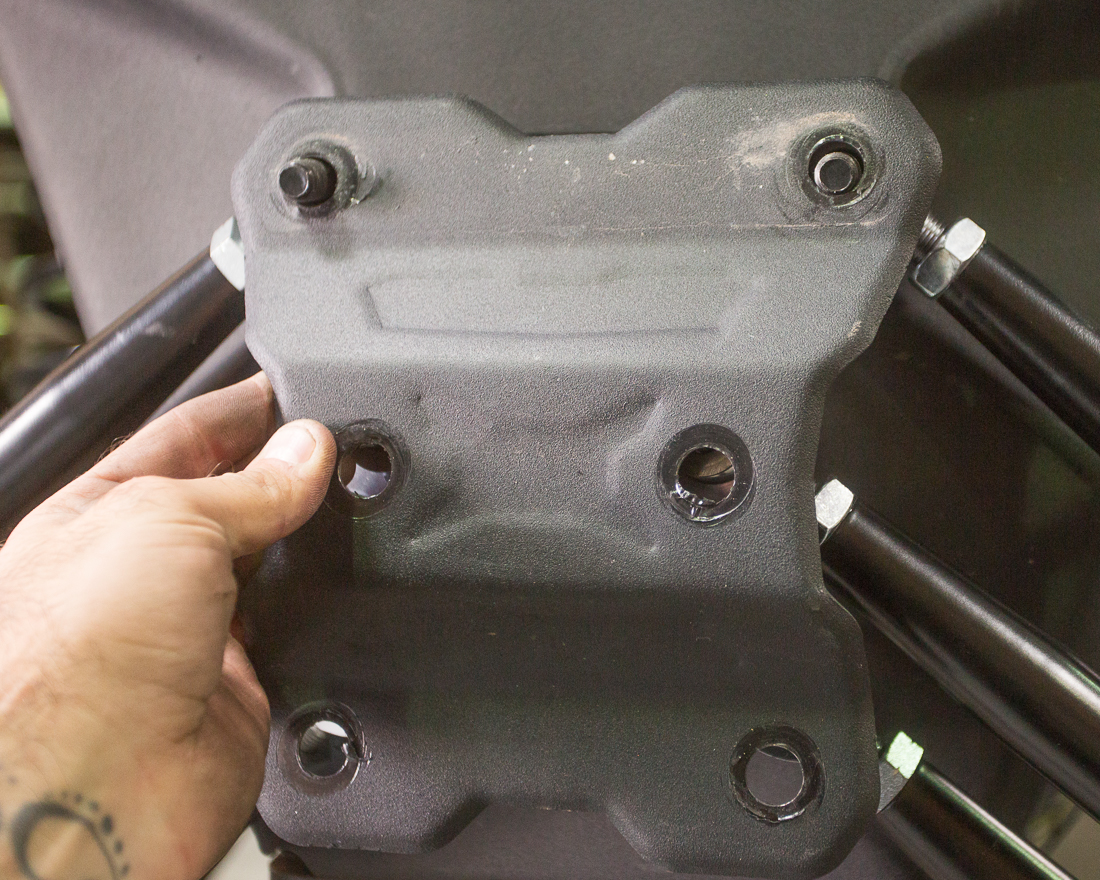
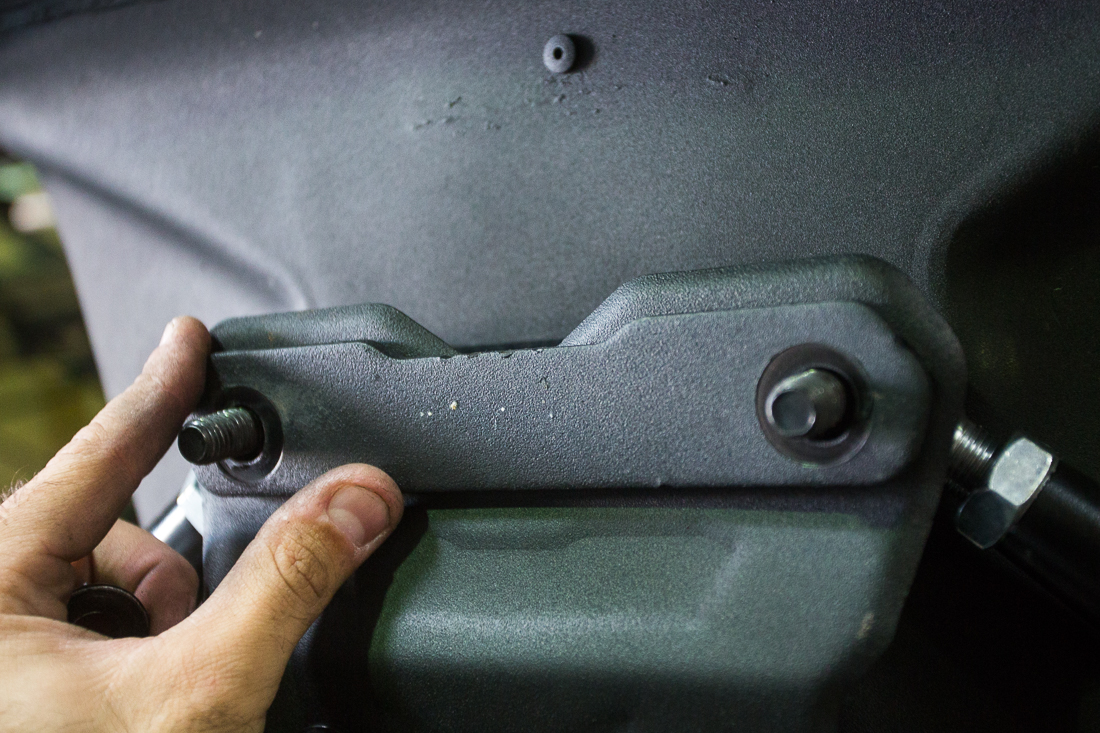
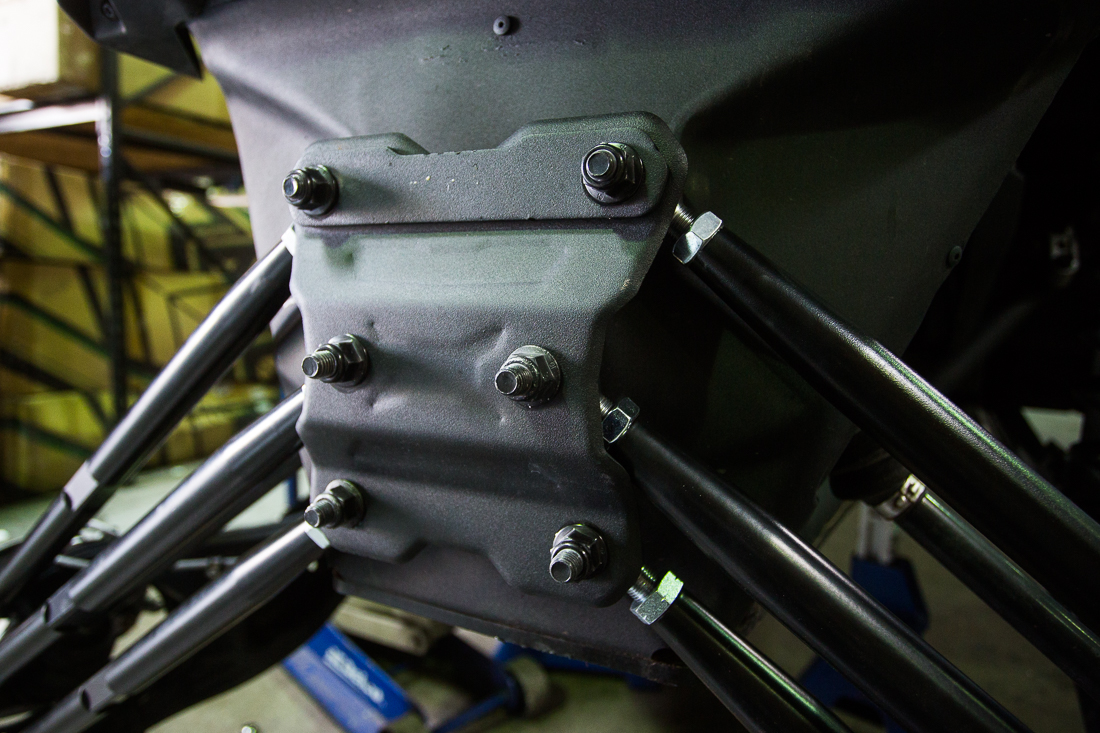
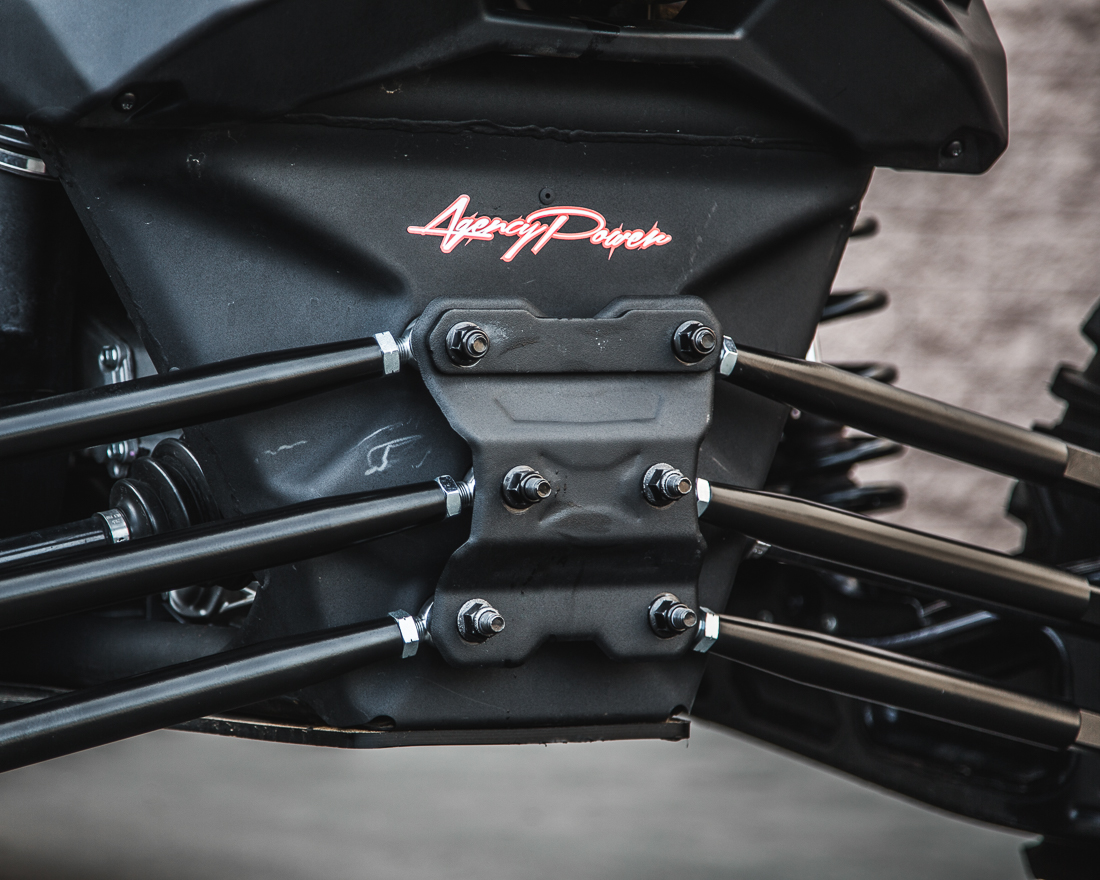
Step 3: Loosen and Remove the 6 nuts on the chassis brace, remove the brace.
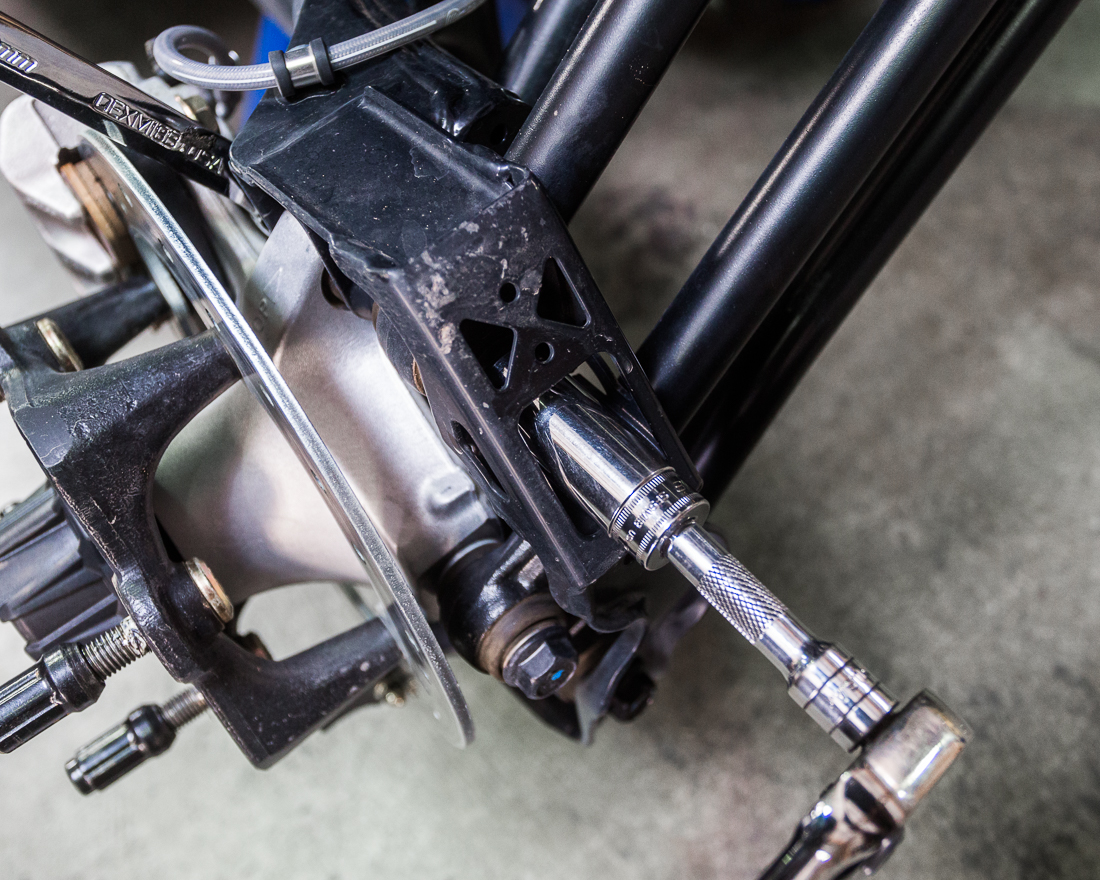
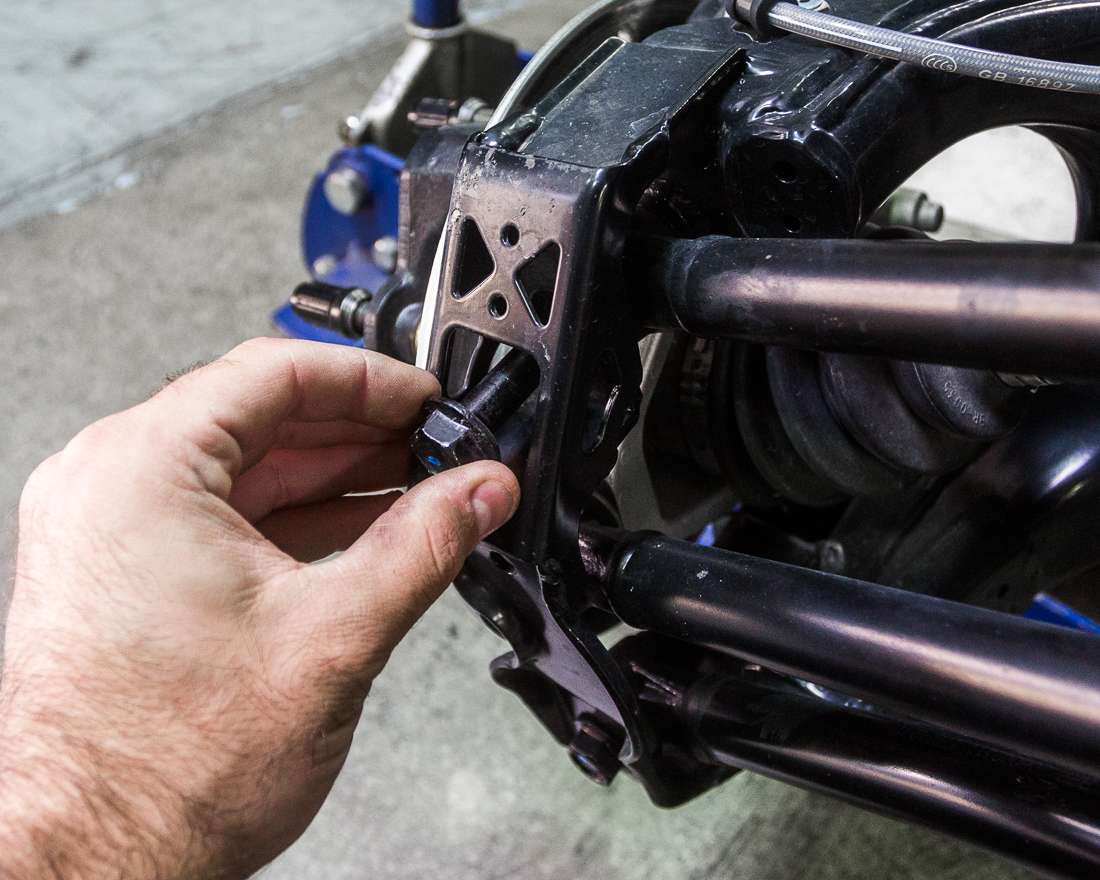
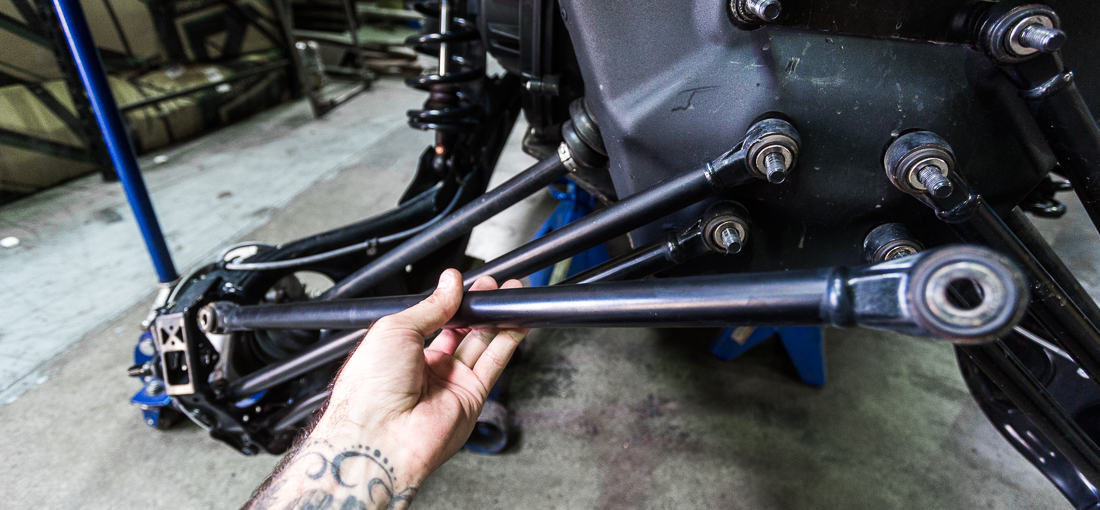
Step 4: Starting with the upper radius rod first, loosen and remove the upper radius rod nut/bot. Remove the radius rod from the vehicle. – We found it easier to replace the top and bottom radius rod first and then the center radius rod last. Doing this will help keep the trailing arm in place.
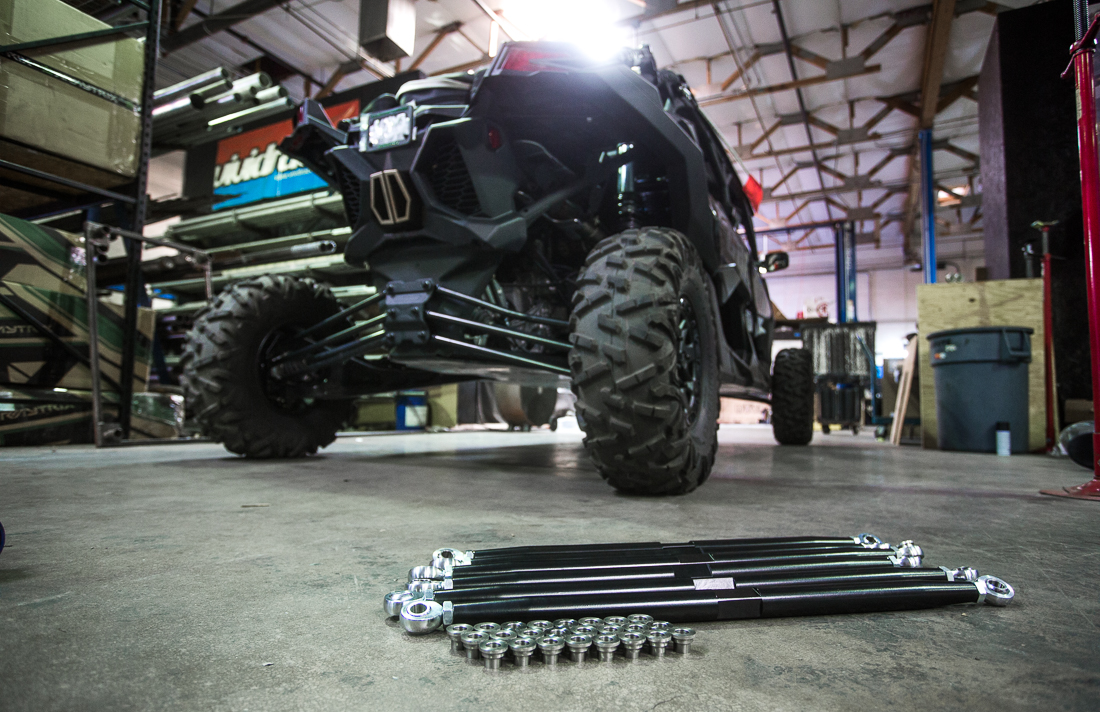
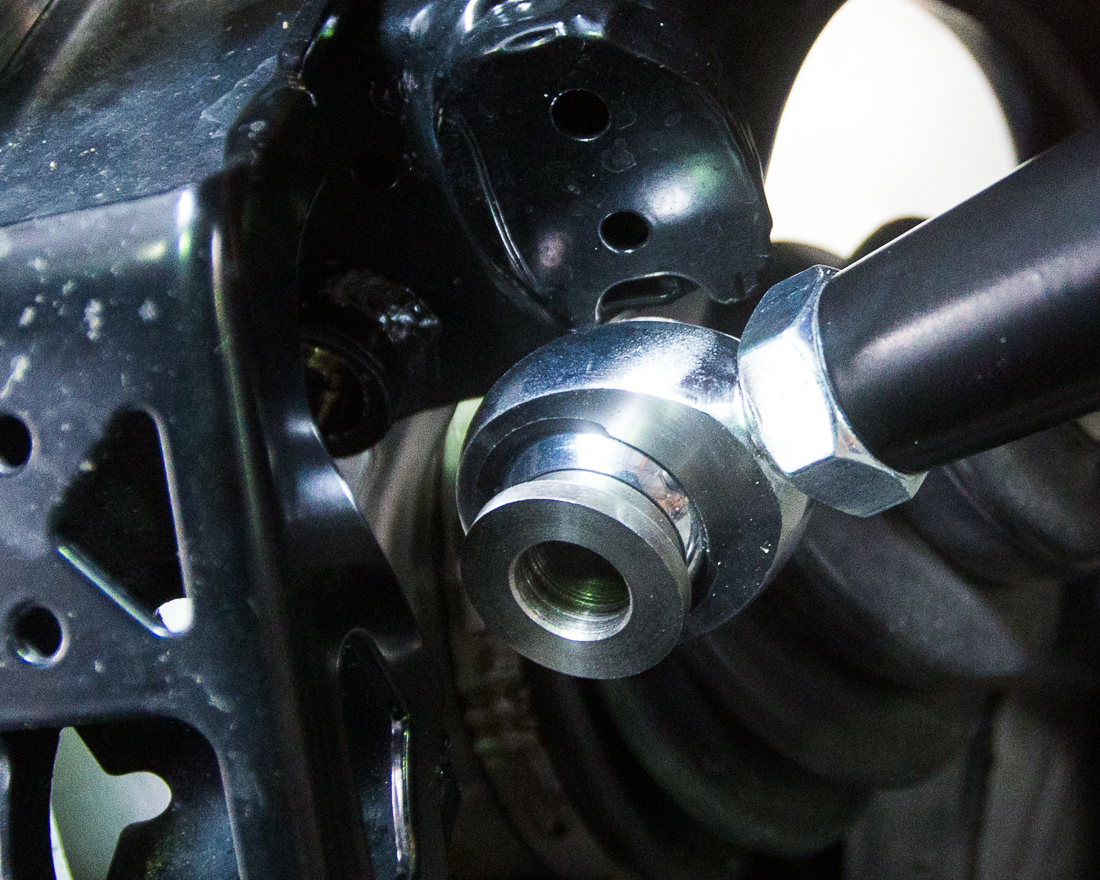
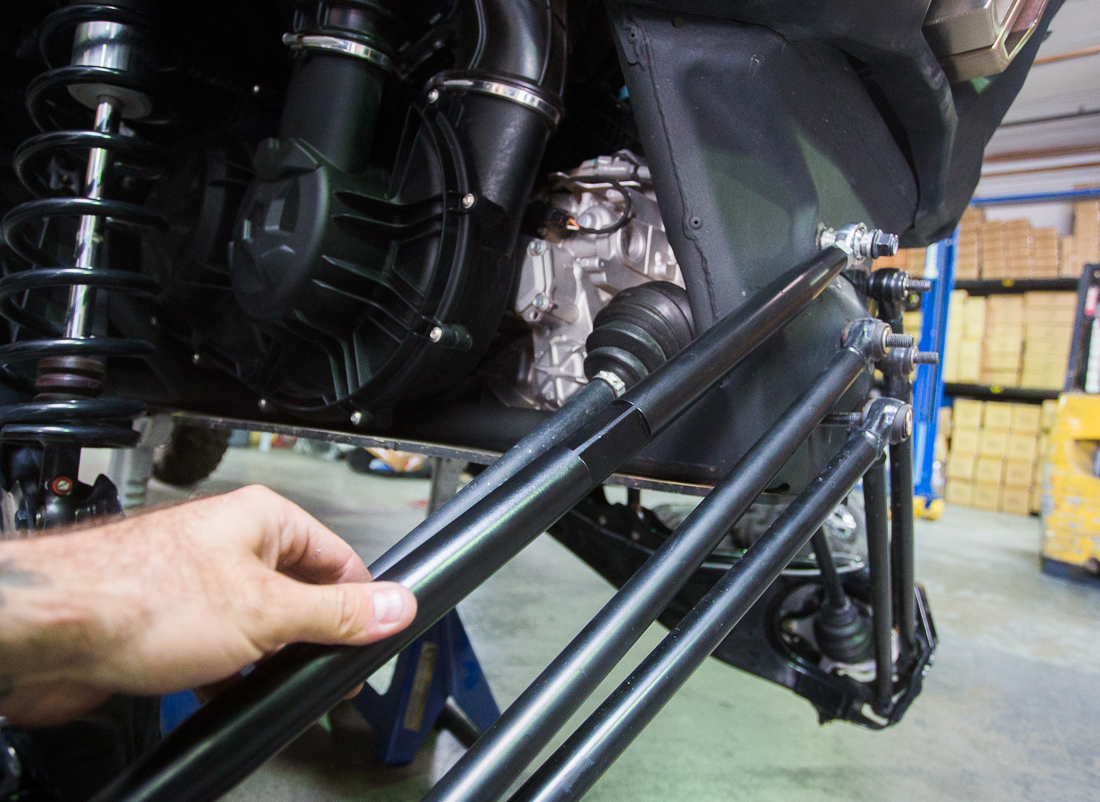
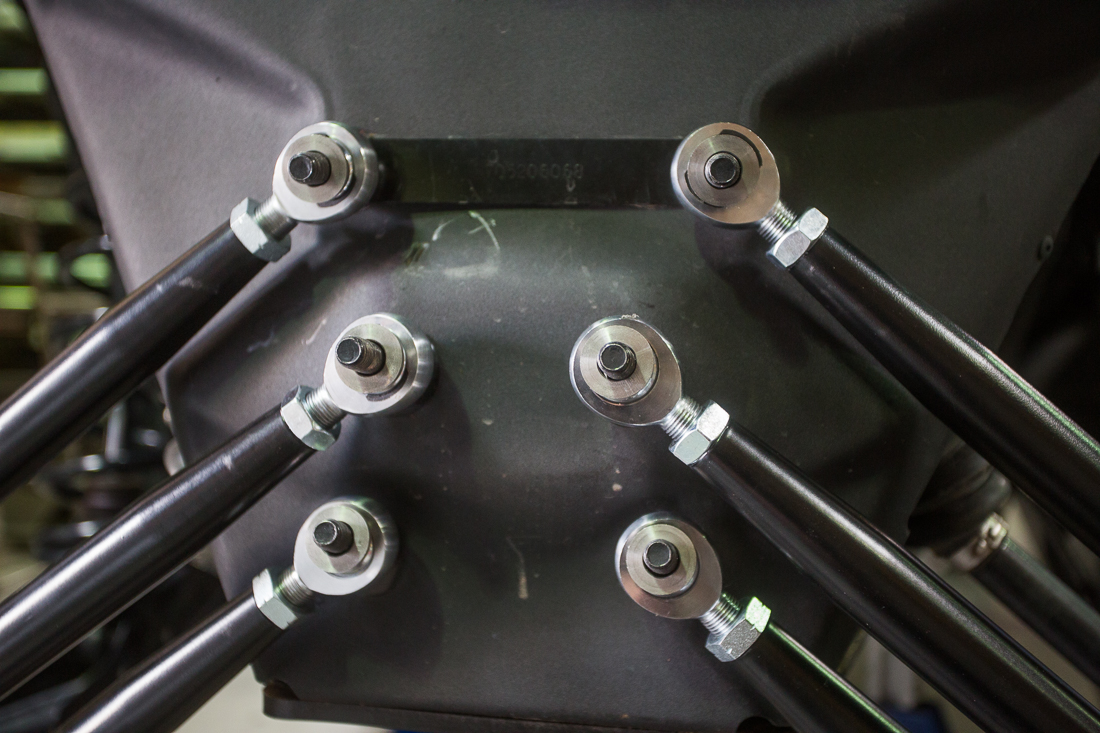
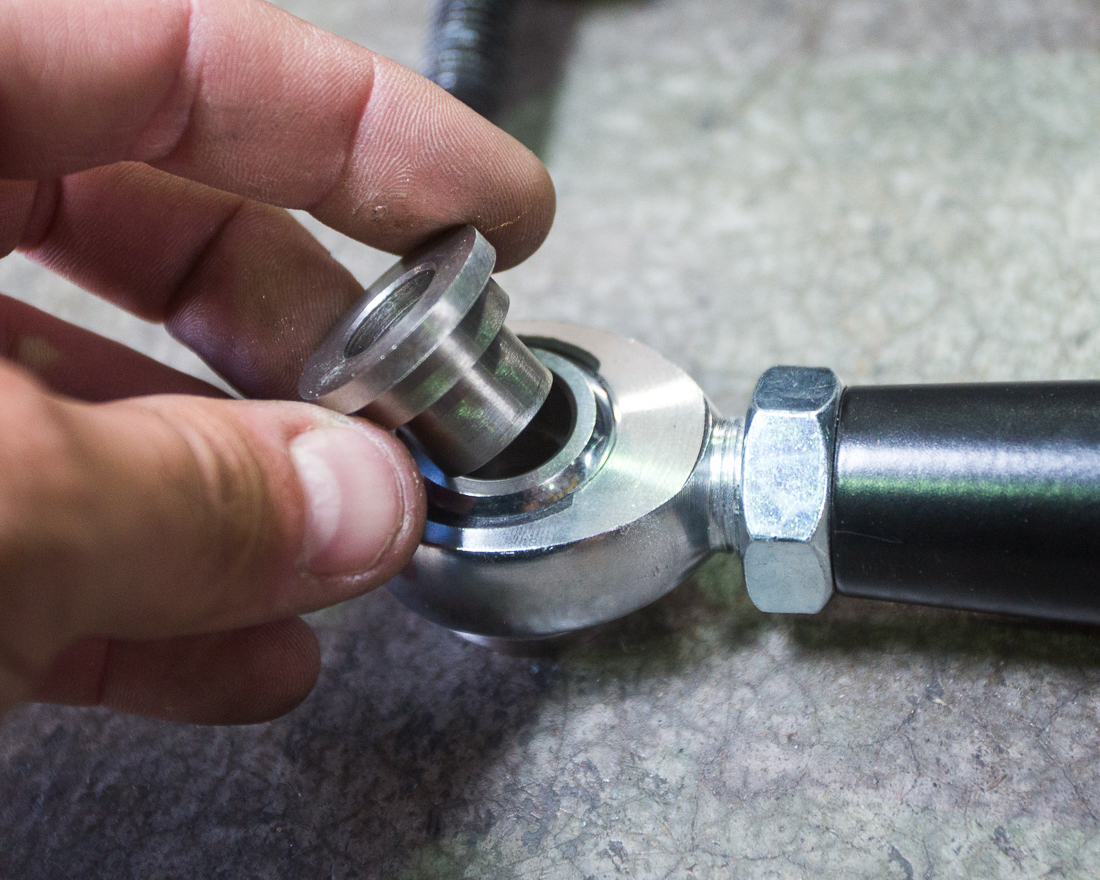
Step 5: Locate the correct size Agency Power Radius Rod for the top. Each of the rods are different size for top, middle and bottom. Use the corresponding OEM radius rod to adjust each Agency Power Radius Rods back to specification. Do this by matching up the agency power radius rod to the oem radius rod and inserting two bolts to match them up. Make sure the Stainless Steel misalignment spacers are inserted into the both ends of the heims. Adjust each heim by turning them out/in until they match up. Make sure to evenly adjust the heims so that there is an equal amount of threads showing for both heims. Repeat this procedure to adjustment each of the Agency Power Radius Rods before installing. – Use images below for reference
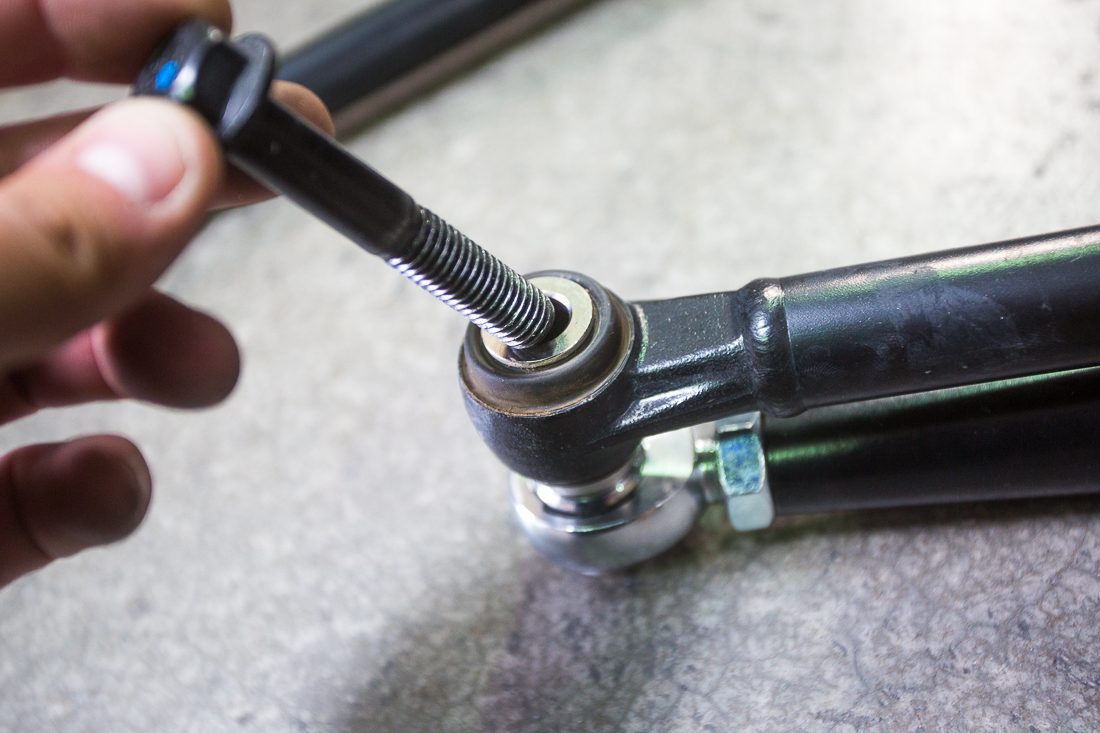
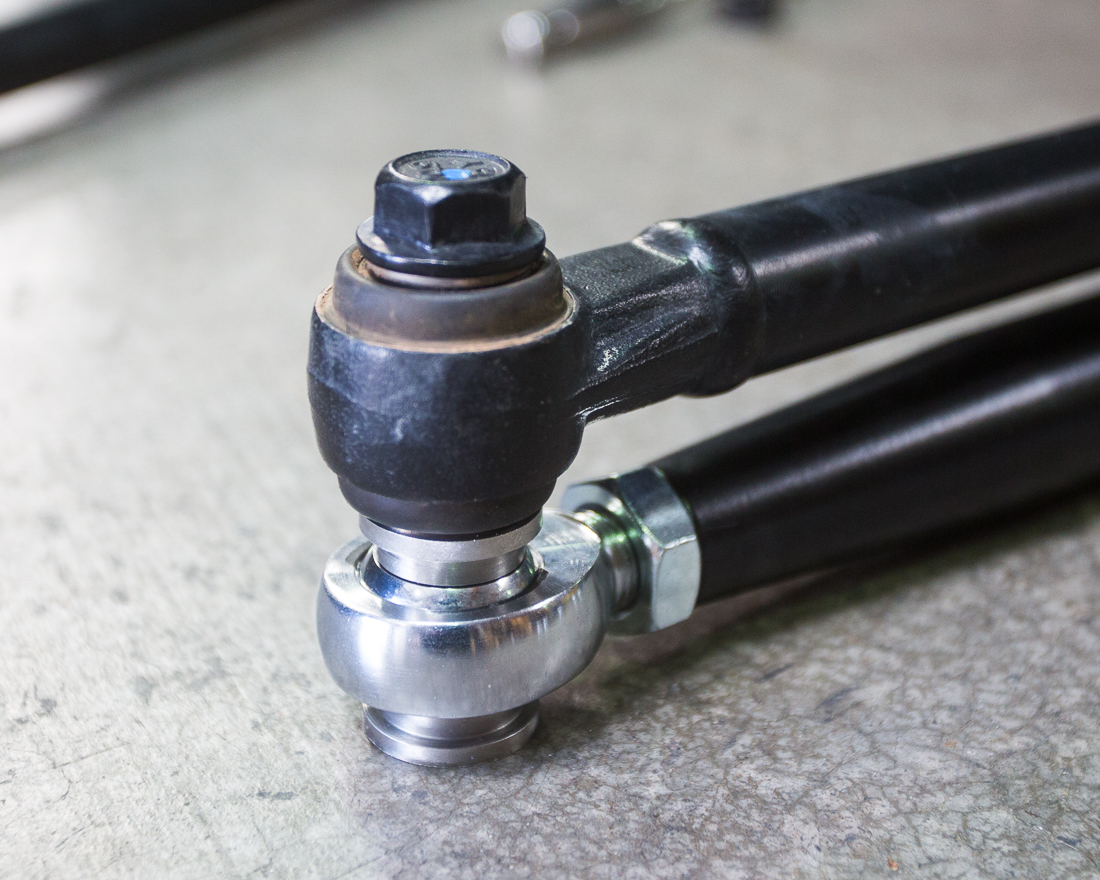
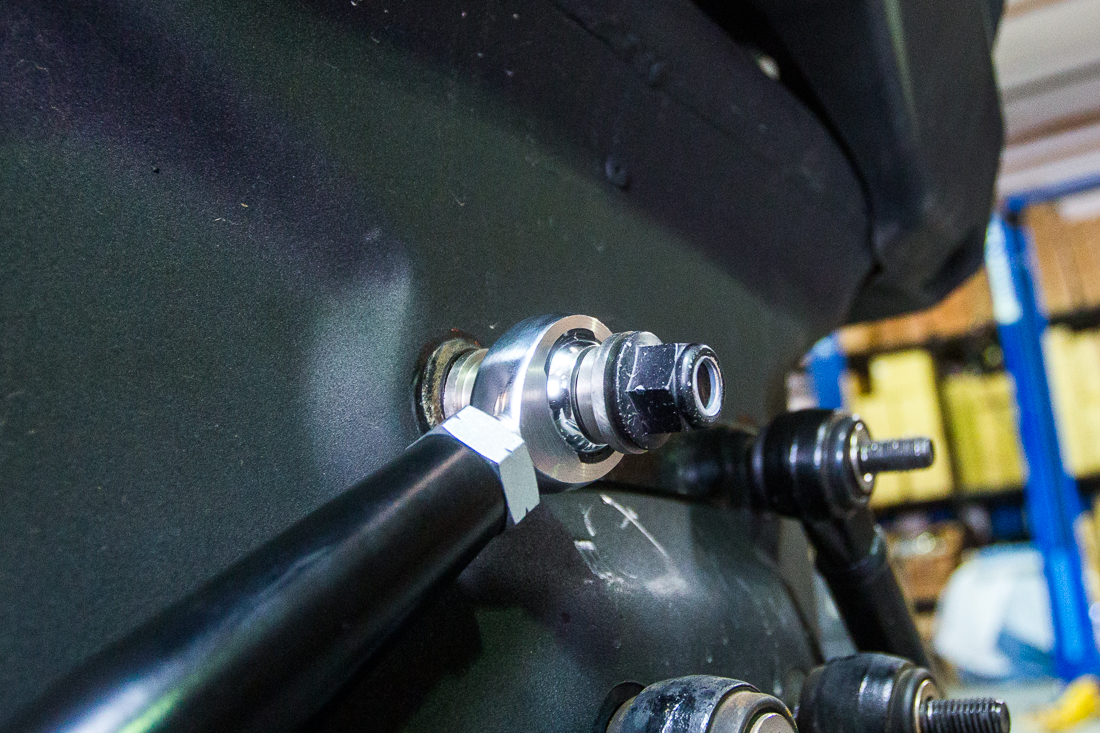
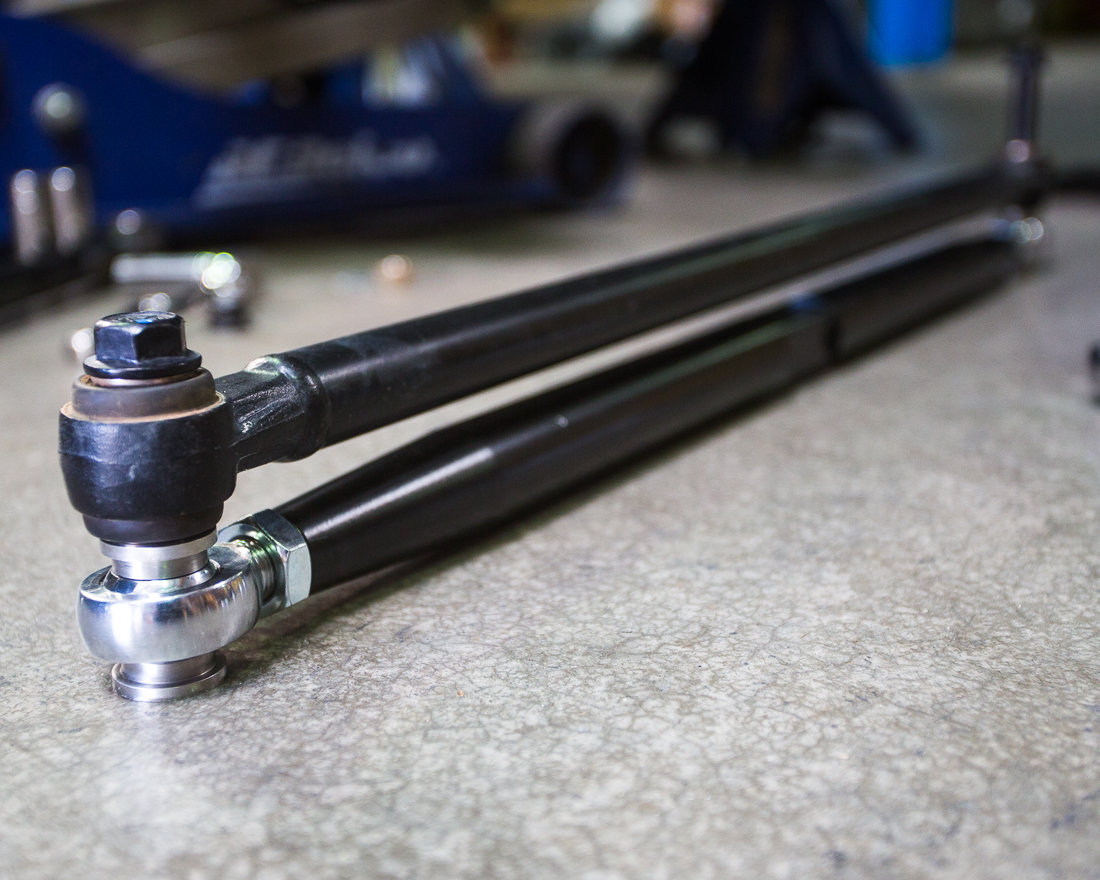 Step 6: Ensure that the stainless steel misalignment spacers are in place at each end of the heims and Insert the Agency Power Radius Rod into the hub and attach to the chassis brace bolt. Use the chassis brace nut to hold the radius rod in place while you continue to swap out the remaining radius rods. Continue the steps above for the remainder of the radius rods.
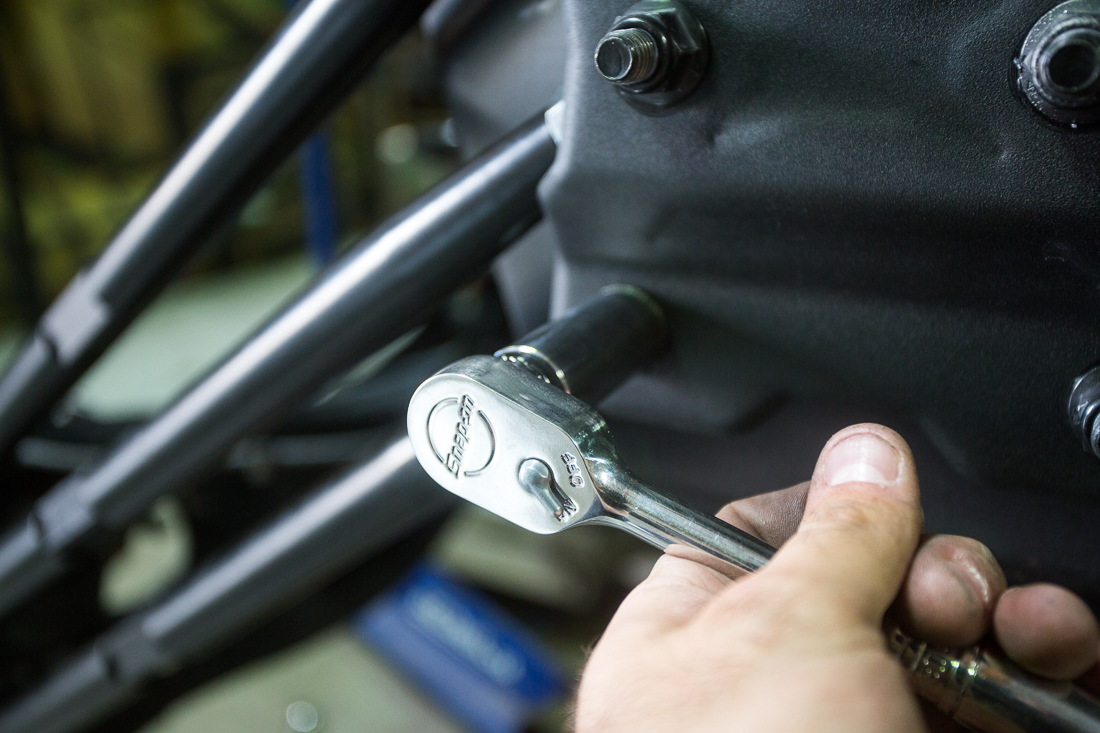
Step 7: Once all radius rods are installed. Remove the nuts from the chassis brace bolts and reinstall the chassis brace plate. Use red thread locker on all non-nylon hardware to prevent loosening and torque to OEM Specs. (Do not over-torque). After the first 50-100 miles recheck tightness of bolts to ensure appropriate torque spec


