Tag Archives: Install
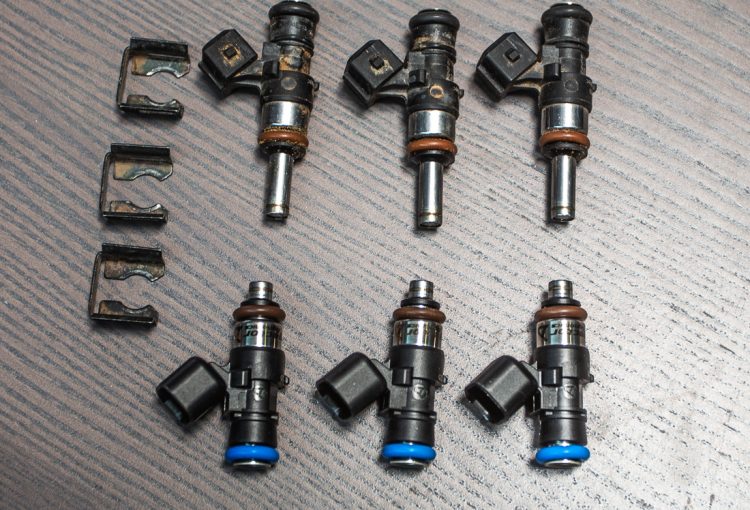
Can-Am X3 Big Injector Installation by Agency Power
This guide is to assist with the installation of the Agency Power Big Injector Upgrade for the Can-Am Maverick X3 Turbo. These are 1065cc at 3bar fuel pressure. Designed to be used with standard unleaded fuel. Tuning is required to maximize the performance of your Can-Am X3. Step 1: Remove the two… Read More
How To Install Agency Power Hidden Hood Scoop Light Bar Mounting Brackets for 2014+ Toyota Tundra
This install guide is to help aid the installation of Agency Power part #AP-TUN-910. Level of difficulty: Remove the trim piece off the front of the hood by locating and removing the three bolts underneath and pull trim straight off. Flip the trim piece around and begin to disassemble the factory hood… Read More
Agency Power Carbon Fiber Dash Install 2019 Can-am Maverick X3
Agency Power Carbon Fiber Dash install & Trim guide for the 2019 Can-am Maverick X3 The 2019 Can-am X3 does not require the additional bracket needed like the the 17-18 models. Although slight trimming is required on the 2019 X3 models due to Can-ams recent update to the chassis. Step 1. Remove the four plastic clips and four T30… Read More
Agency Power Motorsports Roll Install Porsche 991 GT3 RS
Installation of the Agency Power Motorsports 991 GT3 RS Bolt-in Roll Bar. This is not a guide, but a short overview of the installation. This pictorial shows the installation of the roll bar mounting brackets and roll bar.
Can-Am Maverick X3 Turbo Upgraded Intercooler Installation
This guide is to help with the installation of the Agency Power Upgraded Intercooler for the Can-am Maverick X3 Turbo | DS | RS & RC Estimated Install time: 30-45 min Step 1: Remove the intake and intercooler plastic covers from the rear of the X3. Step 2: Remove the two 2x… Read More
Can-Am X3 Modular Gauge Pod Installation
This guide to help with the installation of the Agency Power Can-am X3 Modular Gauge Pod Step 1: Remove the 4x torx screws from the dash bezel Step 2: Pull the gauge slightly out from the housing and disconnect the electrical harness from the back of the gauge. Step 3: Remove… Read More


