Polaris RZR XP Turbo Valvetronic Exhaust Installation
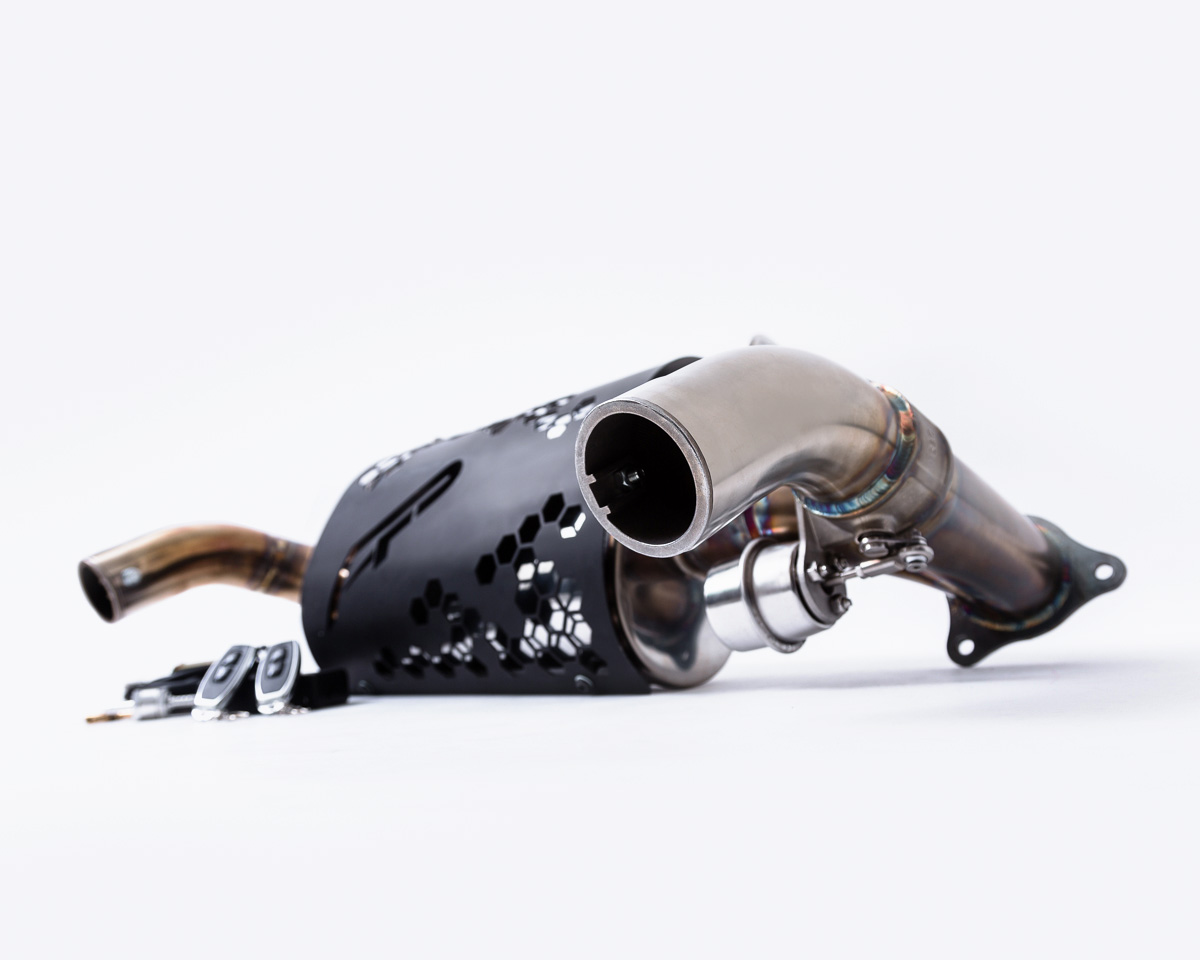
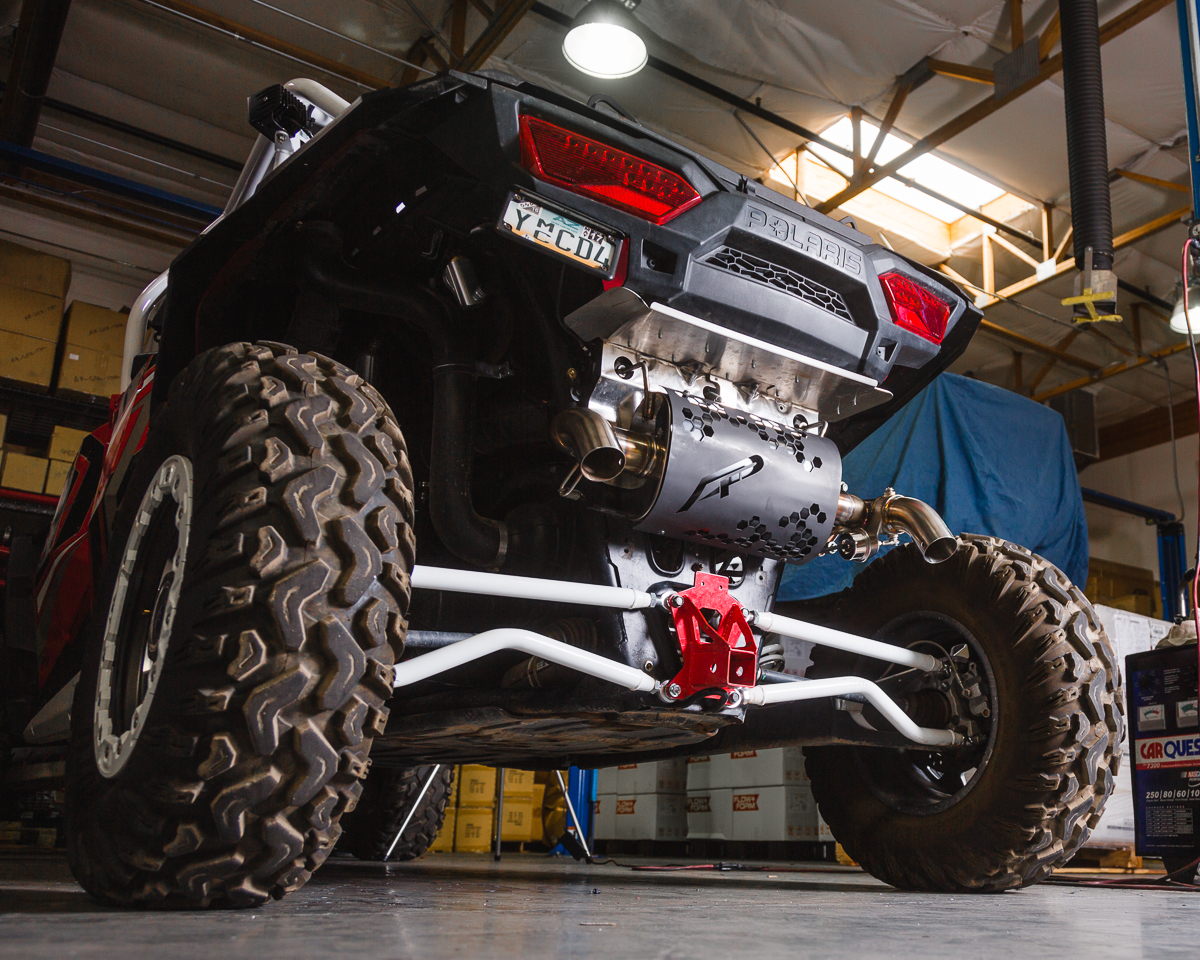
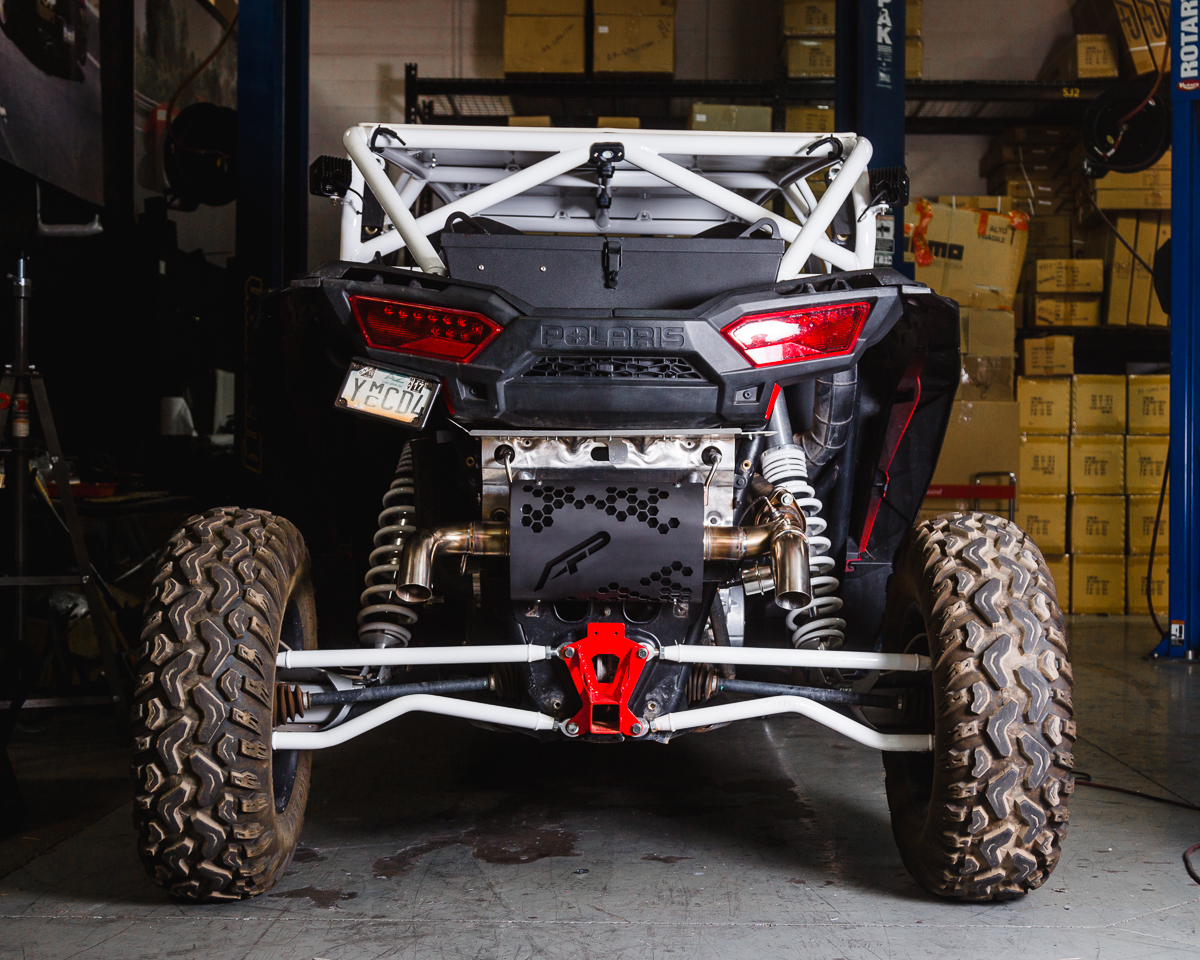
Installation overview of the Agency Power Valvetronic Exhaust System Polaris XP TURBO (Images shown are of RZR XP 1000)
PDF Version of the Instructions Available HERE
Removing the factory muffler.
Please Note: If your Polaris RZR is equipped with an aftermarket bumper/cage, removal of it may be required for installation.
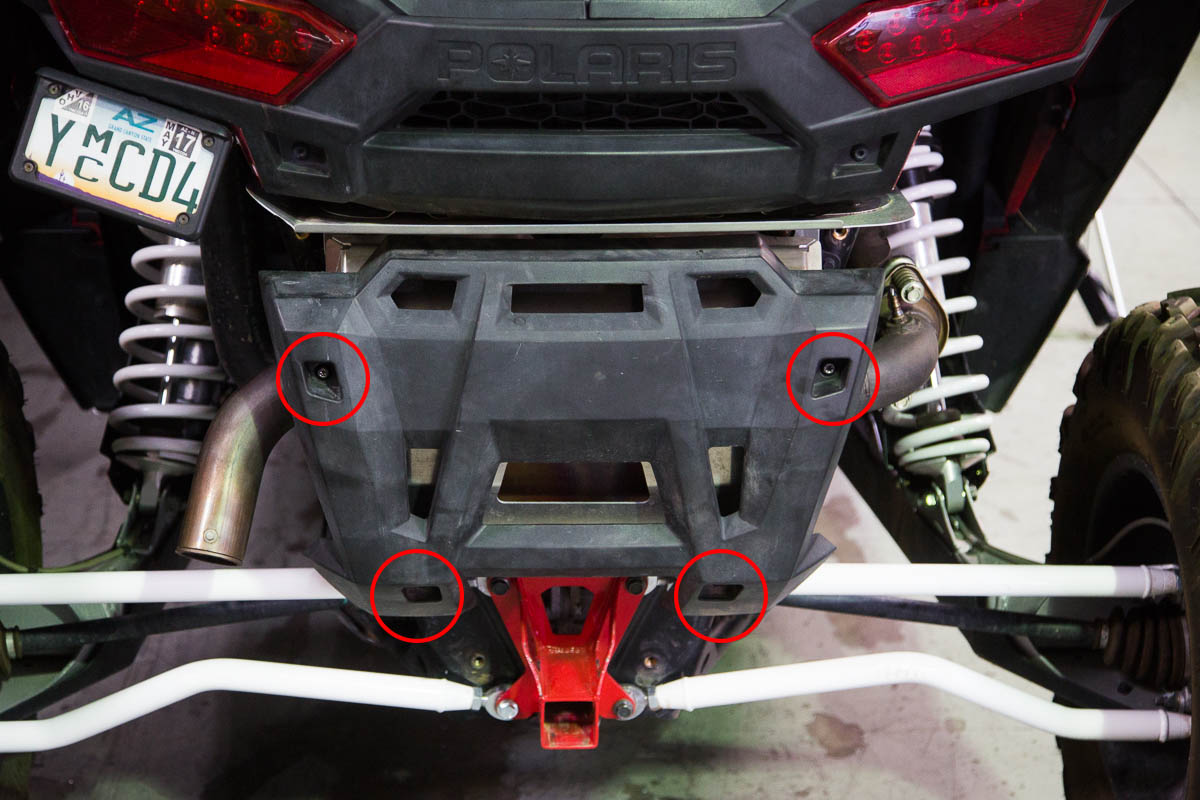
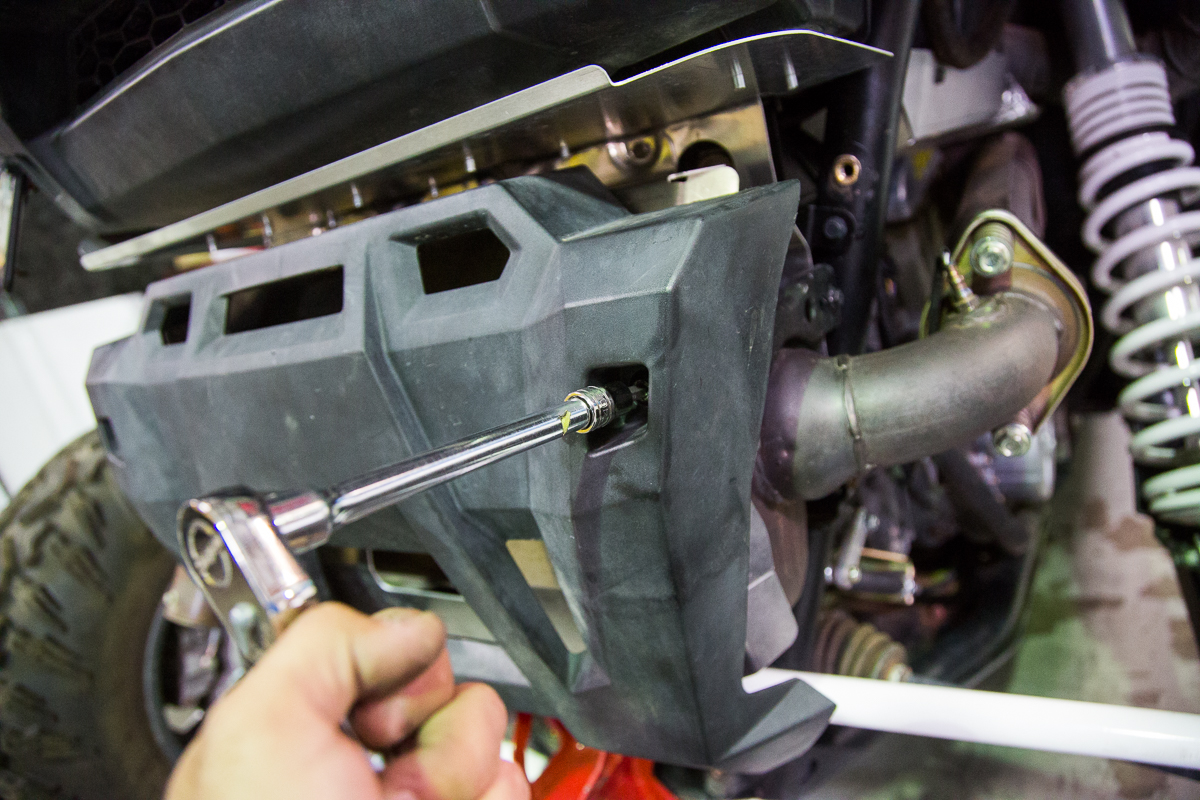
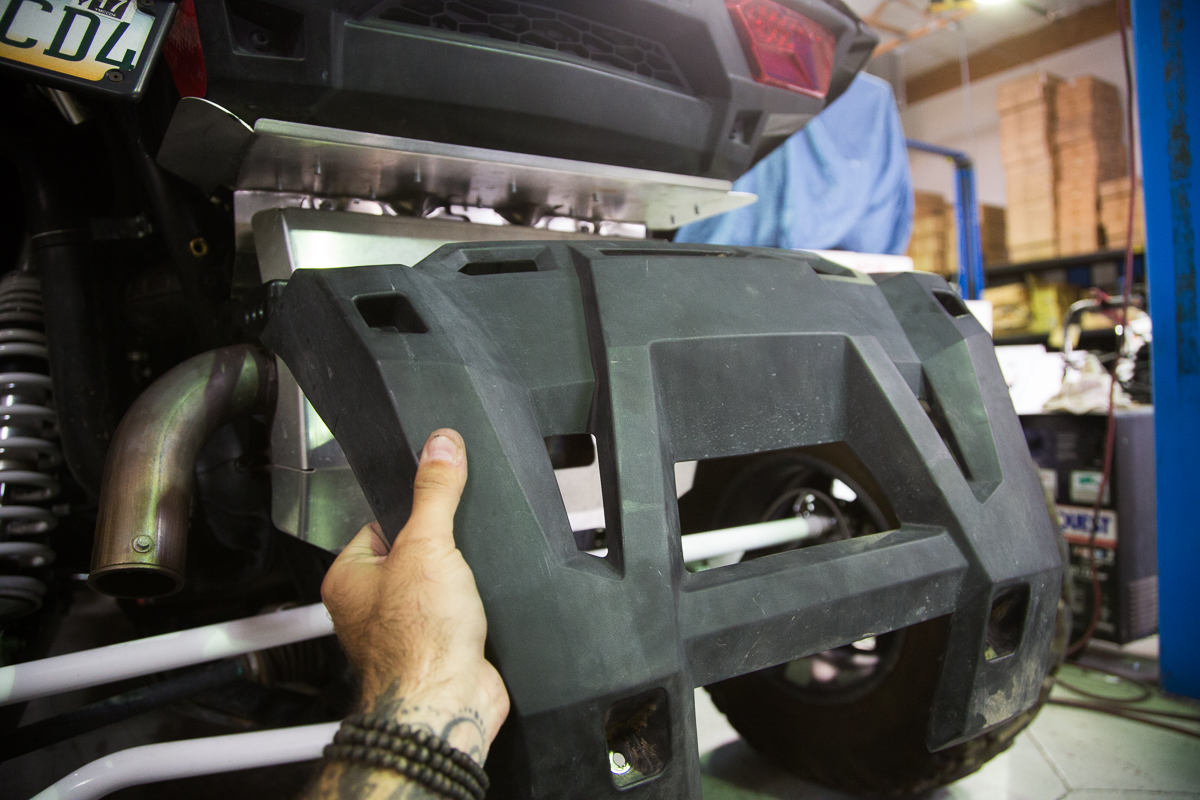
Step 1: Remove the (4x) Torx bolts and remove the plastic shield from the rear of the vehicle.
Step 2: Remove aluminum heat shield. Its secured by two bolts located on the upper side of the heat shield.
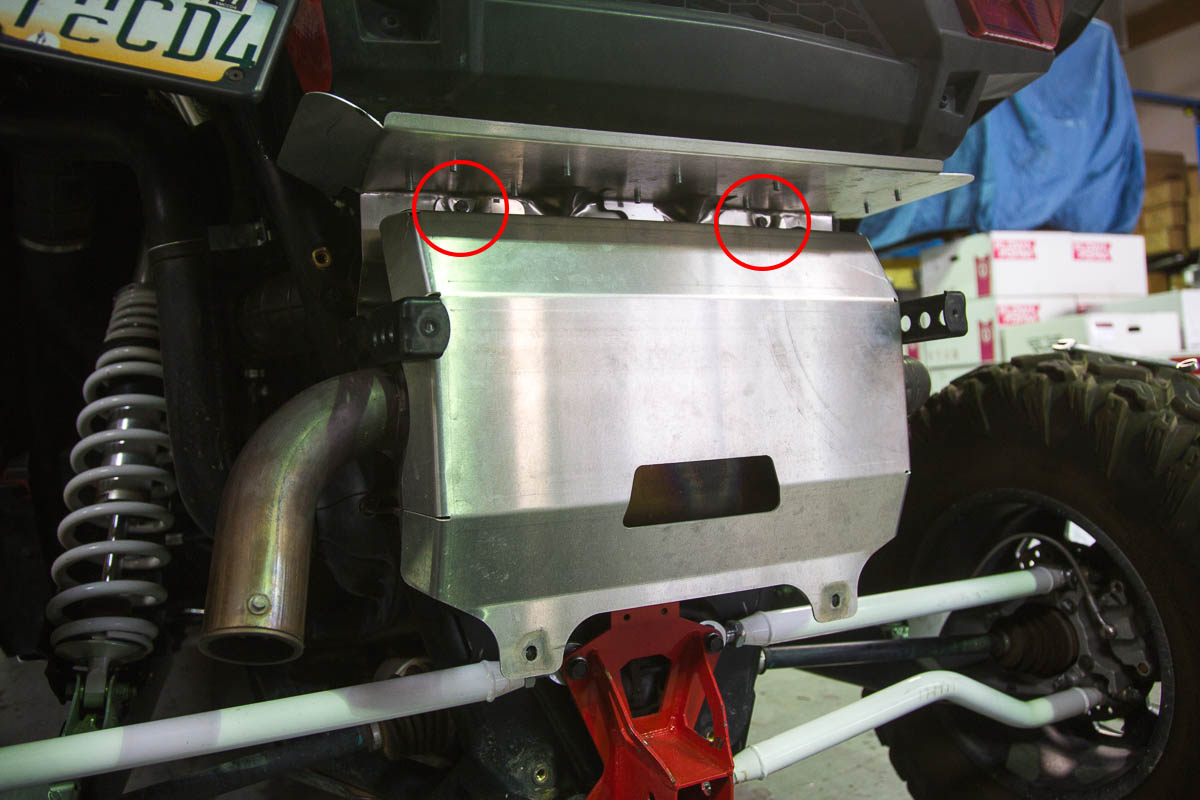
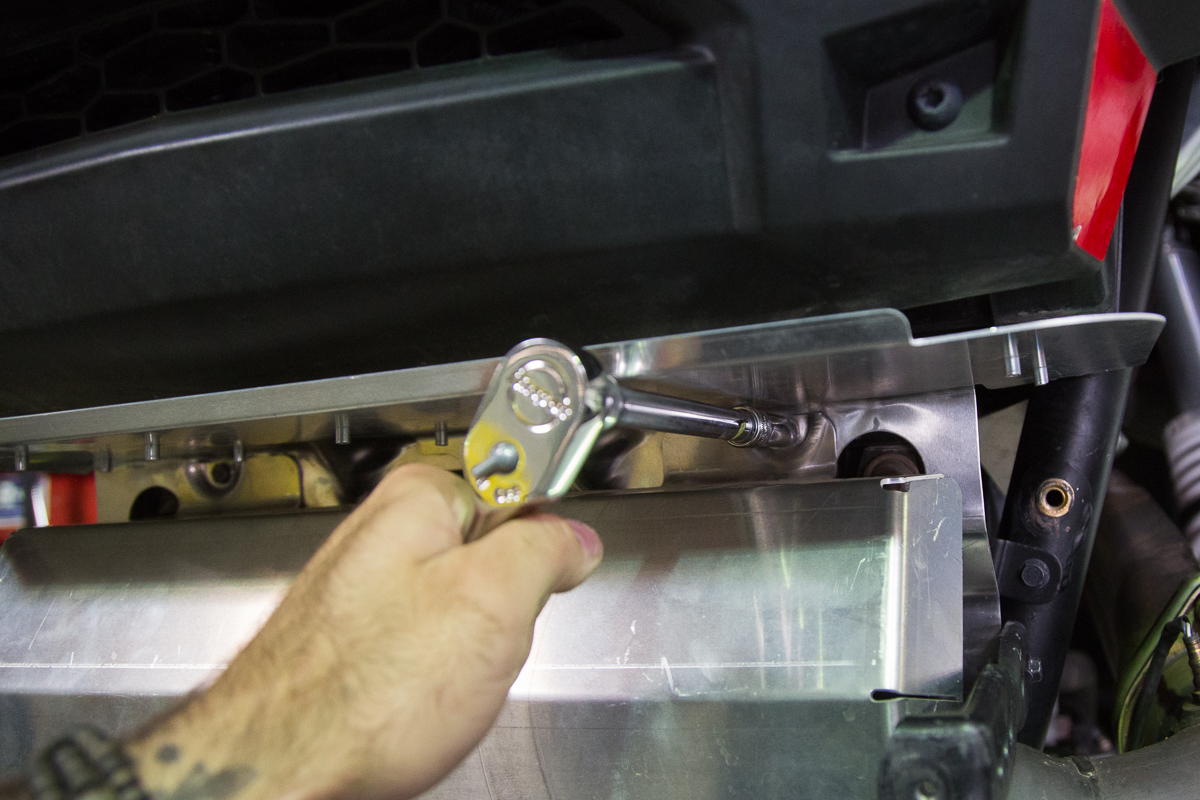
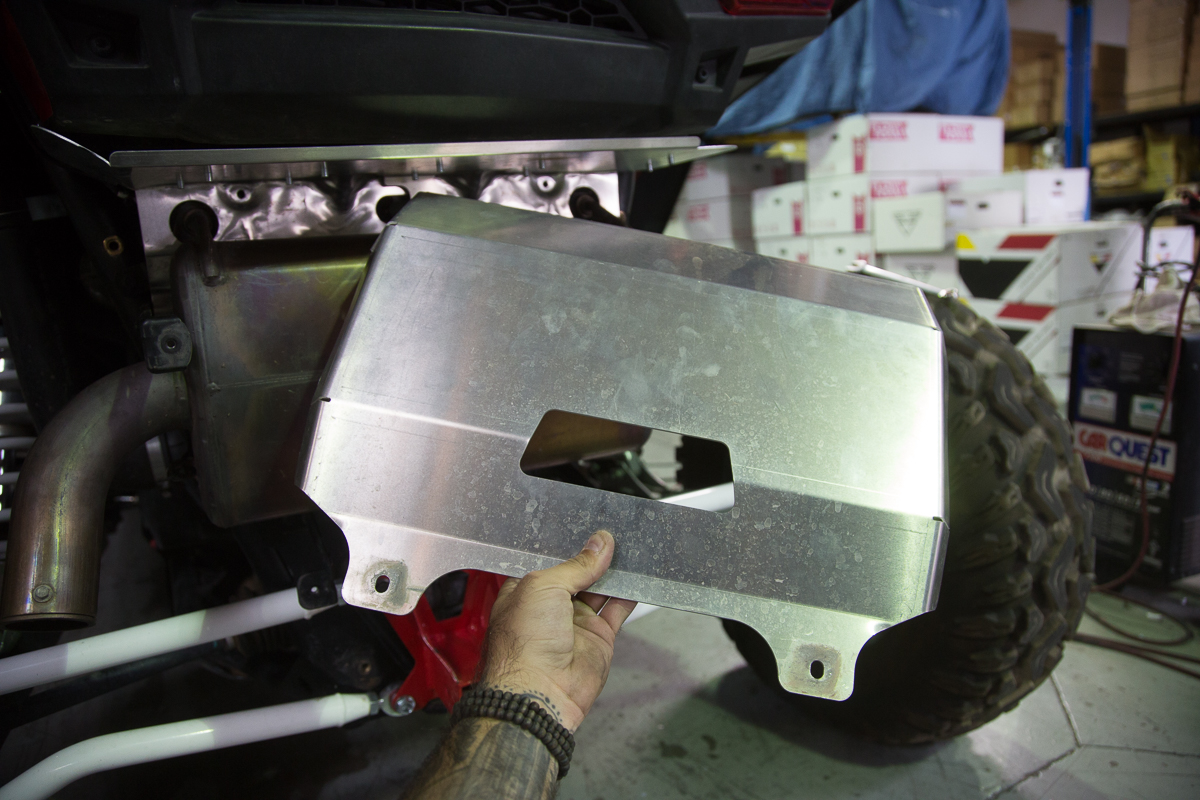 Step 3: Locate the 02 sensor’s wire connector and disconnect. Located on the right side (Passenger side) of the Polaris.
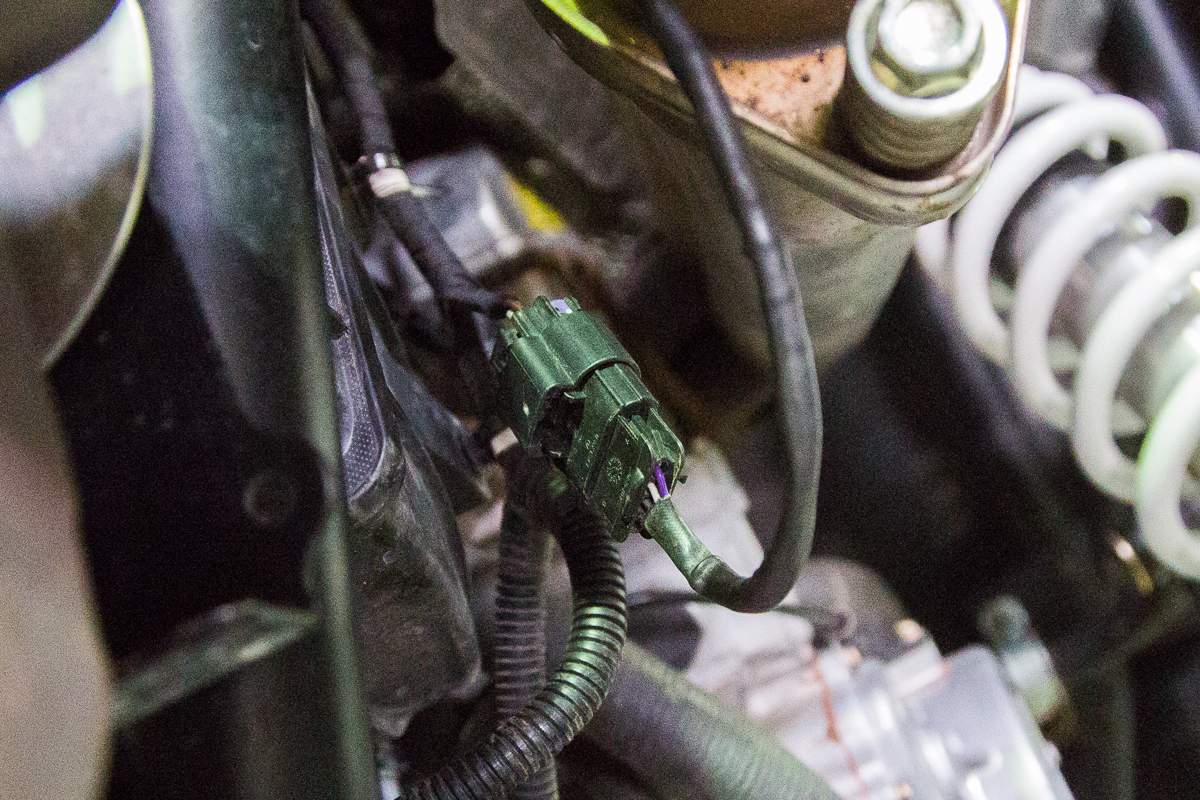
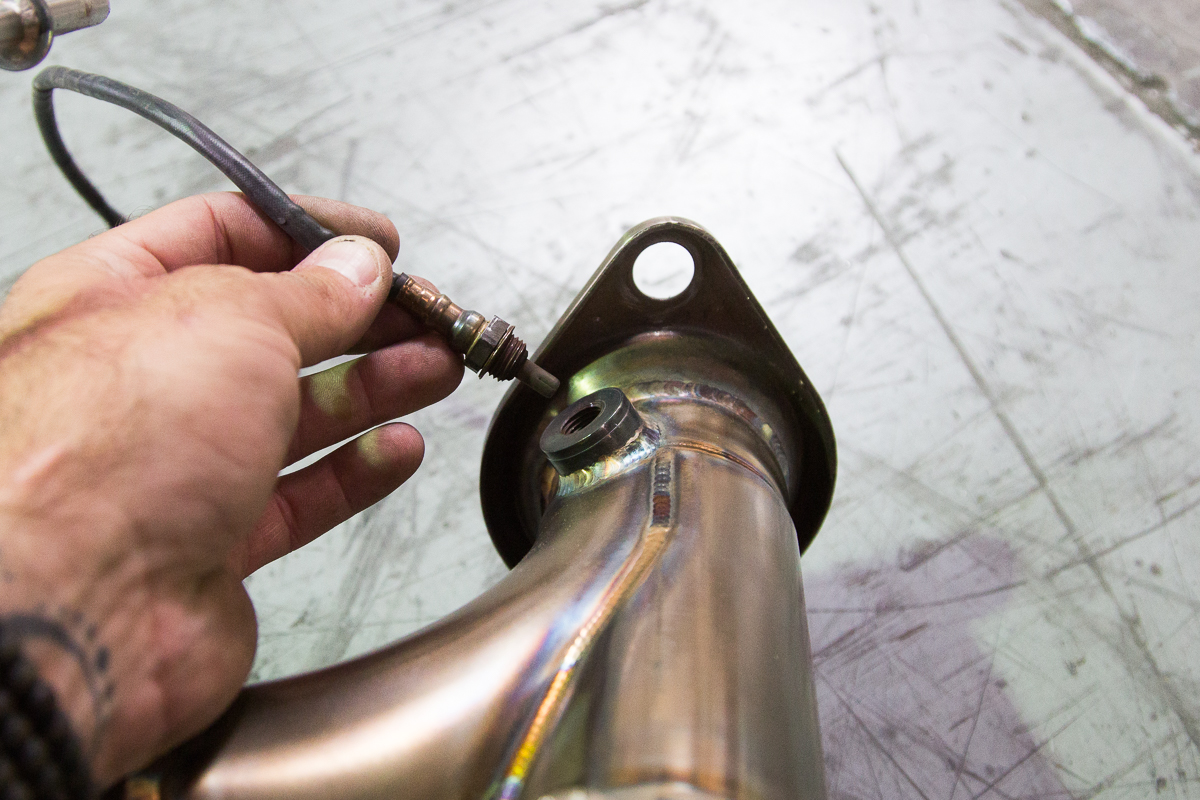
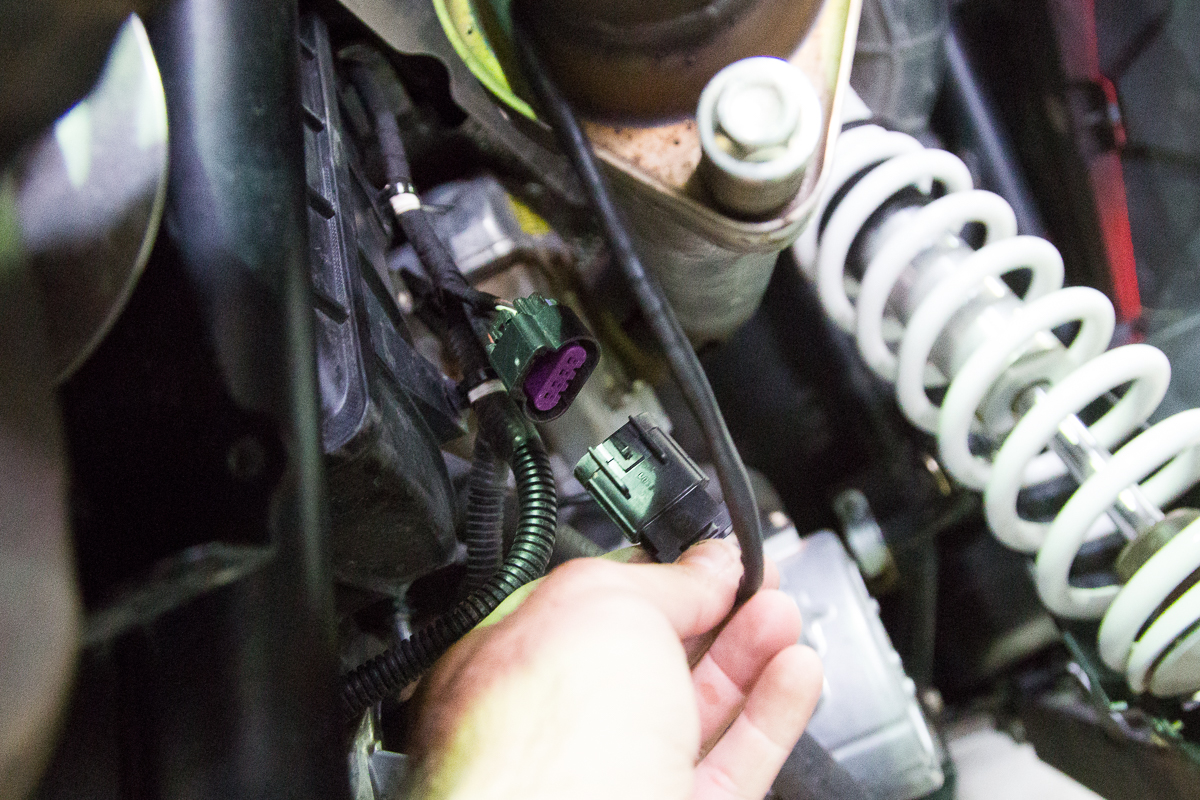 Step 4: Next carefully remove the 02 sensor from the factory exhaust and transfer it over onto the Agency Power Exhaust.
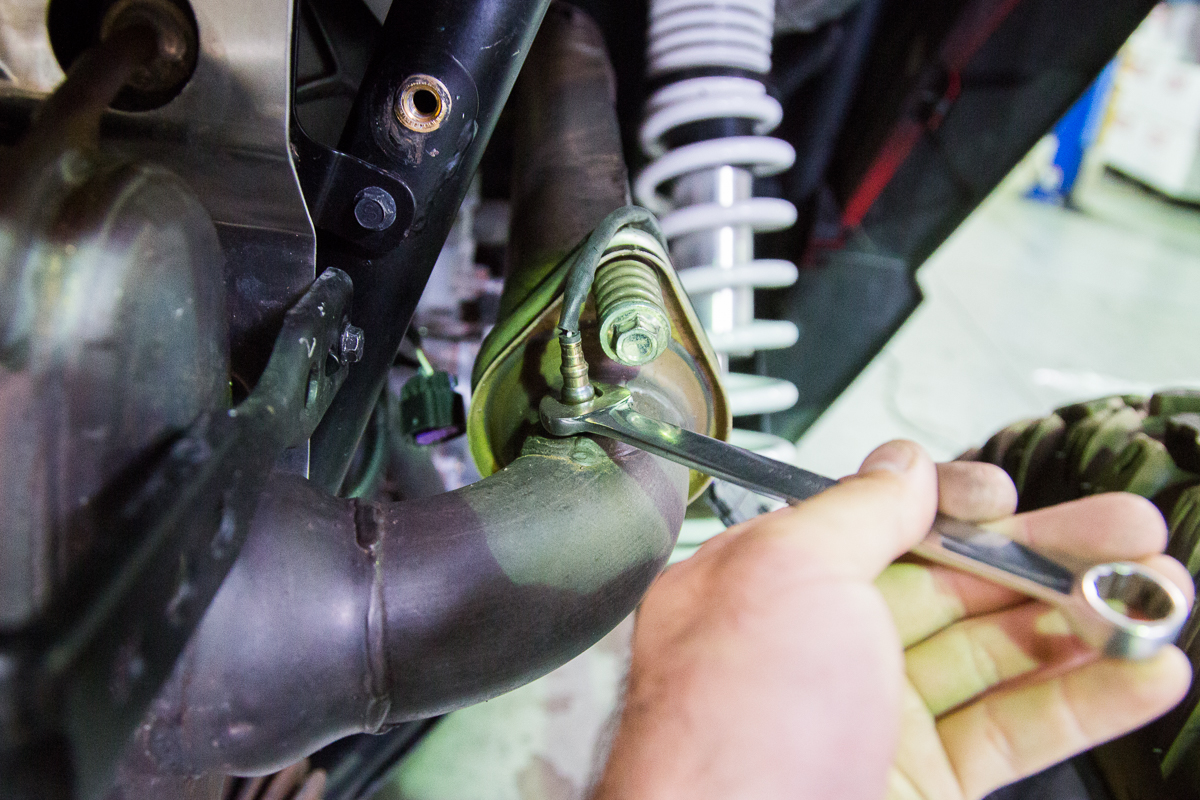
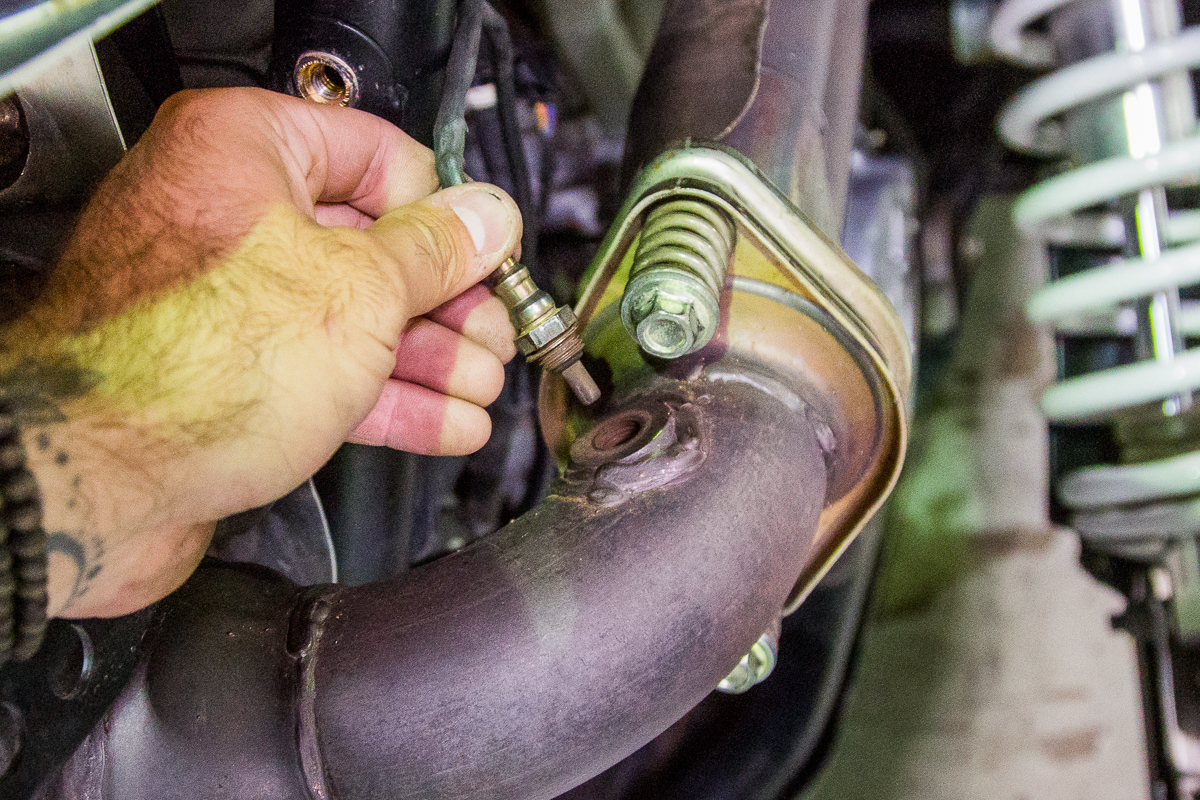
 Step 5: Remove the (2) exhaust springs securing the muffler to the vehicle. Use a hook tool to remove the springs. The Agency Power Muffler will no longer utilize the upper exhaust spring for installation.
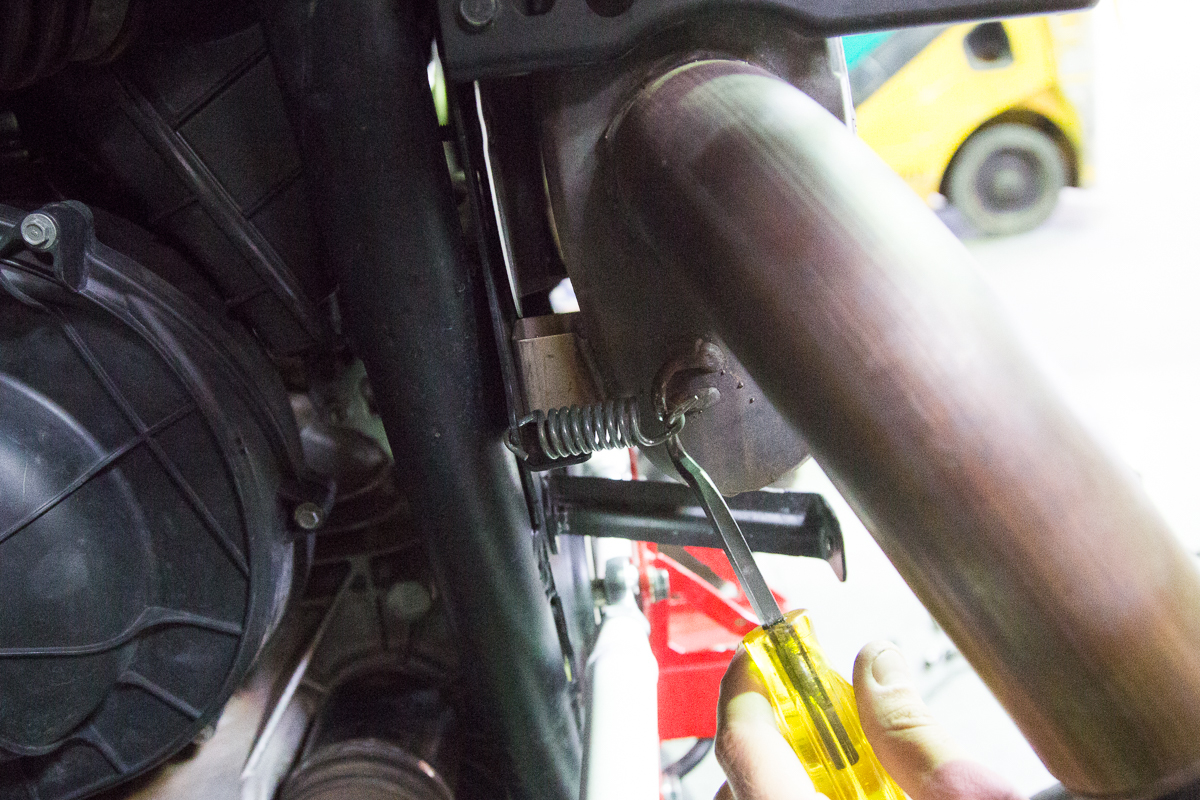
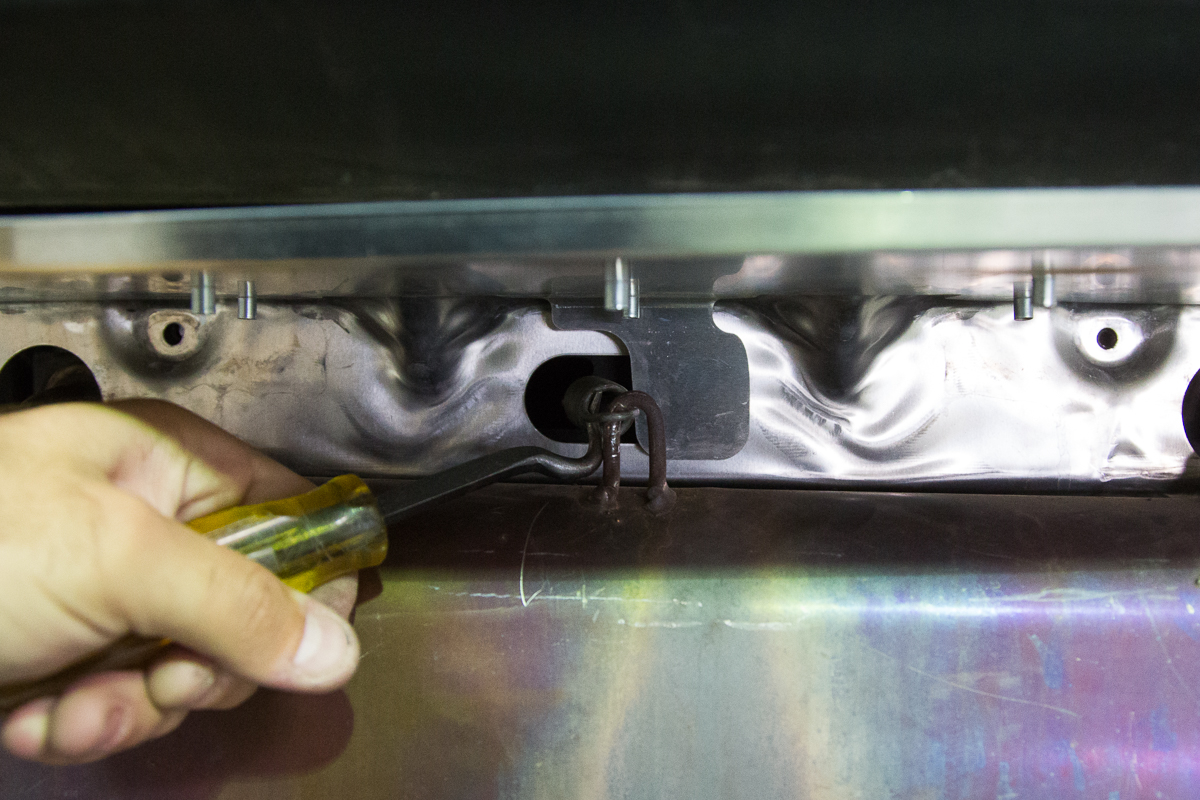 Step 6: Remove the (3) bolts located at the flange of the factory muffler. Once these are removed you can now remove the factory muffler. ( RZR XP 1000 Image shown as reference)
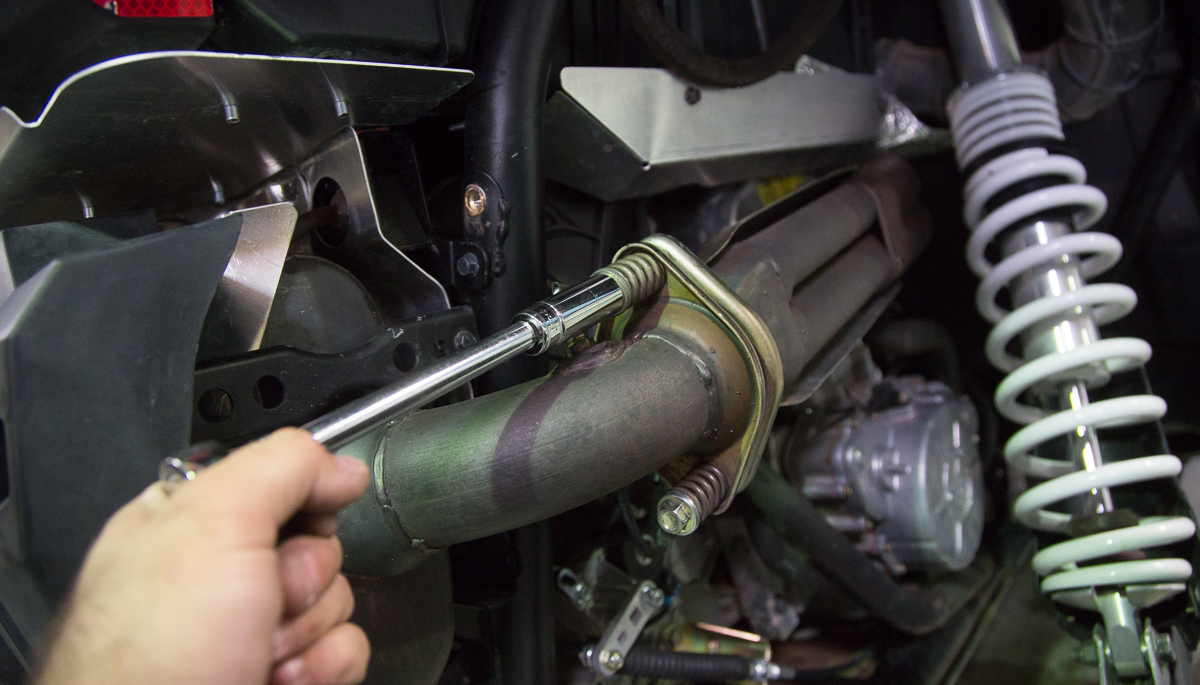 Step 7: With the muffler removed, you will need to remove the upper muffler spring that will not longer be utilized. To do this you will need to remove the aluminum heat shield. Once the heat shield is off you can easily pull out the spring. Once completed replace the heat shield.
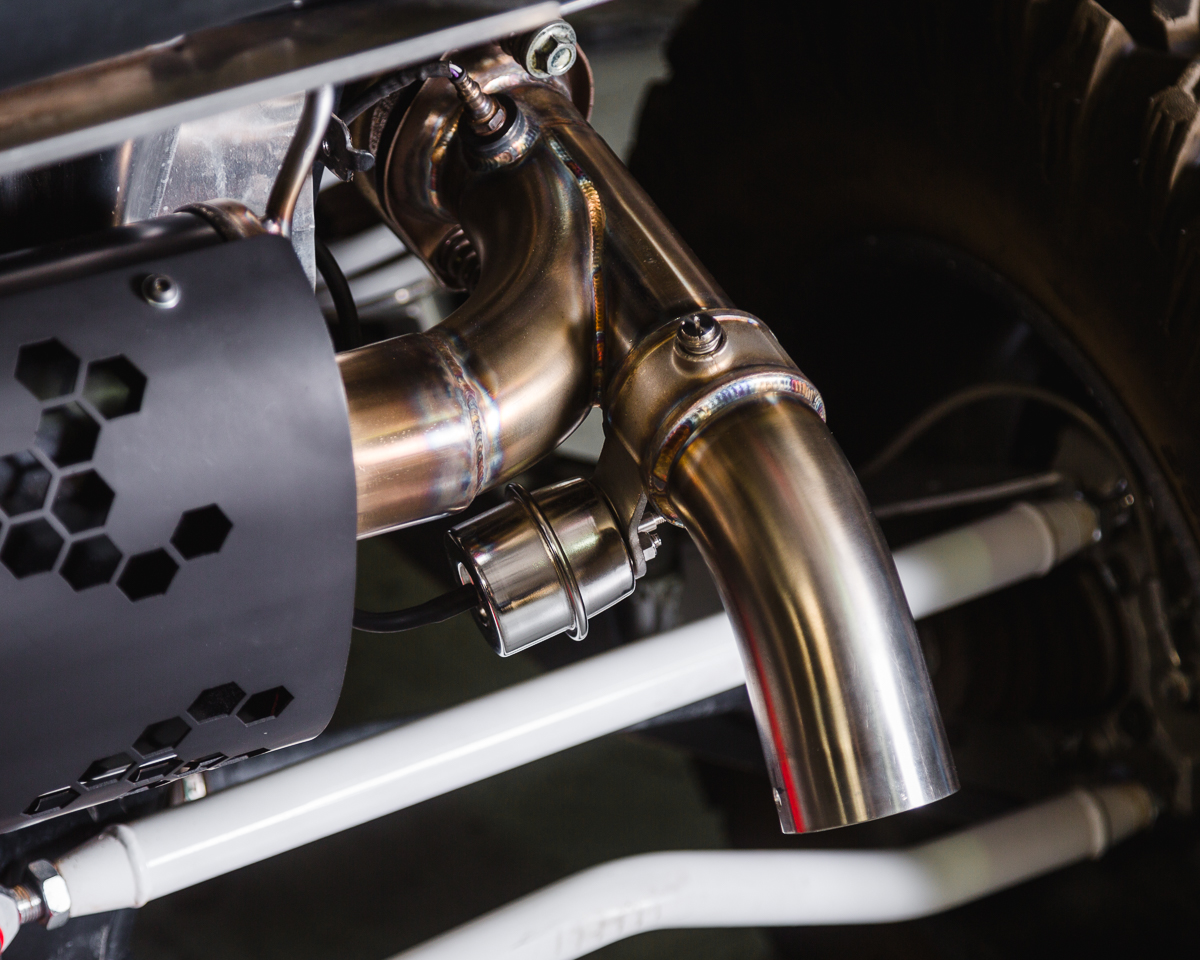
Step 8. Install the Agency Power Valvetronic Muffler. Use the steps above for reference for installing the muffler onto the vehicle.
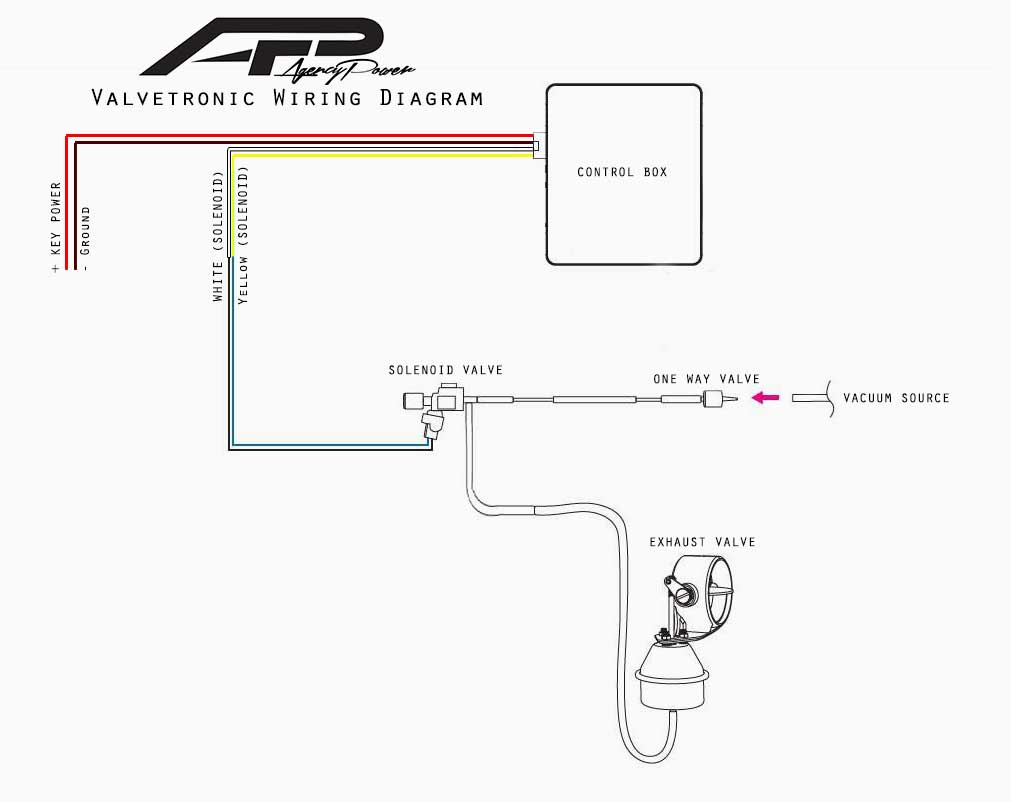
Valvetronic connection diagram
Please note!
- Remote electronic box should be mounted in a water tight area. Avoid placing in any locations that are prone to water. We recommend mounting this the control module in the glove box.
- Route all vacuum hoses and wiring away from heat or moving parts.
