How to Install Mercedes CLA 45 Intake
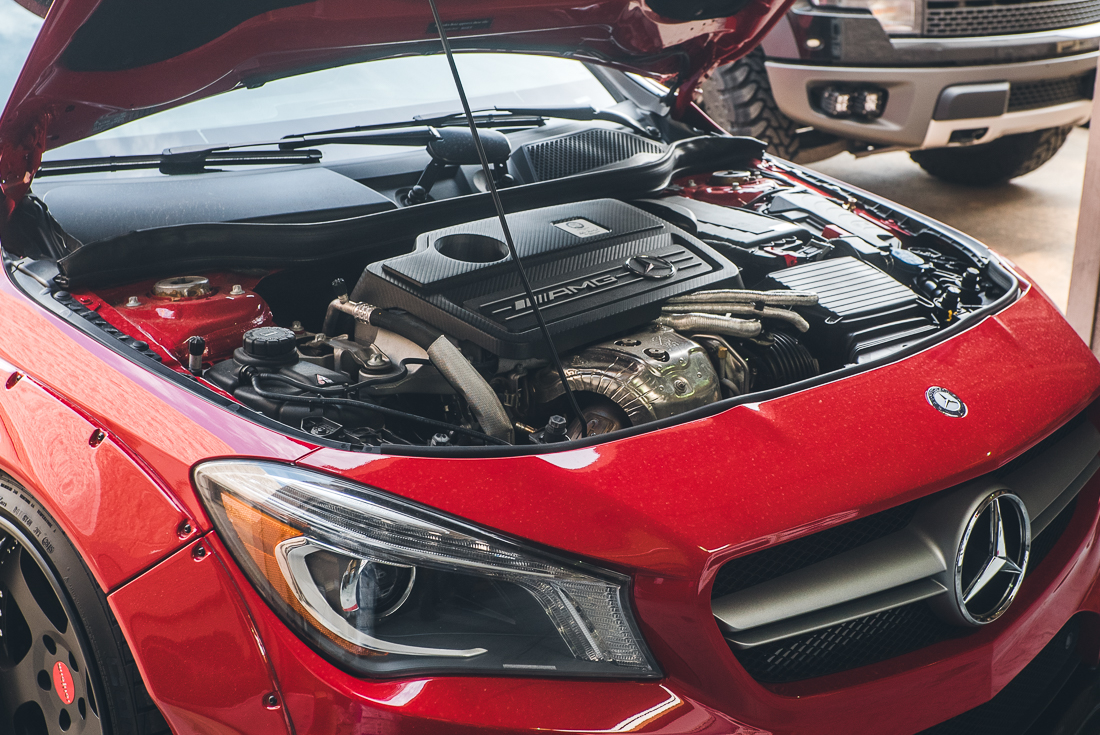
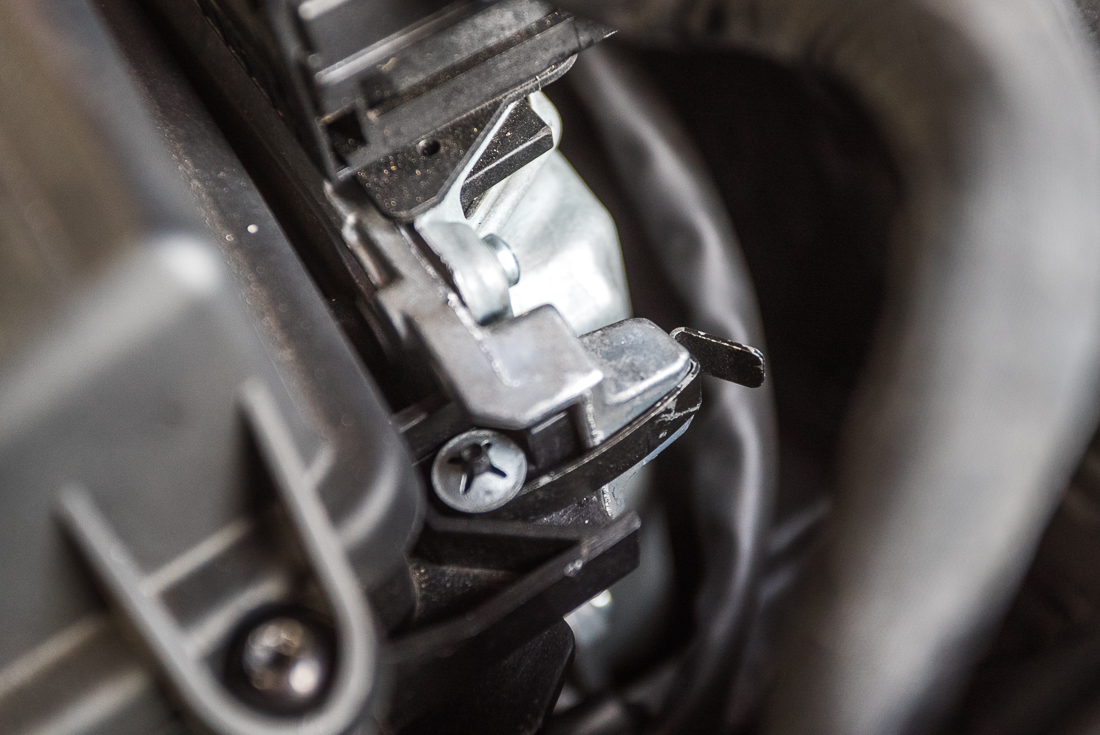
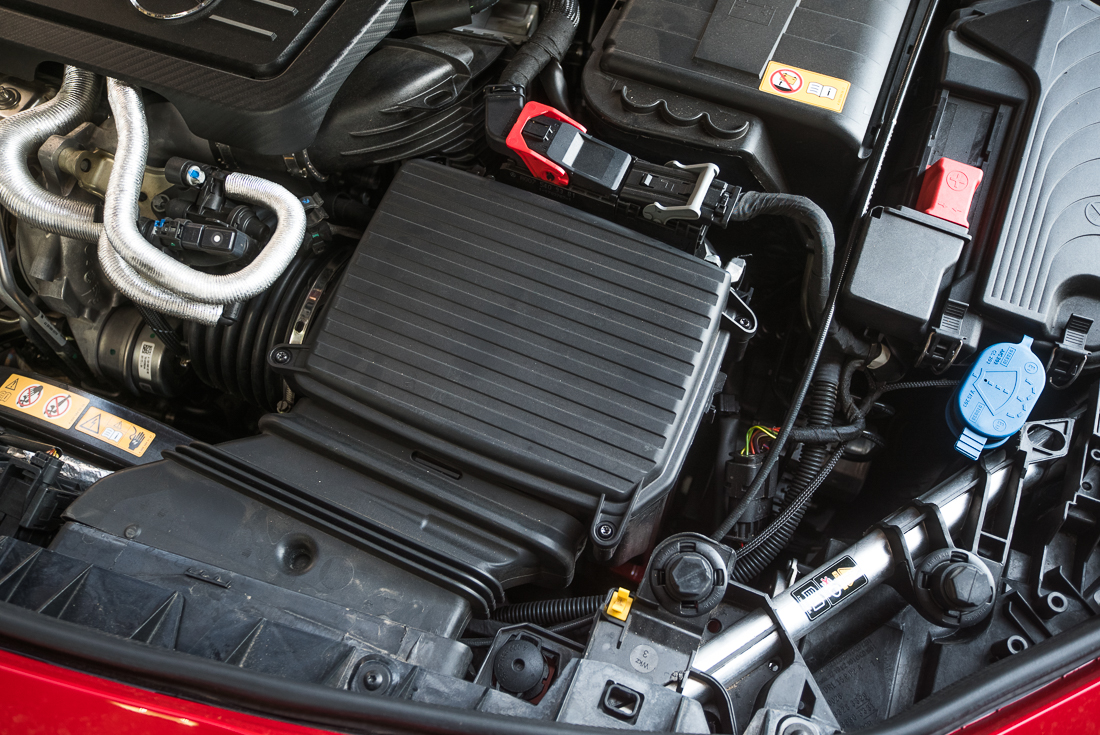
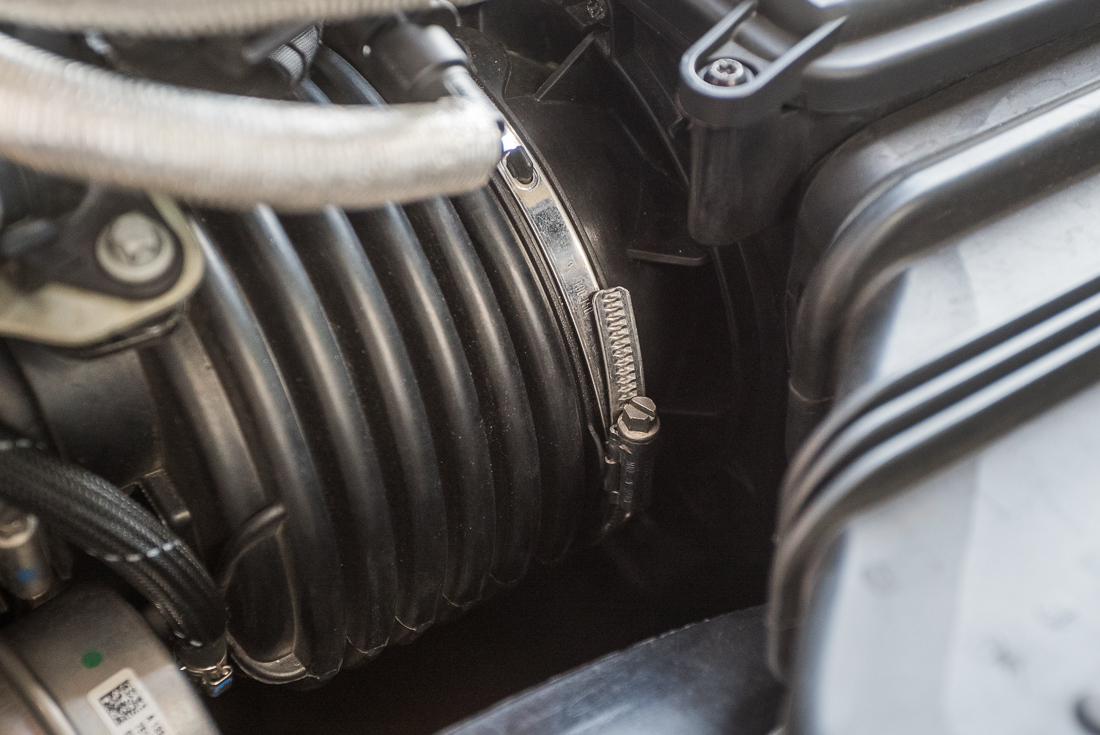
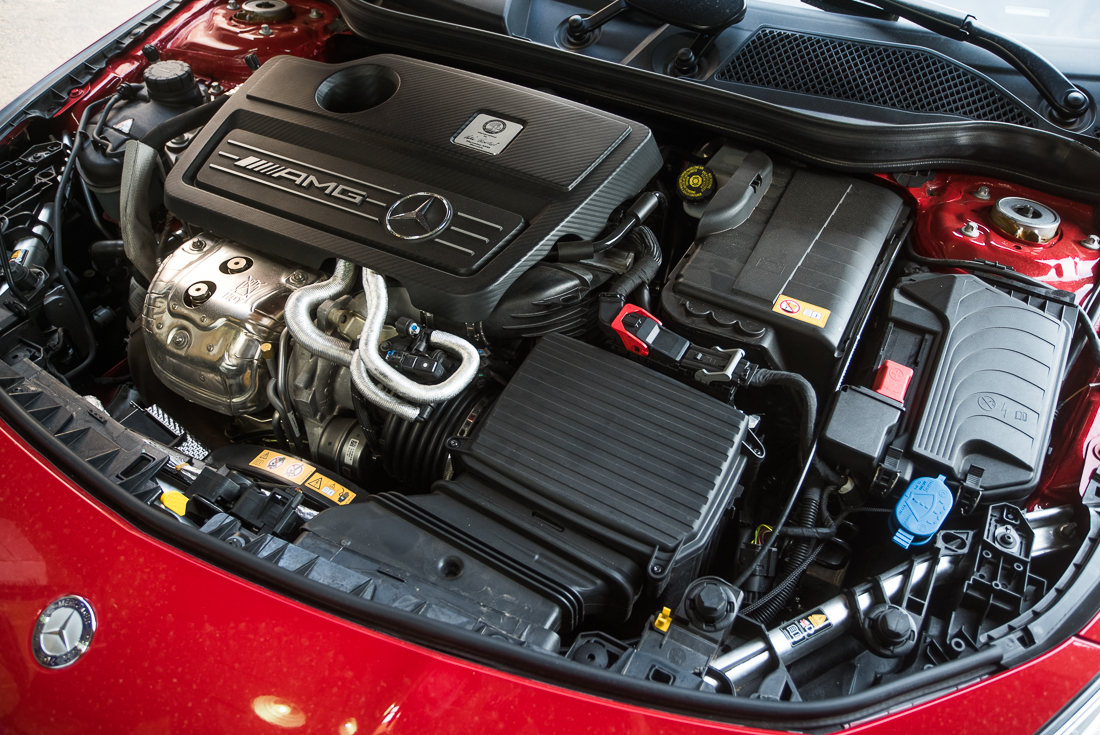
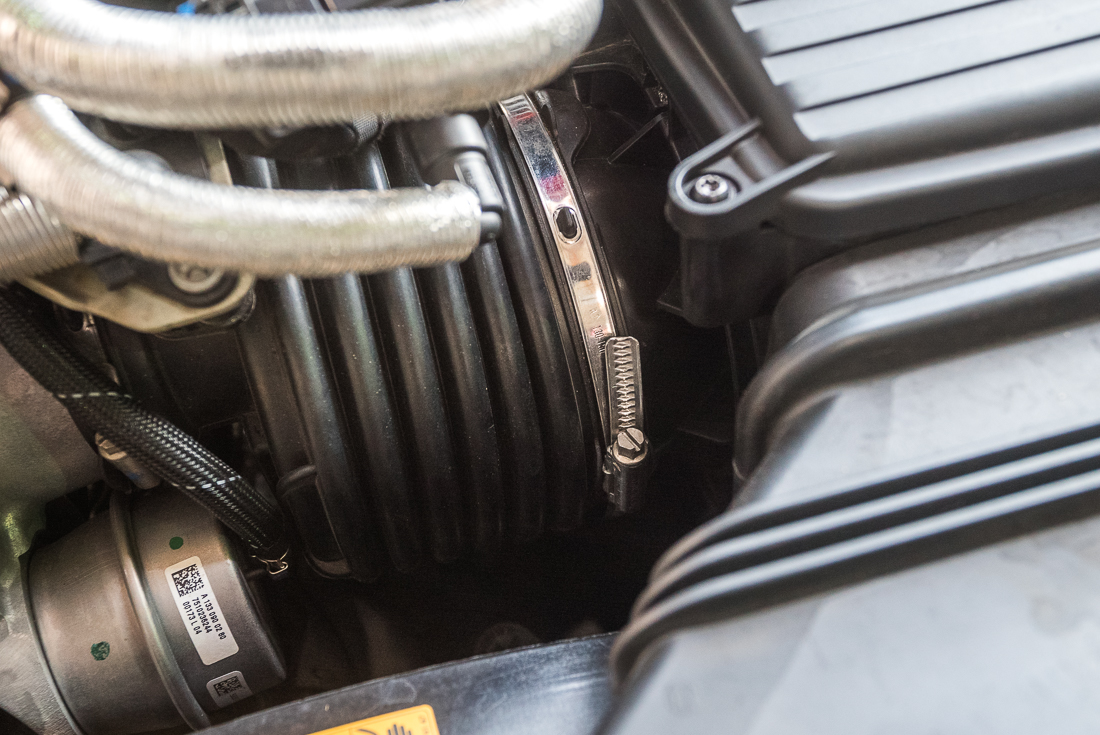
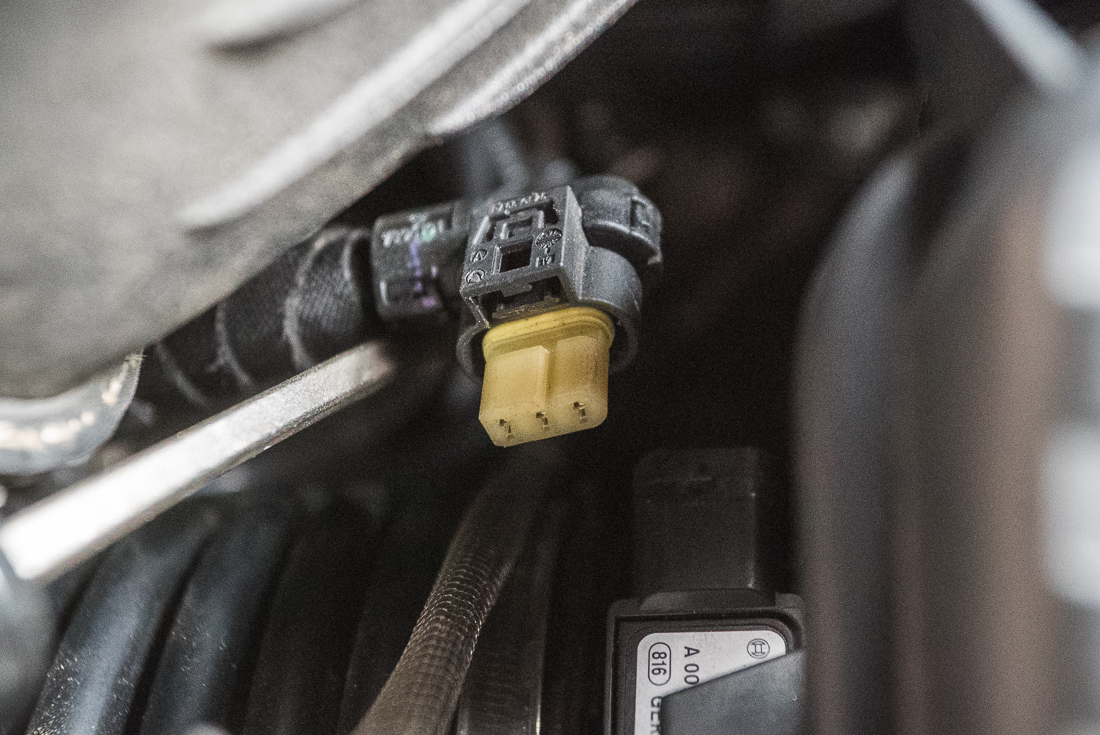
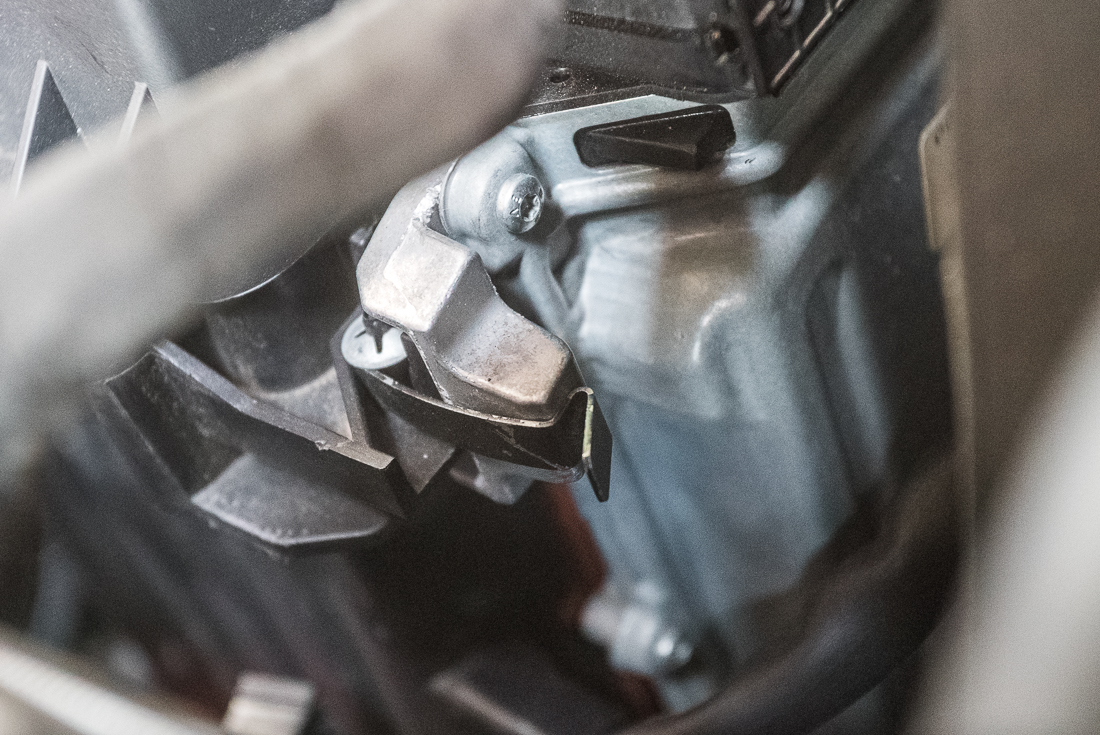
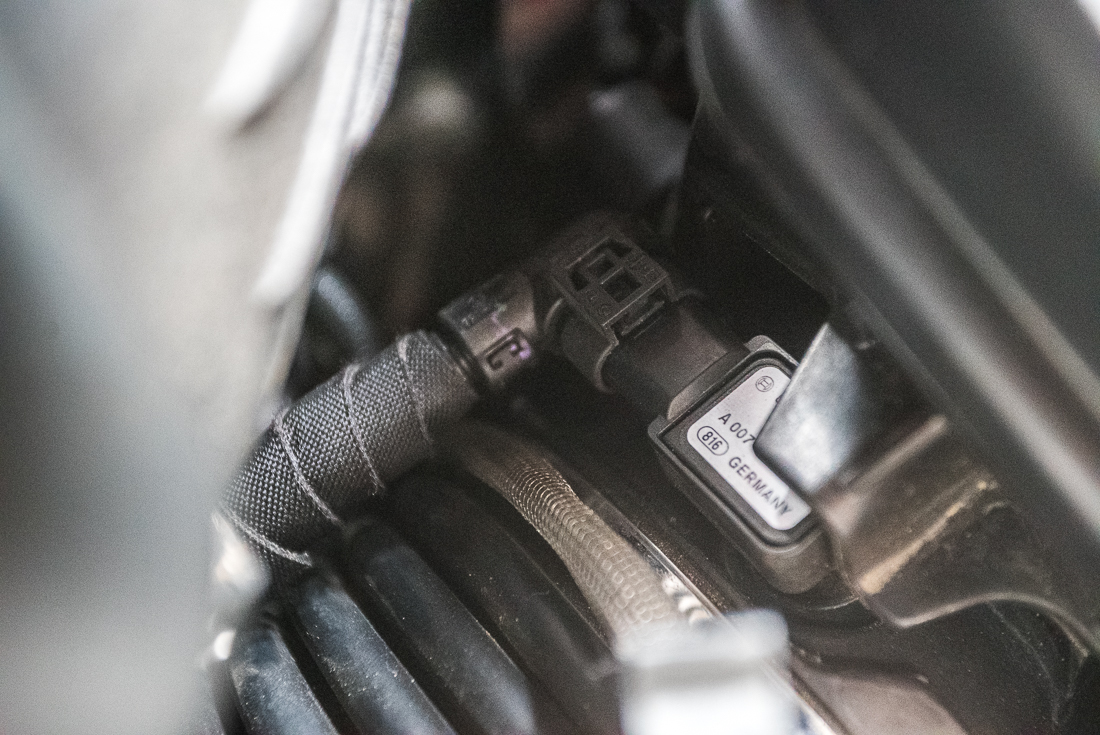
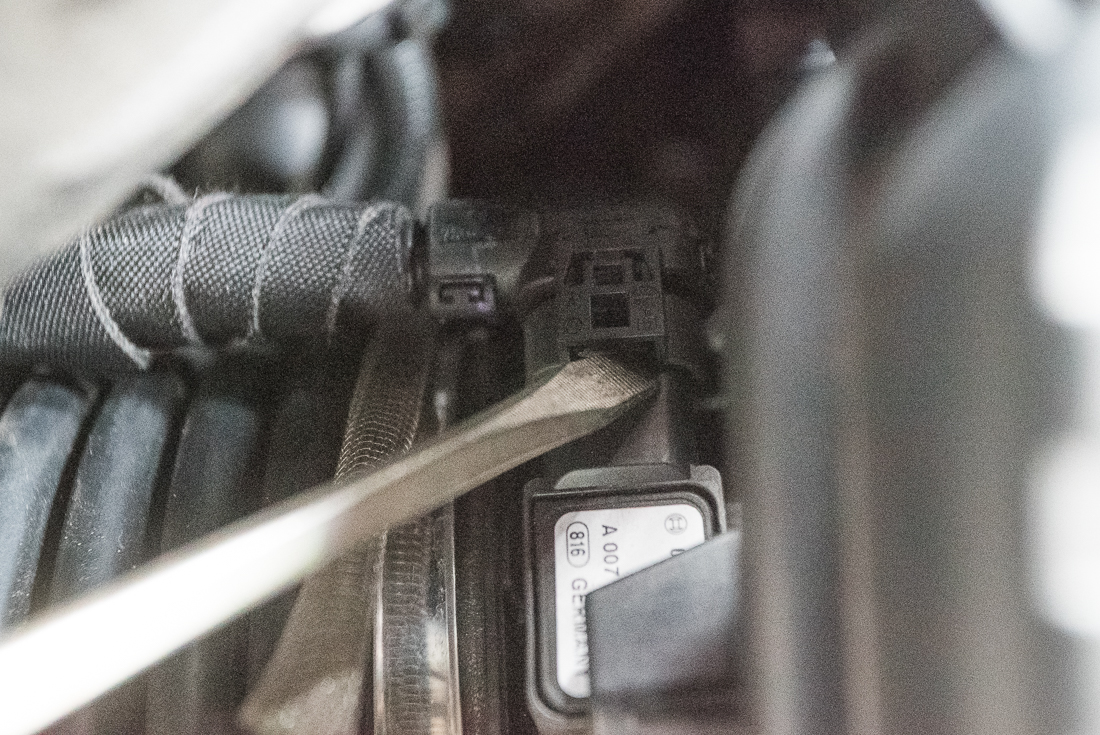
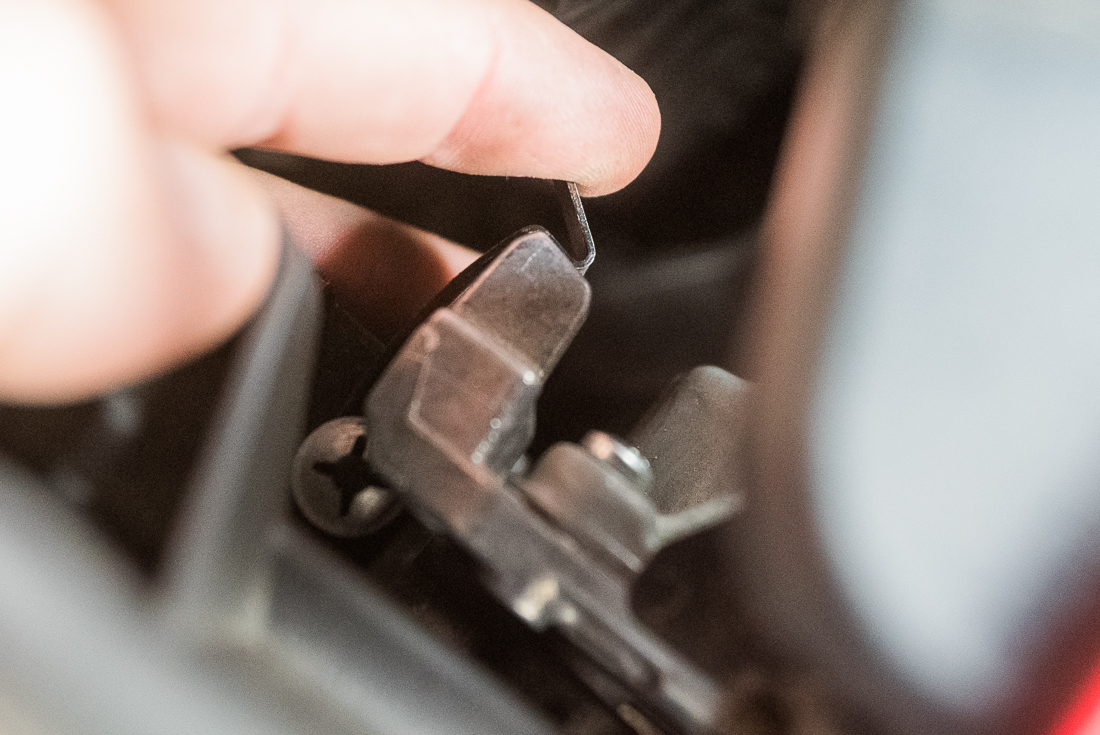
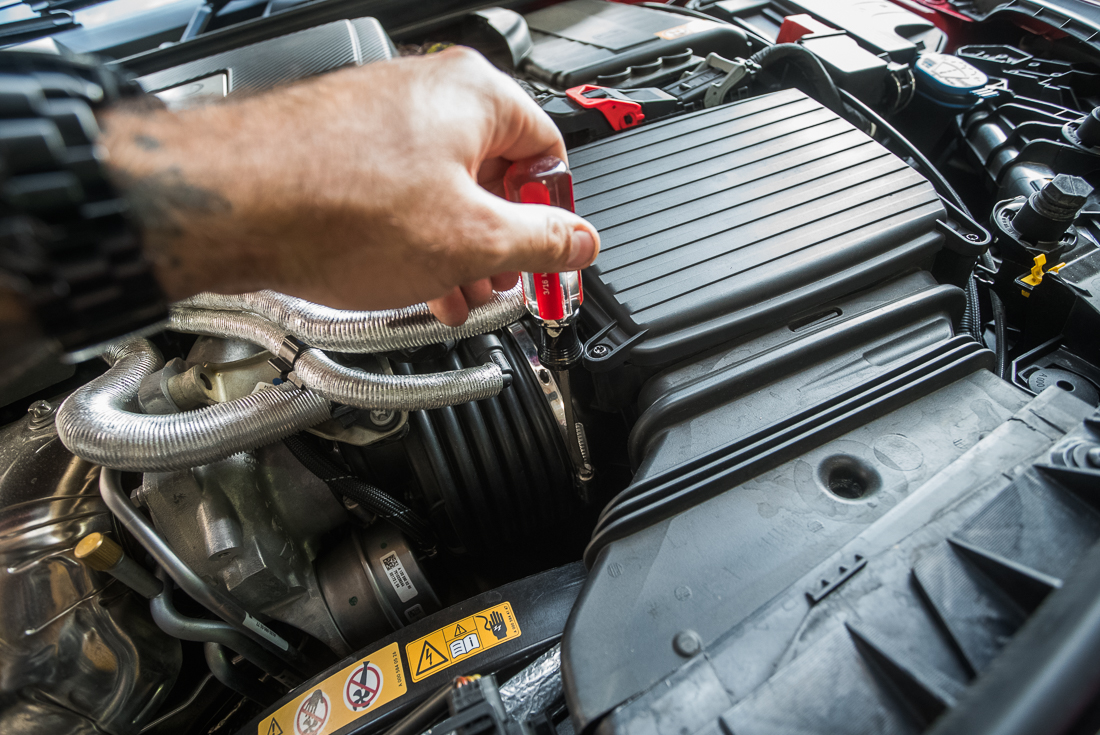
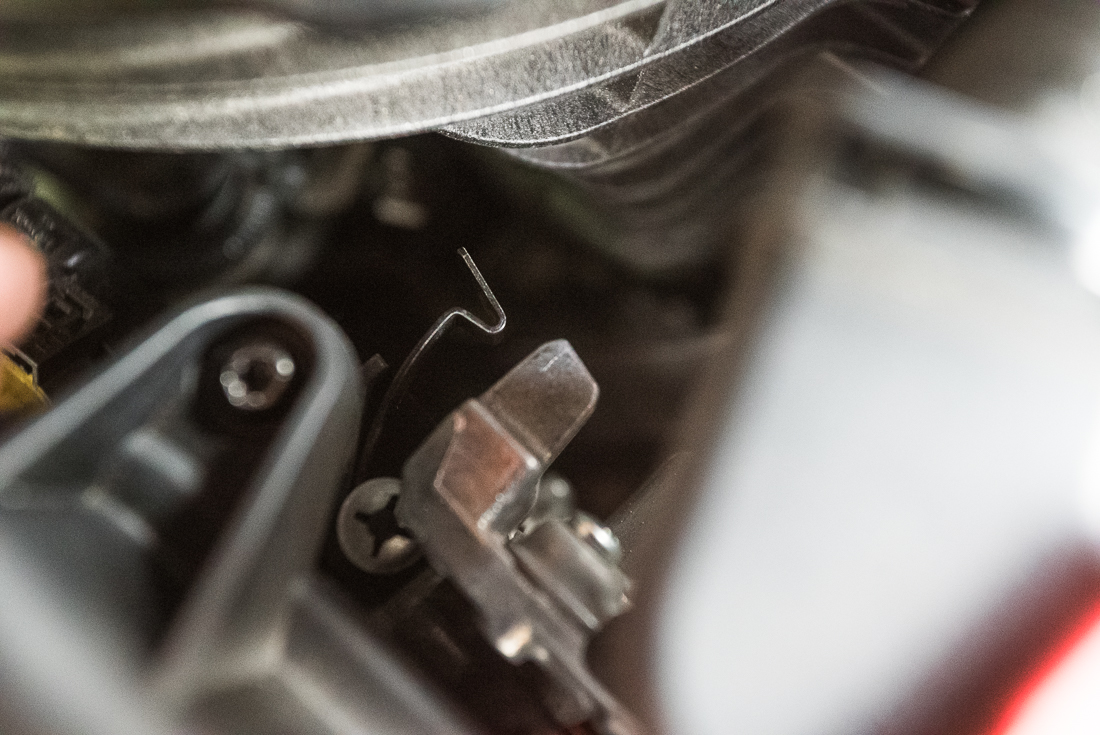
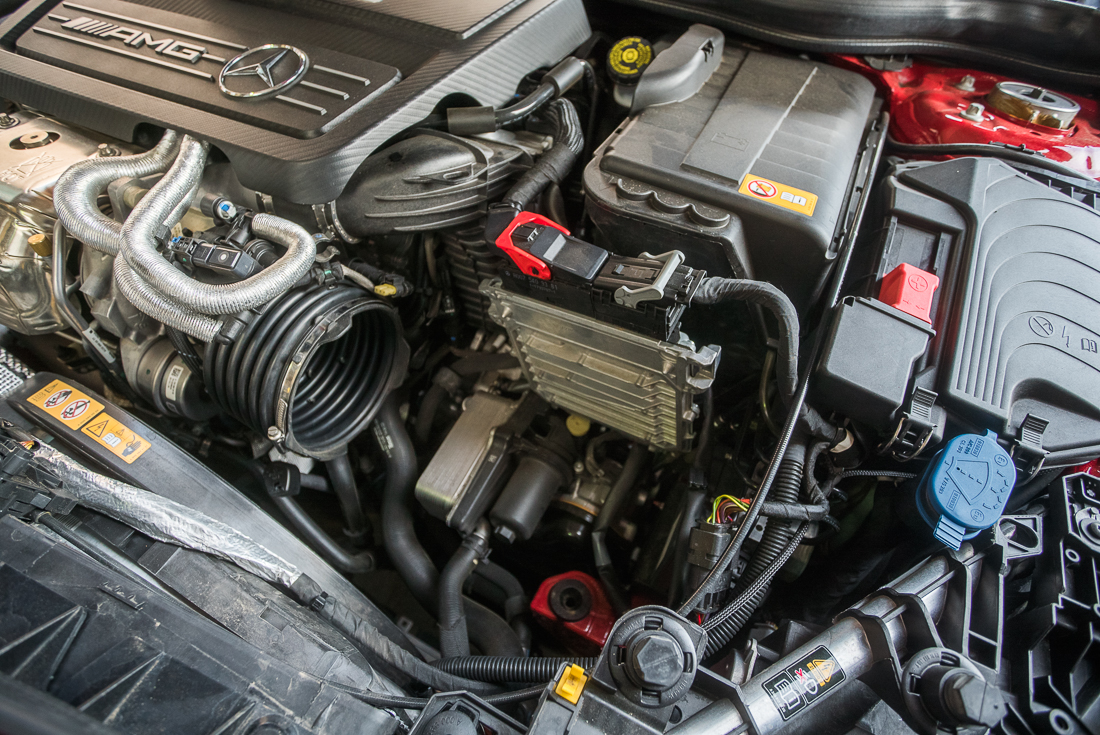
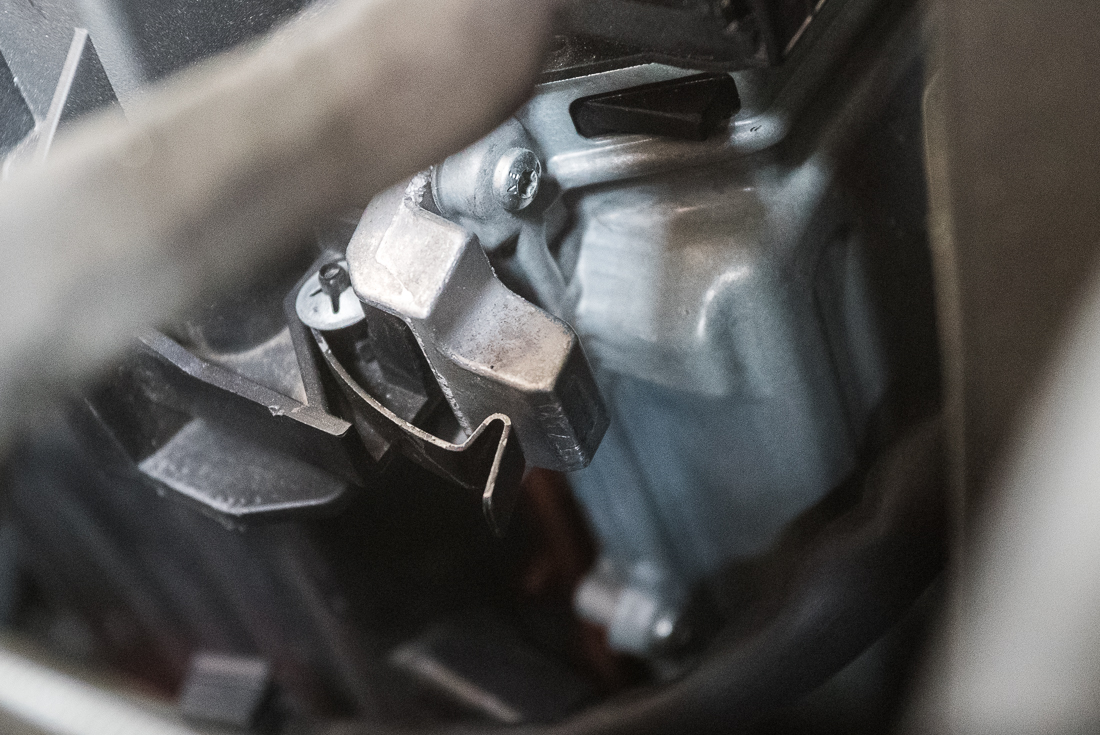
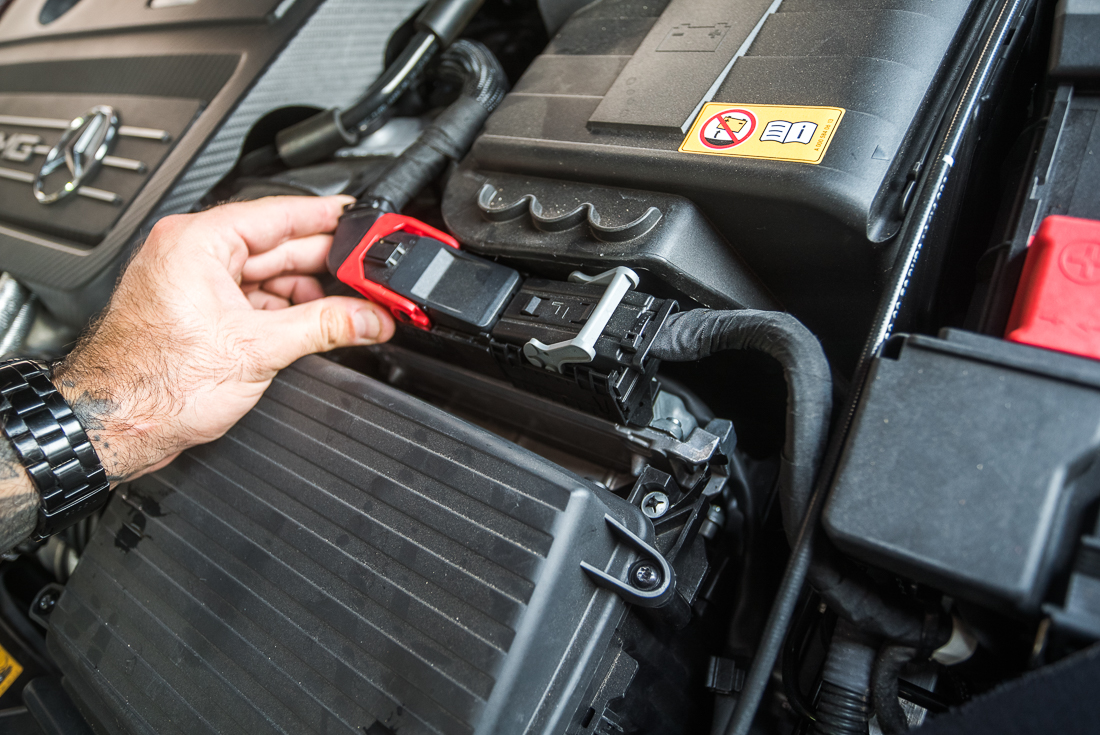
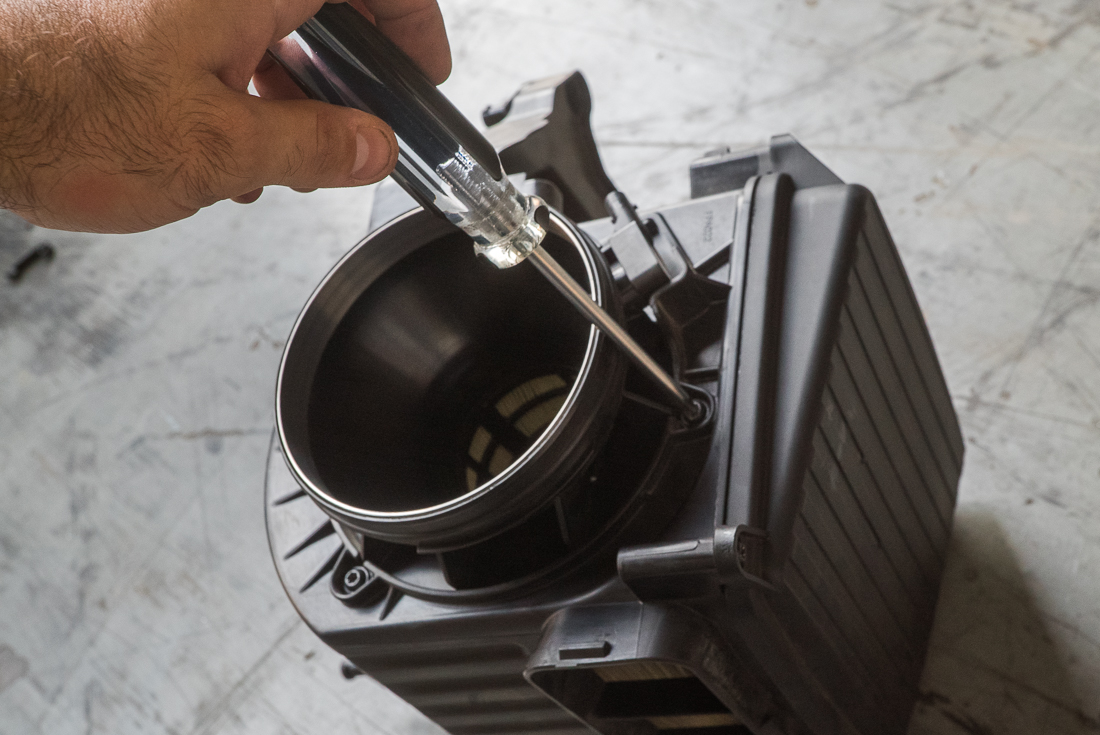
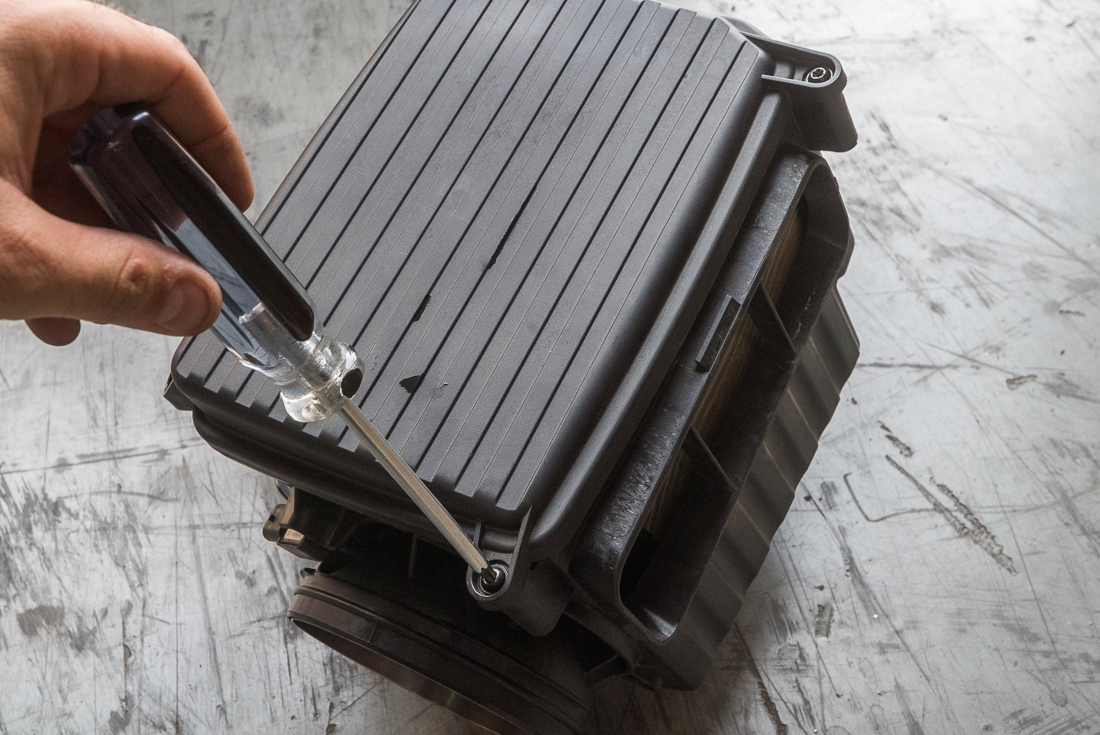
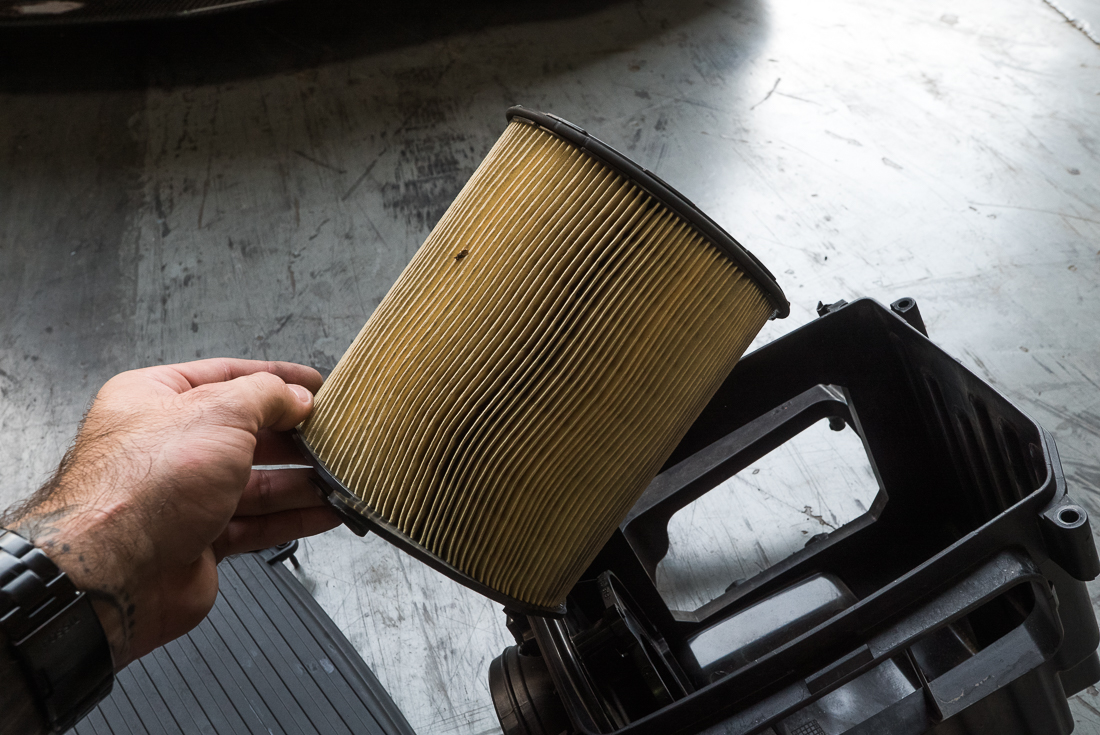
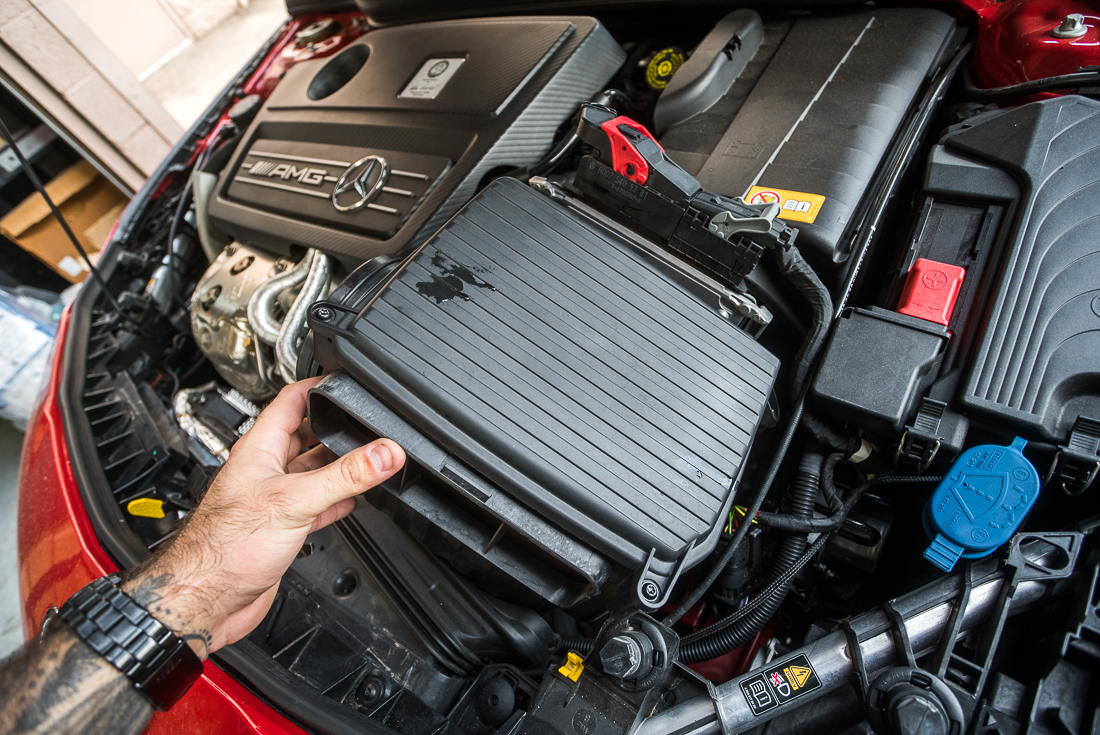
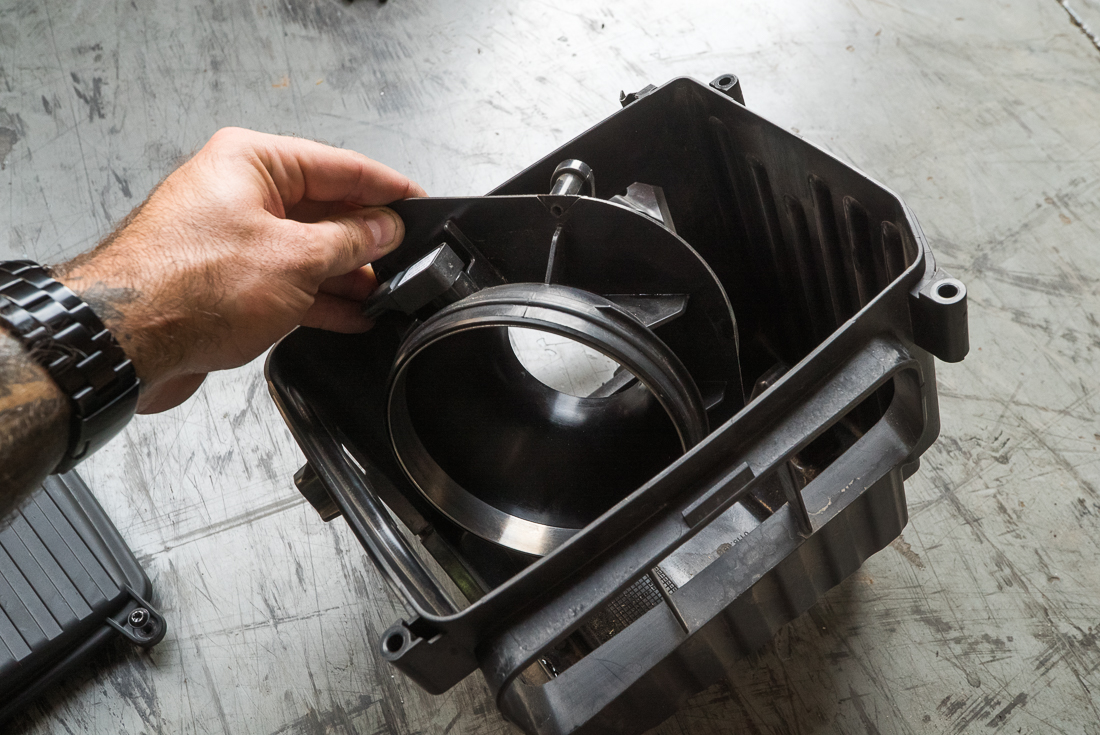
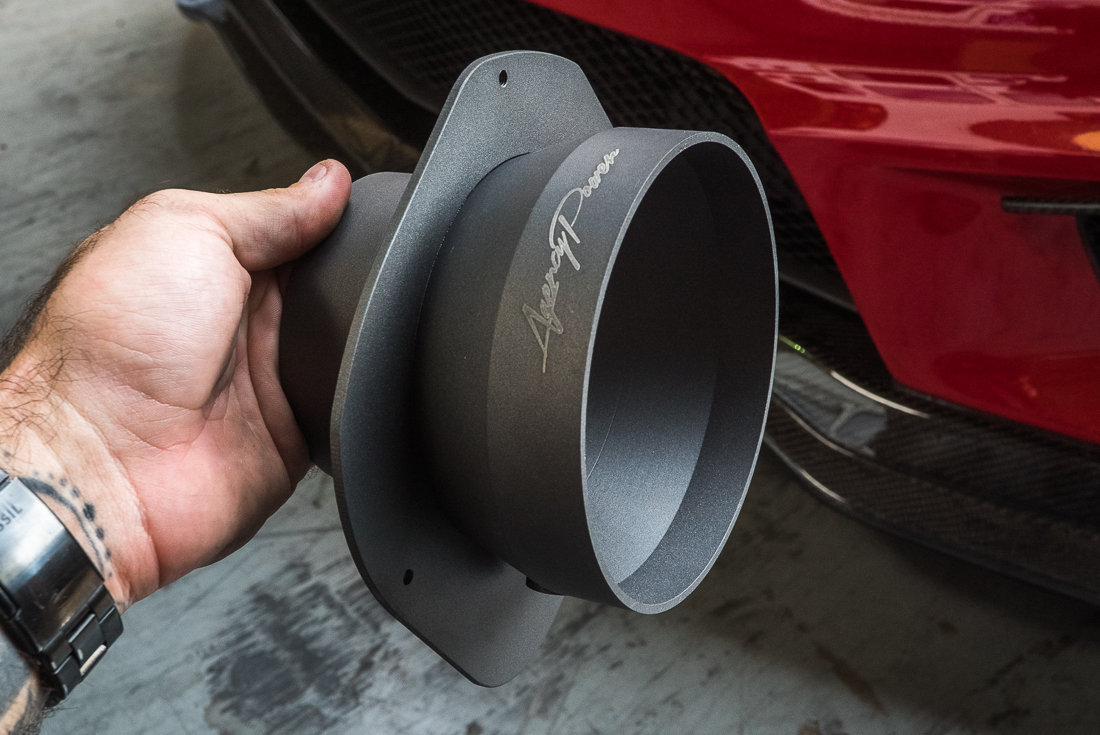
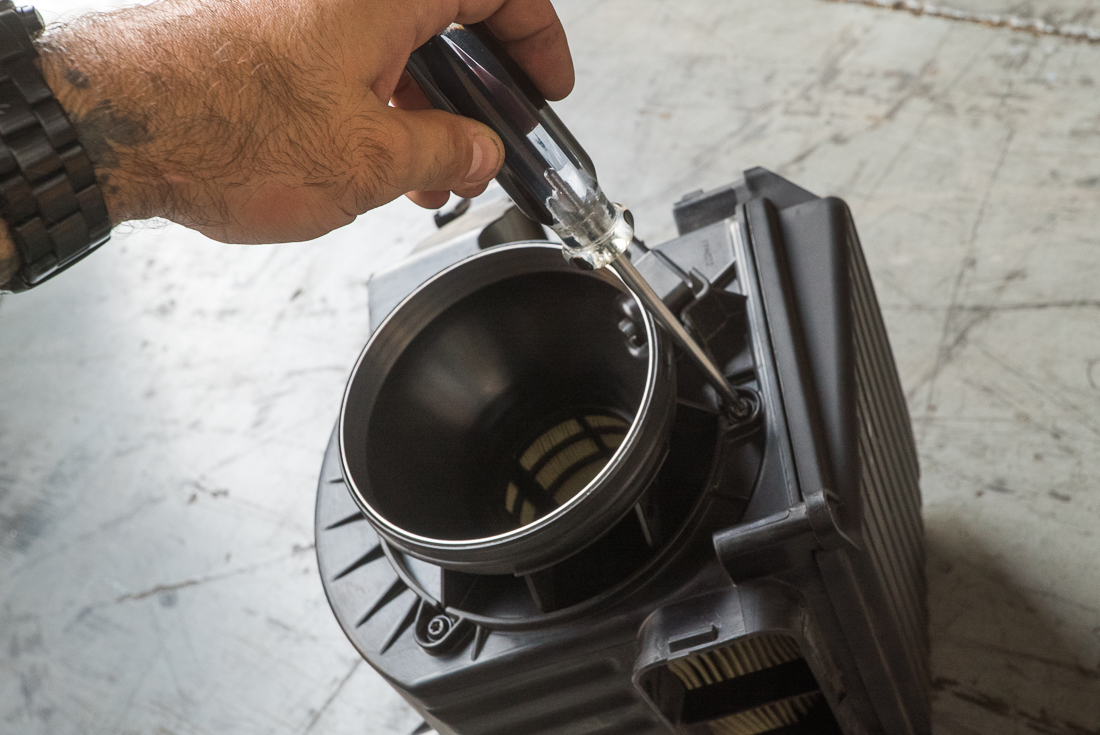
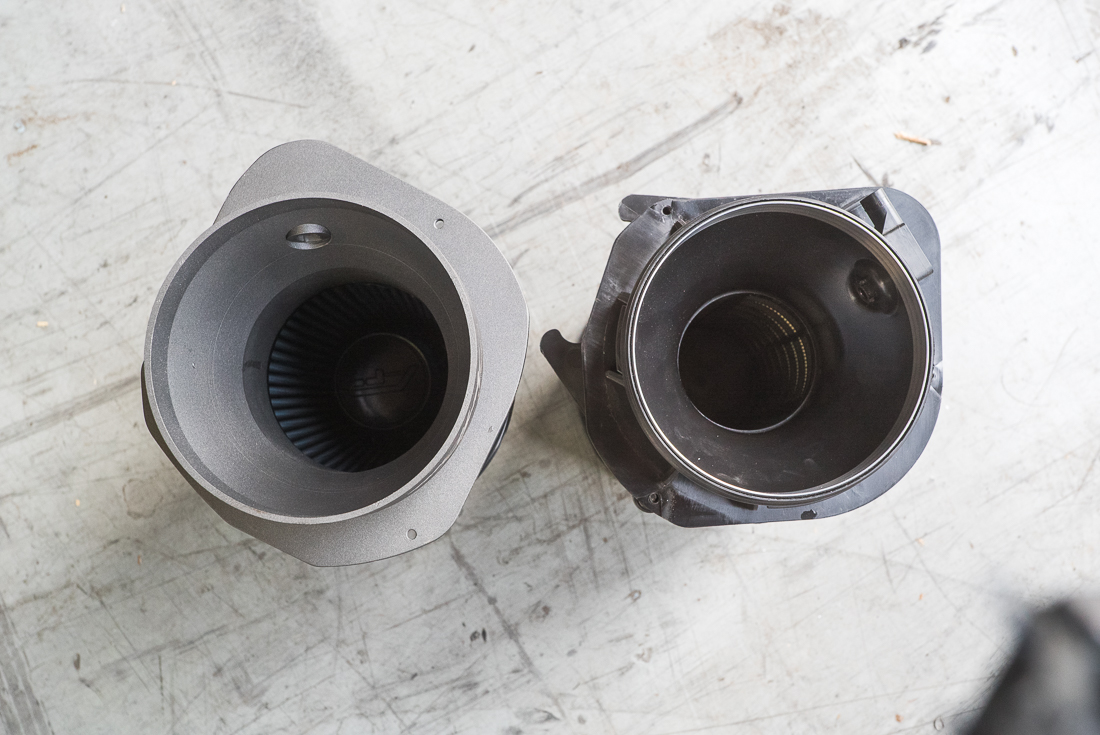
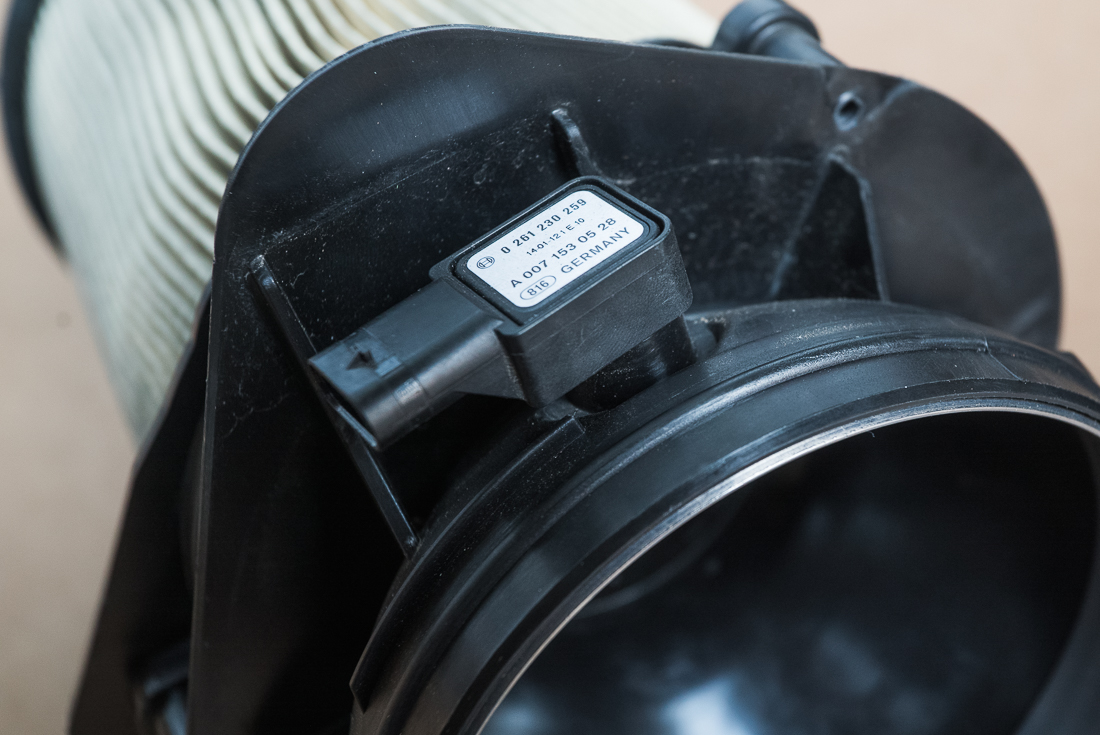
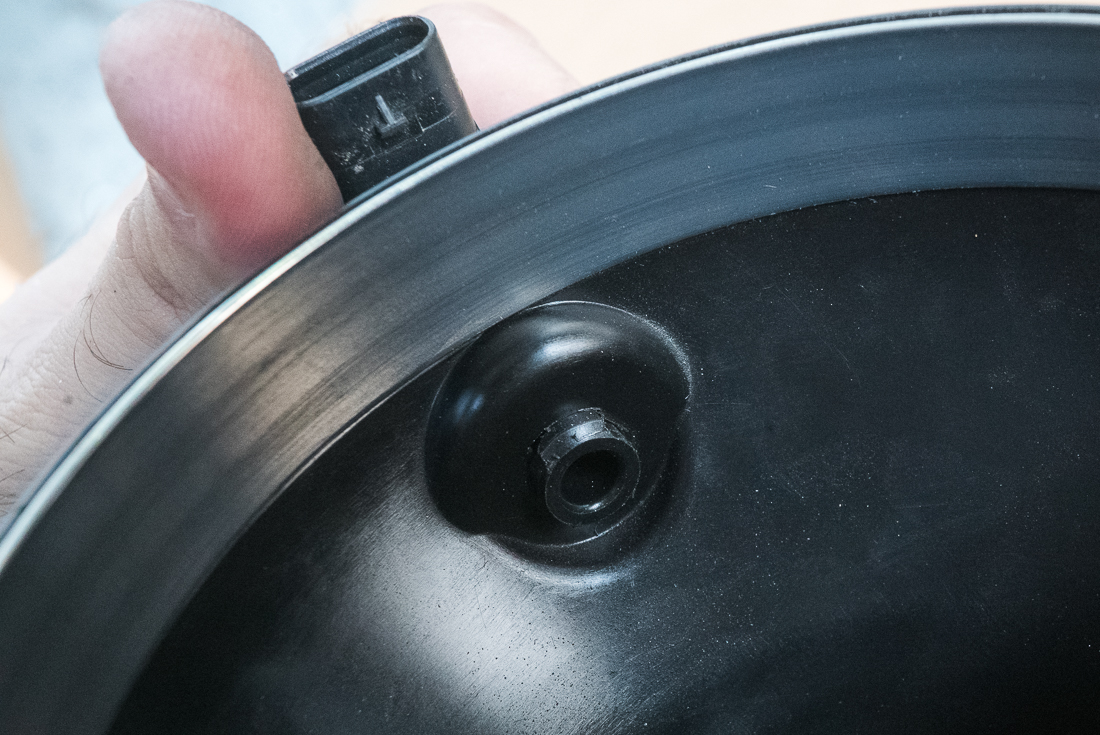
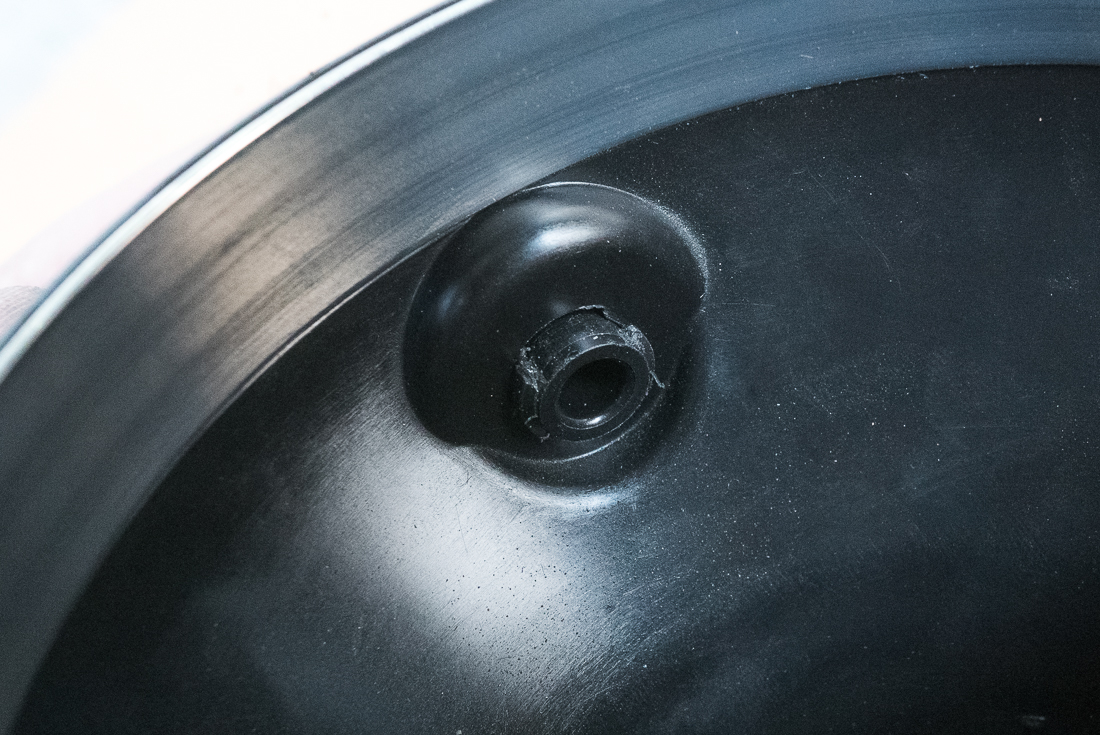
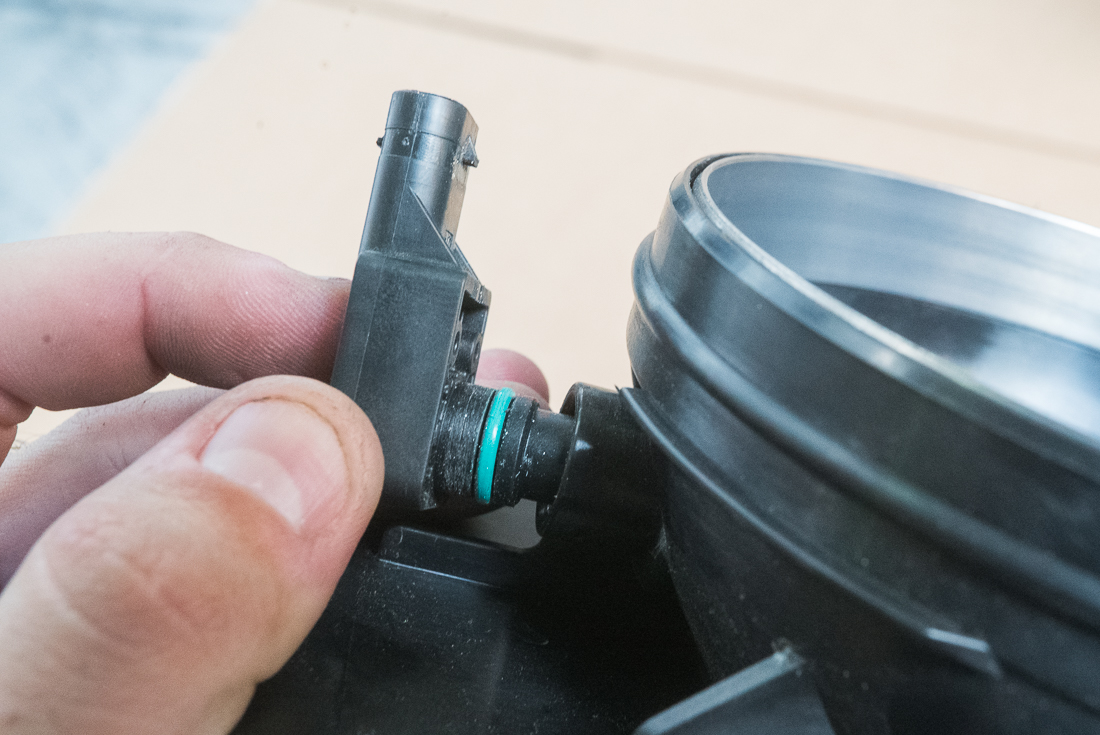
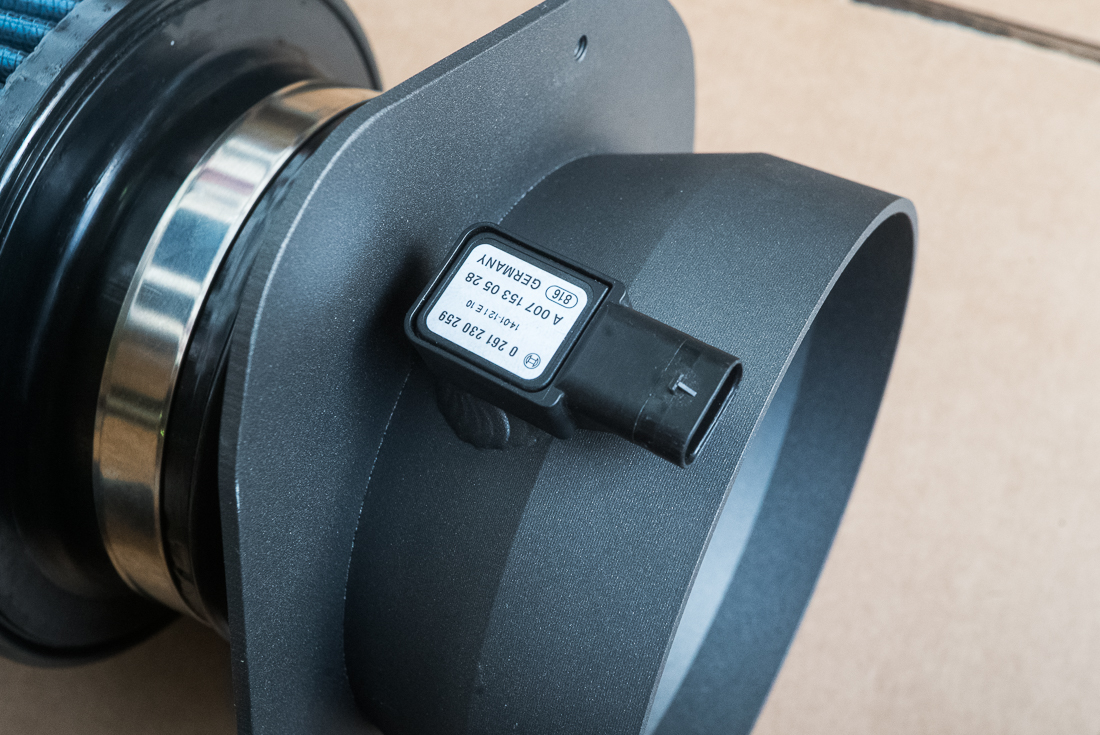
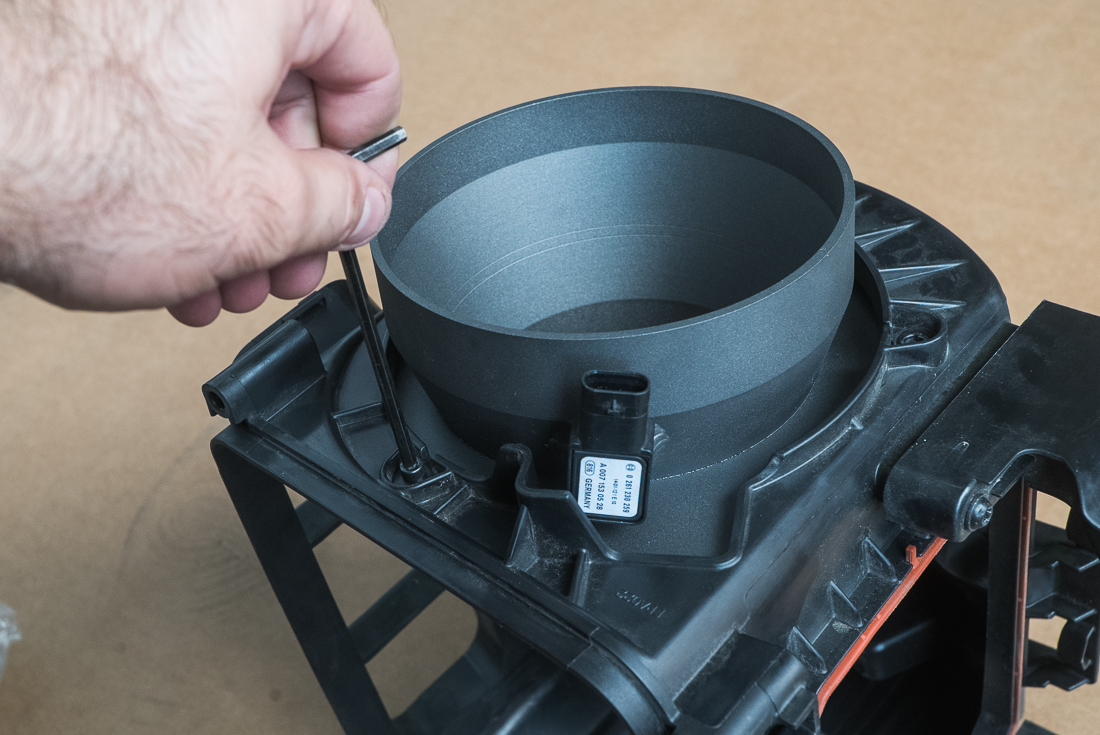
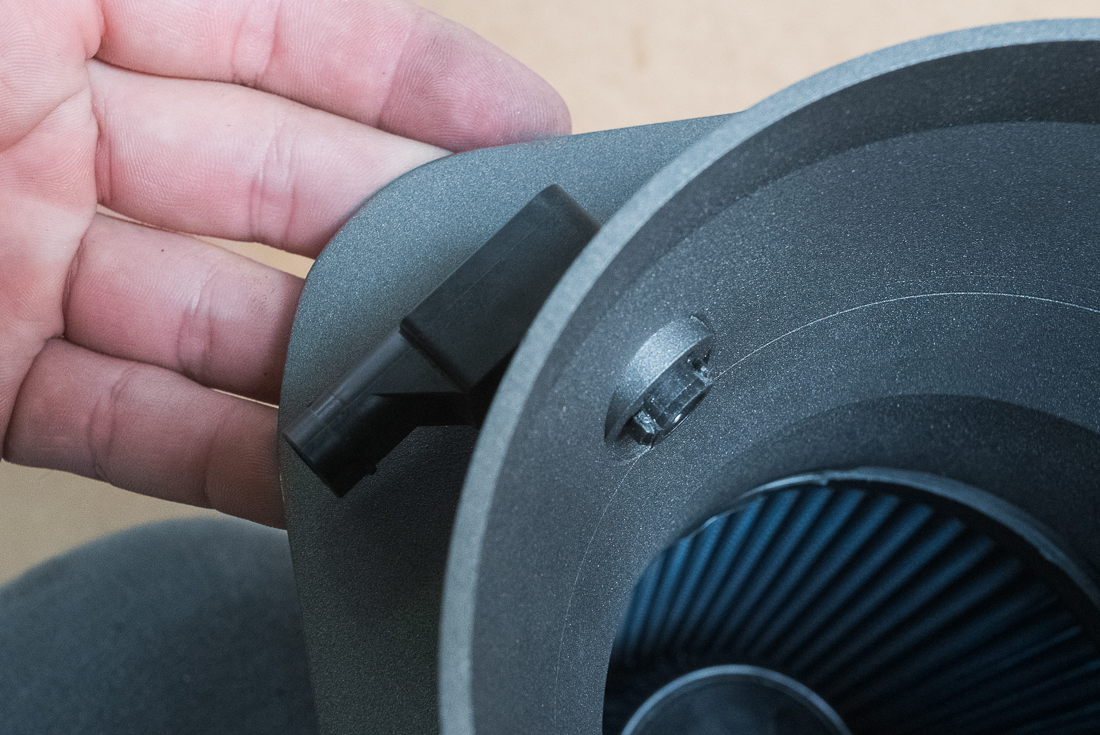
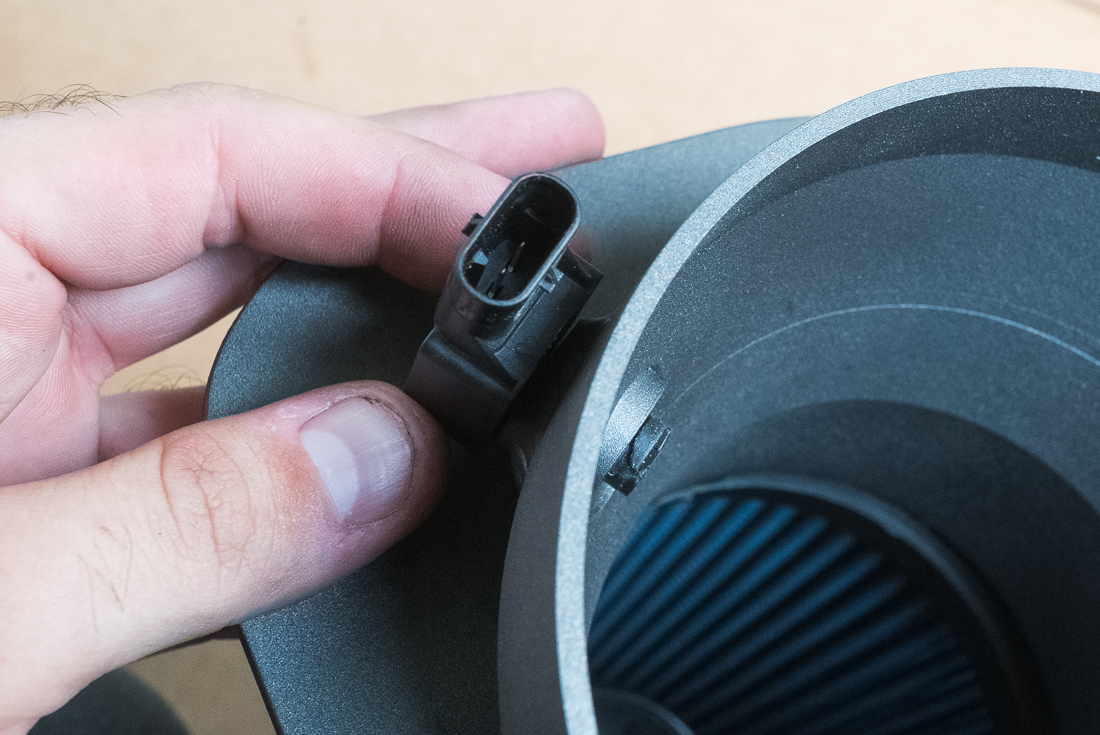
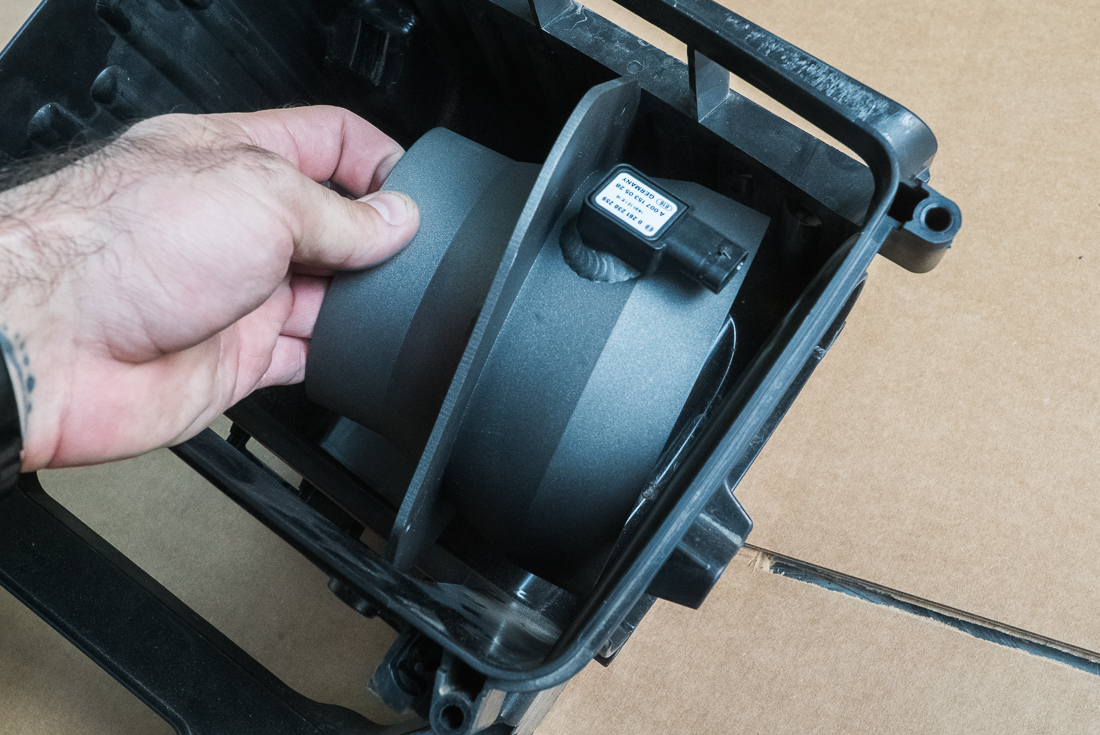
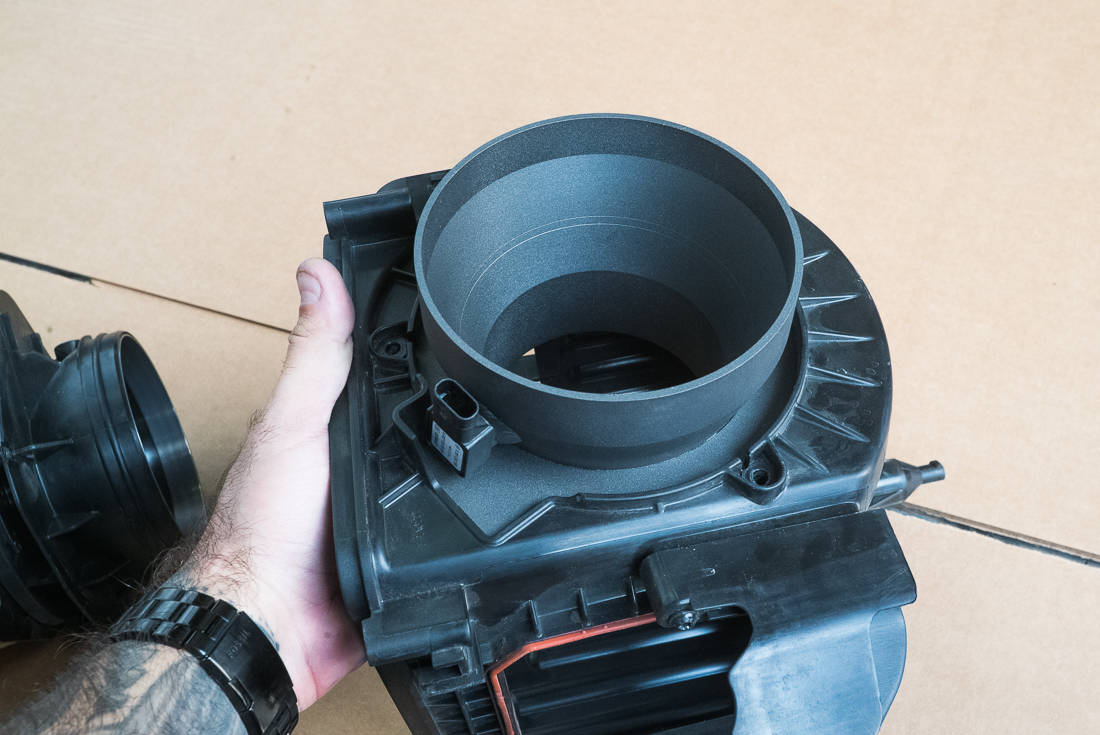
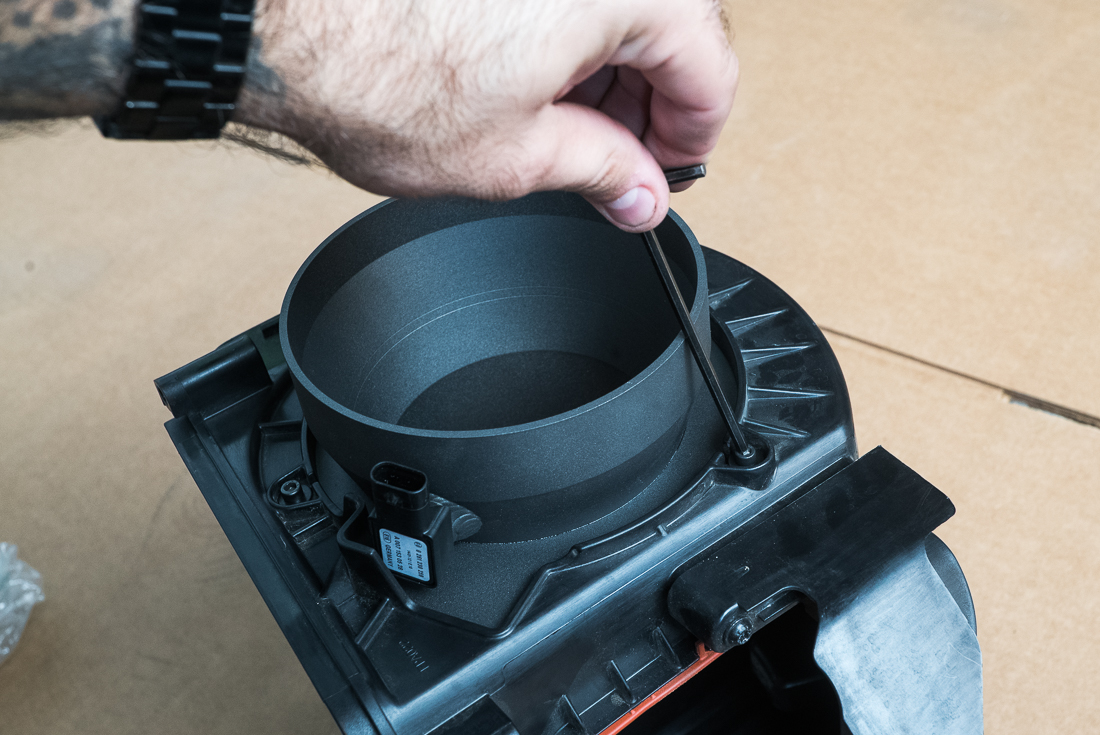
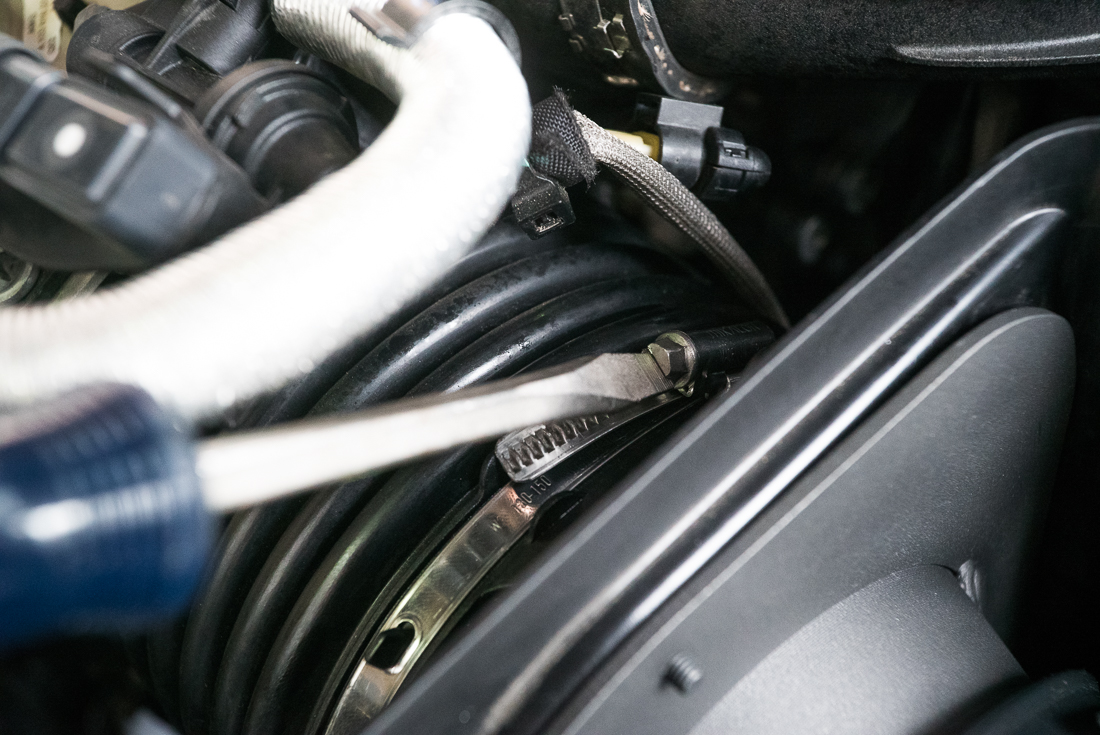
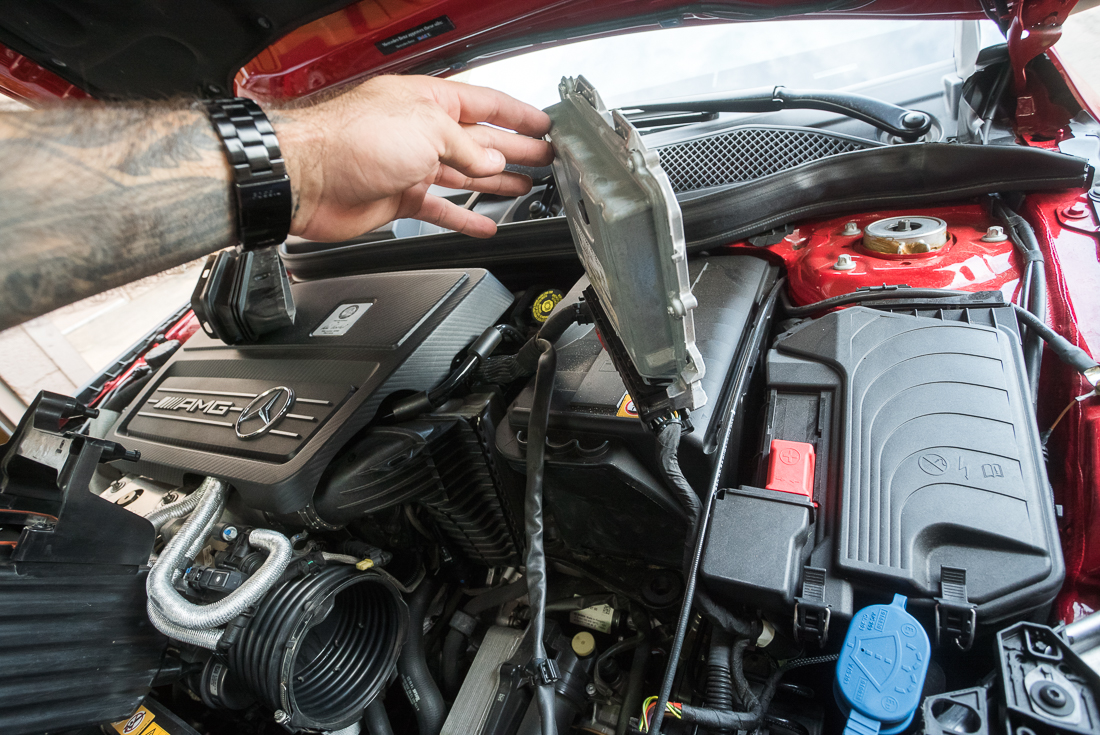
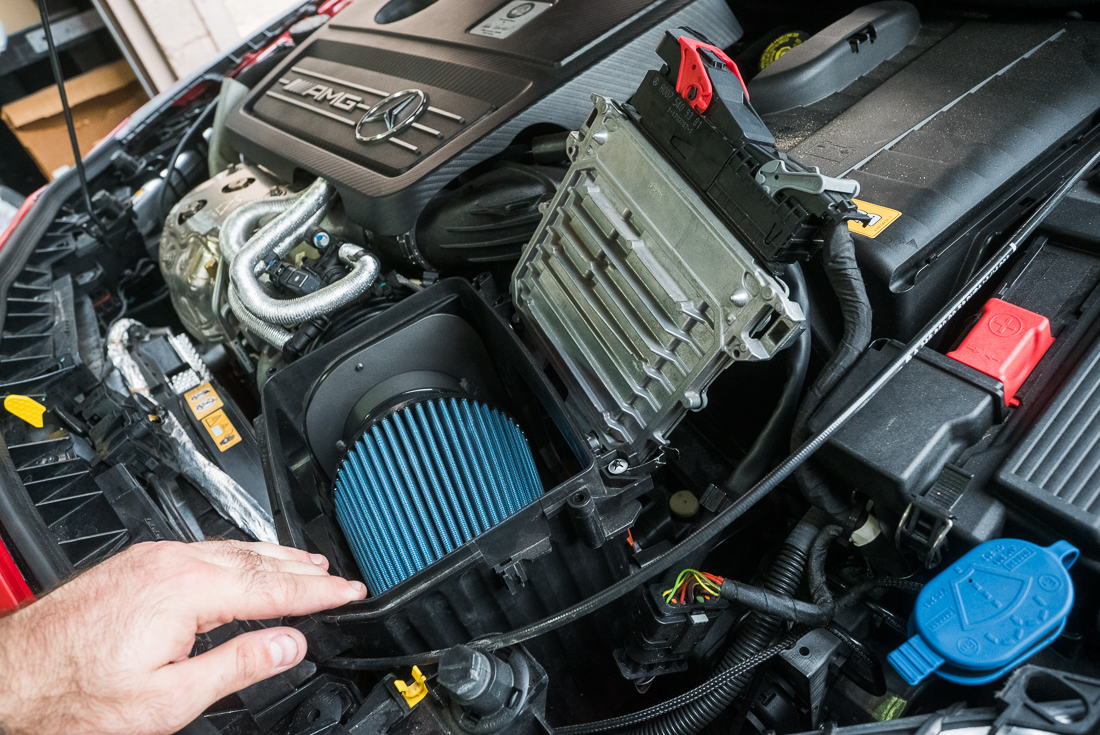
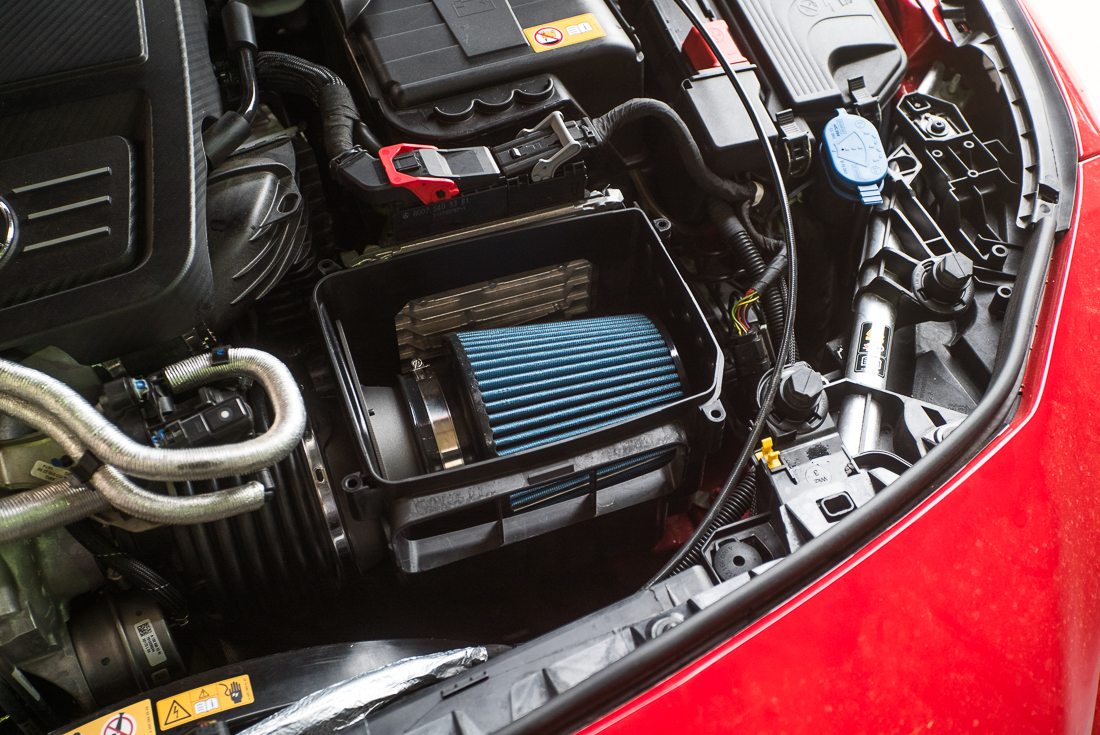
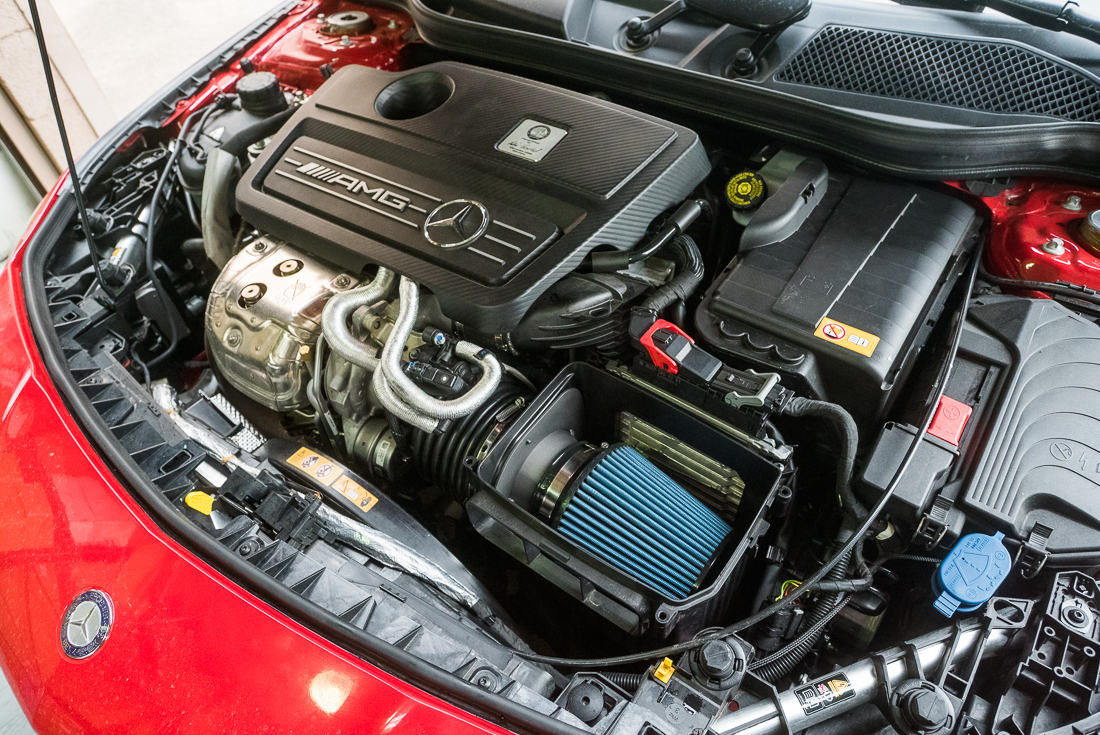
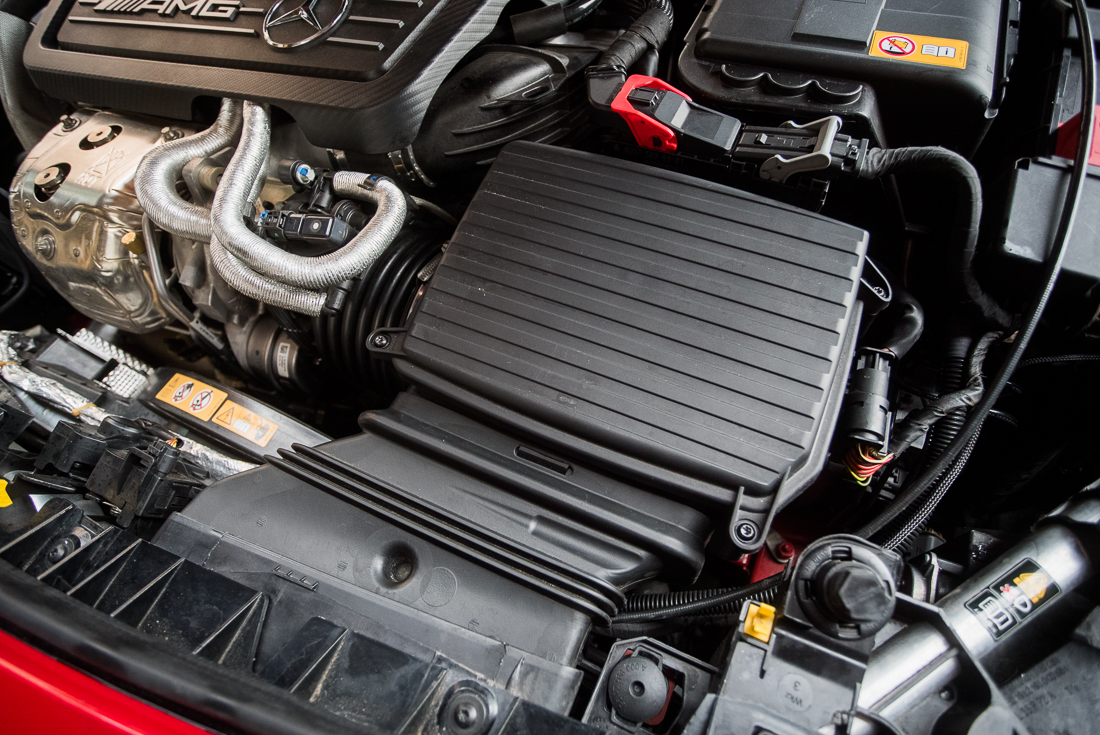
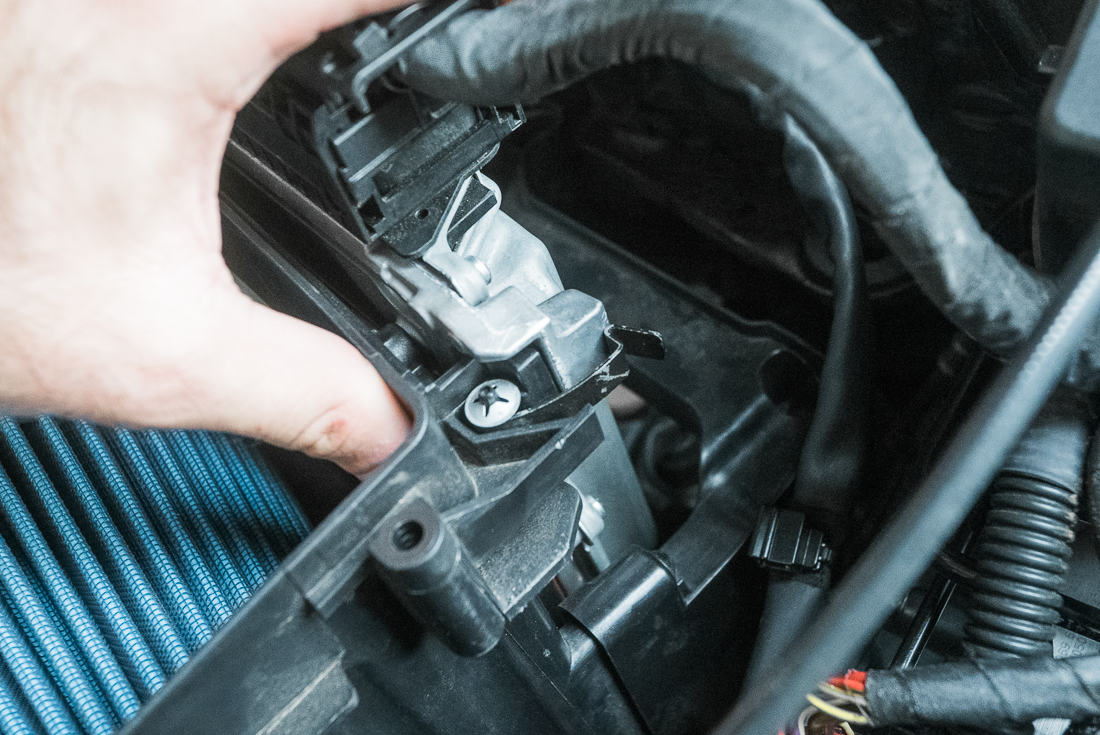
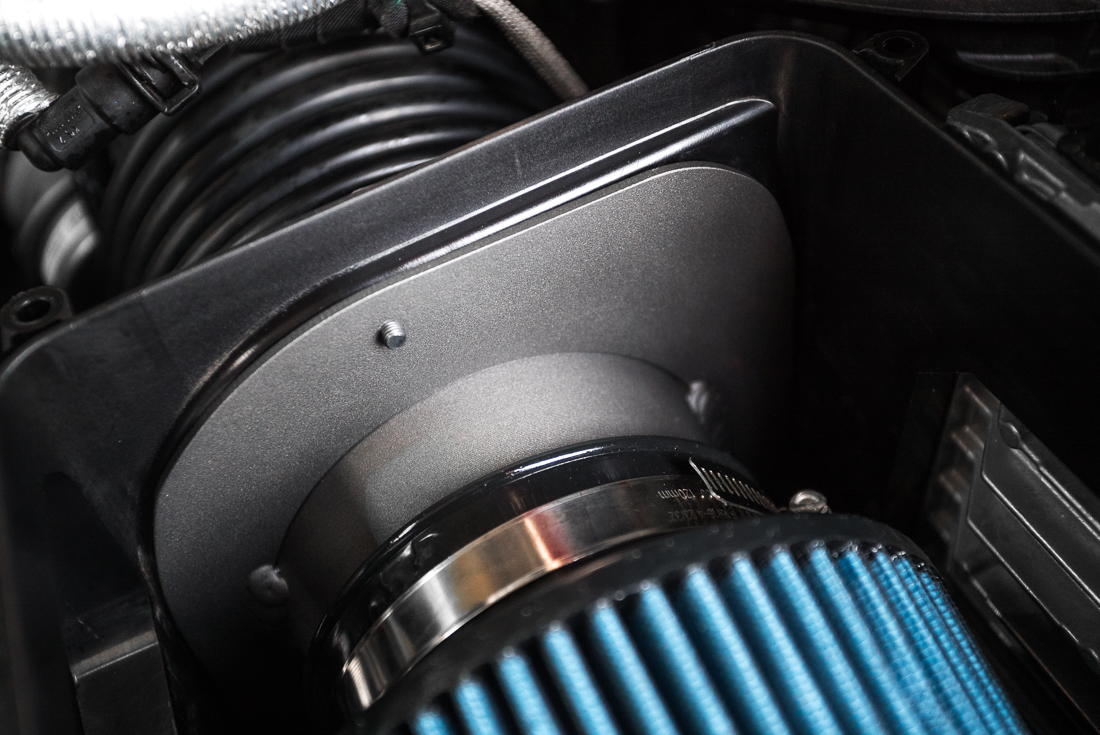
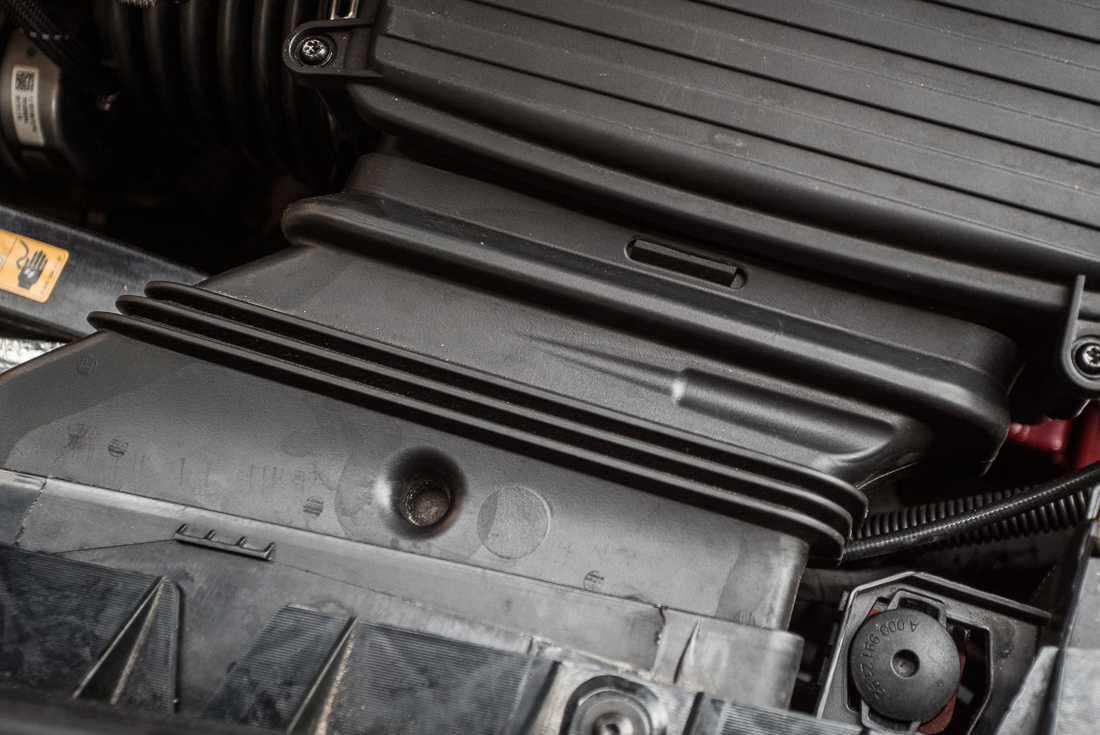
This guide is to help with the installation of the Agency Power Air Intake Kit for the Mercedes-Benz A/CLA/GLA 45AMG. The Installation requires the removal of the factory airbox. Start by opening the hood and release the two metal clips that hold the ECU to the Air box. Unplug the MAF Sensor and use a flat head screw driver or socket to remove the metal worm clamp located on rubber intake boot. Once you have everything disconnected you can life upward and remove the factory air box from the vehicle. Now that the Airbox is out of the vehicle remove the the (4x) torx screws on the lid of the airbox and remove the factory air filter. Now remove the (3x) torx screws on the side of the airbox to remove the filter housing. Twist to remove the MAF sensor and swap to the new Agency Power filter housing (Use photos below for reference) Once this is complete we are now ready to insert the new Agency Power housing and high flow filter into the factory air box. Use the new supplied to hardware to bolt. Once this is complete you can now reverse the steps to finish the installation of the Agency Power Air Intake Kit.






I have a 2016 GLA 250 and want to install the OEM AMG filter box. Not sure of all that needs to be changed or adapted. Suggestions would be helpful.
Unfortunately, this intake was not intended to fit a GLA 250. This intake will work with your car – https://www.vividracing.com/aem-induction-aem-cold-air-intake-system-mercedesbenz-20l-4cyl-p-151849268.html