How to Install Agency Power Radius Rods Polaris RZR XP 1000 | XP Turbo
Install overview of the Agency Power Radius Rods for the Polaris RZR XP 1000 & XP Turbo.
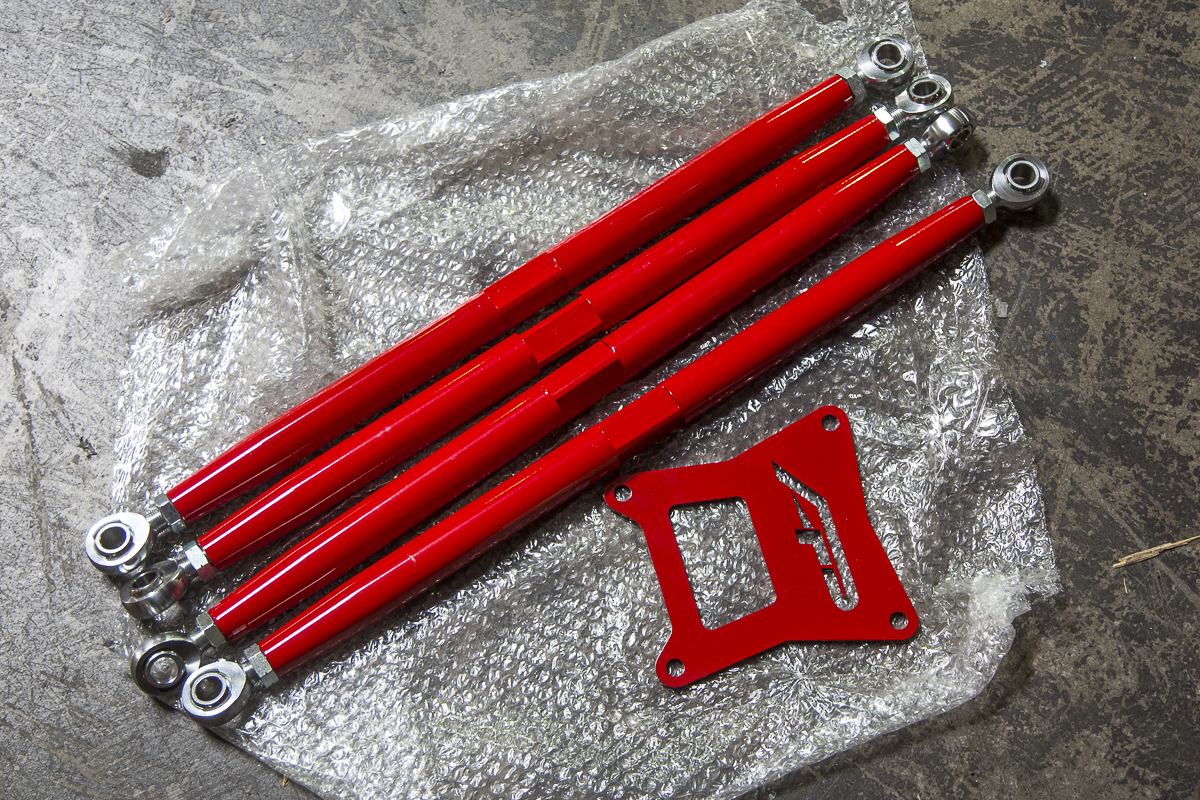 Step 1) Before getting started, jack up the rear of the RZR and secure with jack stands. Remove both rear wheels to make the installation easier.
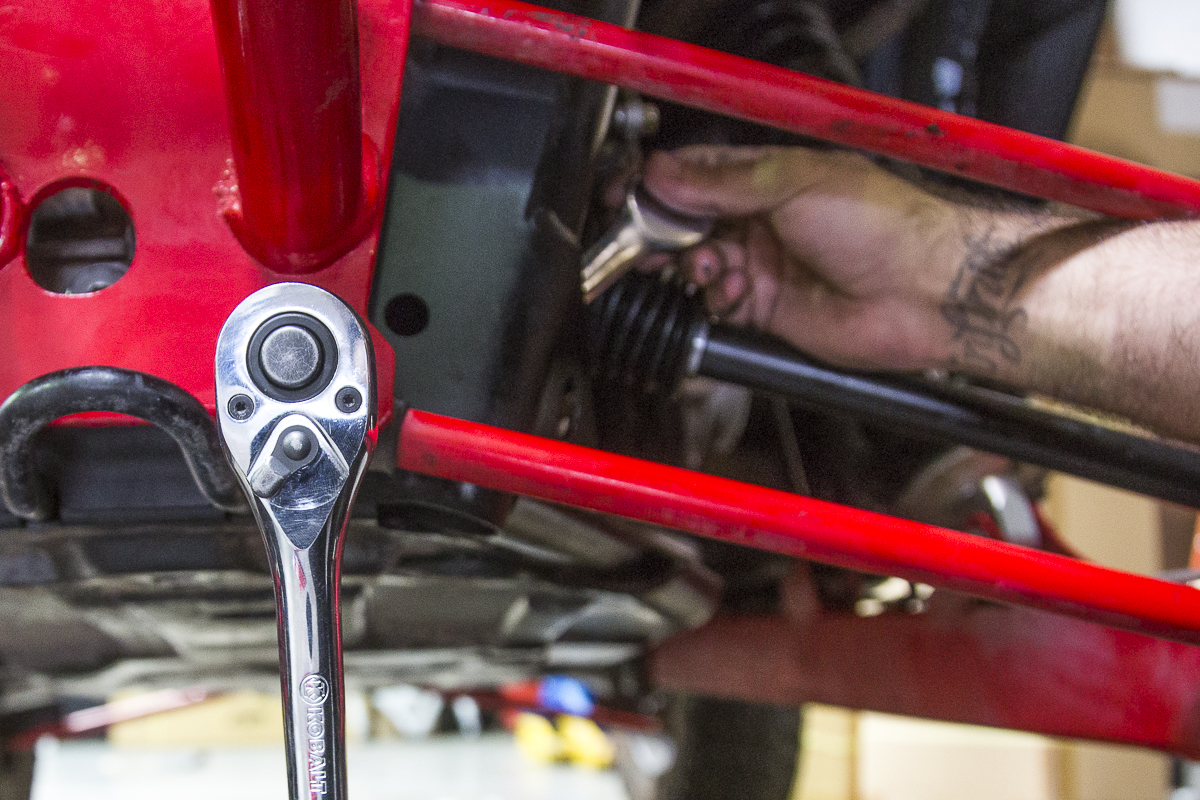
Step 2) Loosen and remove the four bolts located at the rear radius rod plate. You will need to use an open ended wrench to hold the nut on the inside from spinning.
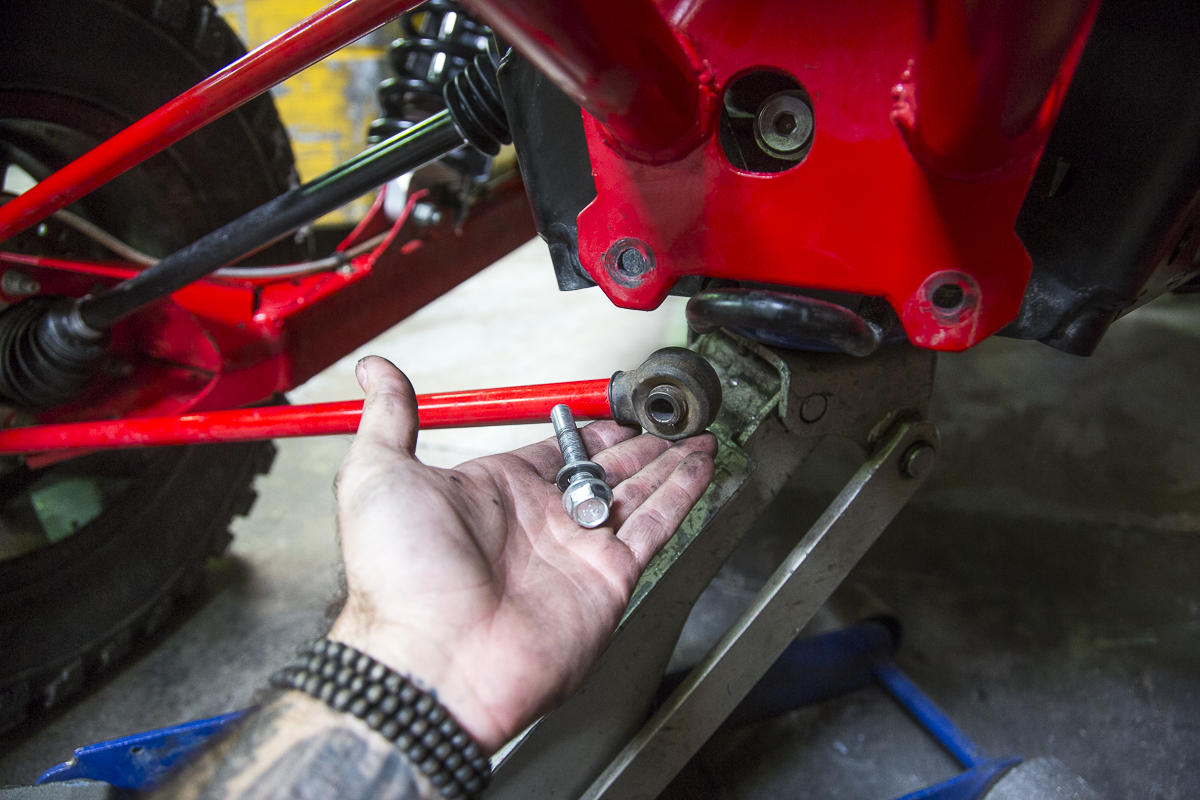 Step 3) Next remove the four bolts securing the radius rods to the rear wheel hub. Remove the radius rods from the vehicle.
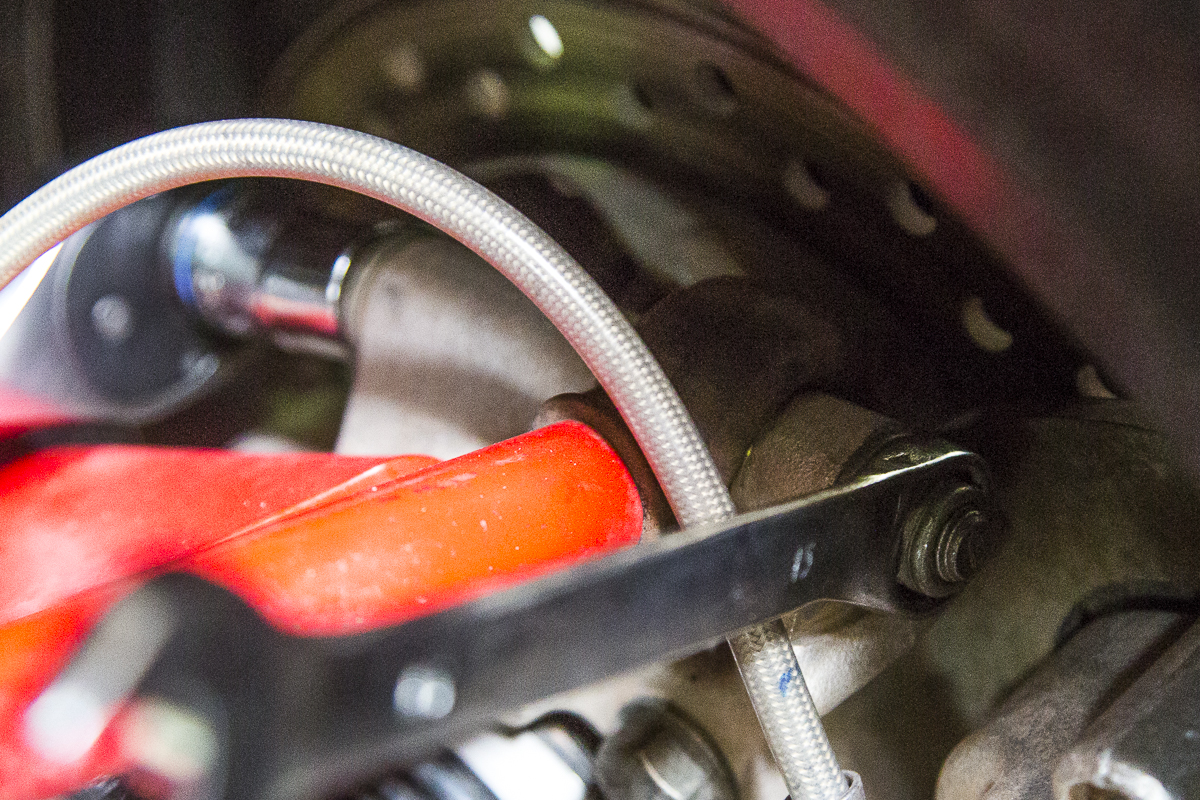
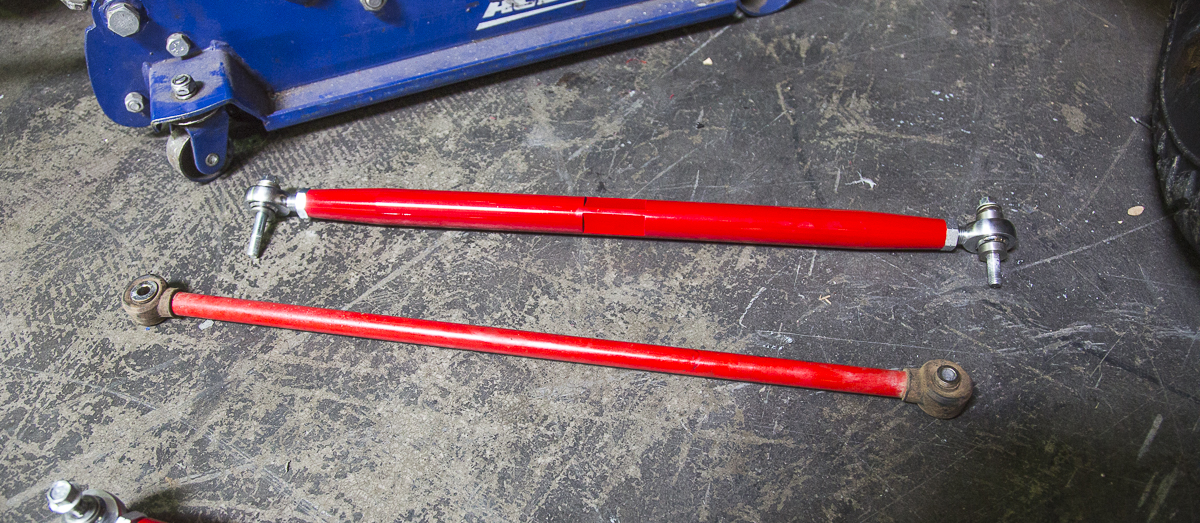
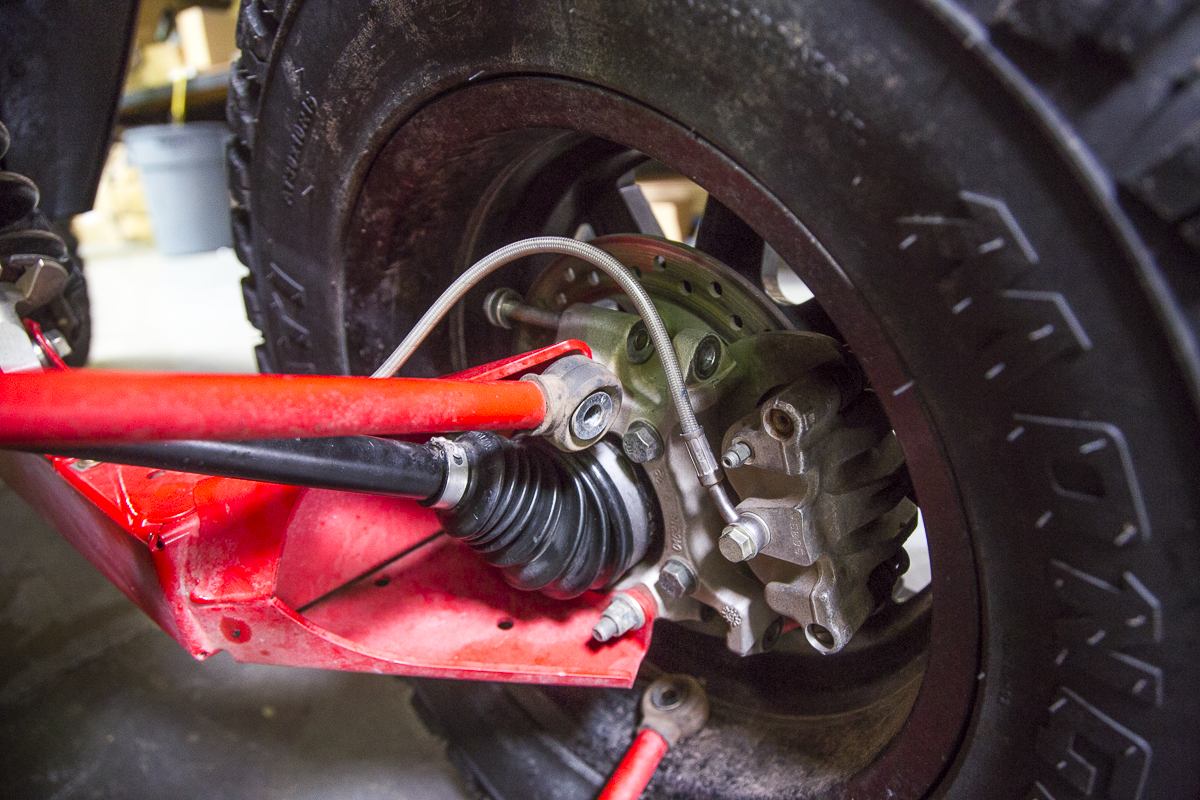 Step 4) Before installing the new Agency Power Radius Rods make sure they are set to factory specifications. An easy way to do this is to use a factory radius rods and match them up to new Agency Power Radius Rods. To ensure they are spot on, insert the Stainless Steel misalignment spacers into the both ends of the heims and use two bolts to match up the arms as shown in the images below. Repeat this procedure for each of the radius rods before installing.
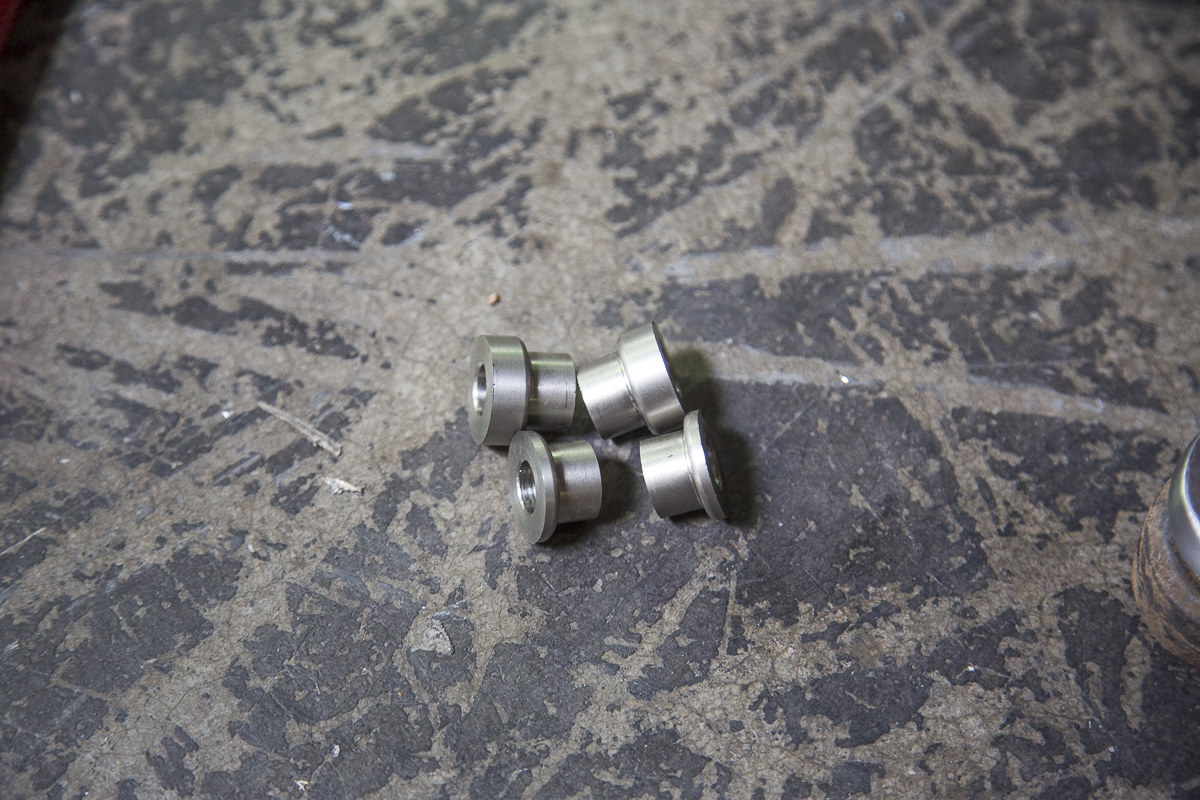
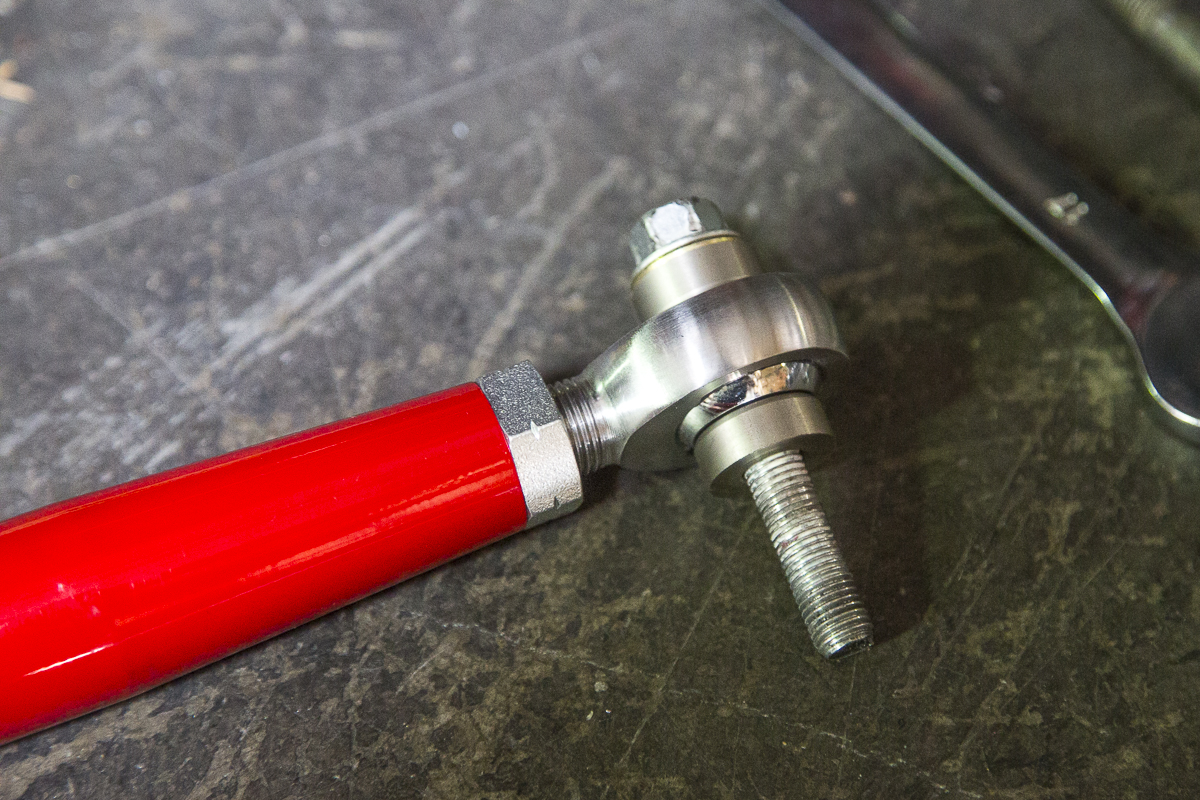
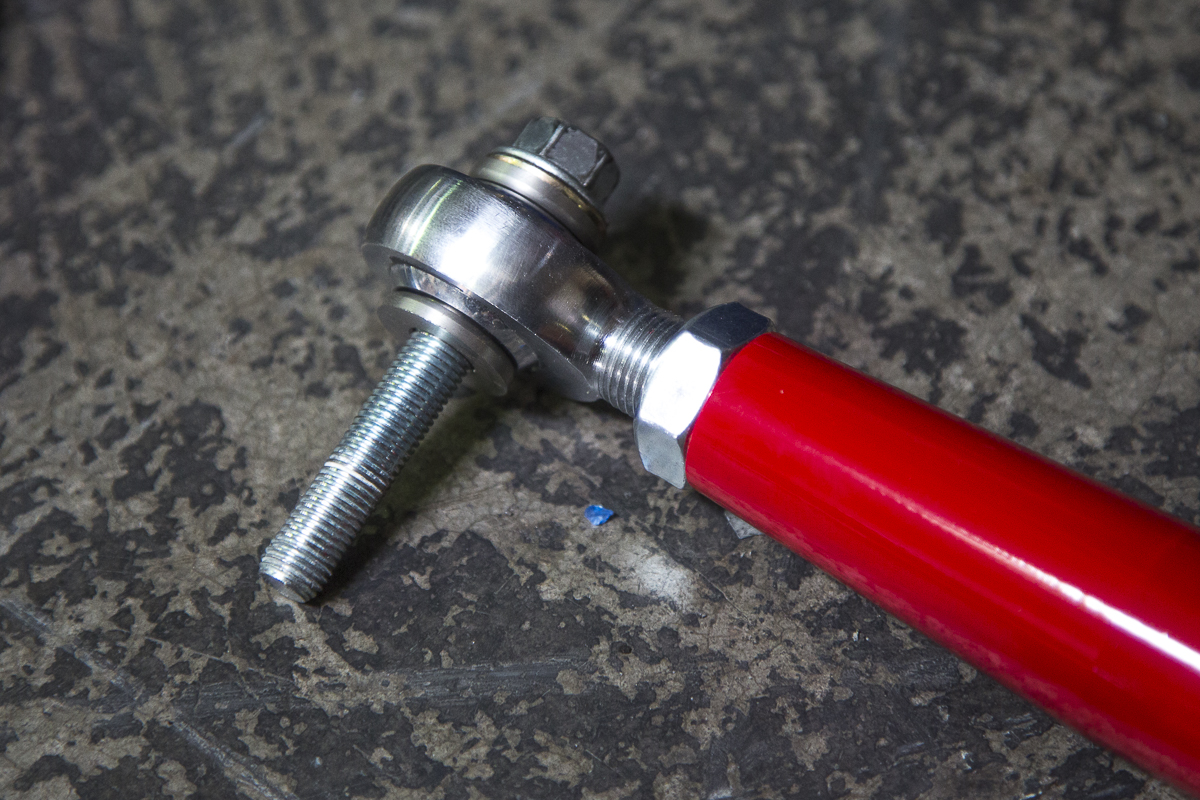
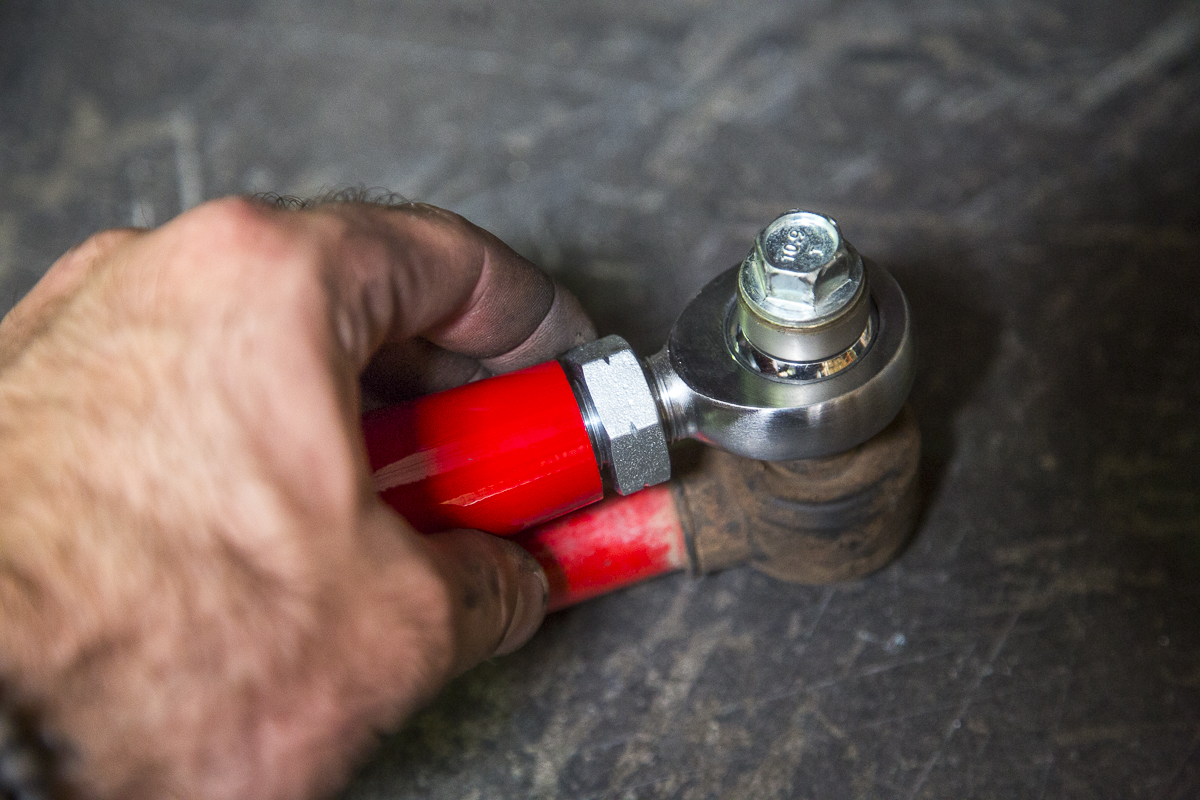
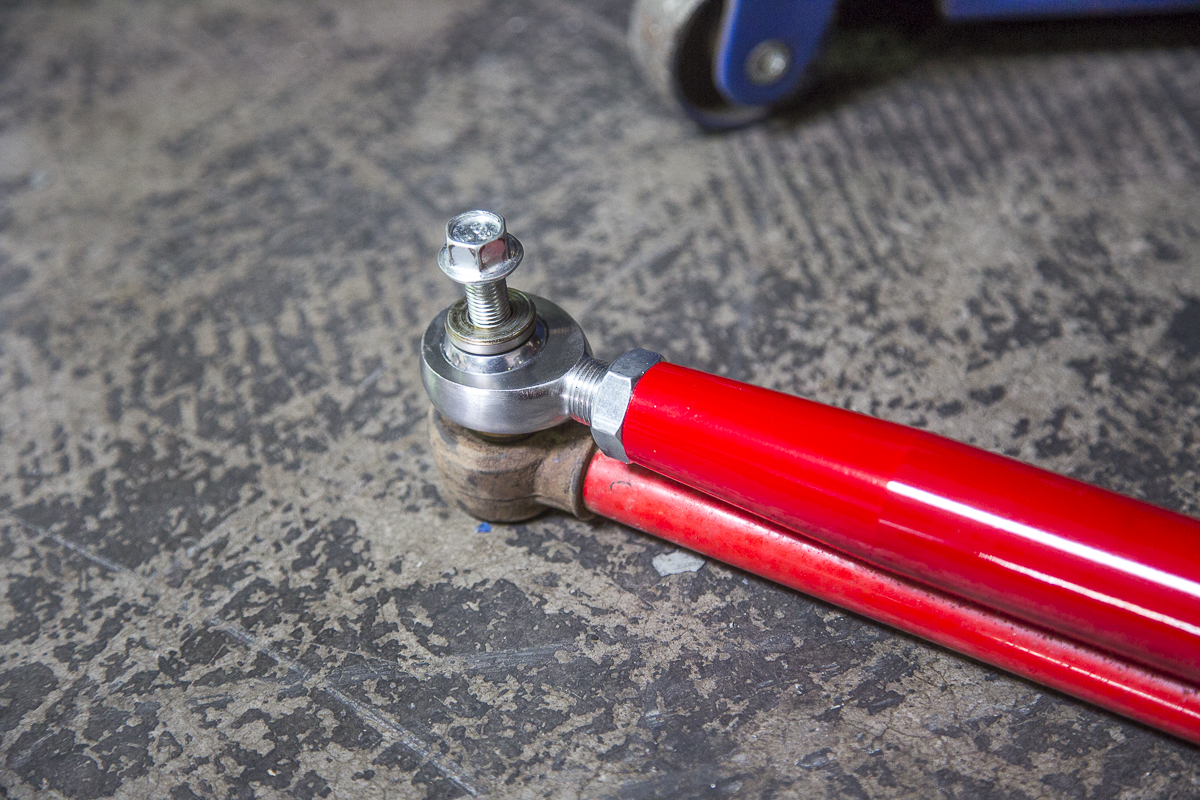 Step 5) Insert the misalignment into each end of the heim. The Heim attaching to the wheel hub assembly use the shorter misalignment spacers and the heims attaching to the radius rod plate (center of rzr) use the taller misalignment spacers.
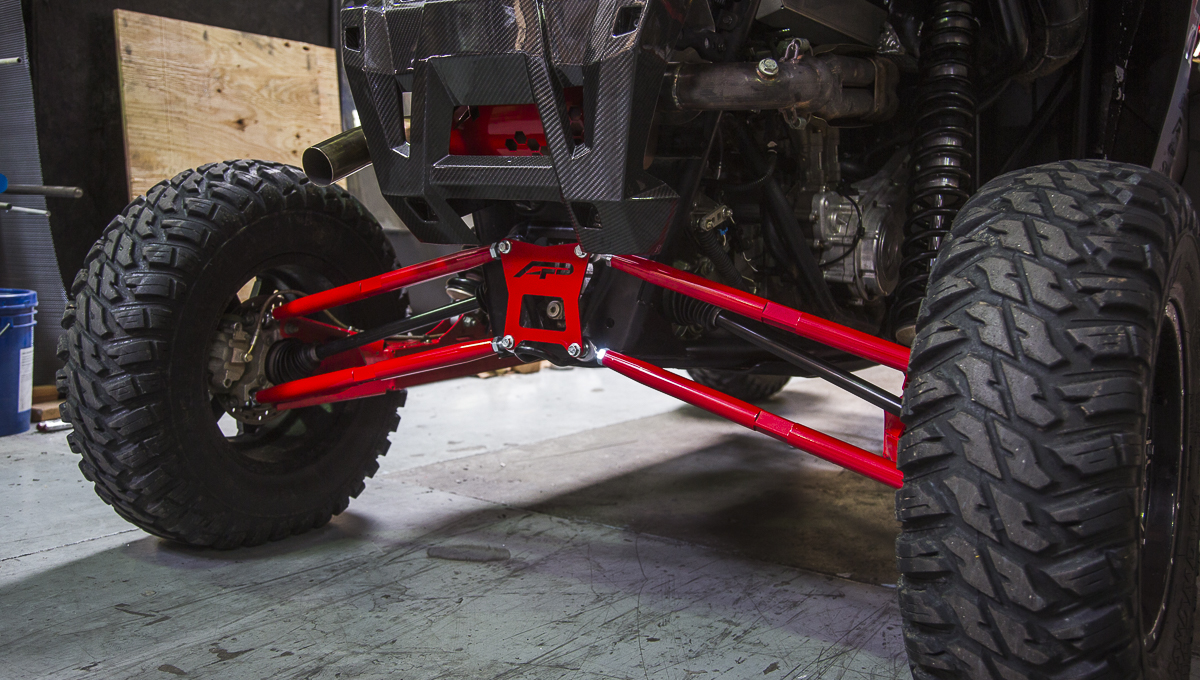
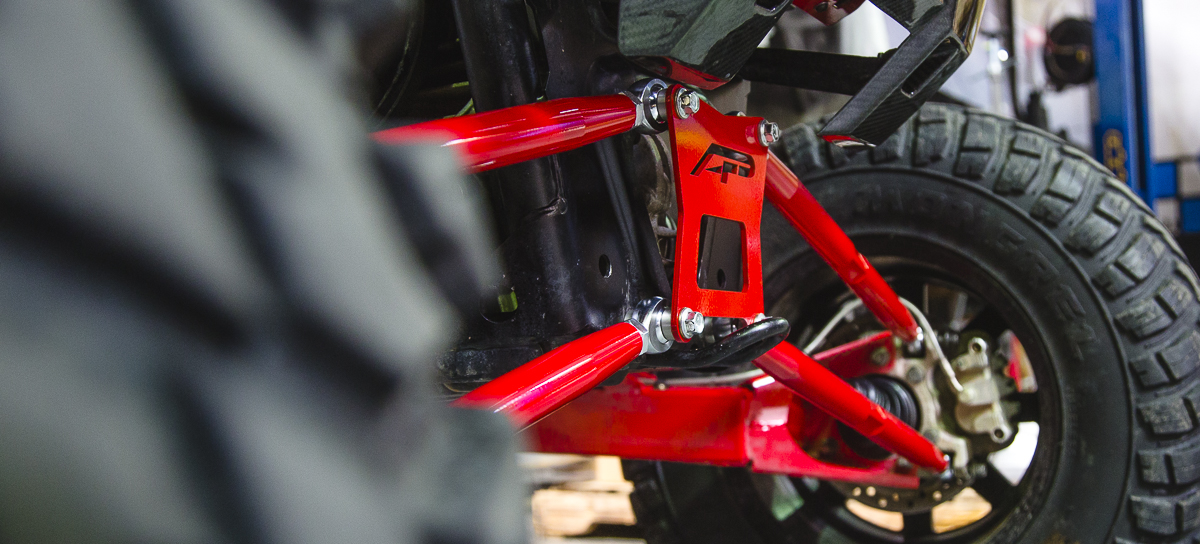
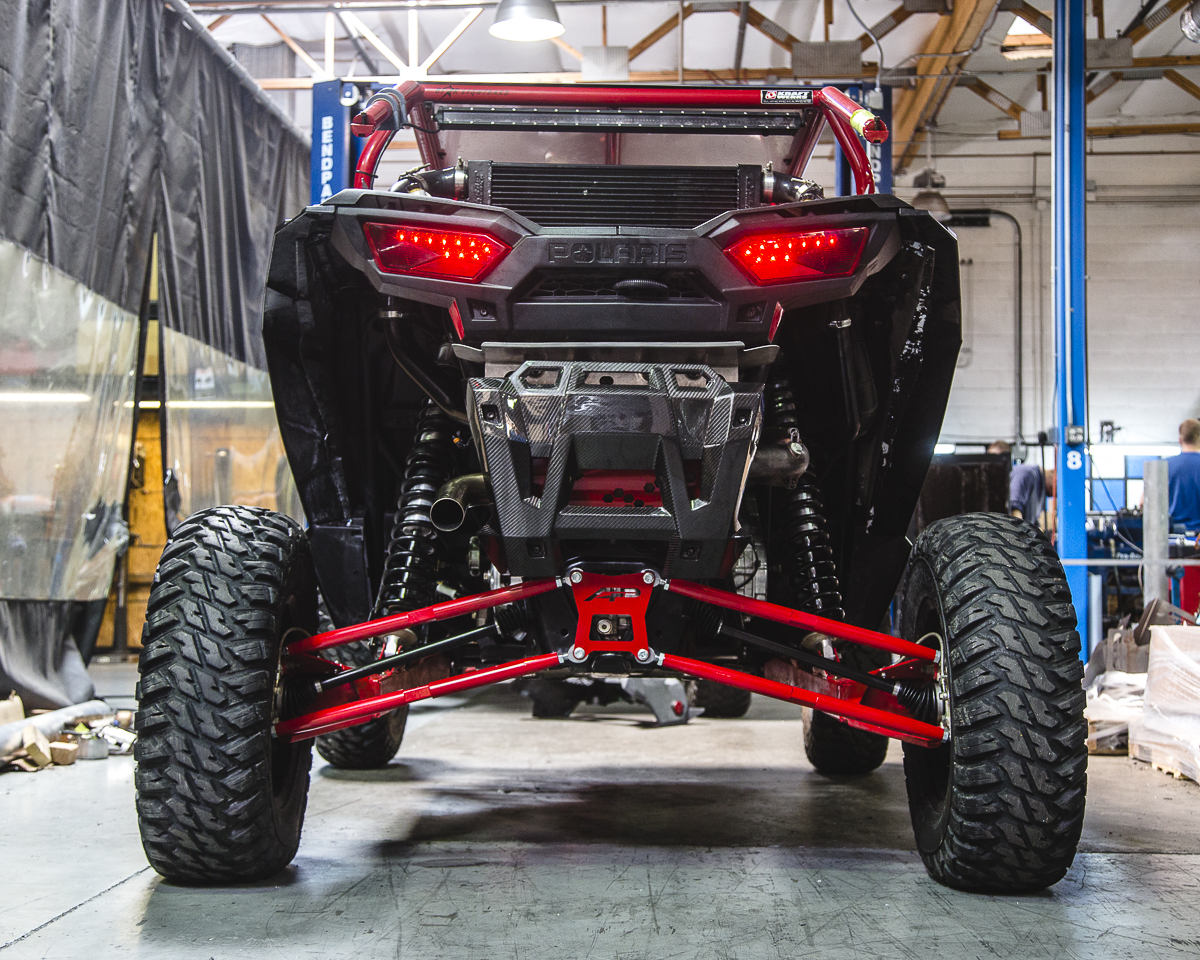
Step 6) Insert the Radius Rods into the wheel hub assembly and slide the bolts through to hold them in place. Next attach the new Agency Power Radius Rod Plate by sliding the hardware through the plate to secure the radius rods.
NOTE: If your Polaris RZR is already equipped with an aftermarket bumper or custom cage that integrates into the radius rod plate you will not need to use the supplied Agency Power Radius Rod Plate for installation)
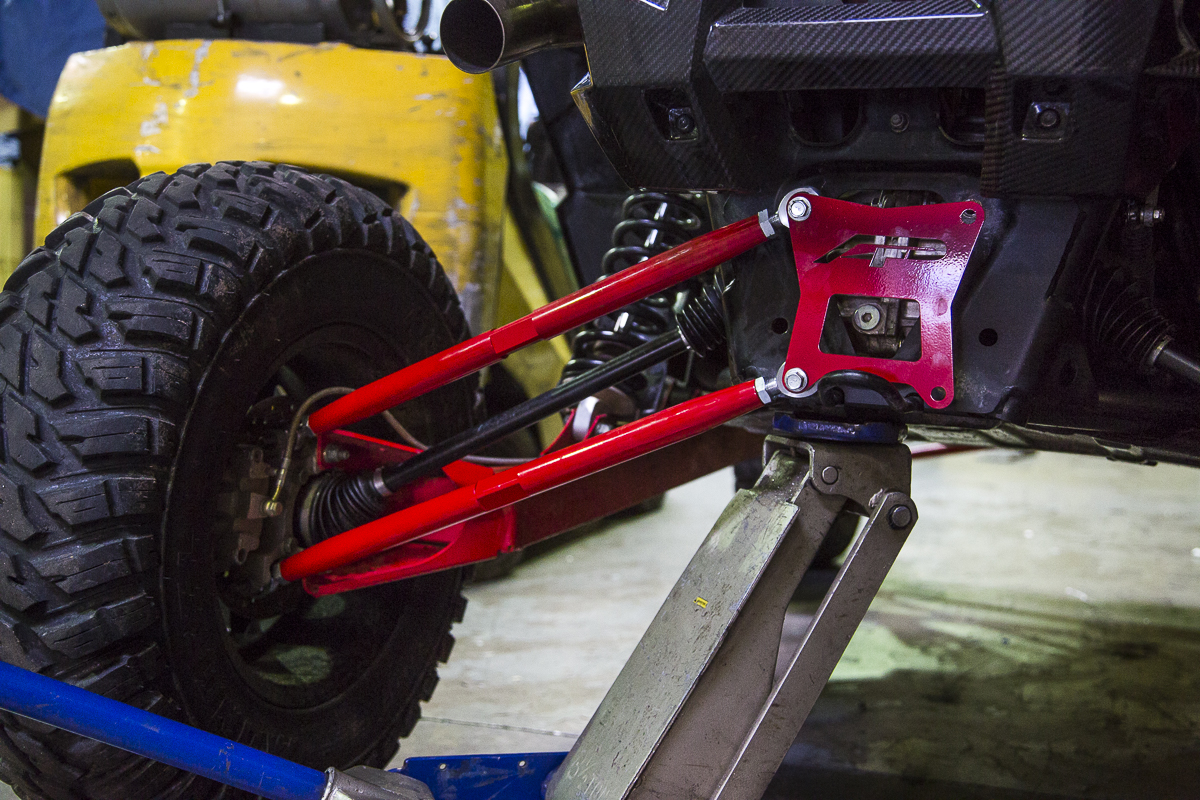
Step 7) Once the Radius Rods are installed, all of the hardware including the jam nuts can be tightened.


