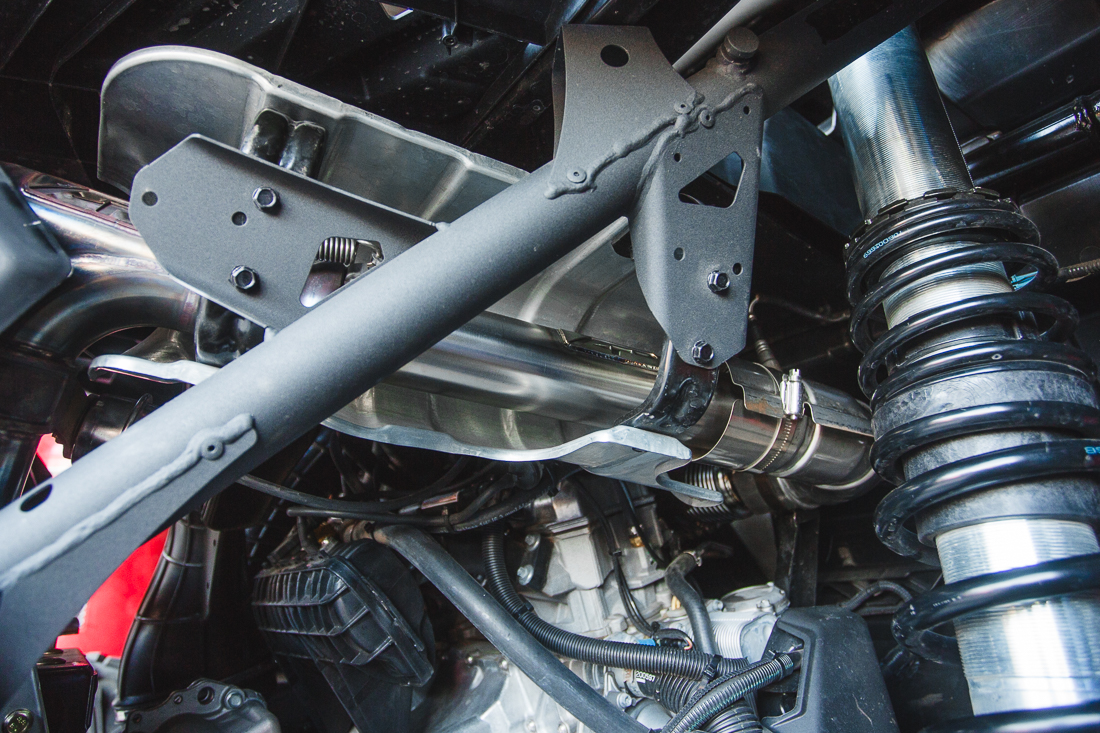
How to Install Agency Power Race Pipe Can-Am Maverick X3 Turbo
How to Install Agency Power Race Pipe on the Can-Am Maverick X3 Turbo
This guide is to assist with the installation of the Agency Power Race Pipe on the Can-Am Maverick X3 Turbo.
Estimated Installation time: 30-60 minutes
Recommended Tools for Installation:
- 3/8 or 1/4 ratcheting wrench with extensions
- 8mm socket
- 10mm socket
- 11mm Deep socket
- 22mm wrench
- Large/medium flat head screw driver or pry bar (needed to remove the v-band)
- Small flat head screw driver
- Exhaust spring puller or similar hook tool (needed to remove exhaust springs)
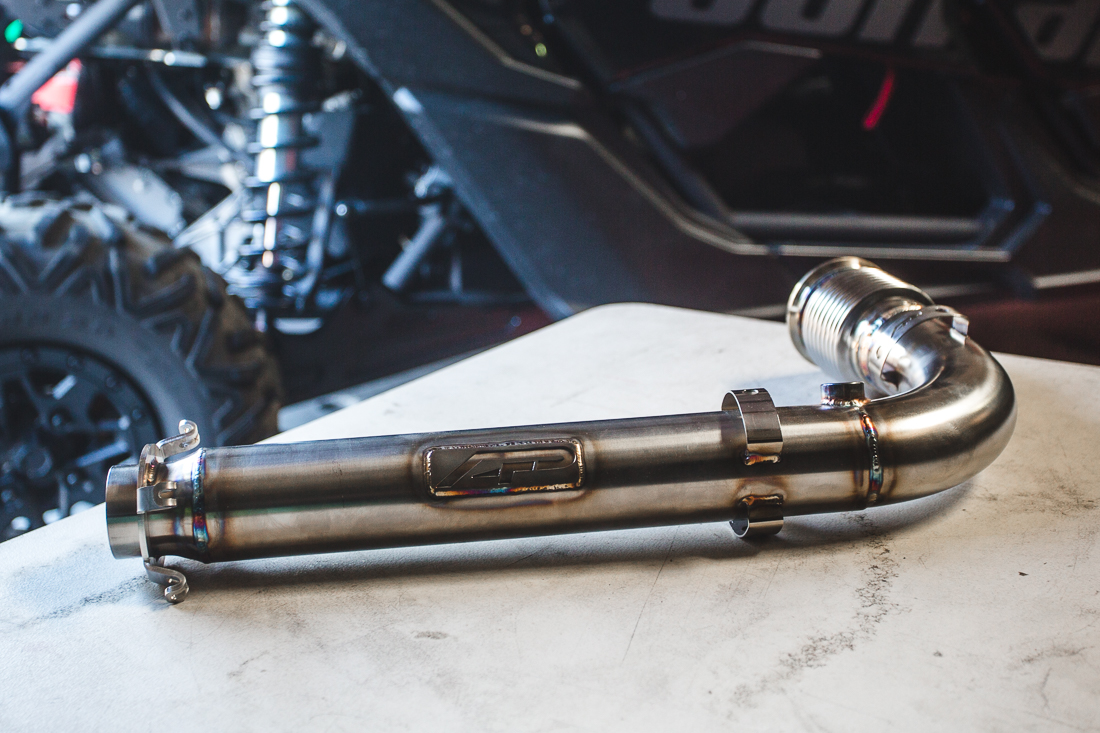
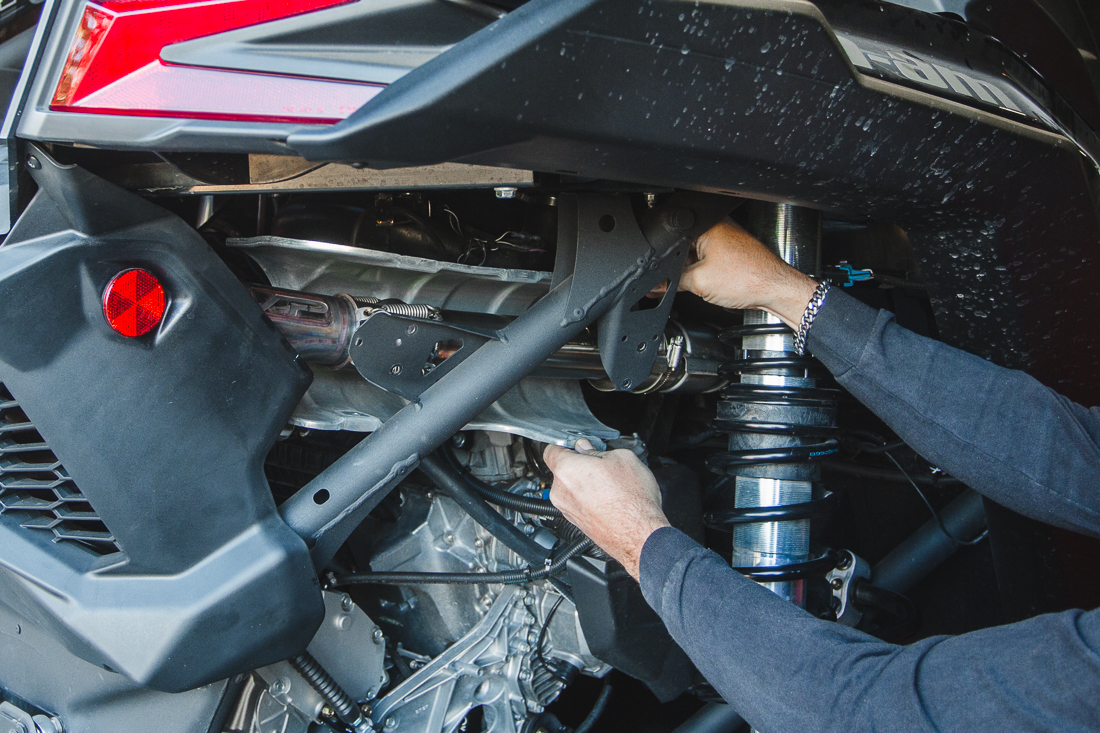
Step 1: Remove the heat shield by removing the (x10) 10mm Bolts.
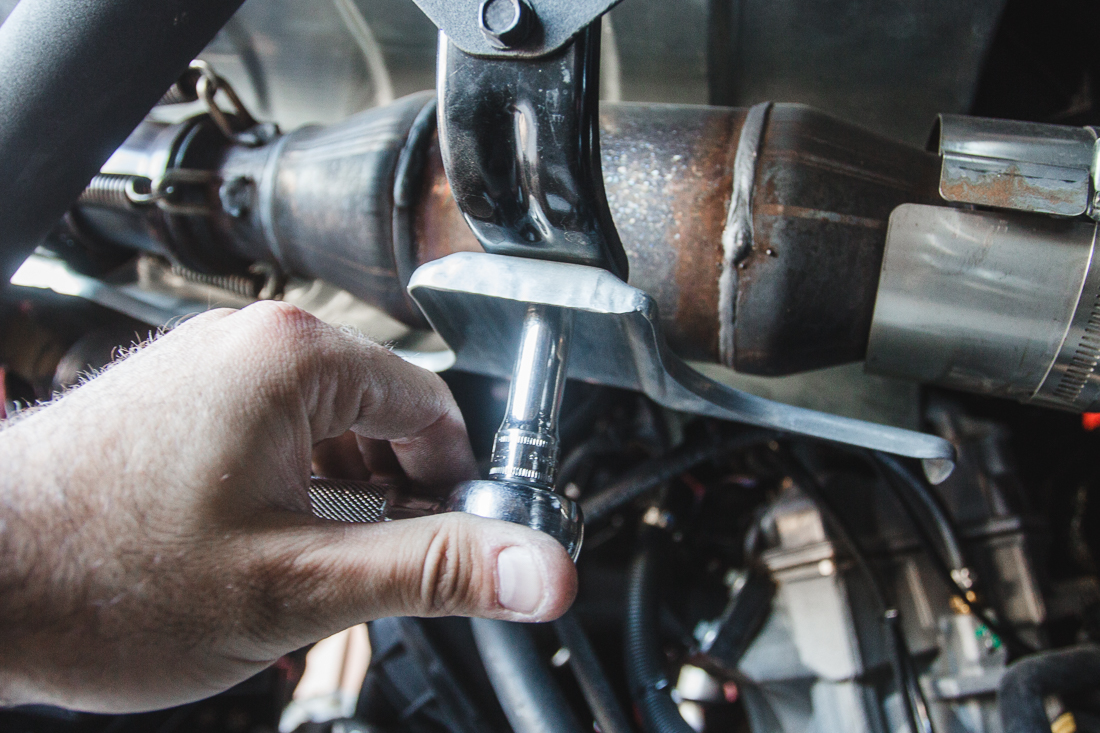
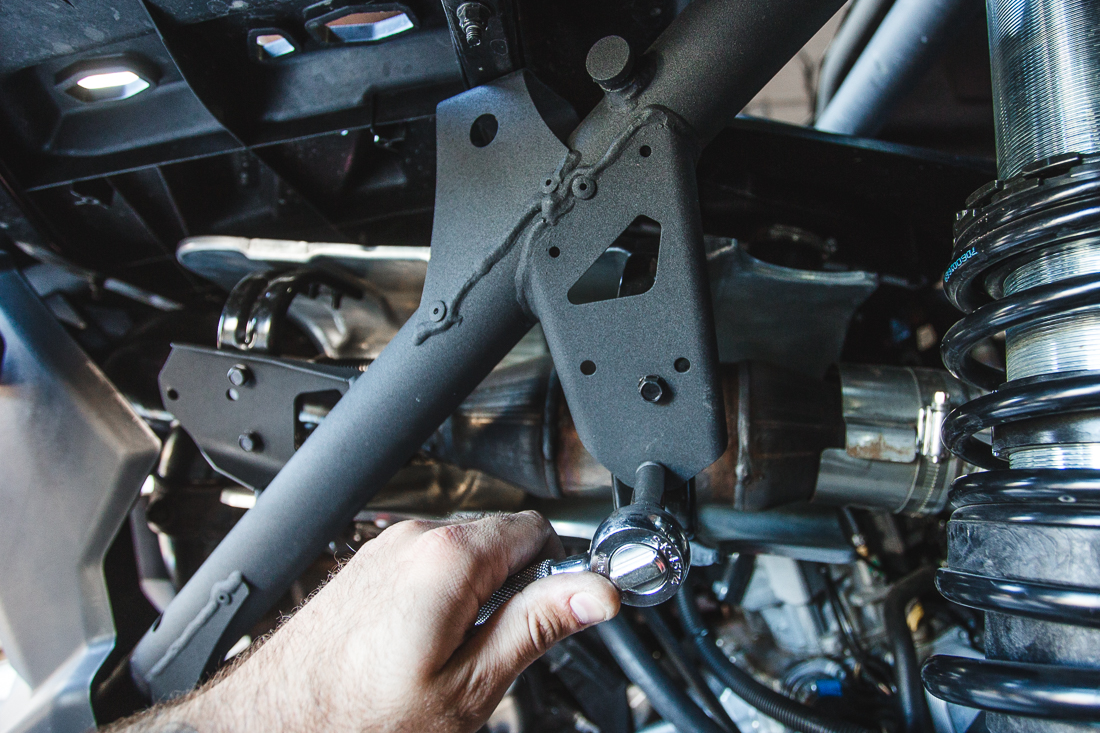
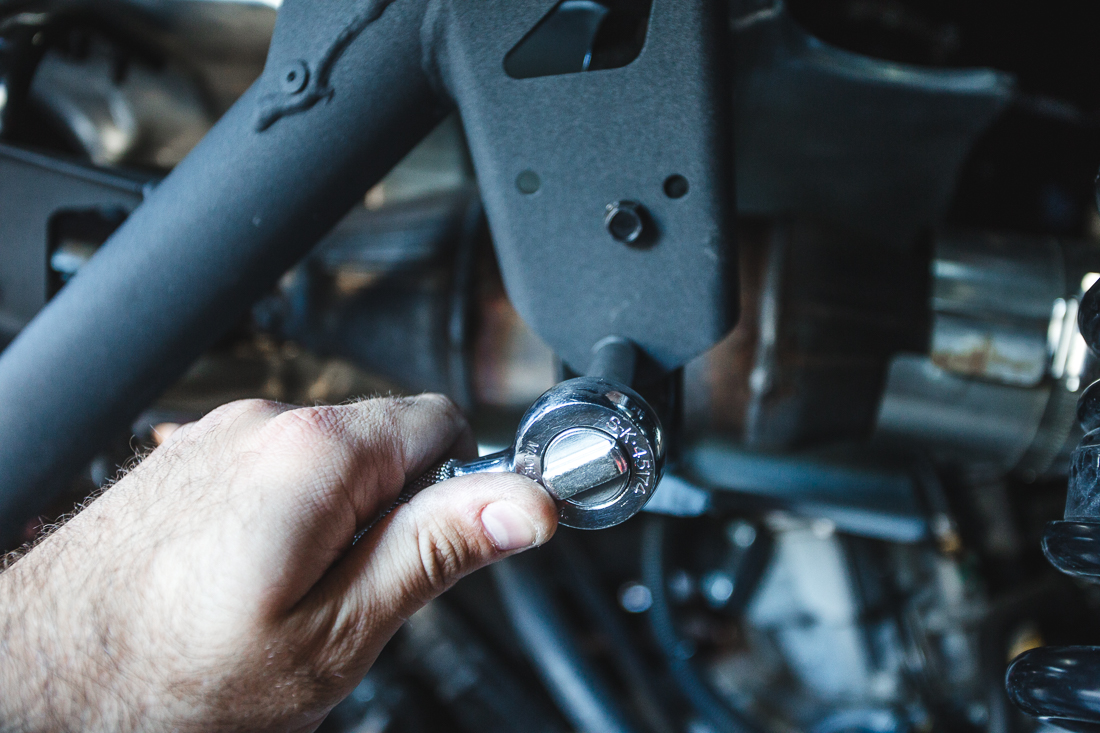
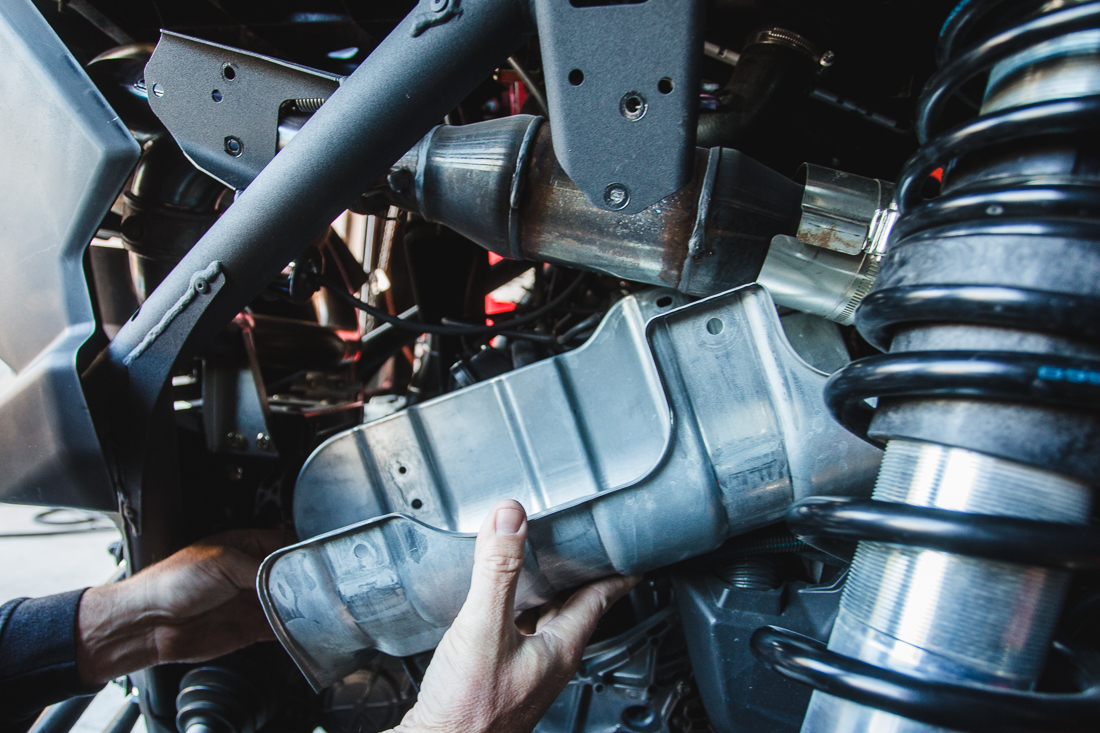
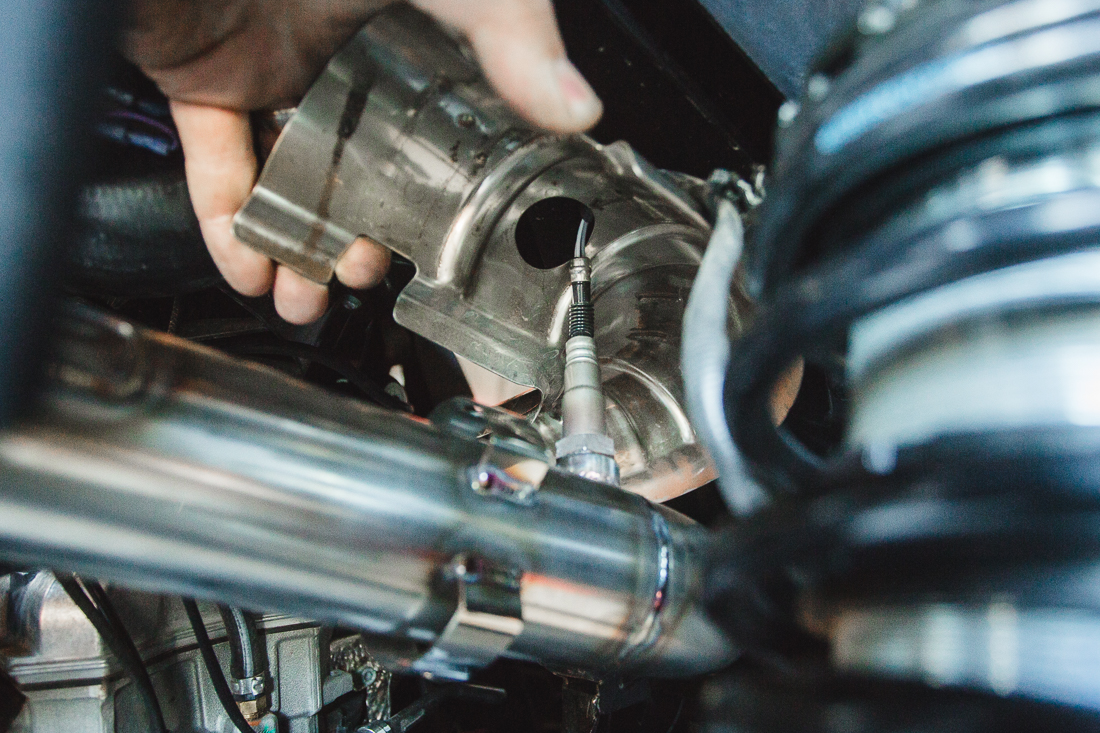
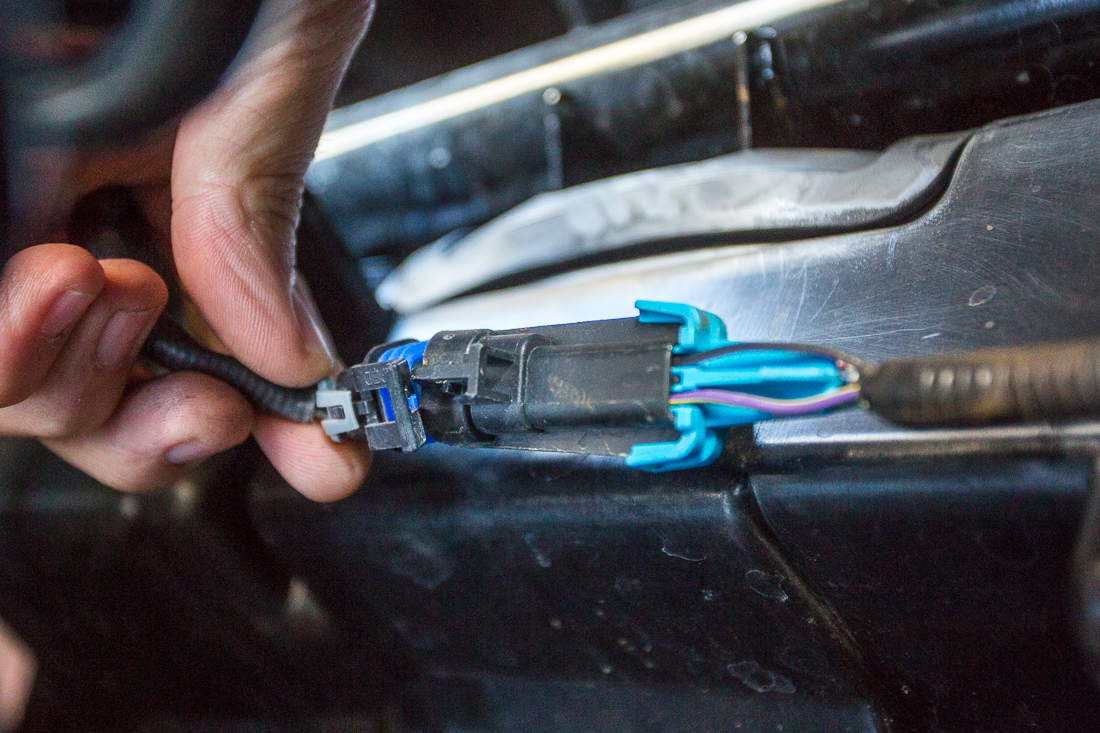
Step 2: Disconnect the 02 sensor on the exhaust pipe. The plug is located on the back of the firewall and can be easily be found by tracing the wire to the connector.
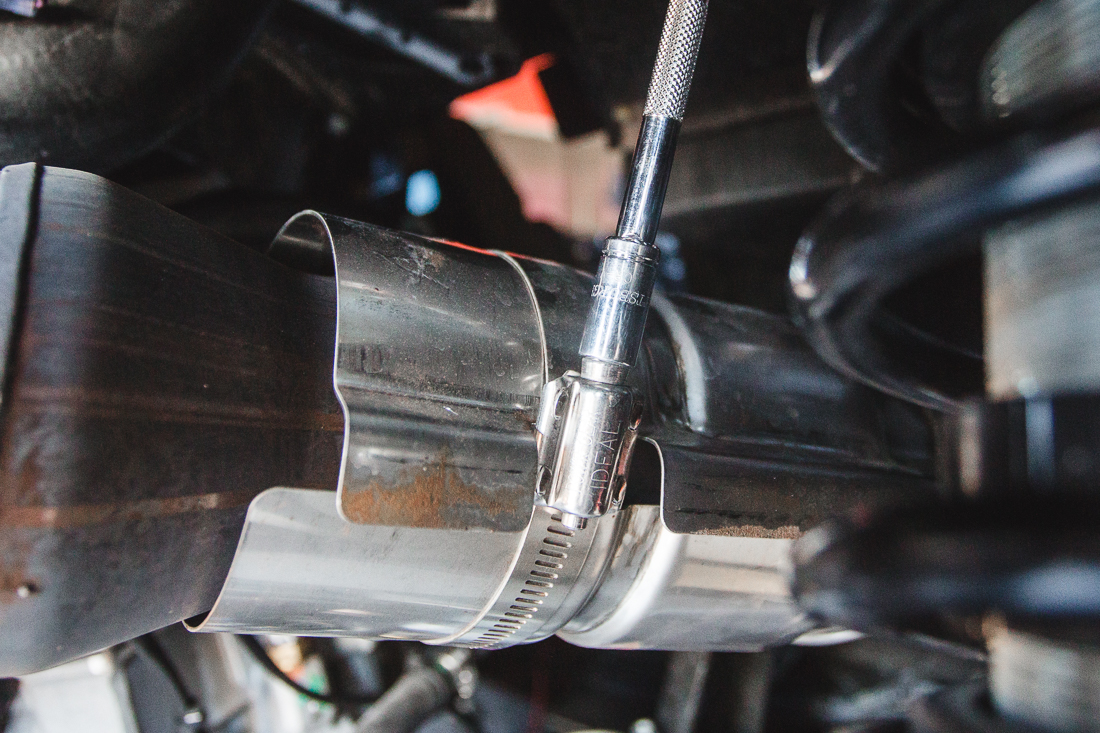
Step 3: Use a 8mm socket or flat head screw driver to remove the clamps on the heat shield. Remove the clamps and heat shield
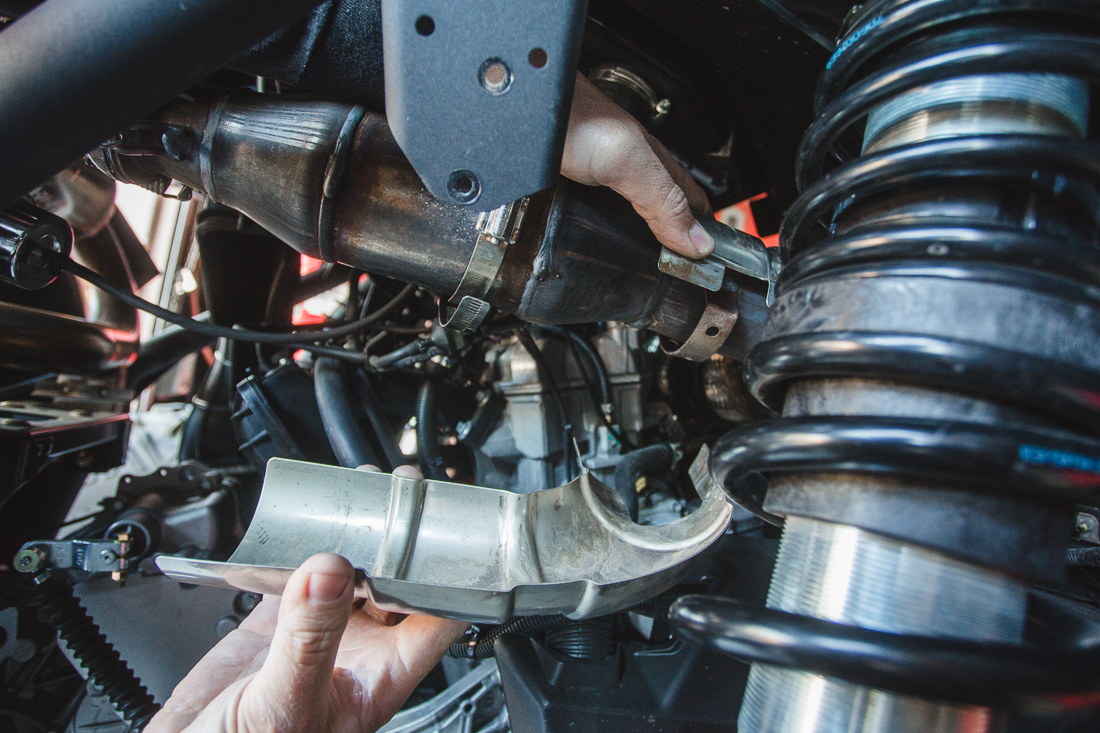
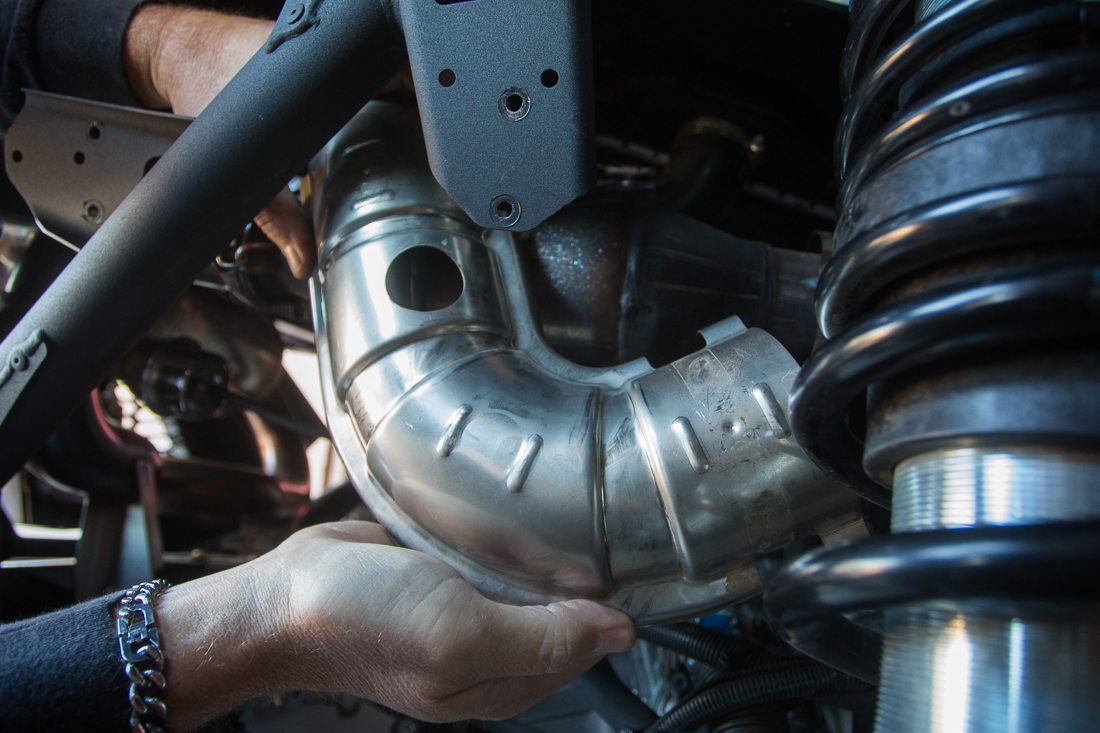
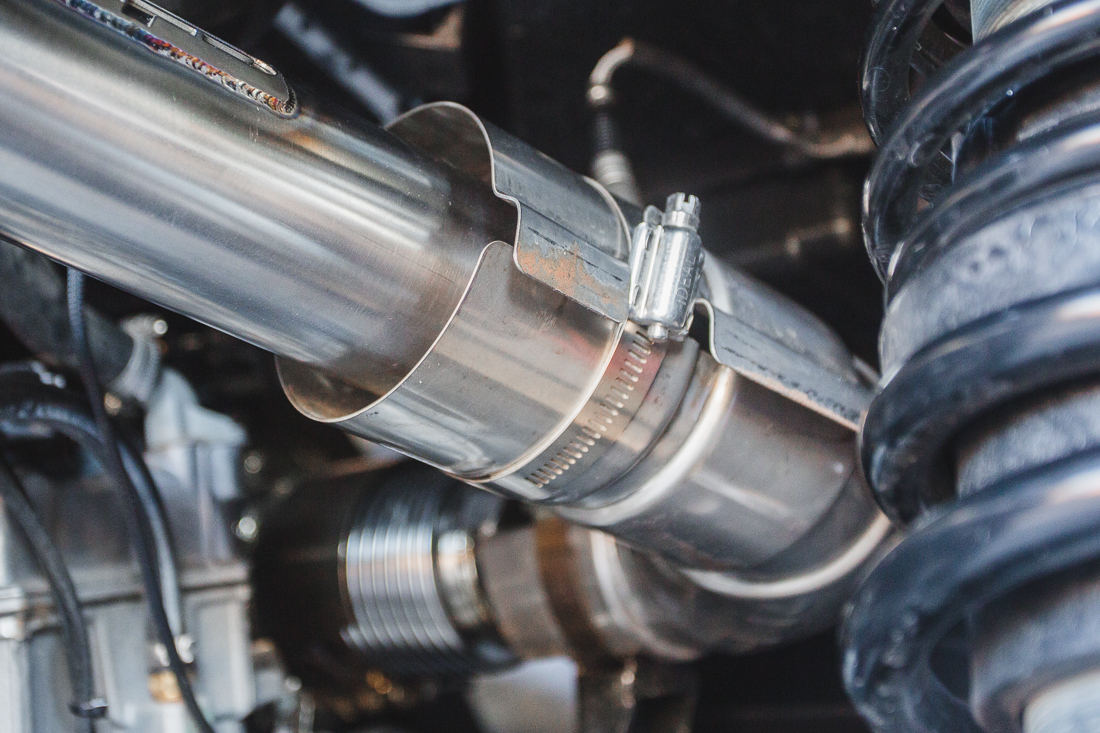
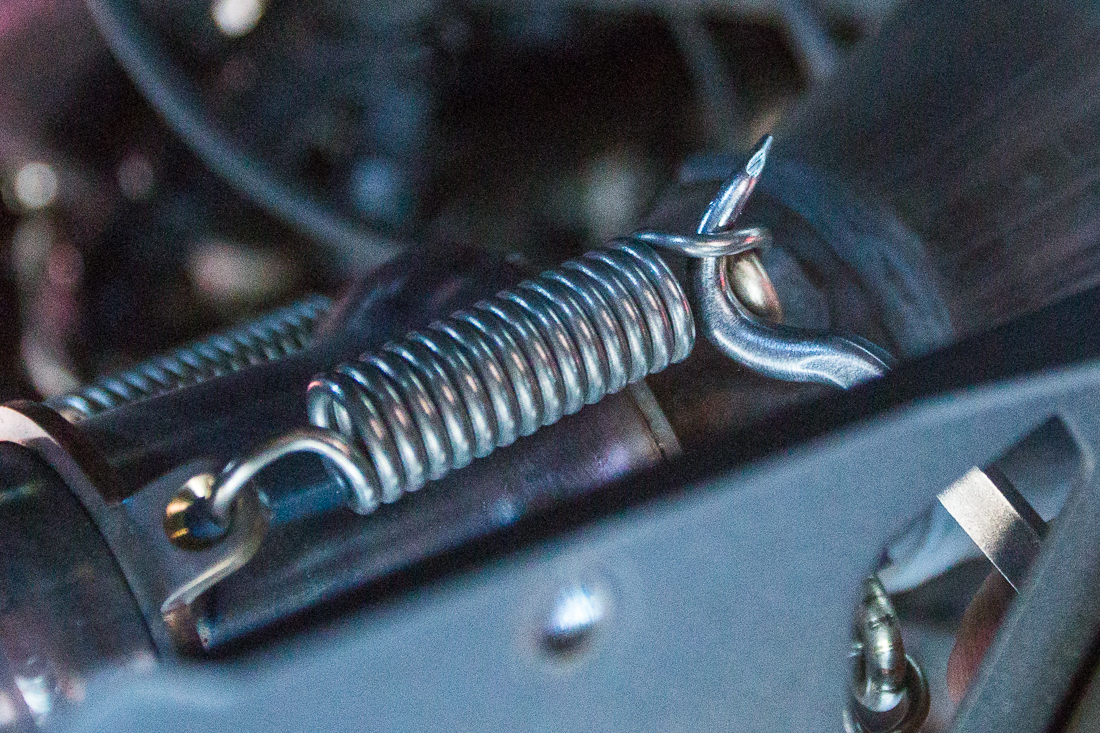
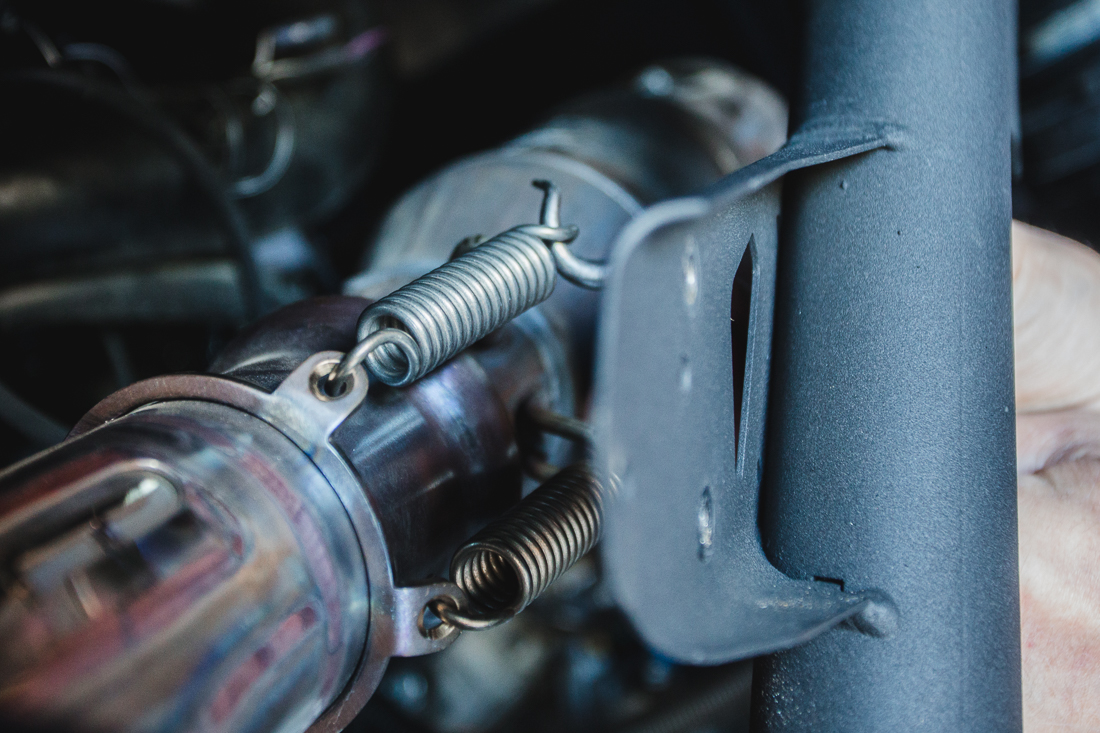
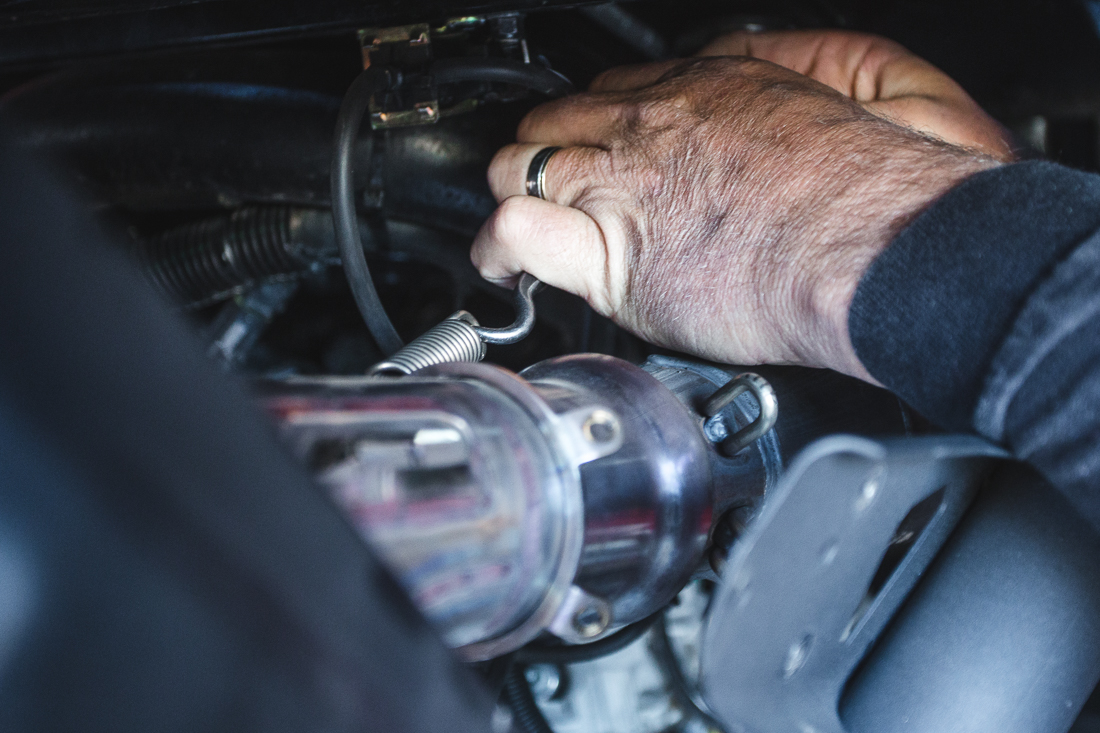
Step 4: using a exhaust spring puller tool or similar hook shaped tool to remove the (x4) exhaust springs.
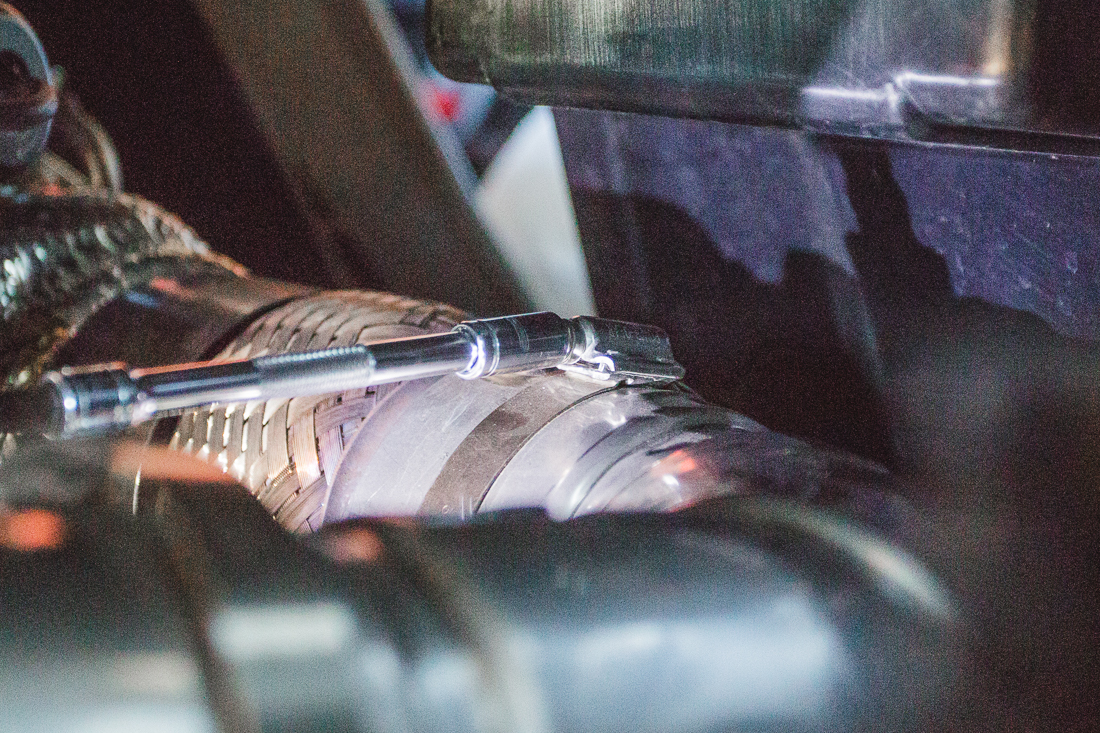
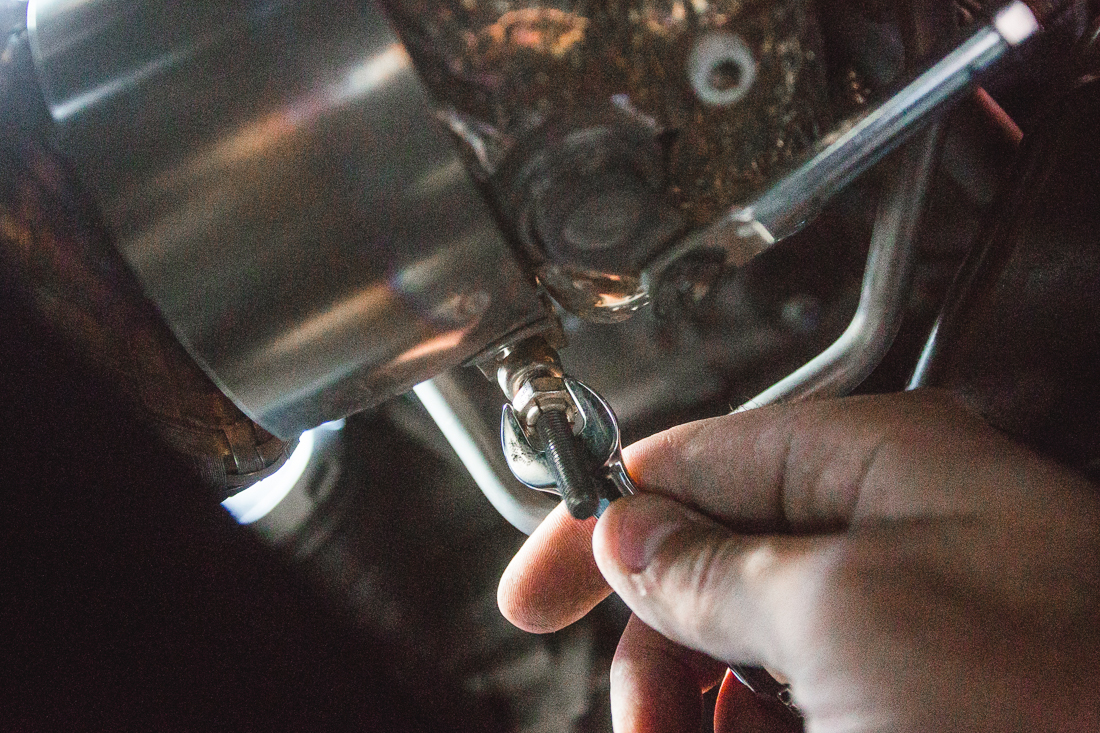
Step 5: Use a 11mm wrench or 11mm deep socket to remove the nut from the V-Band clamp. You will need to access this area from the inside of the X3 through the access panel. NOTE: The V-Band Clamp nut is stainless steel, do not use power tools as nut may seize on stud.
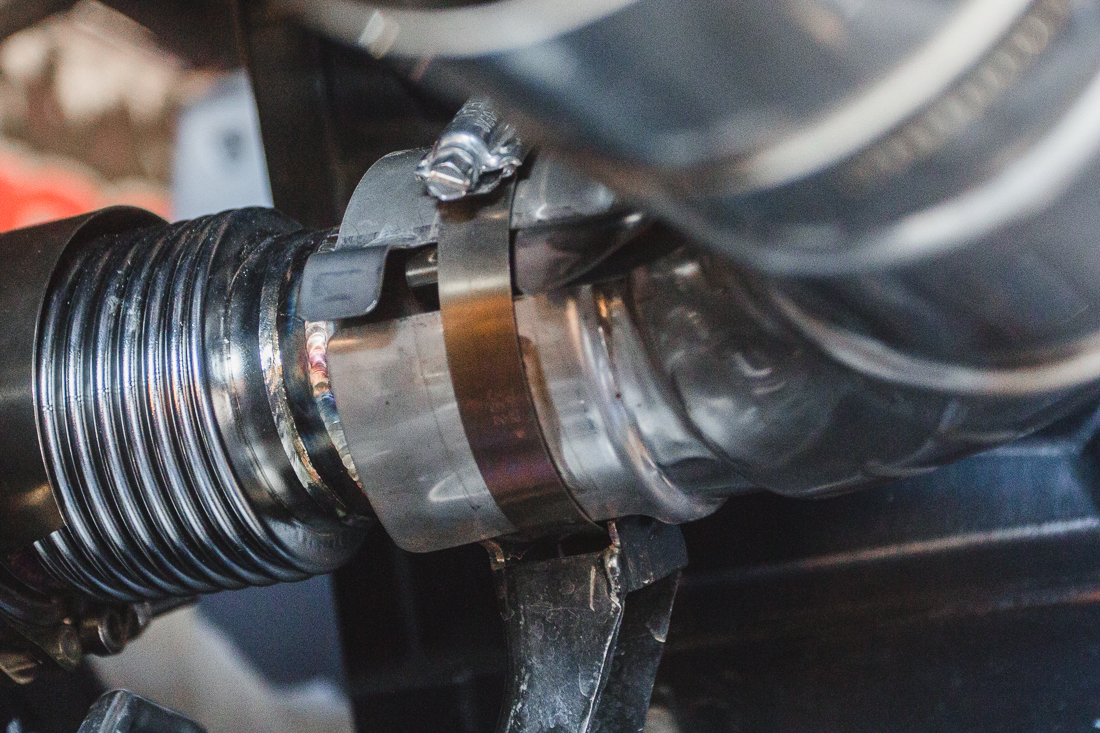
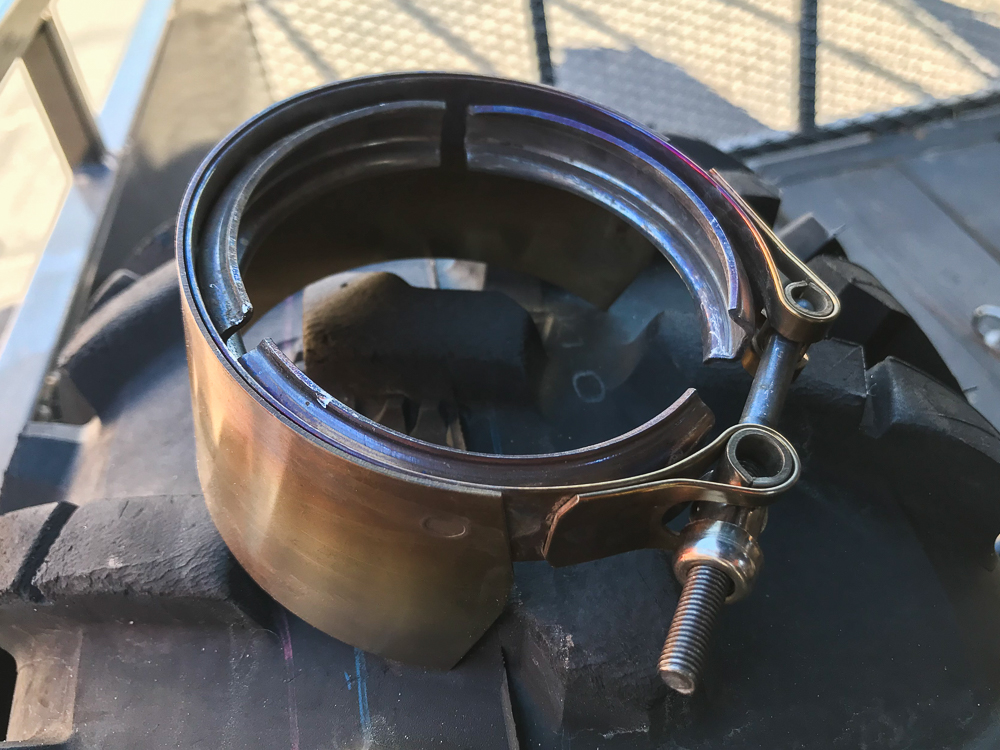
Step 6: Remove the V-band clamp by using a large pry bar or flat head screw driver to break the clamp free. This part can be very tricky as the clamps do stick to the flange and take some force to break free. Once the clamp is broke free, spread it apart and slide it over/off the flange.
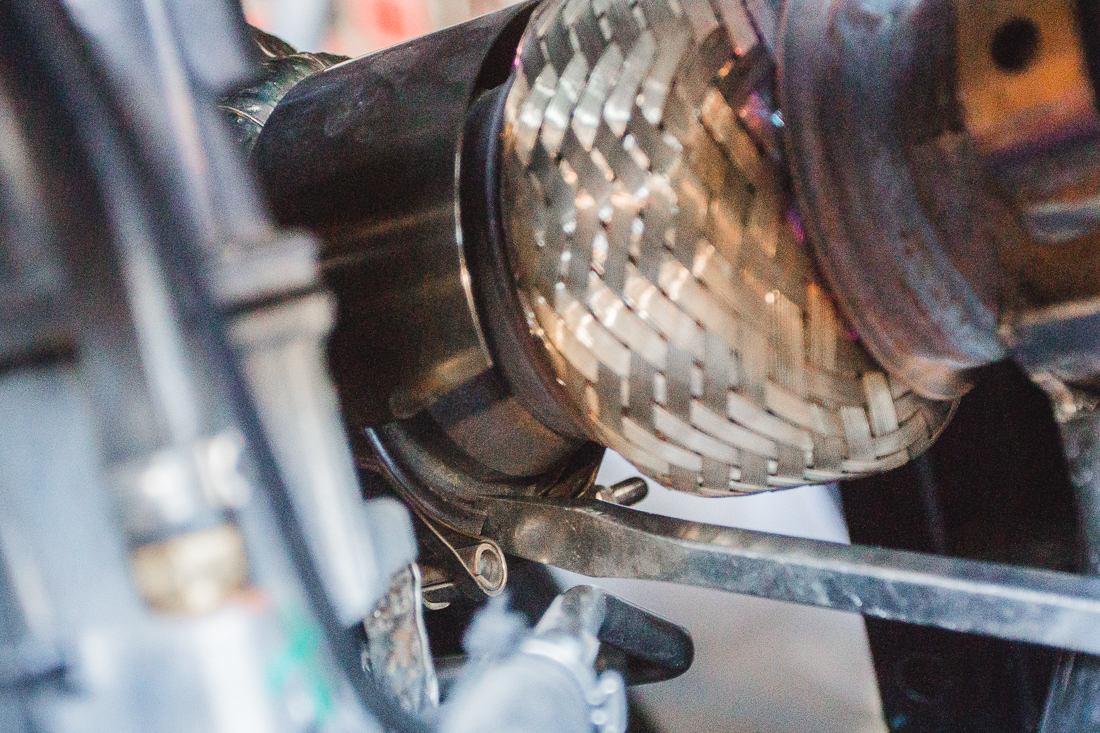
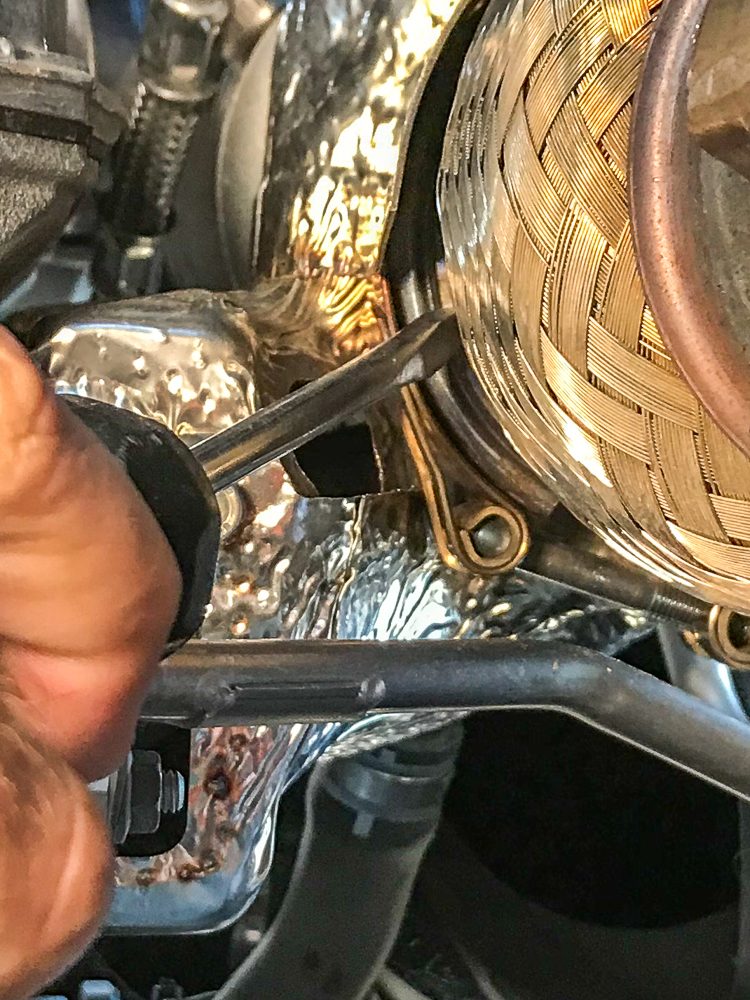
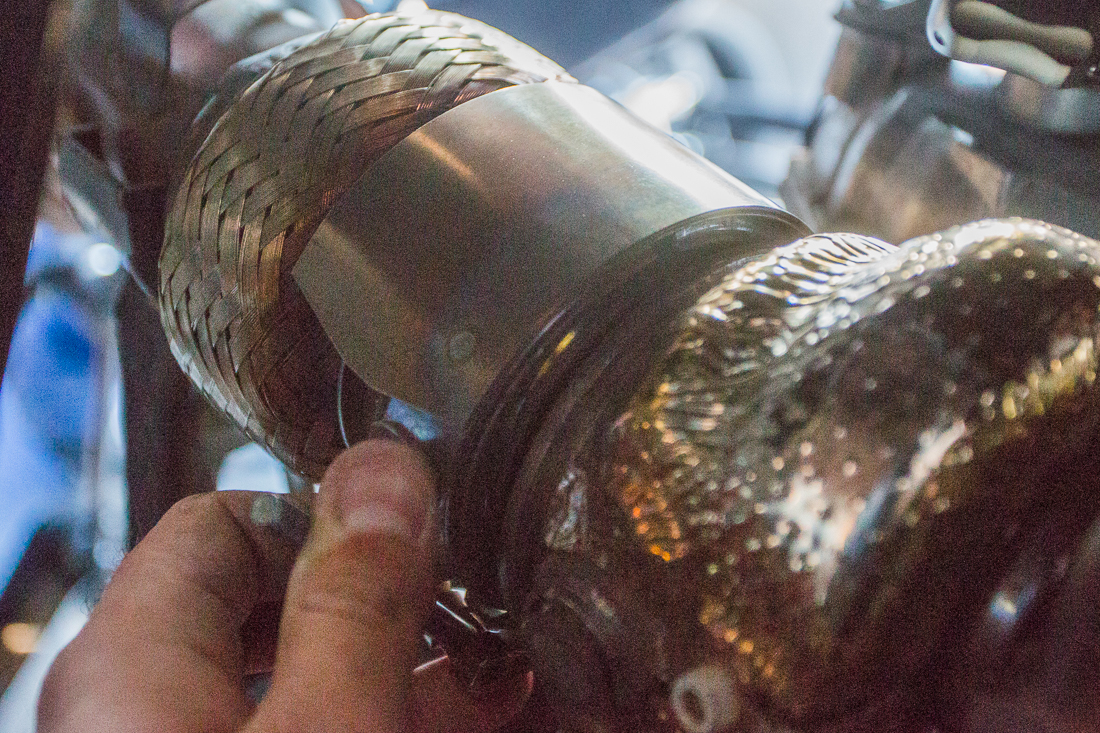
Here is an image showing the V-Band clamp removed.
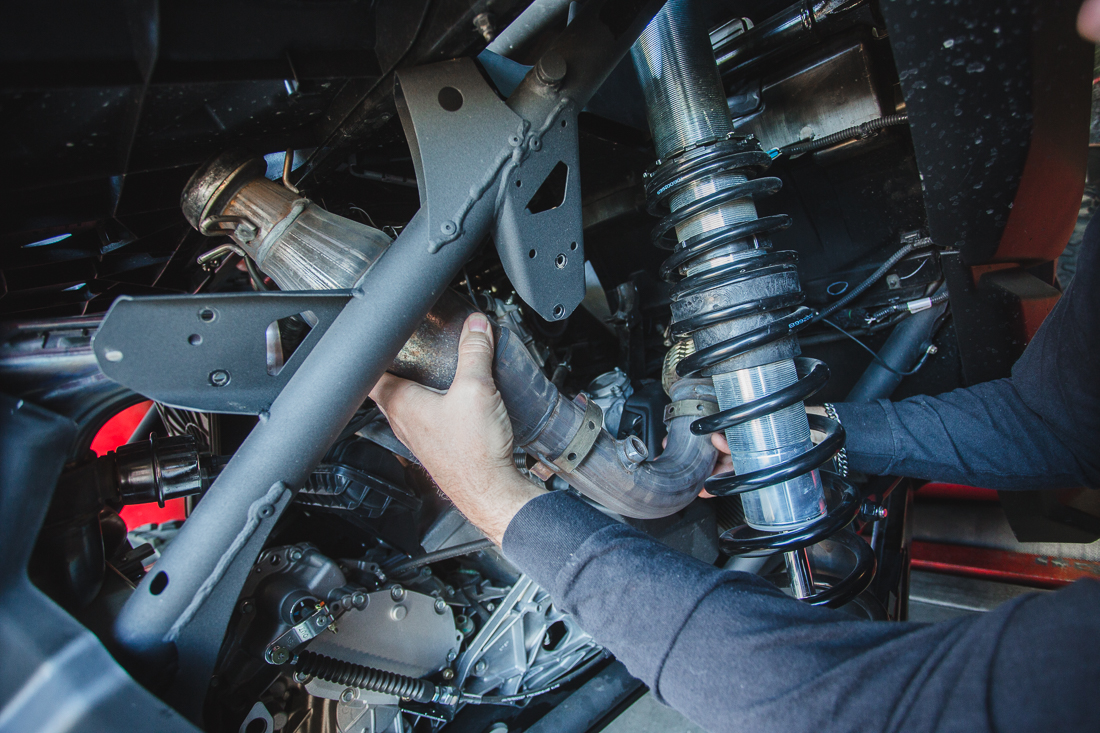
Step 7: Remove the exhaust from the vehicle. Push back on the muffler if needed to free the exhaust pipe from the muffler. Note: Be careful not to damage the exhaust pipe gasket during this step
Step 8: Carefully remove and swap the exhaust pipe gasket from the OEM pipe onto the Agency Power Race Pipe. If the gasket is damage, we recommend replacing it. Genuine Can-am OEM Gasket Part # 707601908
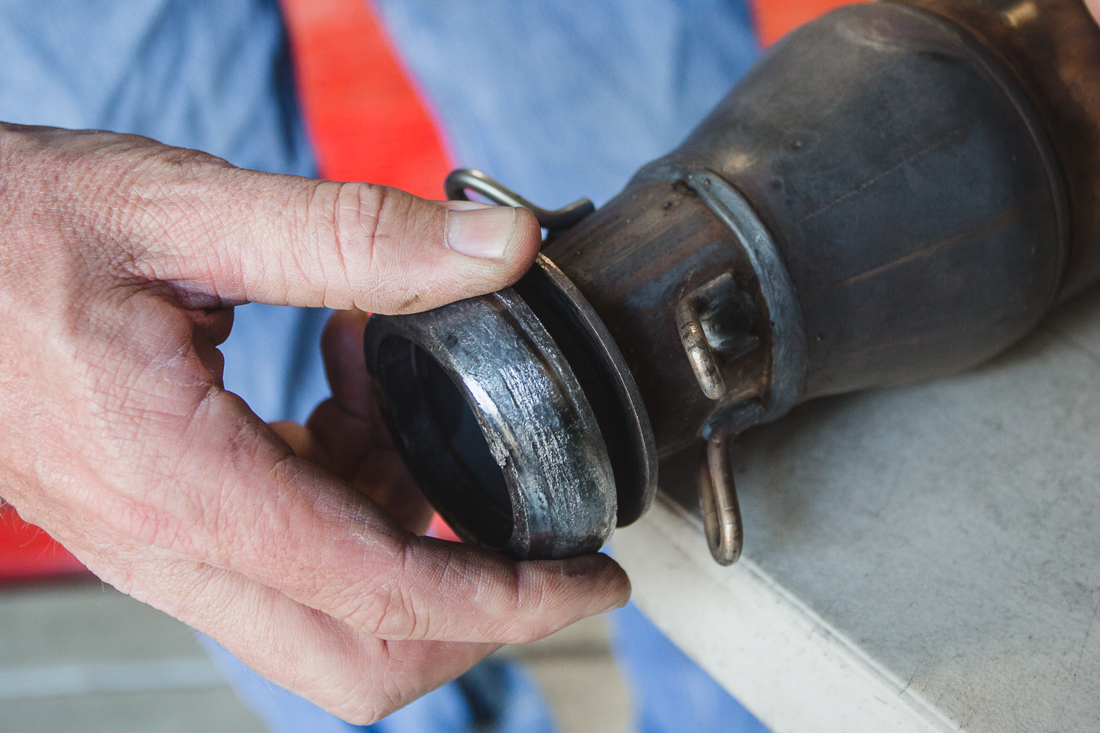
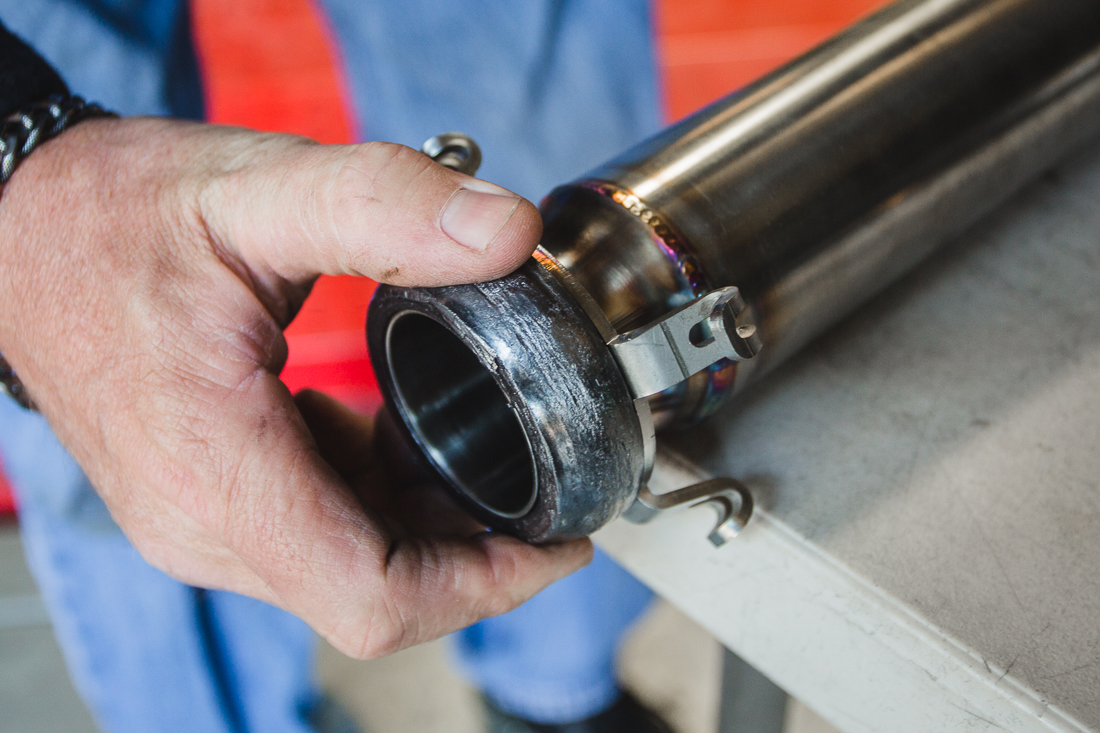 Step 9: Next swap the 02 sensor from the OEM pipe to the Agency Power Race Pipe.
NOTE: We recommend applying a small amount of Anti-seize to the threads of the sensor prior to installing.
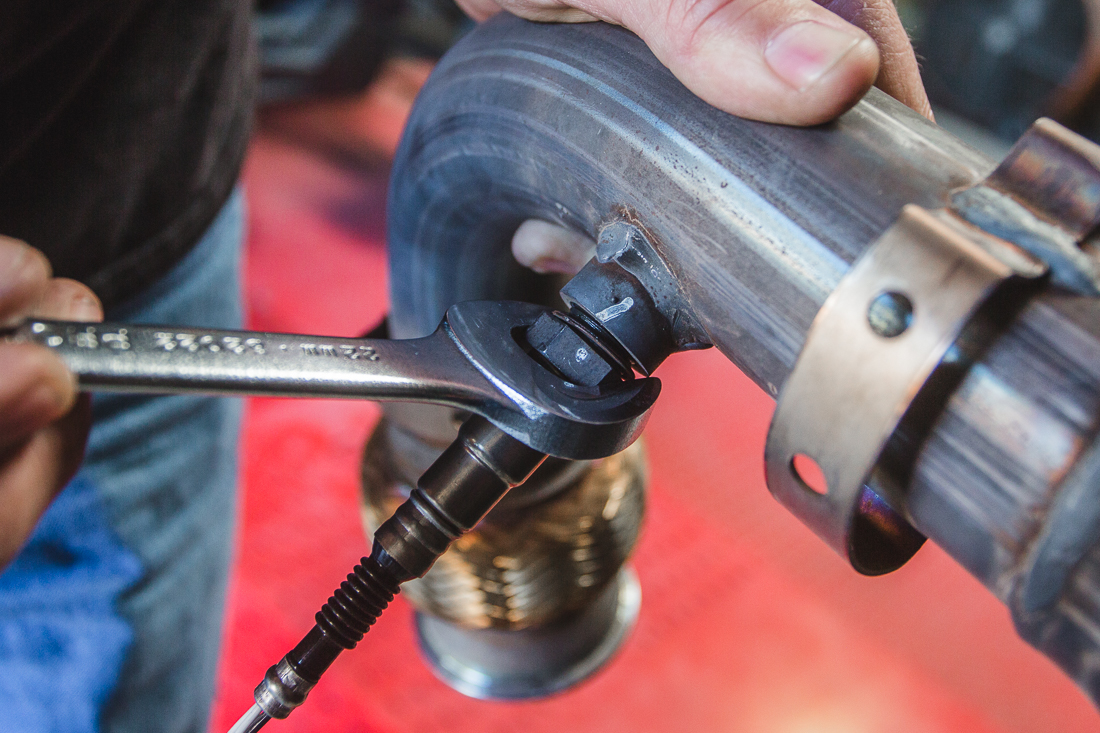
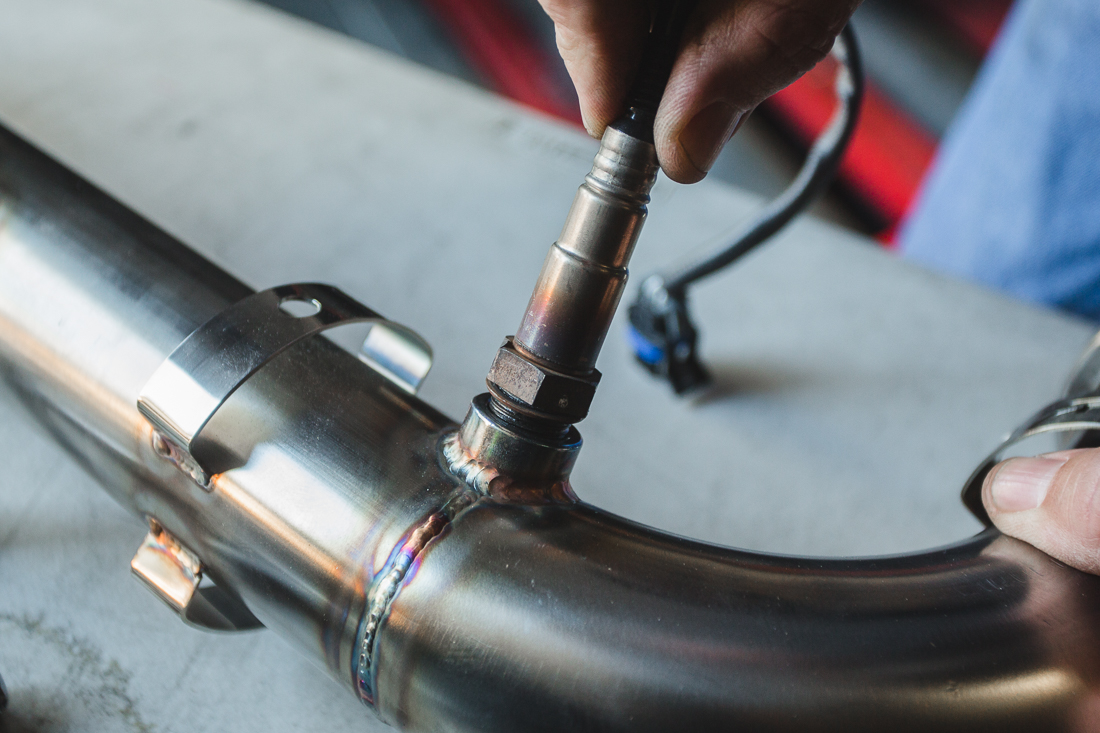
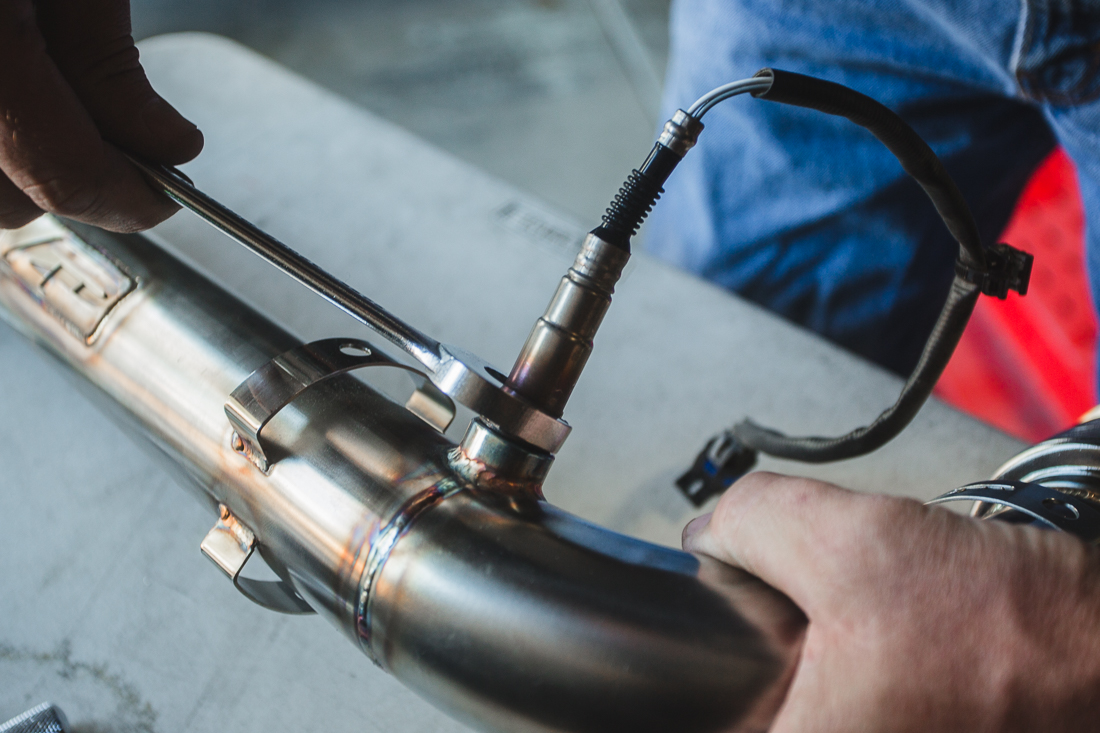
Step 9: Swap the small metal exhaust gasket from the OEM pipe to the Agency Power Race Pipe.
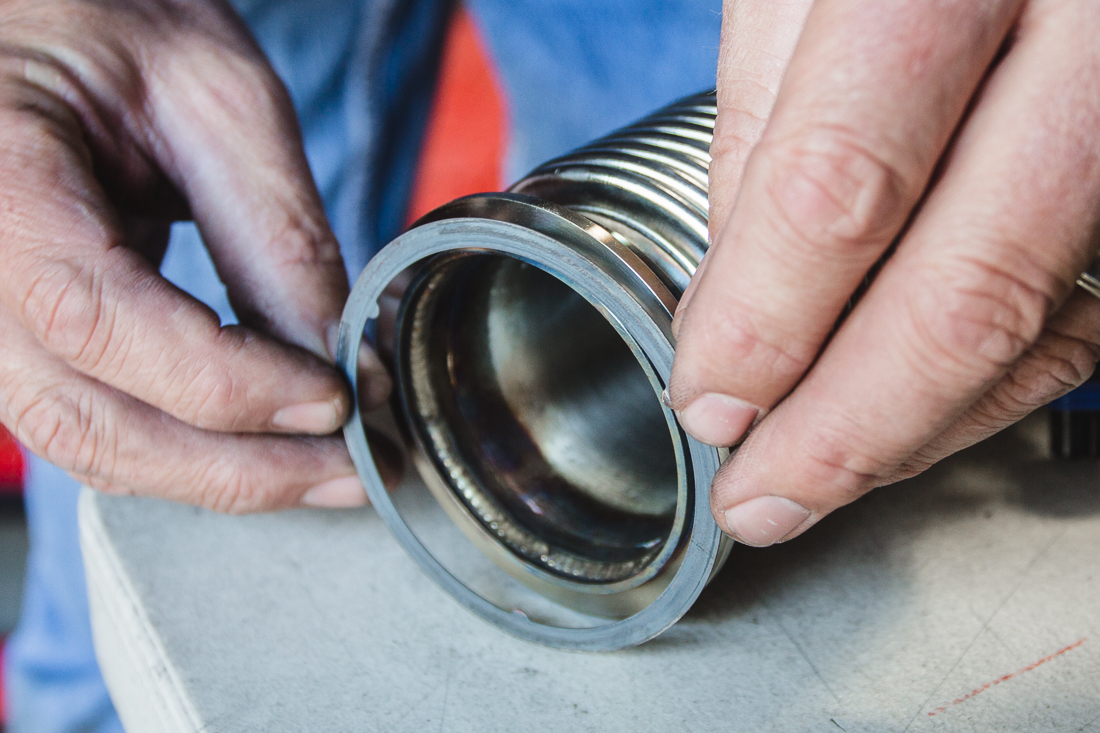
Step 10: Place and stage the V-Band Clamp onto the Agency Power Race Pipe. Make sure it slid back past the flange this will make it easier to mate the flanges up together. See image below.
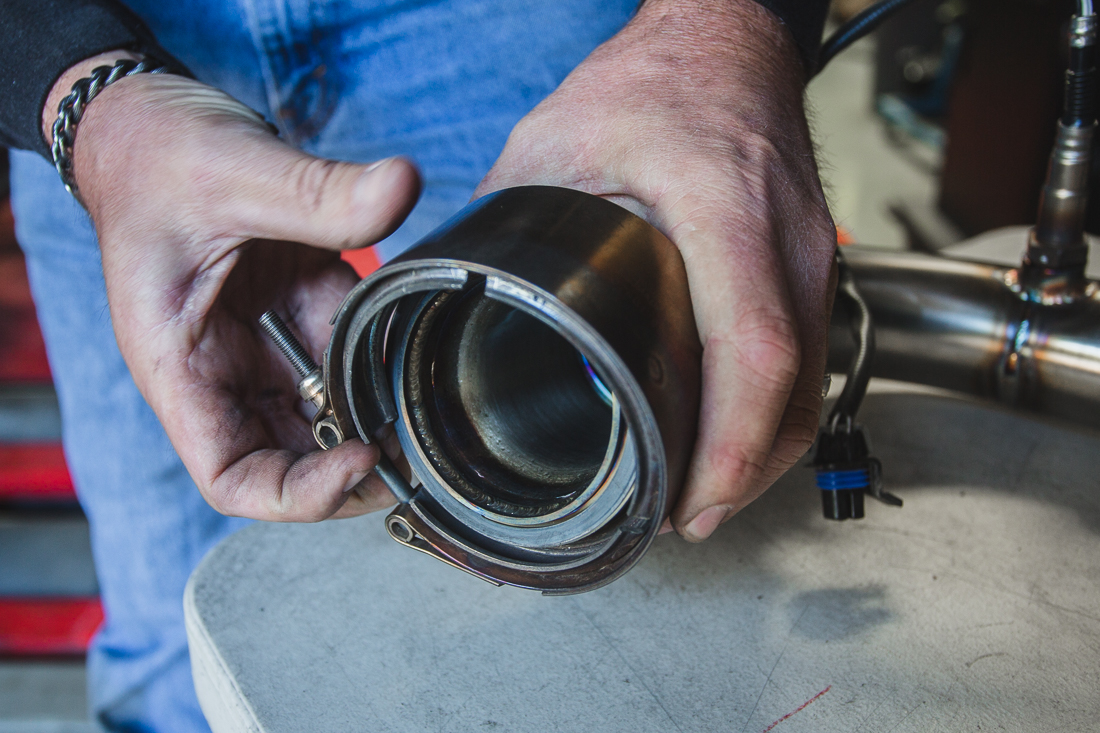
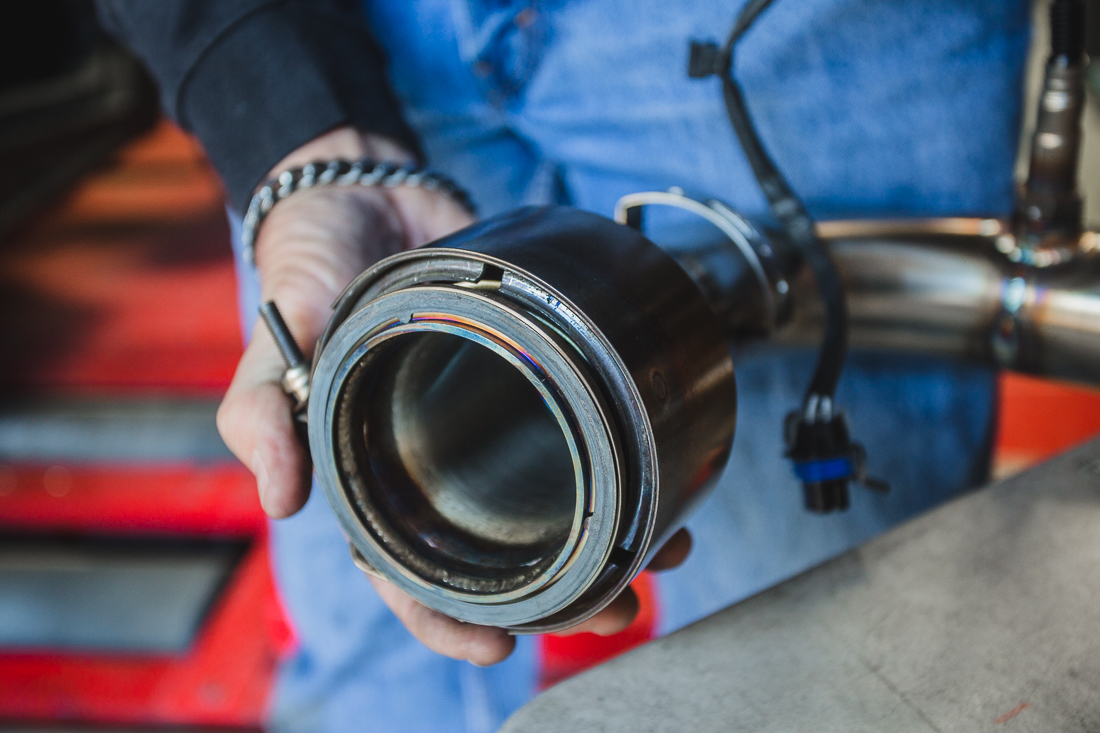
Step 9: Install the Agency Power race pipe by matching up the flanges on the turbo to the exhaust pipe. This step is much easier if you have a friend assist with holding the exhaust pipe while you attach the v-band. Wait to tighten the V-band until you have everything lined up.
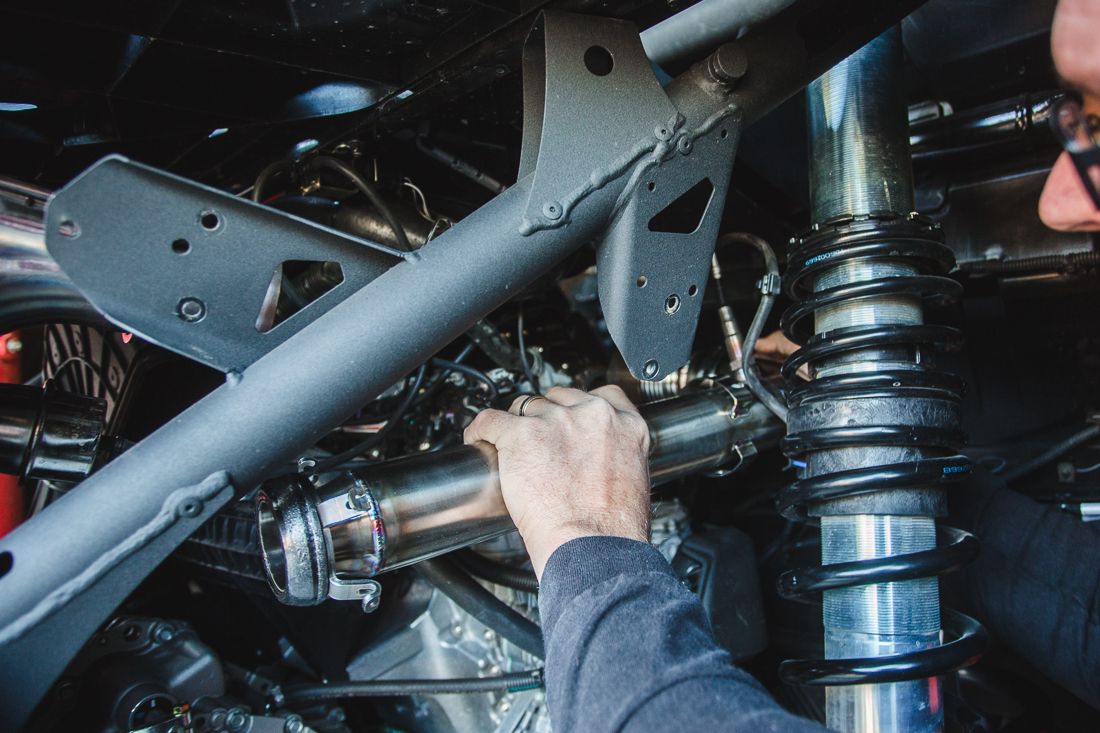
Step 10: complete the installation by reinstalling the heat shields, plugging in the 02 sensor, attaching exhaust springs and finish tightening everything up.
