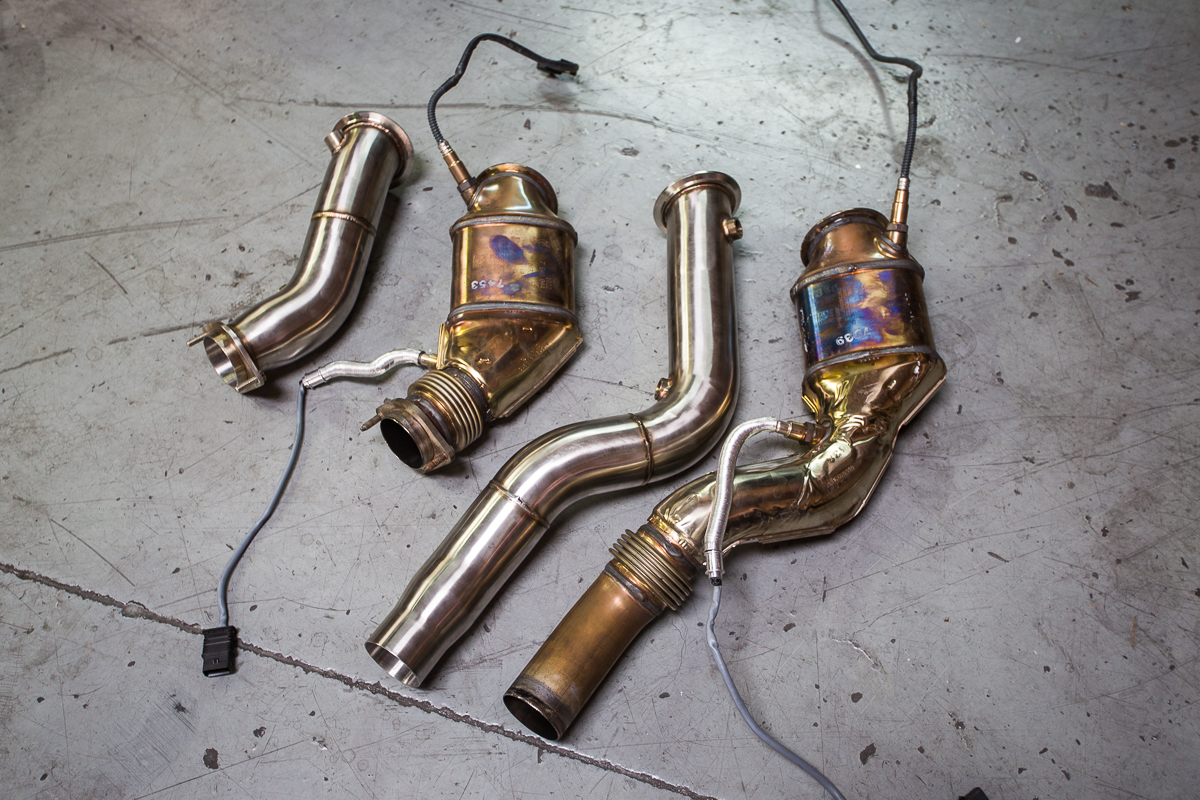
How to Install Agency Power Race Downpipes on the BMW F80 M3 & F82 M4 DIY
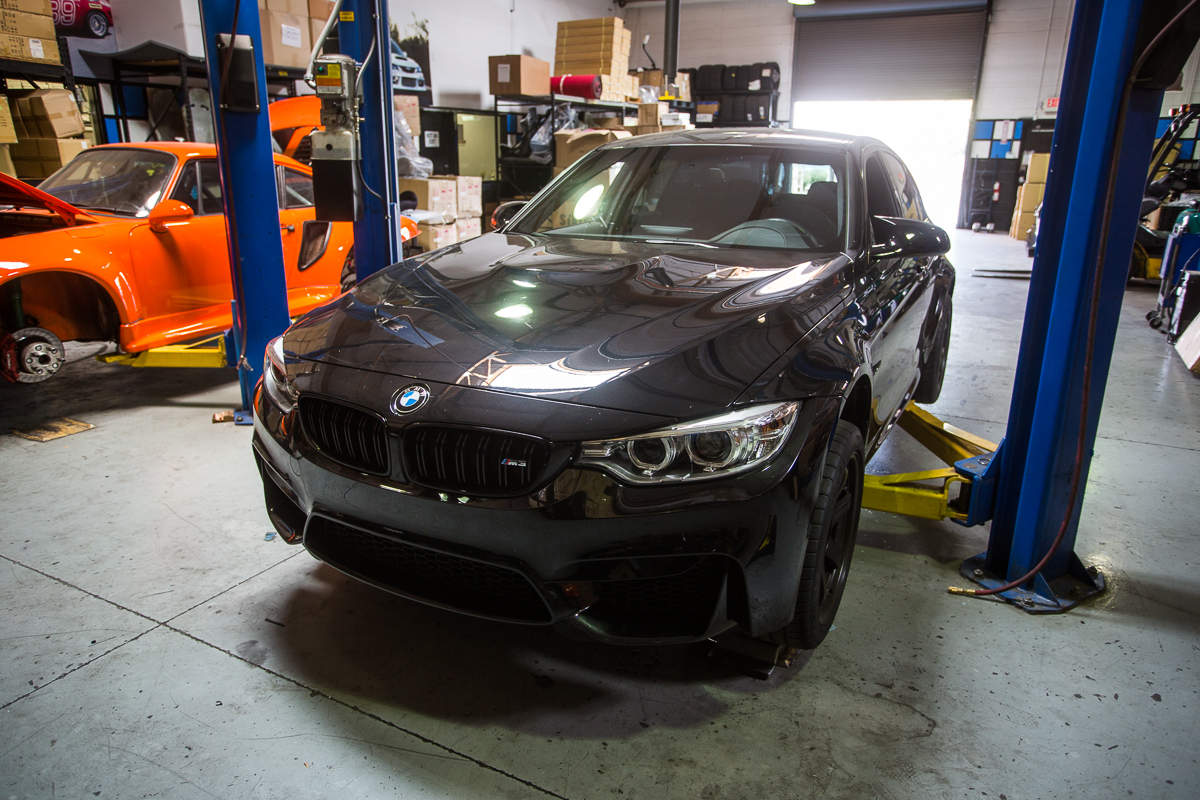
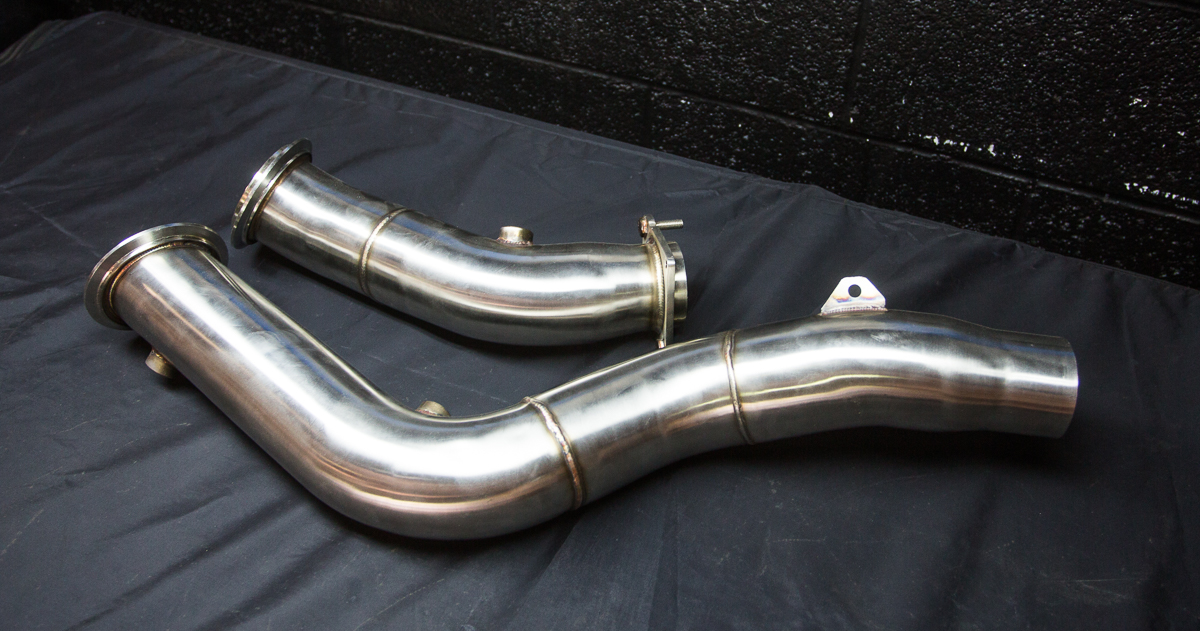
This guide is to help with the installation of the Agency Power Race or High Flow Downpipes on the BMW F80 M3 & F82 M4.
Install Time: 2-3 hours
Step 1) Purchase your Agency Power Race Down pipes by clicking here
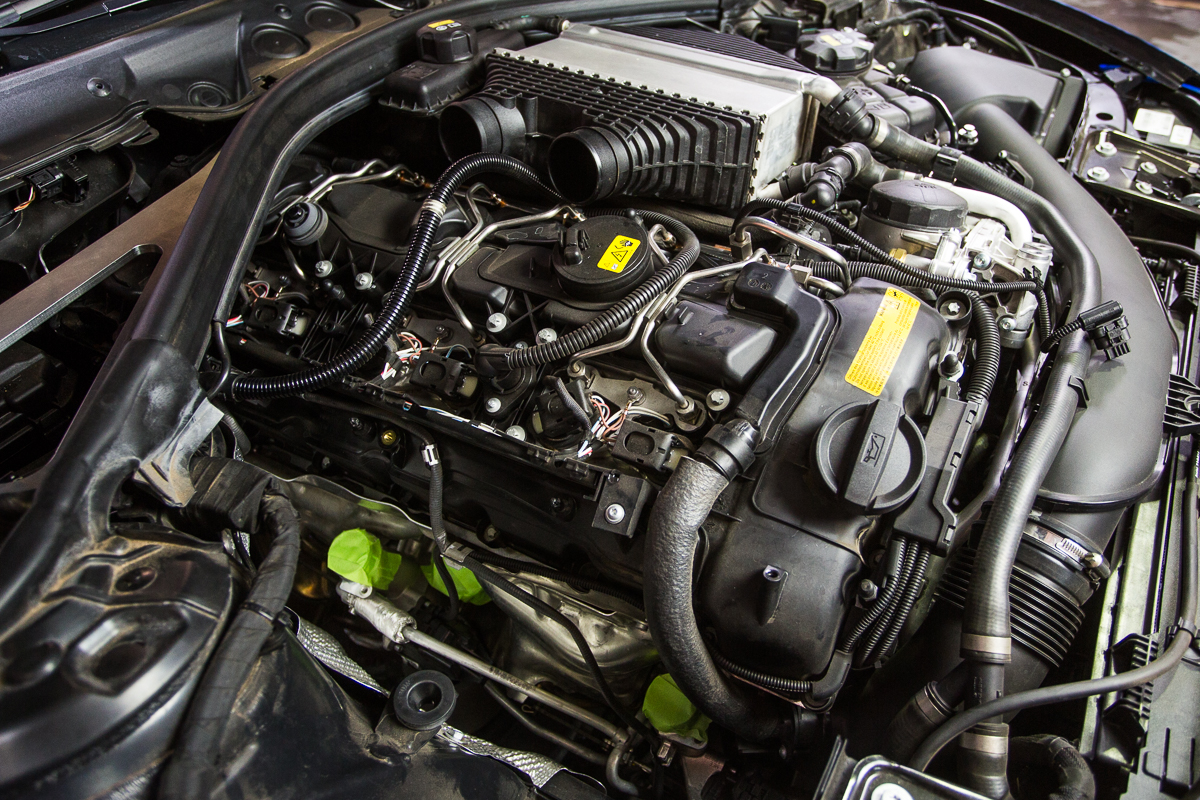
Since we need to unplug the oxygen sensors in order to drop the OEM downpipes and make way for the new Agency Power Race Downpipes, we will be doing a majority of the work from the engine bay. This will include removing the Engine covers, carbon fiber strut brace, factory air box, inlets, and charge pipes.
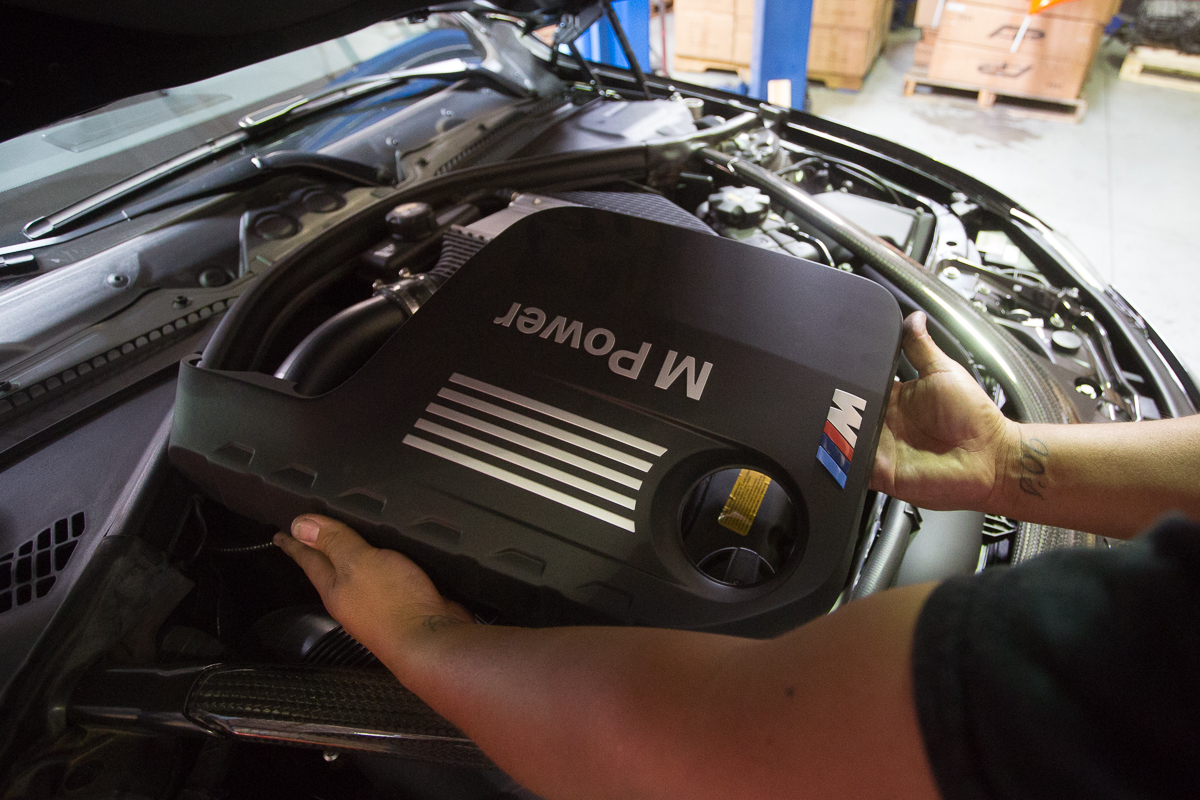
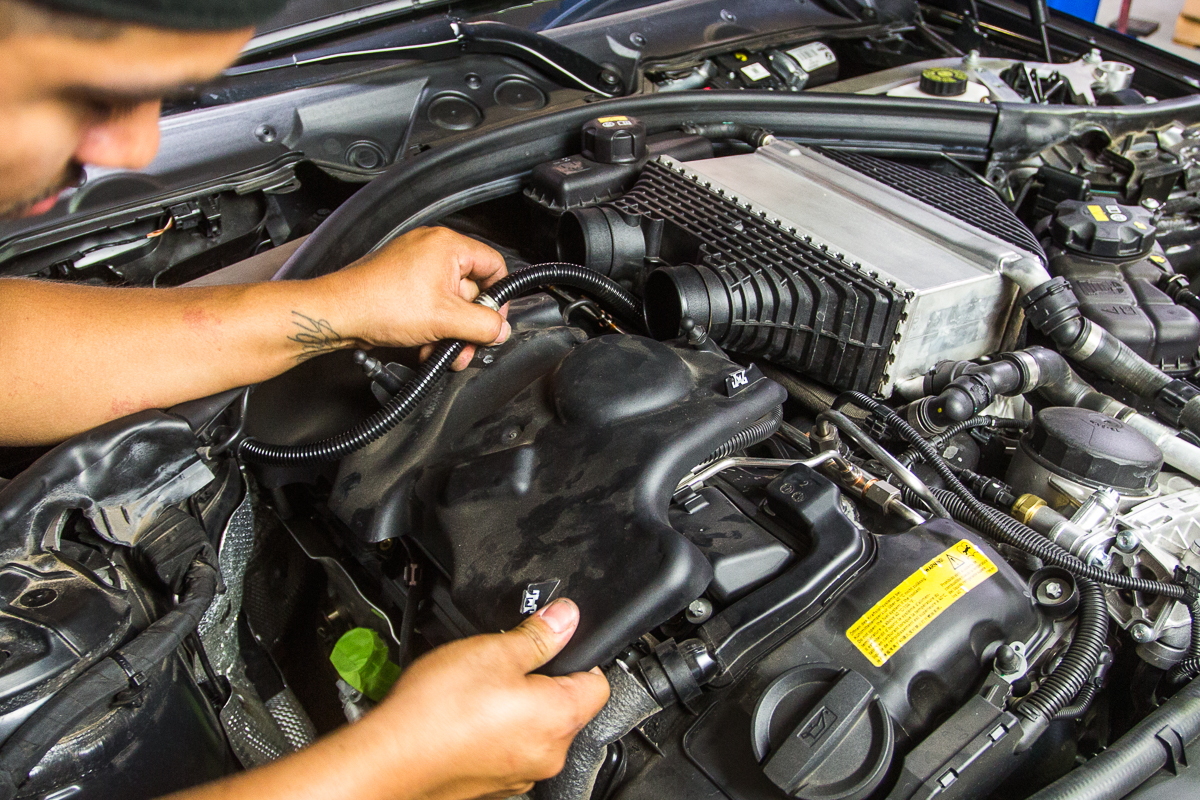
Step 2) Remove the engine cover by lifting up evenly to release it from the rubber grommets.
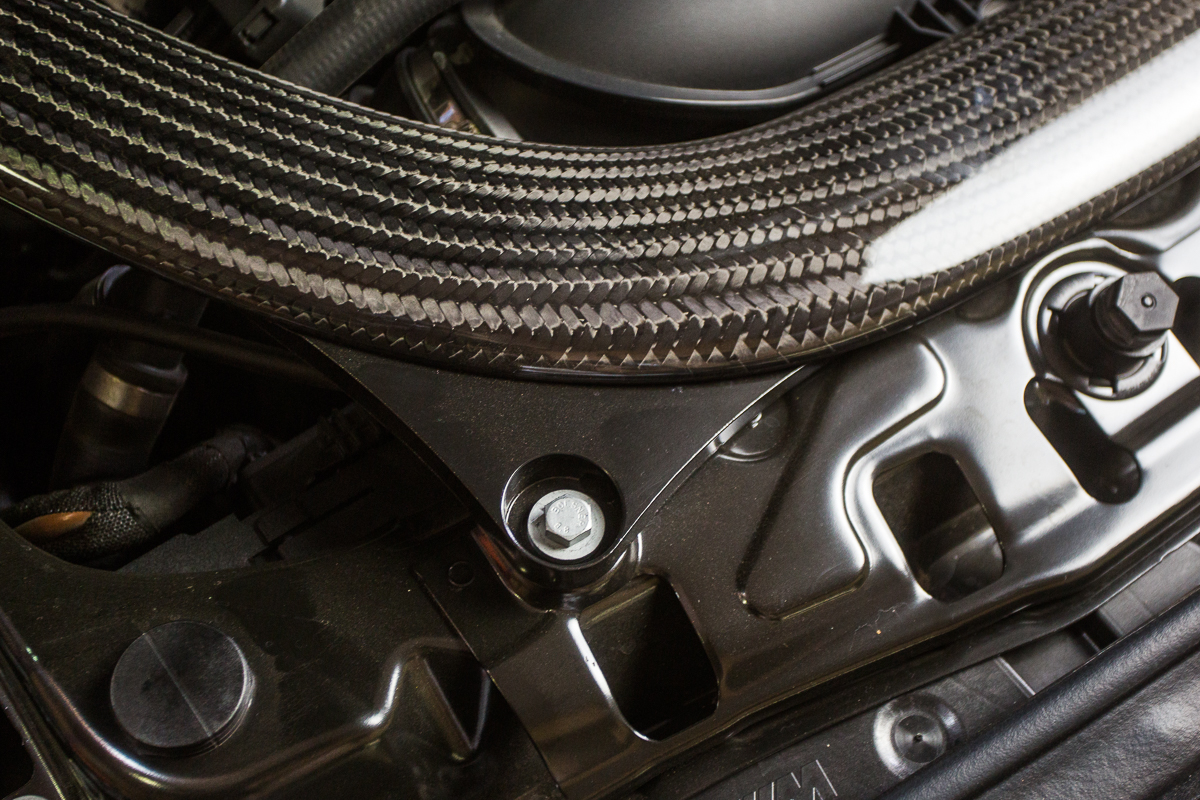
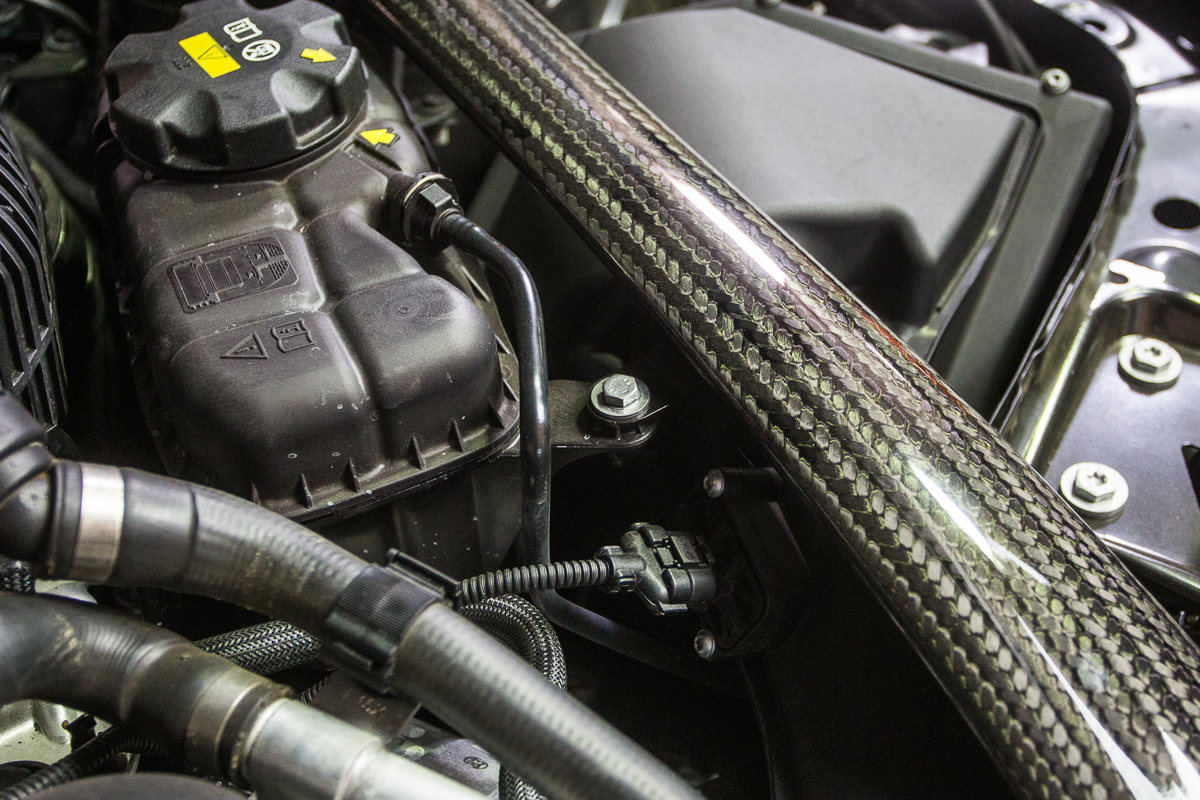
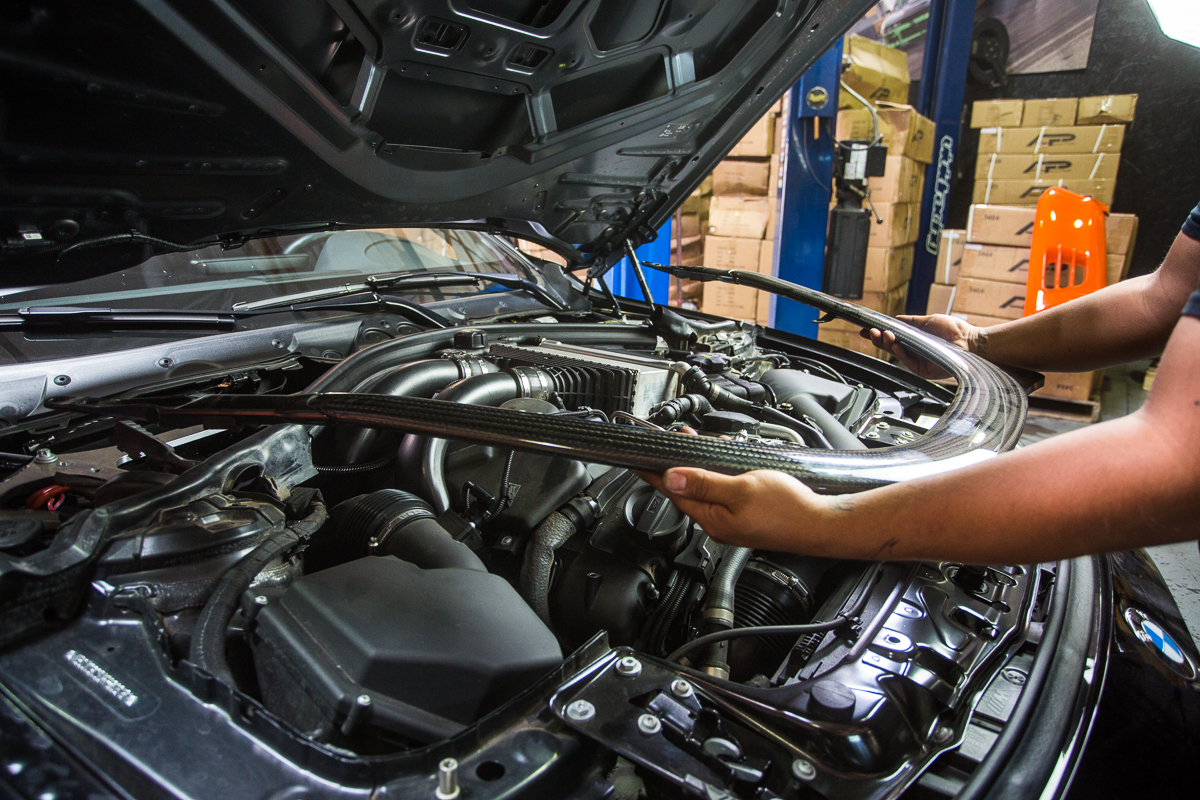
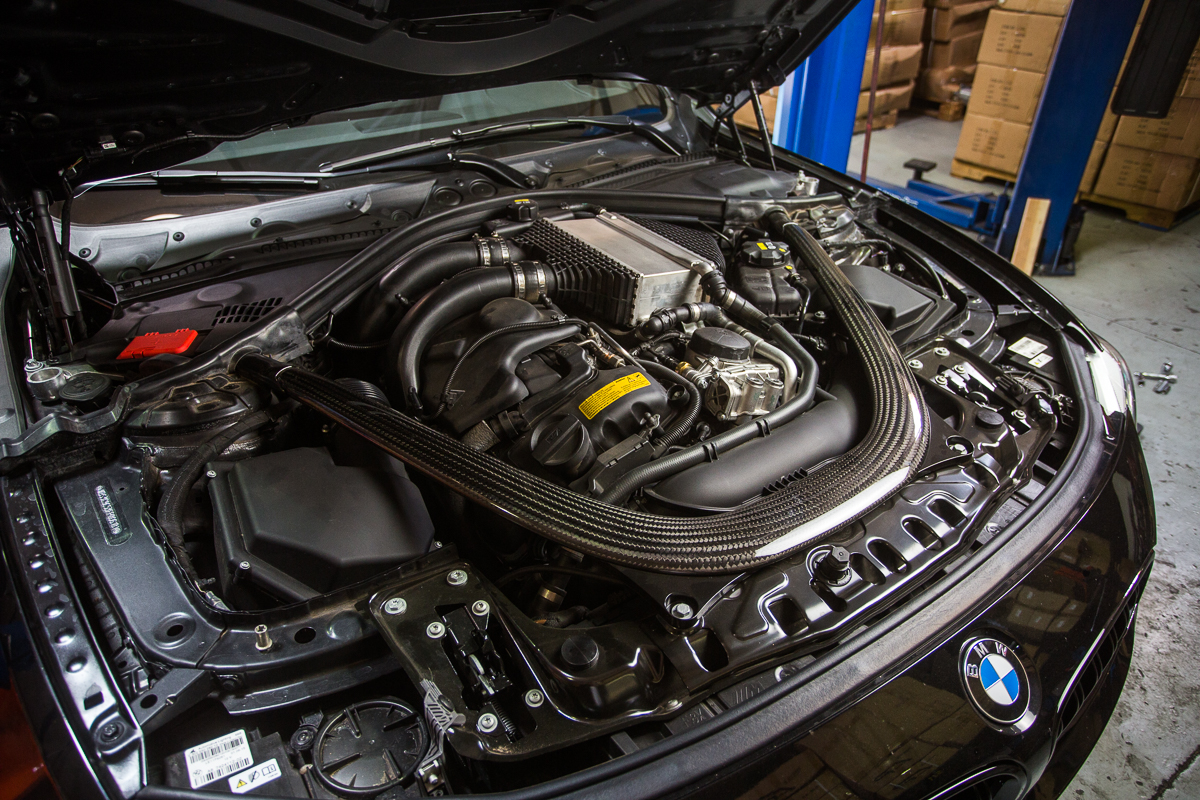 Step 3) Next we will be removing the carbon fiber brace. You will need to remove both plastic covers on both the driver and passenger side of the engine bay in order to access the bolts that secure the carbon fiber brace. Each cover is held in place by plastic clips and plastic bolts that only need to be turned half way to release the cover.
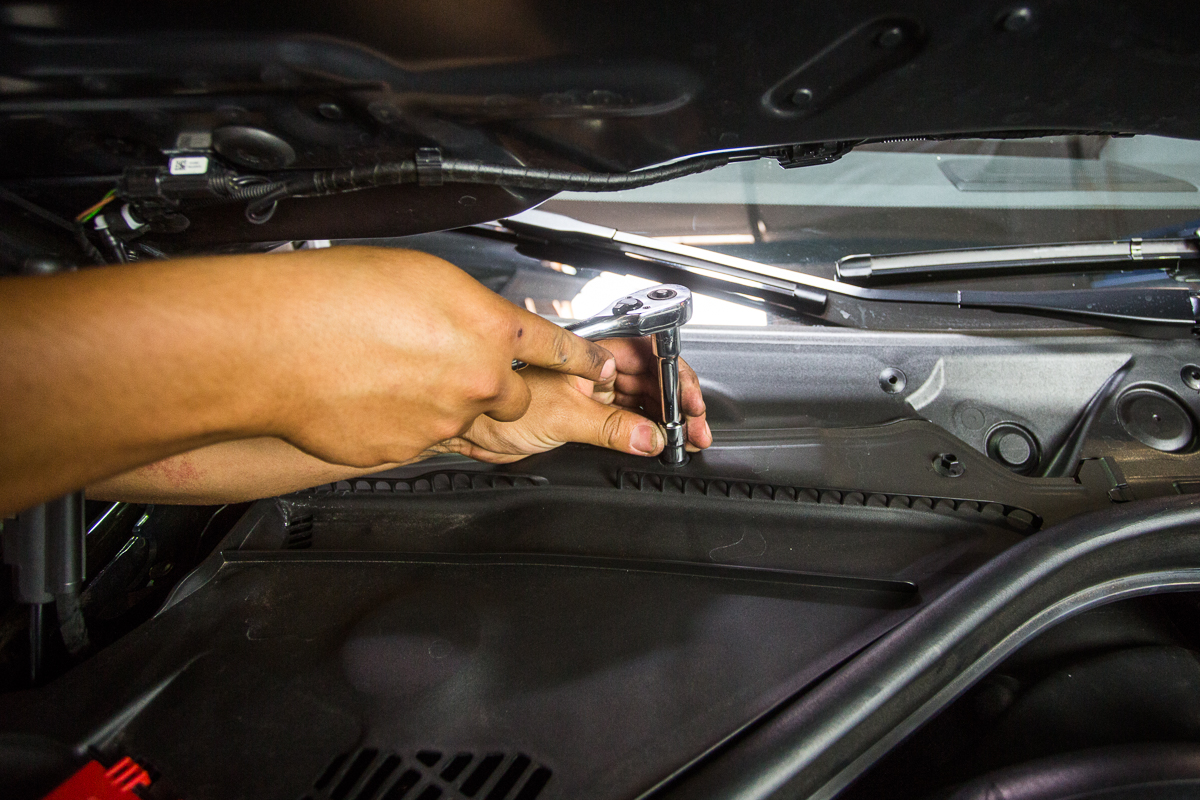
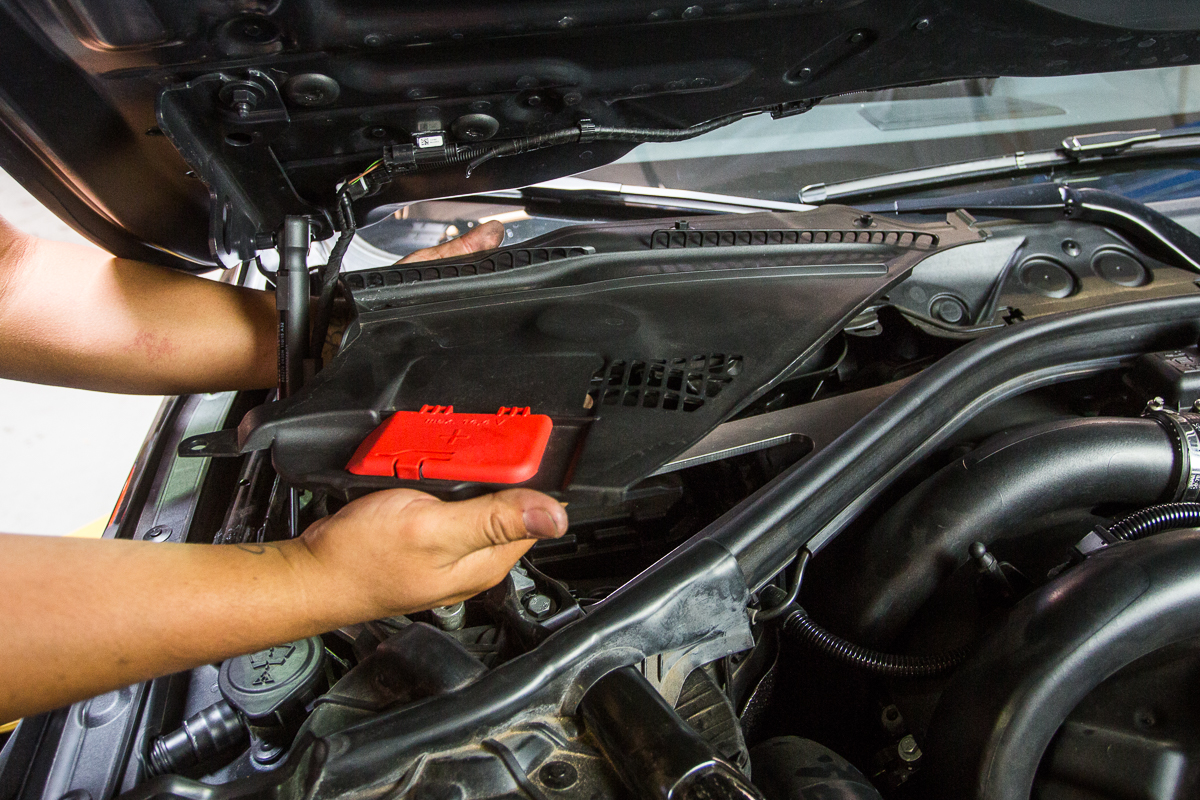 Step 4) Now that the covers are removed, you can now access the bolts that secure the carbon fiber brace. There is a total of 9 bolts that will need to be removed.
 Step 5) Next we will be removing the air box on the passenger side of the vehicle. Start by unplugging the MAF Sensor located on the air box.
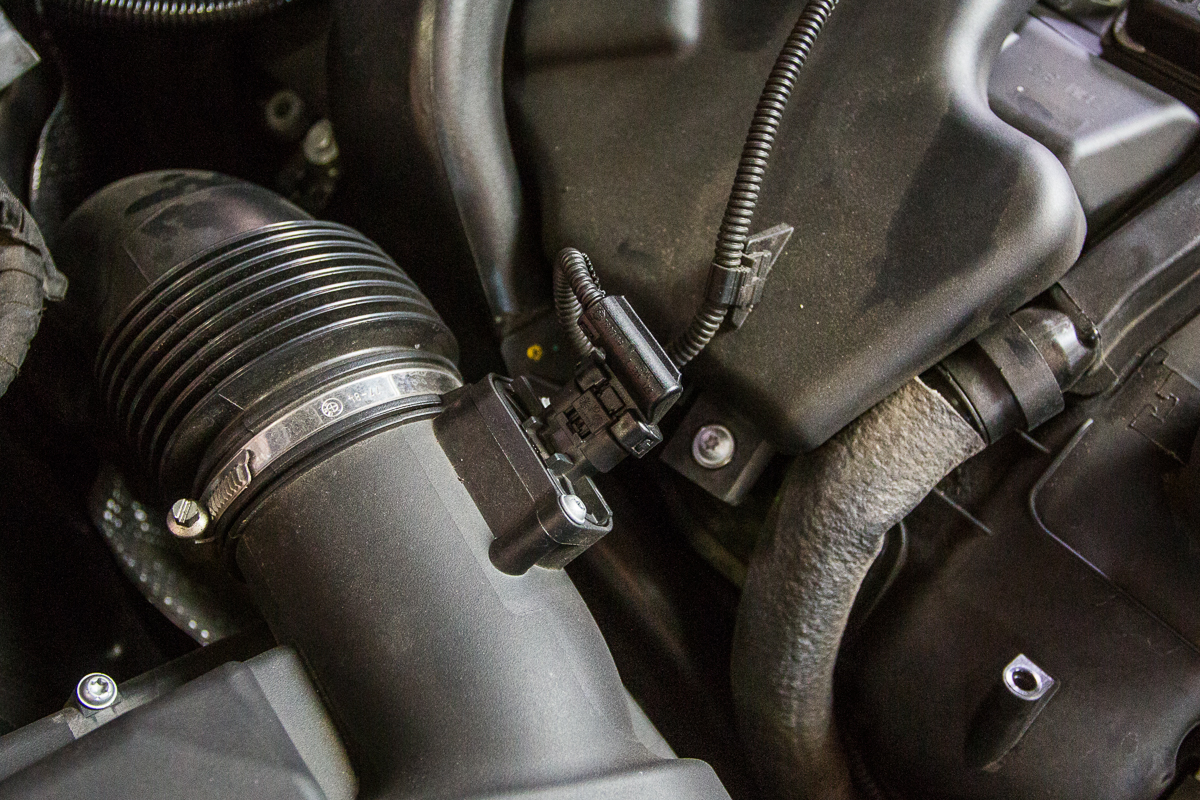
Step 6) Using a flat head screw driver or socket loosen the metal hose clamp and slip off the tube connecting to the air box. The air box is only held in by rubber grommets, similar to the engine cover. Lift up evenly to remove the air box from the engine bay.
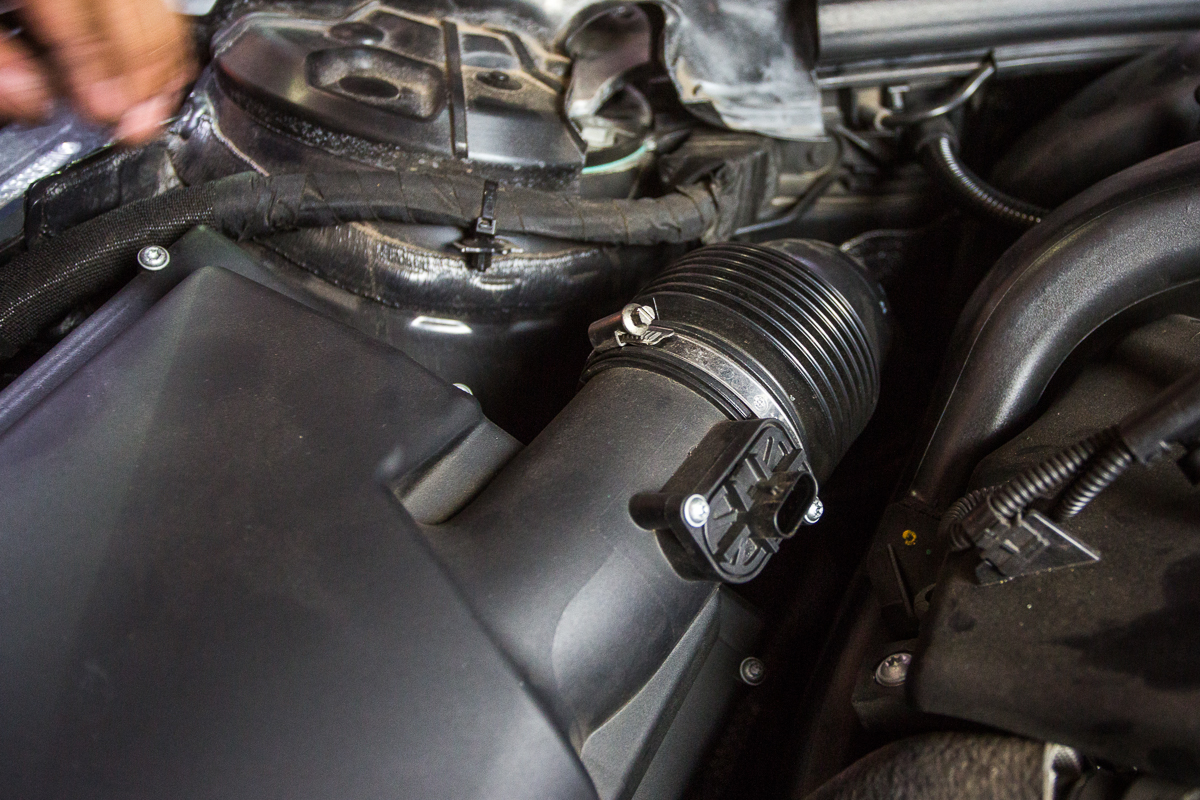
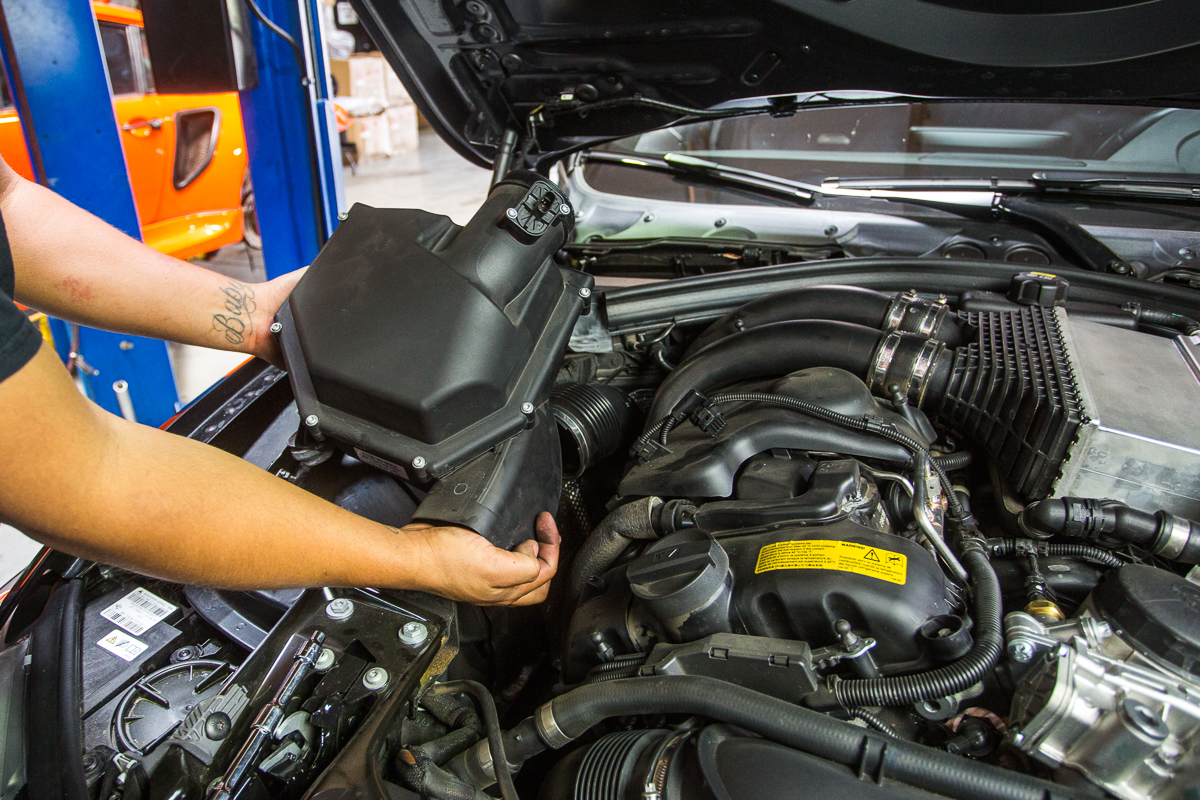 Step 7) With the air intake box removed you can now access the hose clamp located on the bottom portion of the intake boot. Loosen the clamp and remove the intake boot from the engine bay.
*BE CAREFUL NOT TO DROP ANYTHING INTO THE INTAKE PIPE. COVER THE EXPOSED PIPE AFTER REMOVAL TO AVOID DAMAGE. 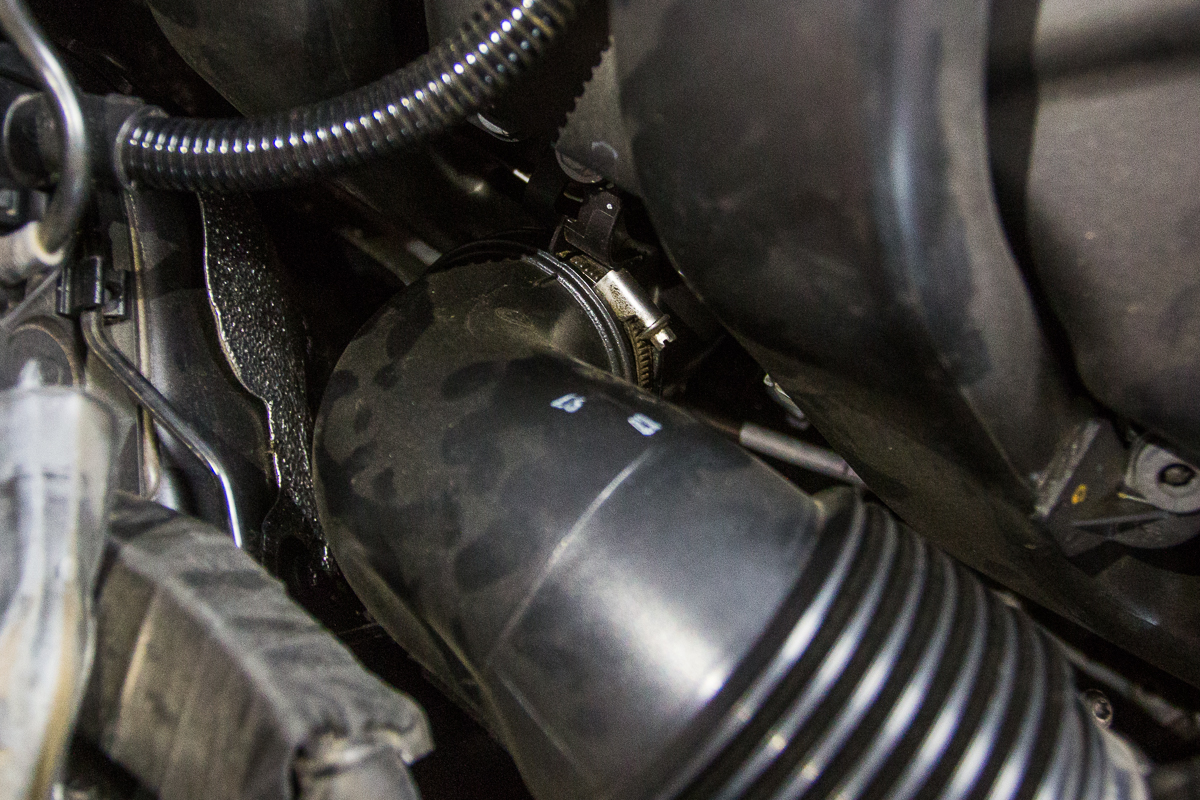
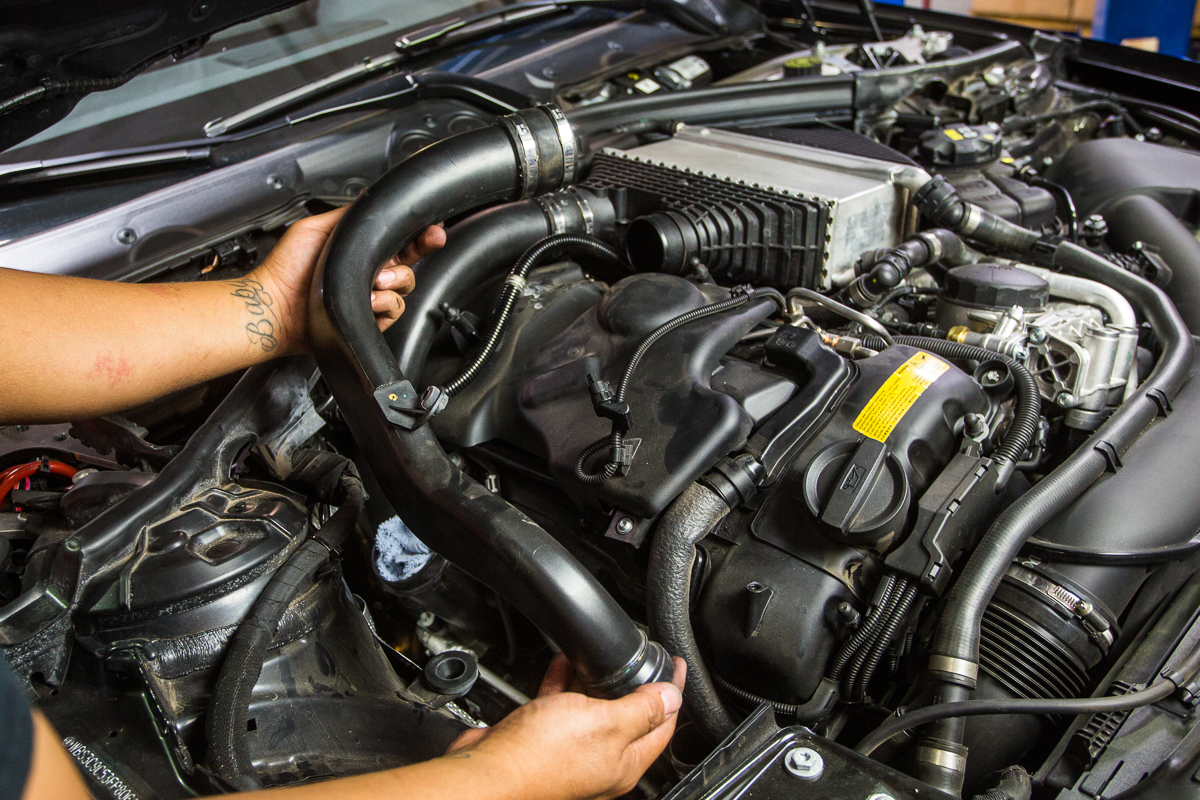
Step 8) Next we will be removing the charge pipes that connect from the turbo charger to the intercooler. To do this remove the two external E10 Torx bolts located on each charge pipe and the loosen the metal clamp at the intercooler. You can lift up to free the charge pipes. They are held in using rubber grommets. *Be careful not drop any bolts into the engine bay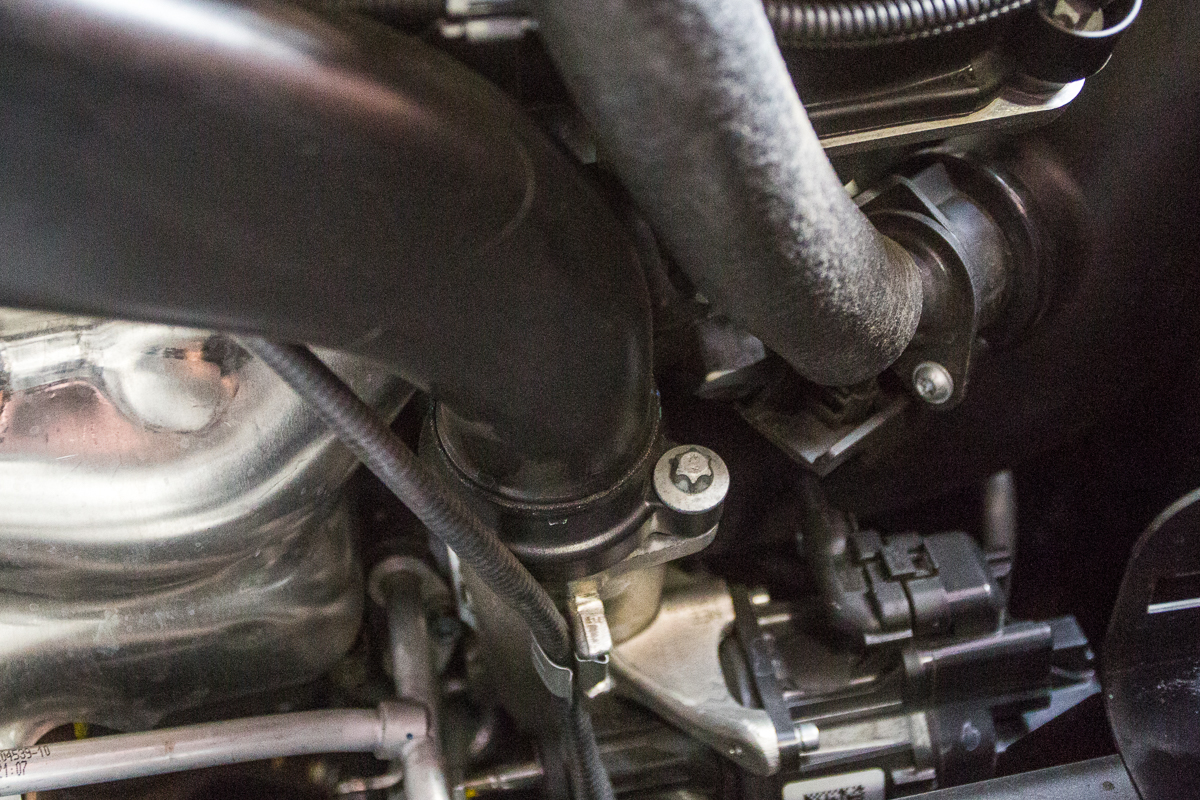
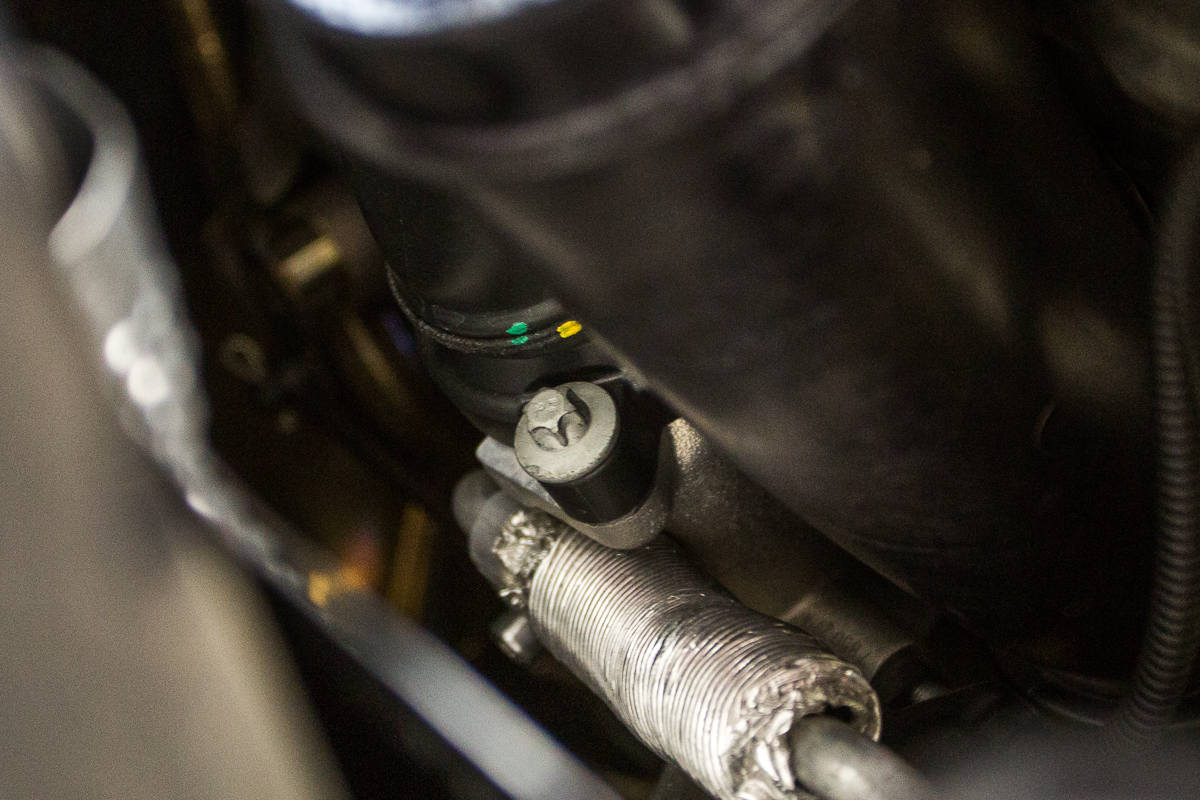
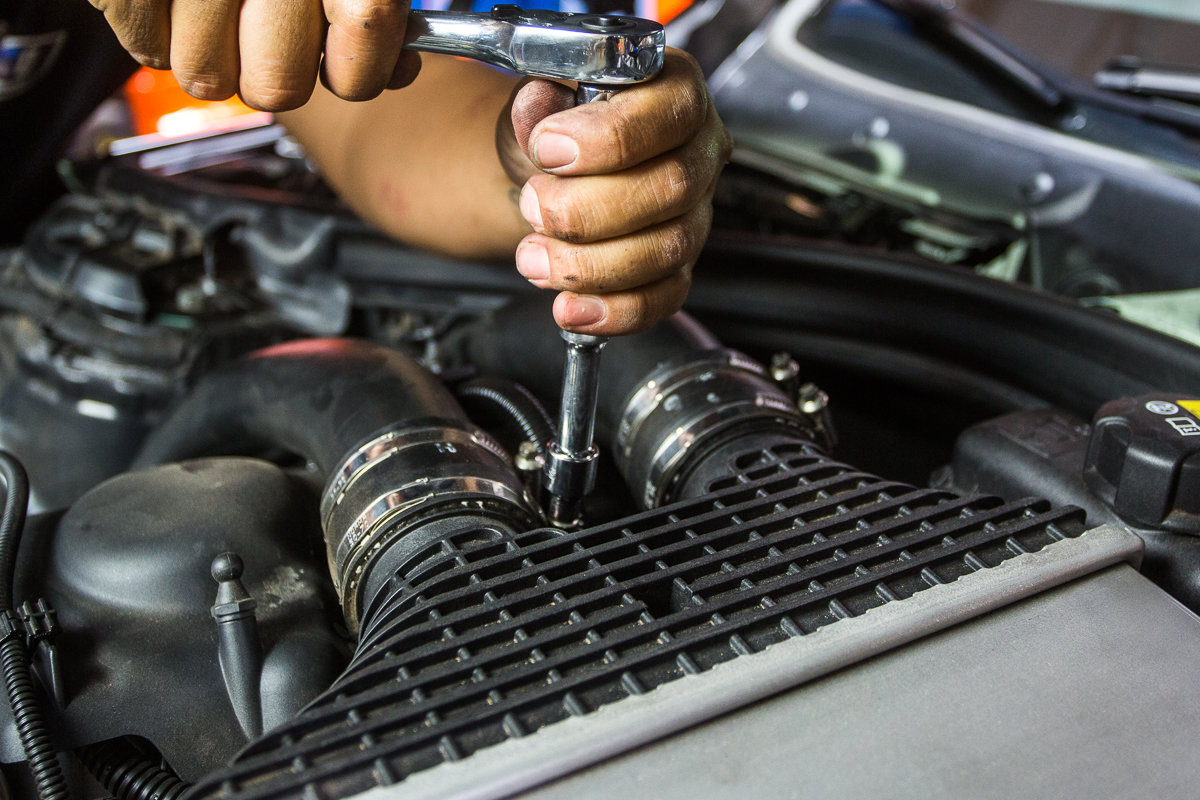 Step 9) Lift up to remove the charge pipes from the rubber grommets that hold them in place.
Step 10) Next remove the secondary engine cover (heat shield) . Lift up evenly and carefully to free from the rubber grommets that secure it in place.
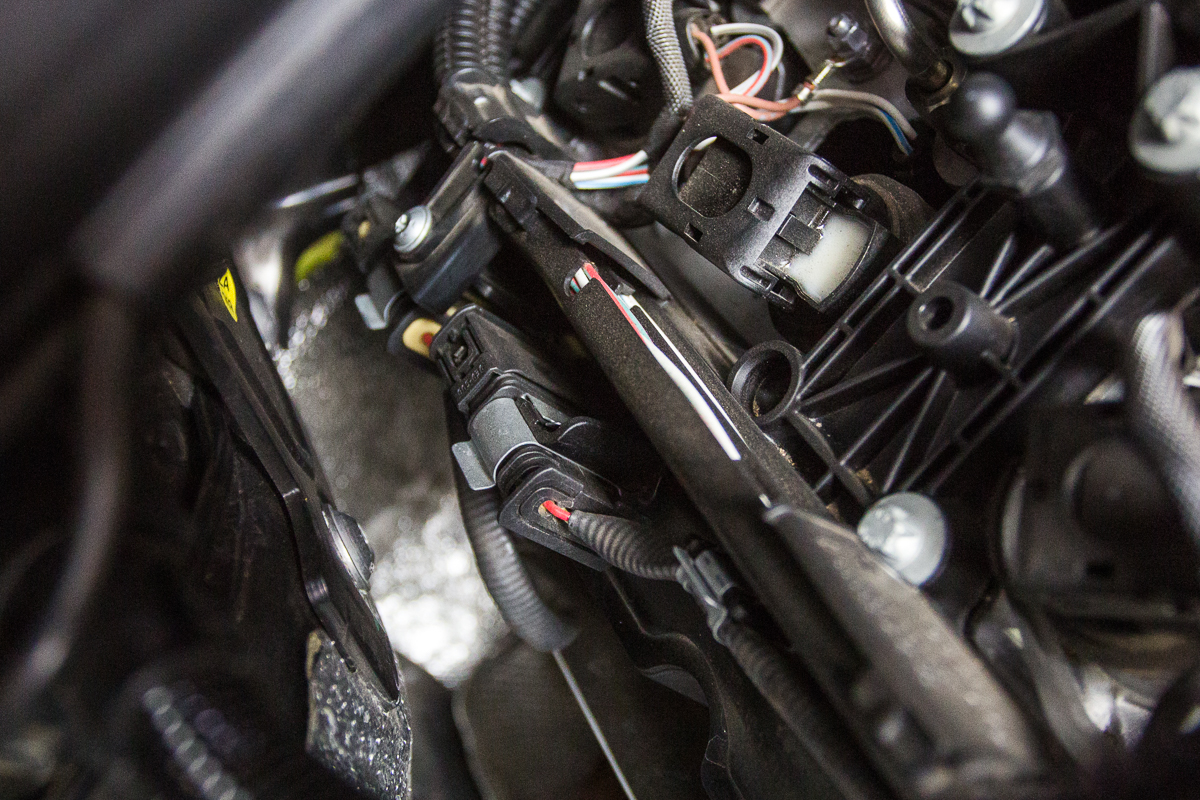
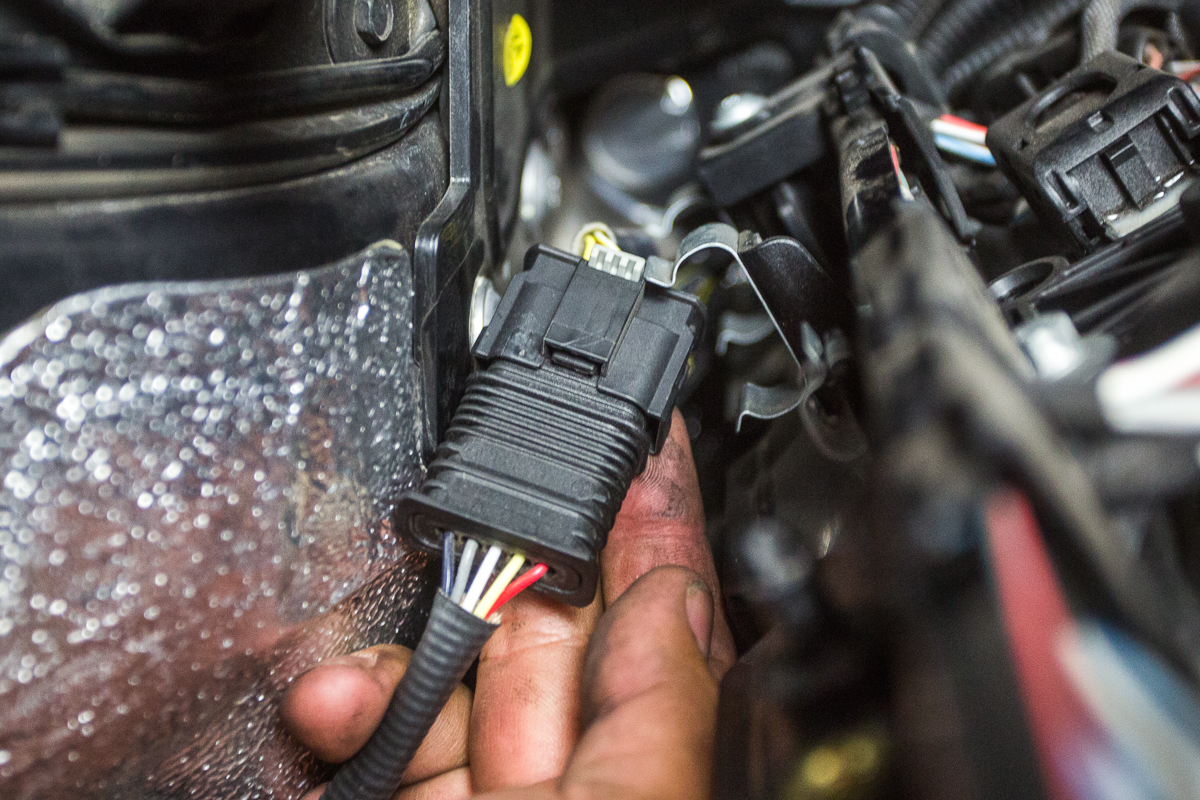
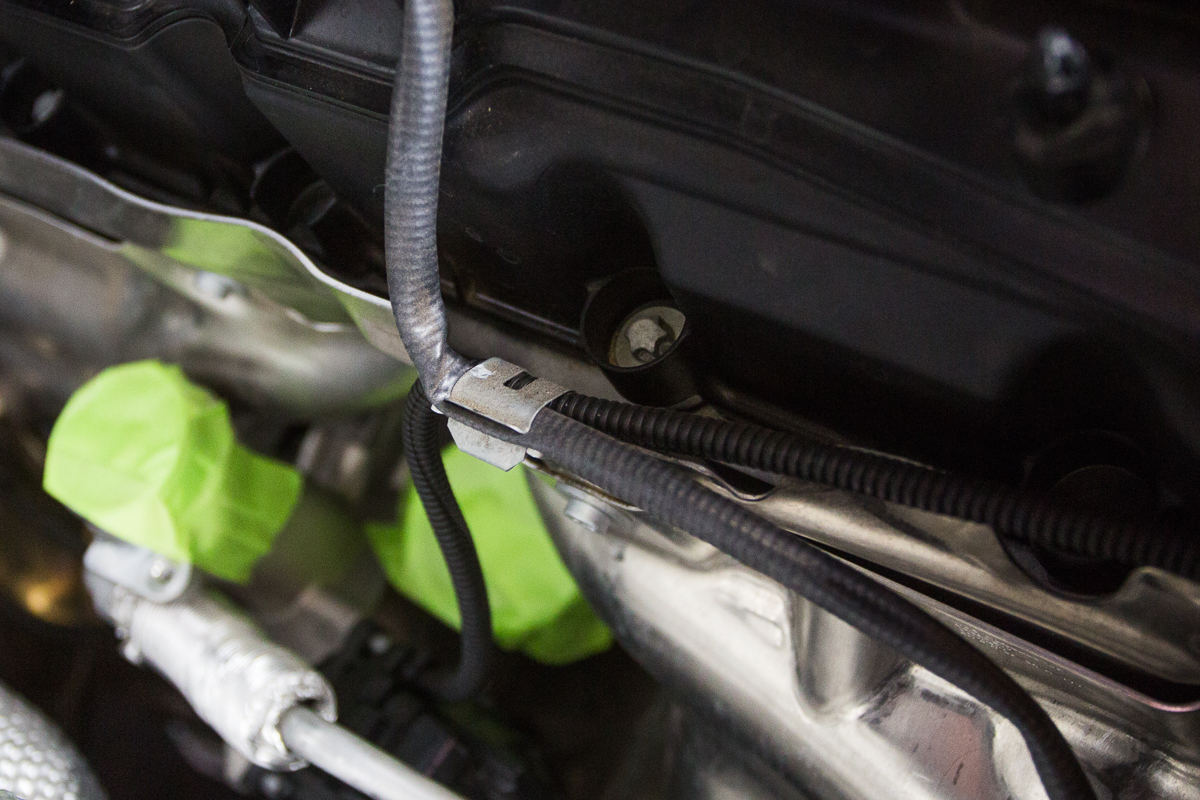
Step 11) Now with the secondary engine cover removed we can now access the oxygen sensor. Unplug the two oxygen sensor connectors and remove the wires from the metal clips. This way we can drop the downpipes with the oxygen sensors attached.
*The connectors are color coded and will not be an issue getting mixed up as long as the oxygen sensors are swapped from the OEM downpipes to the Agency Power Downpipes in the same configuration. The sensors cannot be mixed up or interchanged. .
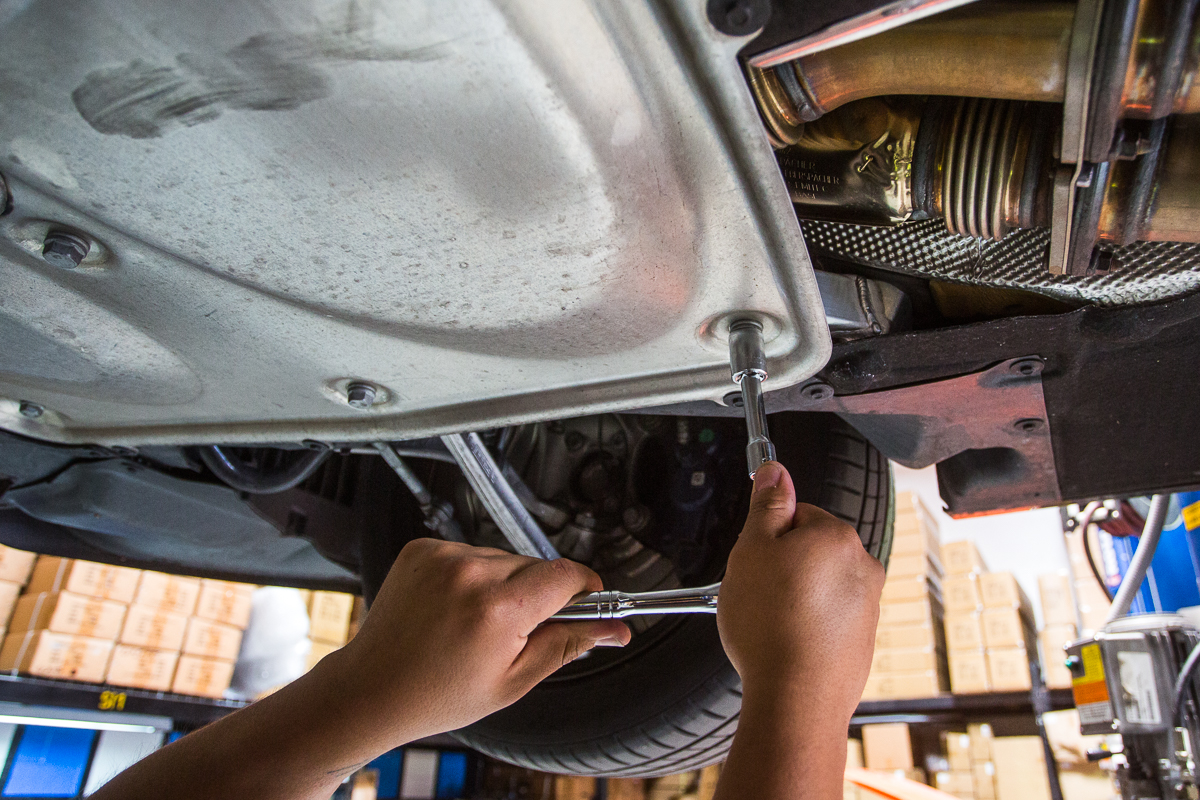
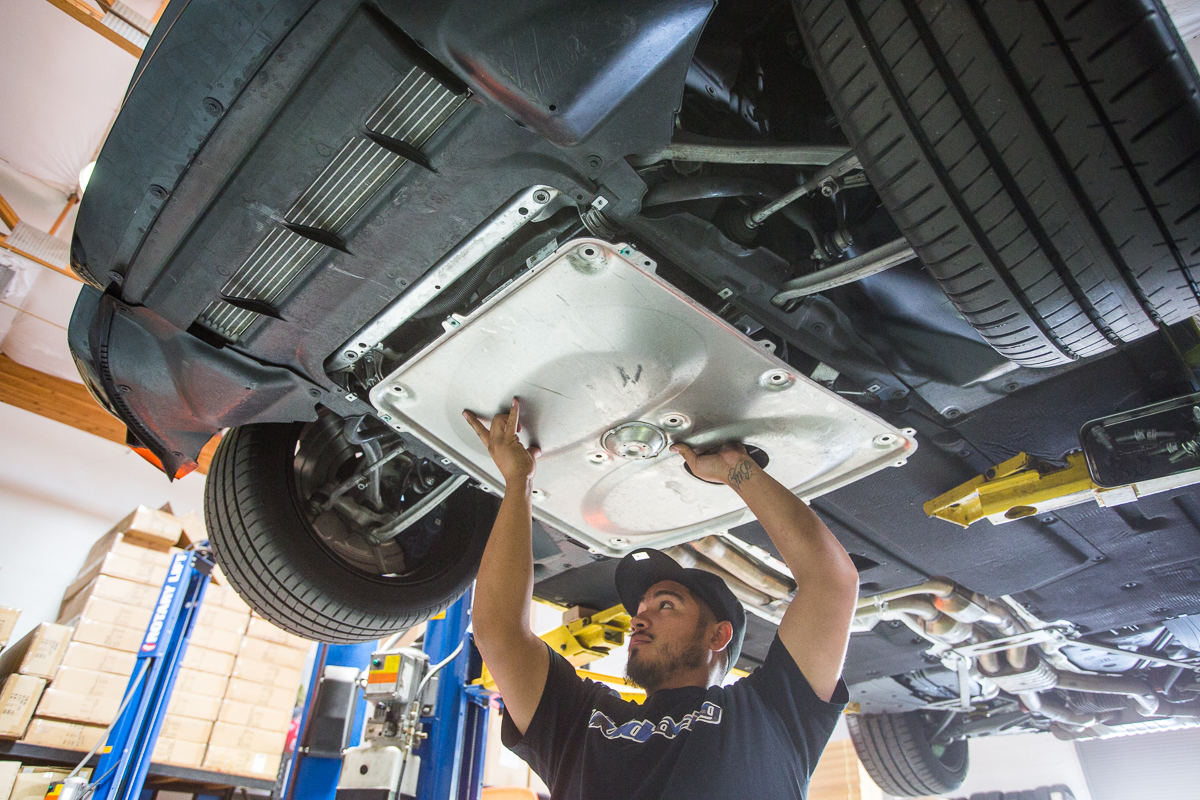
Step 12) Next step is getting the car in the air and removing the metal skid plate and the plastic cover located behind it. (if you are doing this on the ground make sure the car is secured using jack stands)
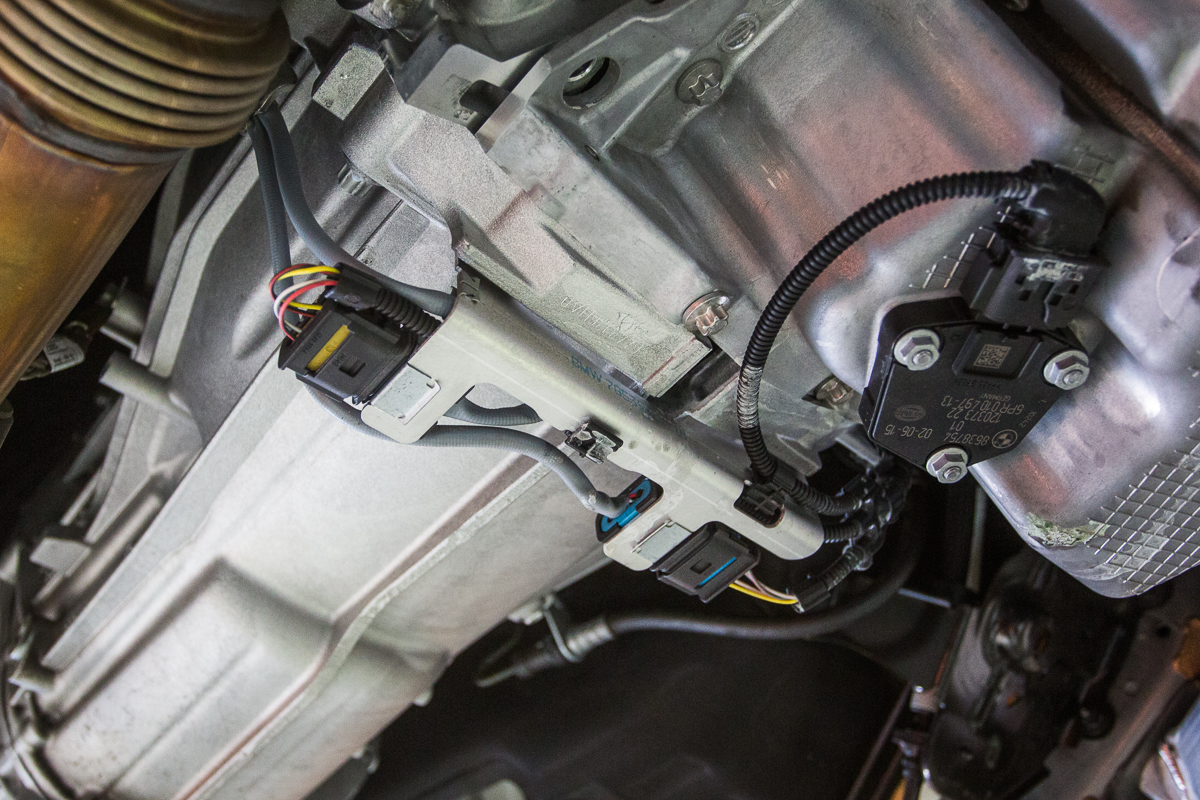
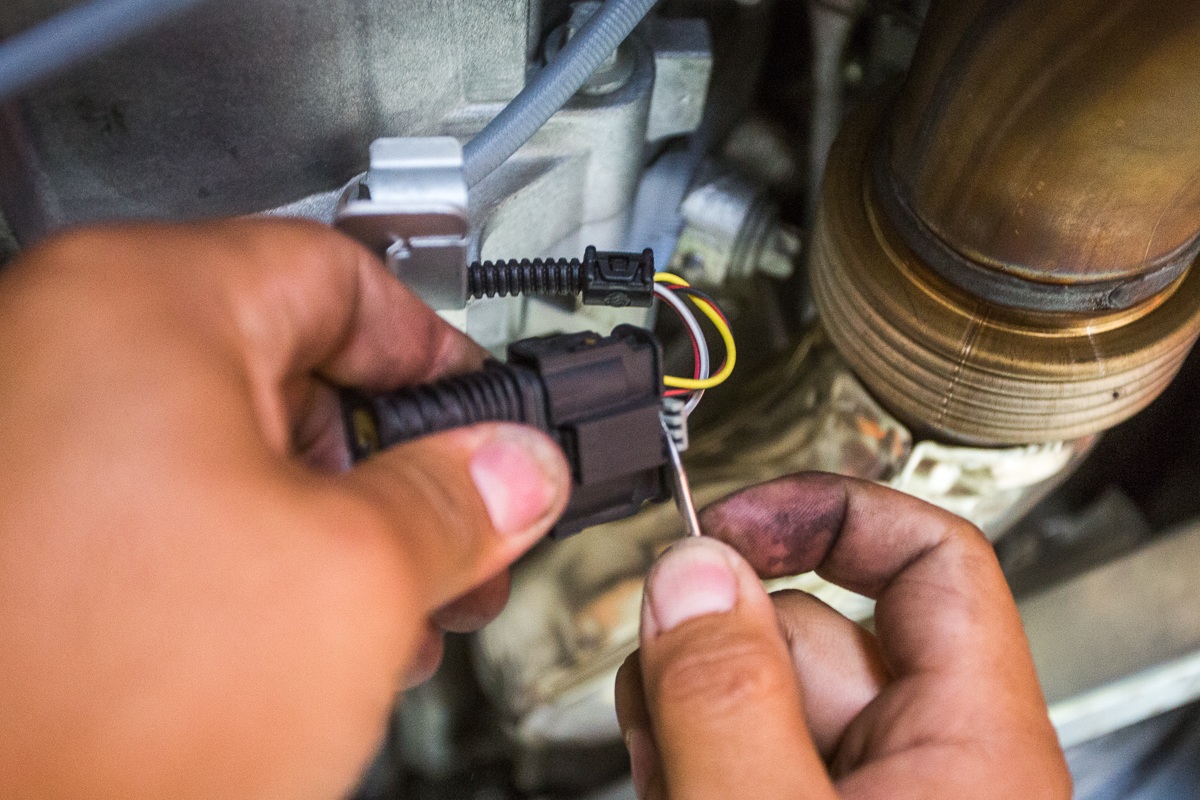
 Step 13) Now with the covers out of the way we can disconnect the two remaining oxygen sensors connectors located just beneath the transmission.
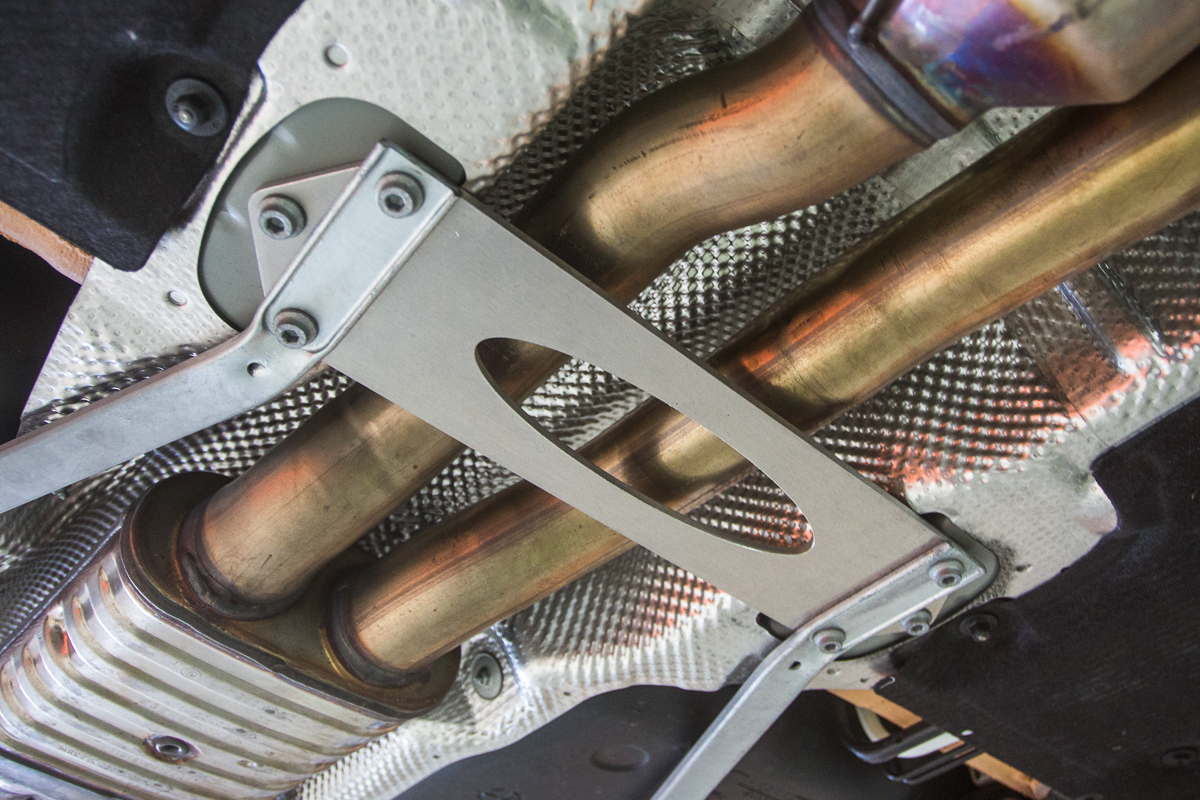
 Step 14) Next remove the lower chassis brace located beneath the mid-pipes. It is held in place by six 6mm allen socket screws.
Step 15) Remove the two external torx E10 screws holding the mid-pipe hanger.
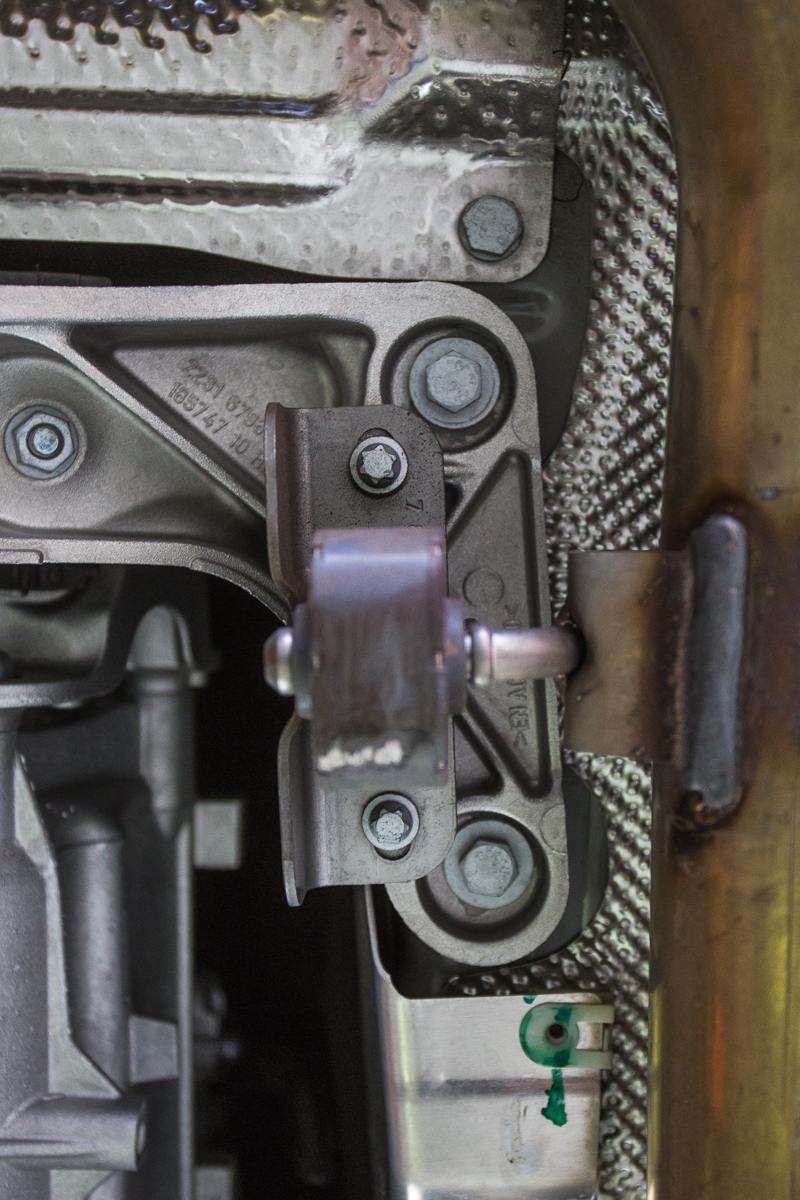
Step 16) Remove downpipe exhaust hanger using a 10MM socket and wrench
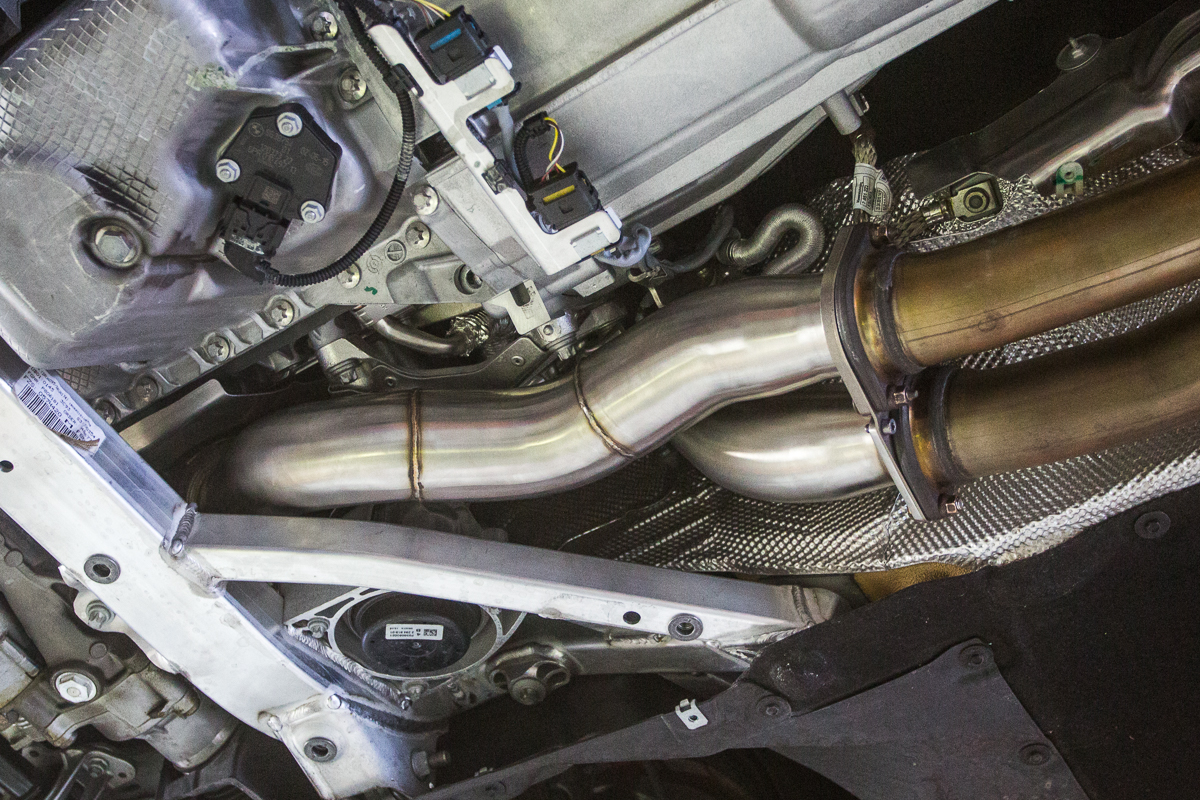
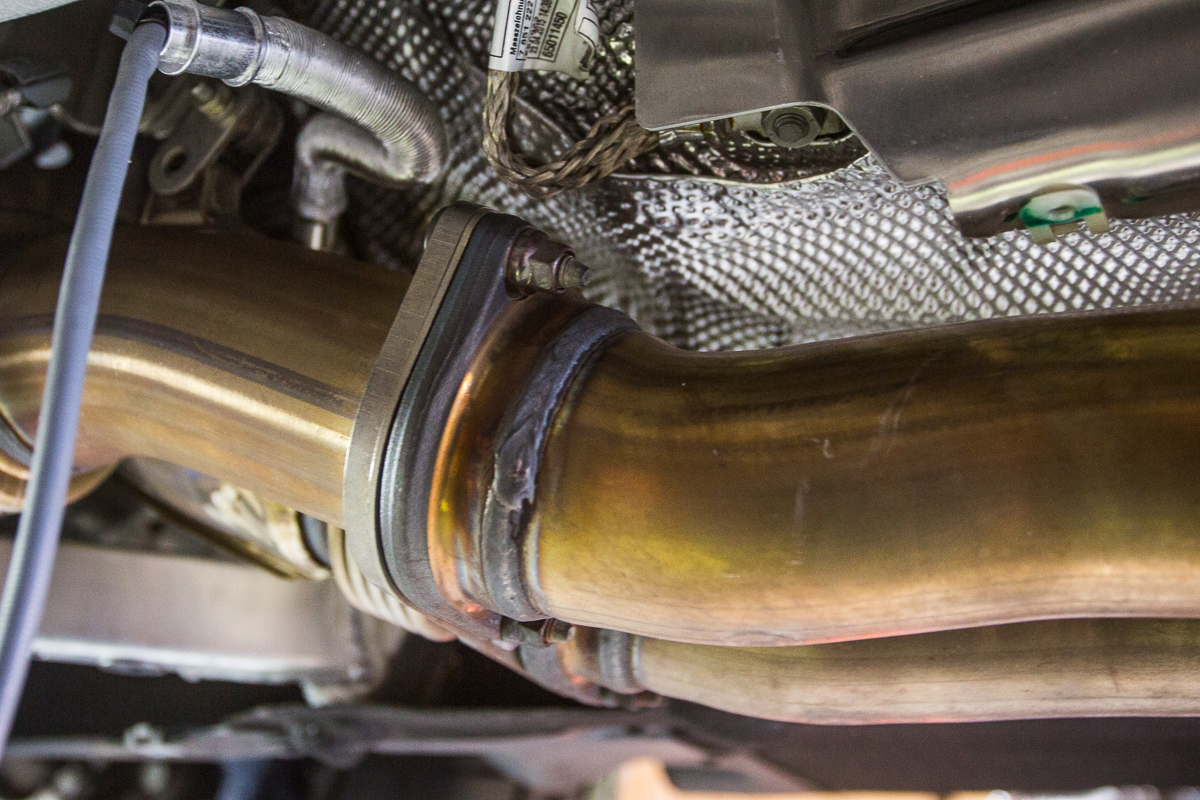
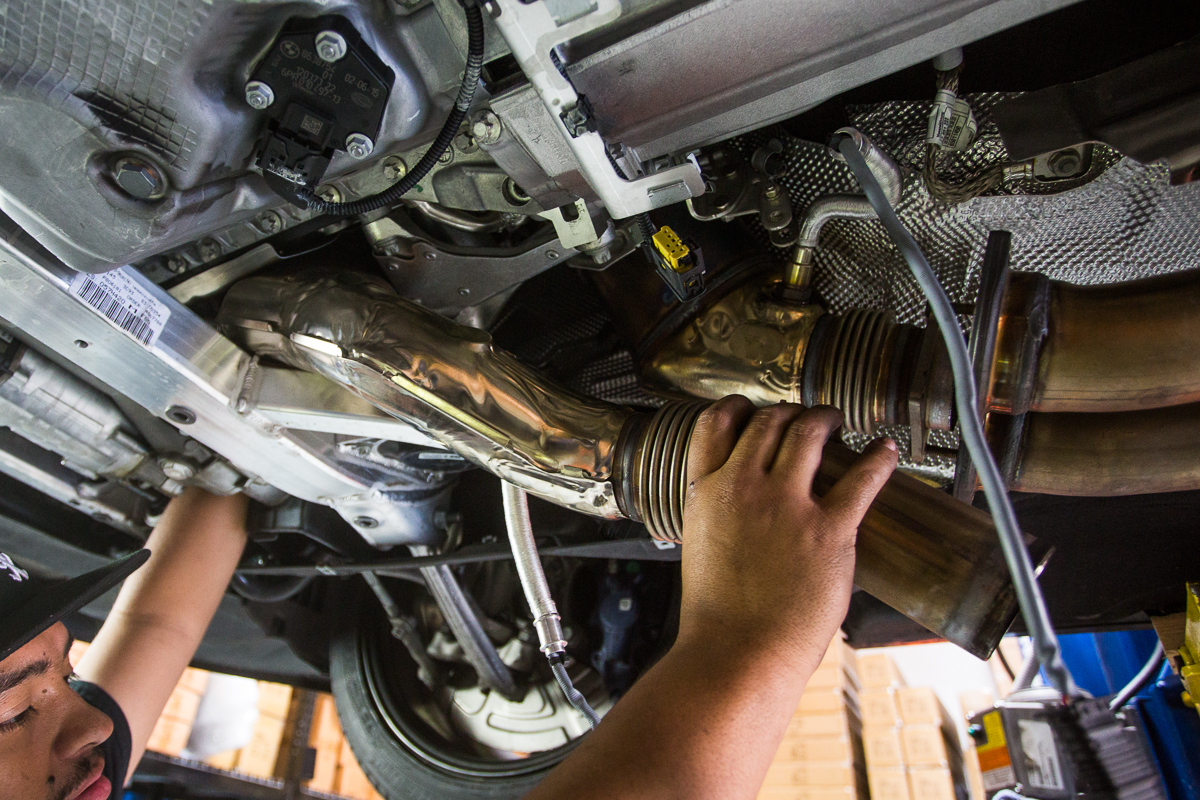
Step 17) Remove the two Torx T30 bolts and four 11mm nuts connecting the downpipes to the rest of the exhaust system. Once you remove these bolts the mid-pipes the weight of the exhaust system will not be supported. Use a stand to support the exhaust system.
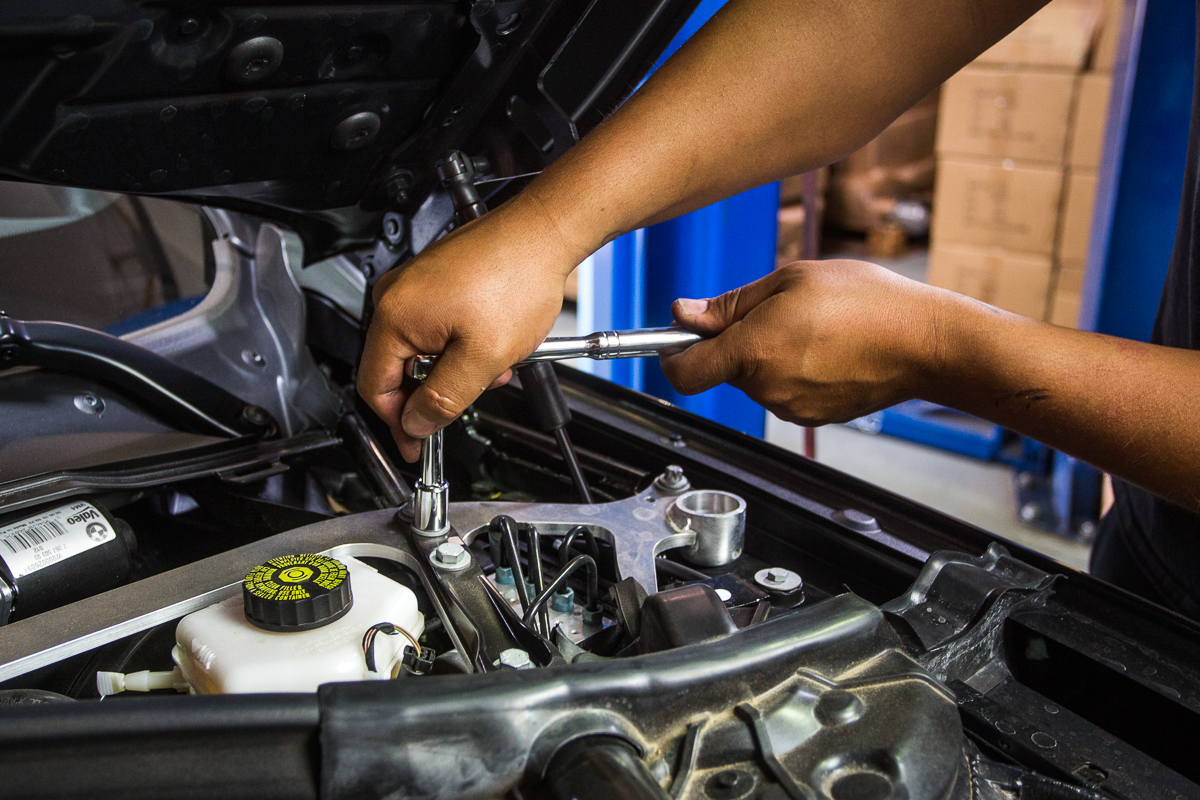
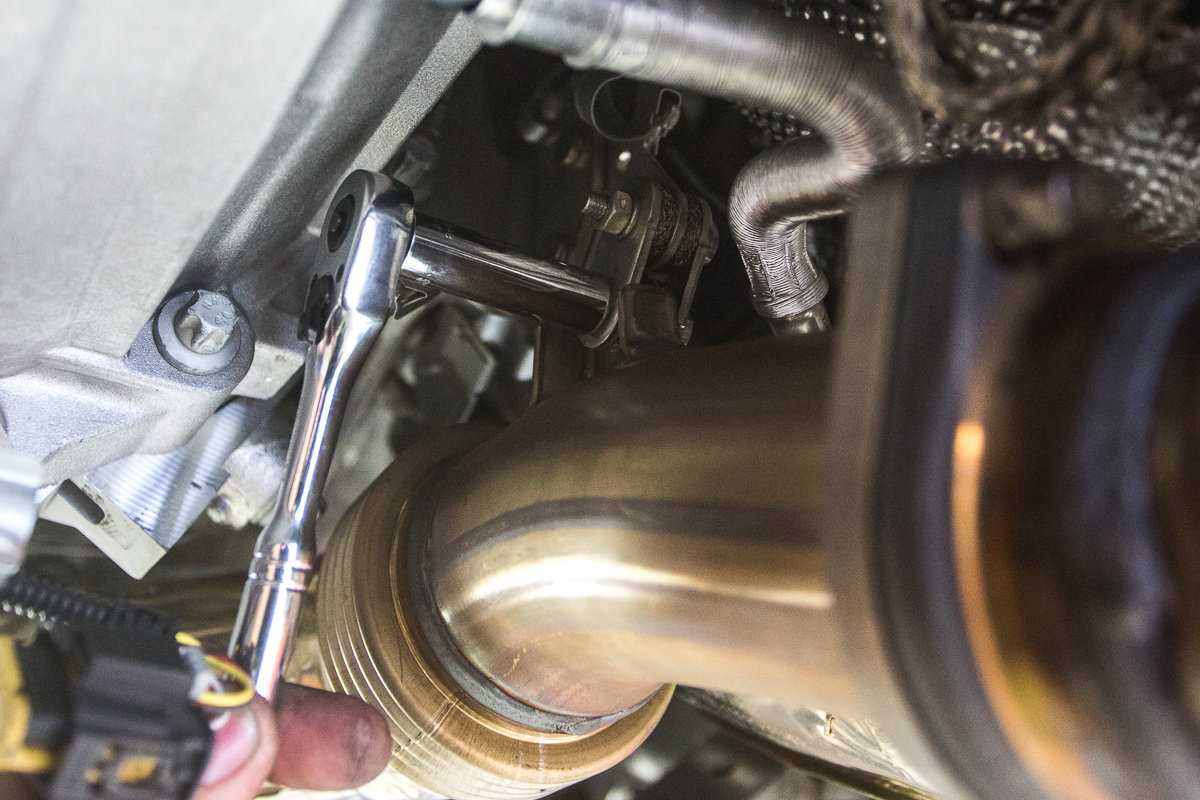
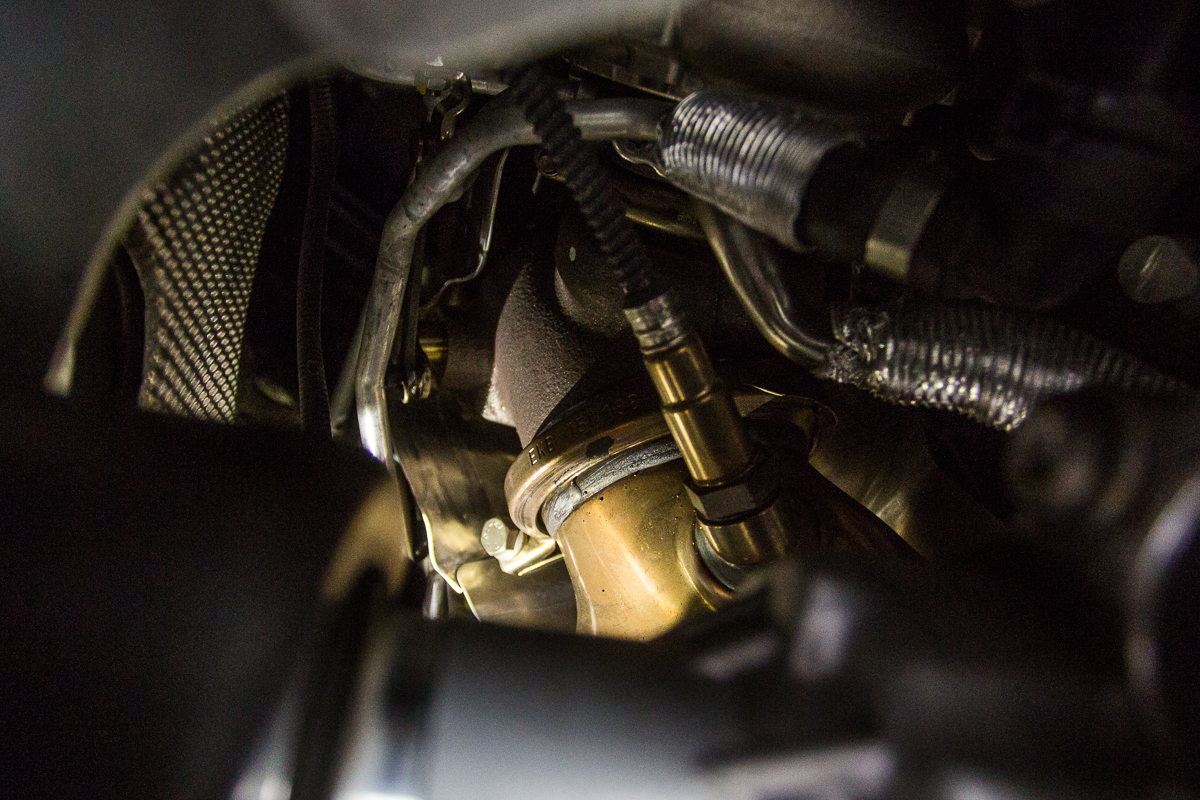
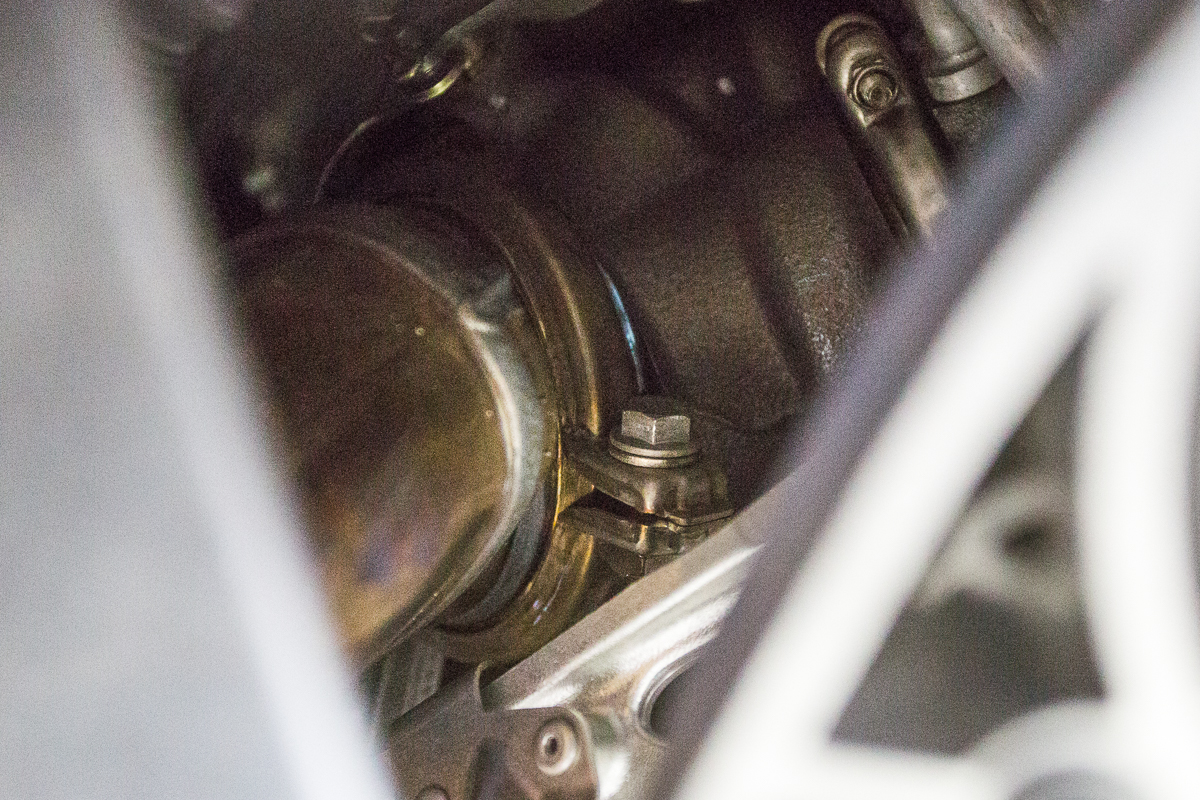
Step 18) Now we are ready to loosen the two 13mm V-bands bolts that secure the downpipes to the turbos. You will need a swivel and an extension to reach the 13mm bolts. Do one downpipe at a time and carefully walk the oxygen sensor wire out of the car.
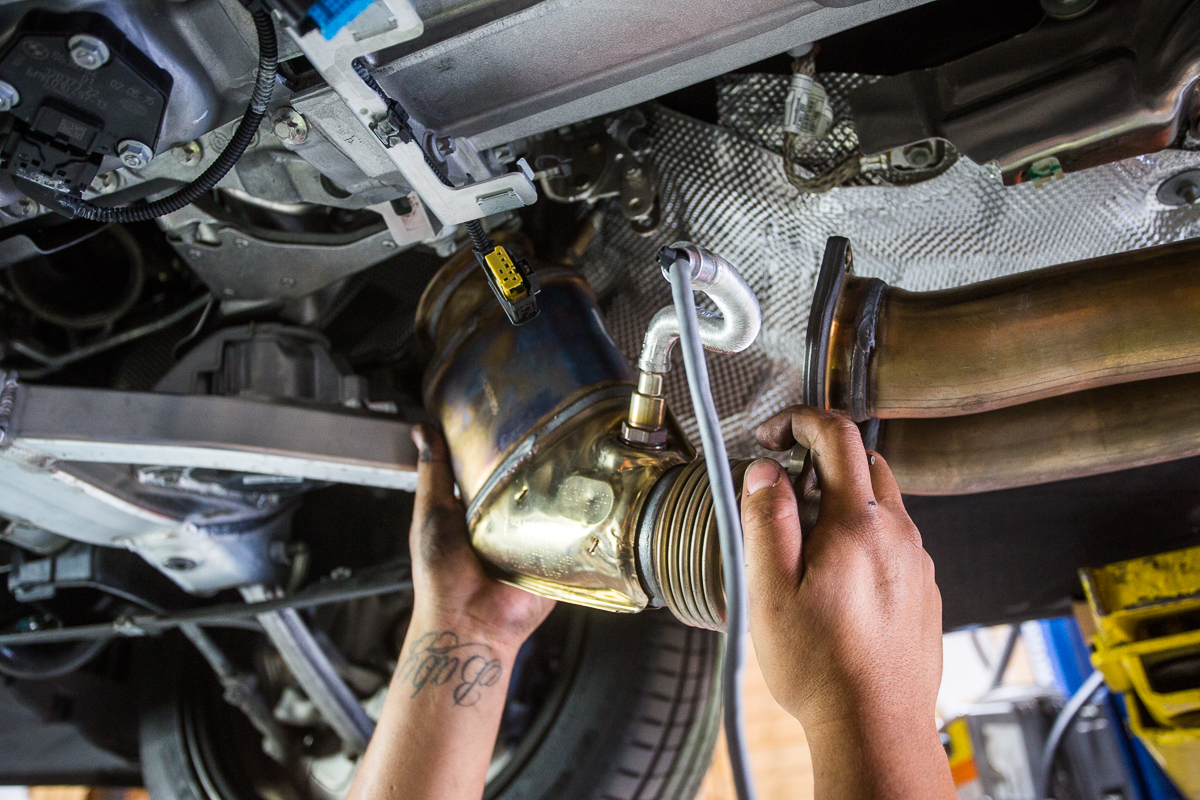
Step 19) Now we you are ready two swap over the oxygen sensors over to the Agency Power Downpipes. DO NOT MIX OR INTERCHANGE THE OXYGEN SENSORS. SWAP THEM OVER ONE AT A TIME TO AVOID MIXING THEM UP.
Step 20) Install your new Agency Power Downpipes and revert to the steps above for re-installation 