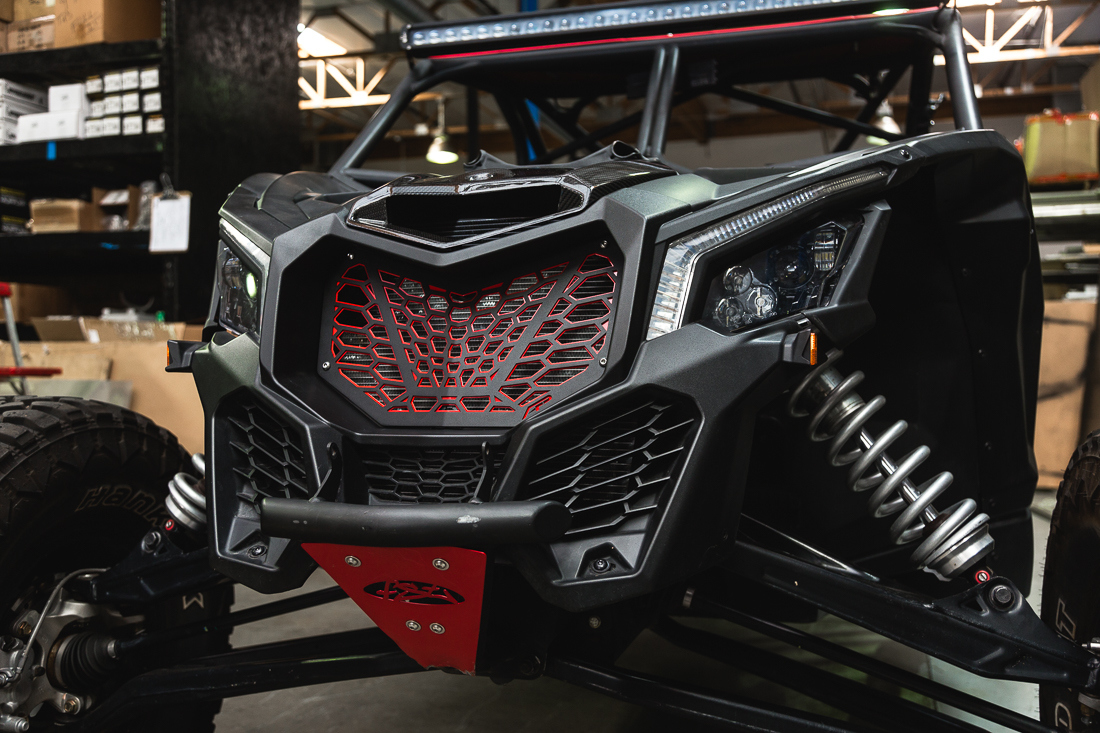
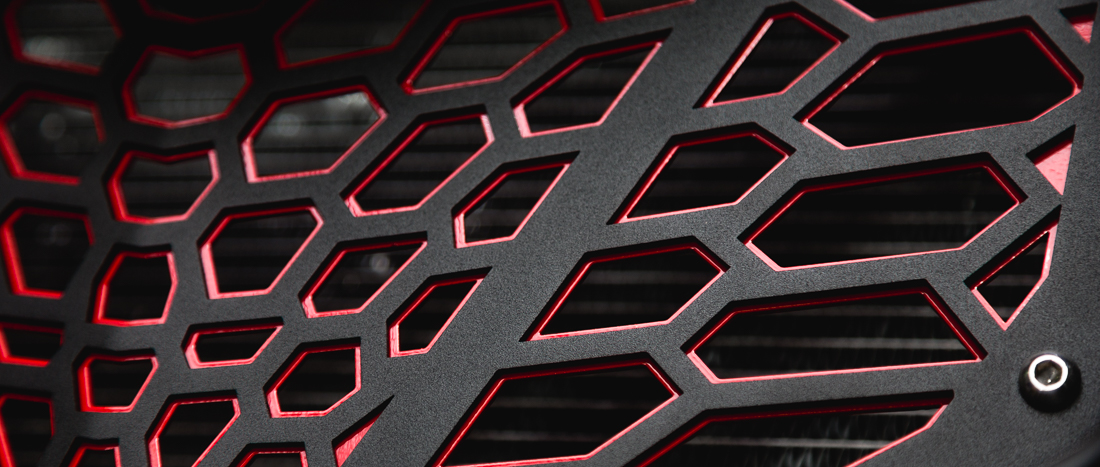
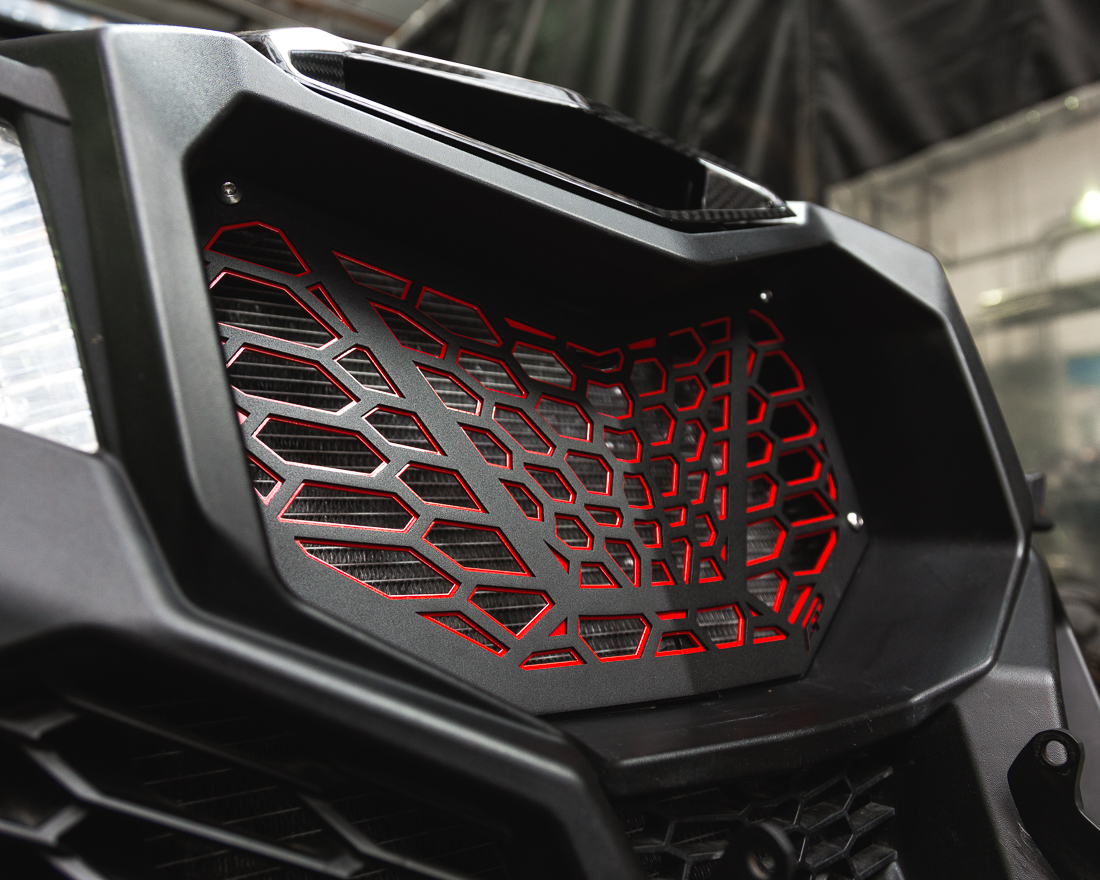
How to Install Agency Power Premium Front Grille on Can-am X3 | X3RS | X3DS
How to Install the Agency Power Premium Front Grille on Can-am X3 | X3RS | X3DS
 Tools Required for installation
5mm Allen Wrench
10mm Open End Wrench
Estimated Install Time: 15-20 min
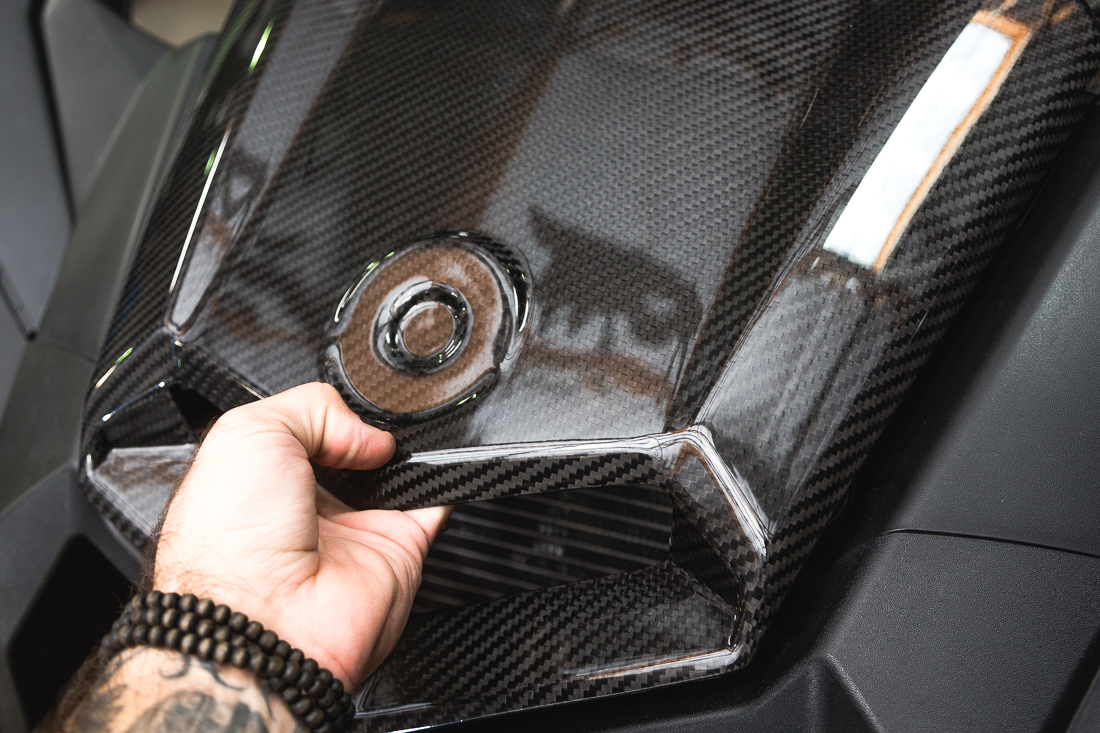
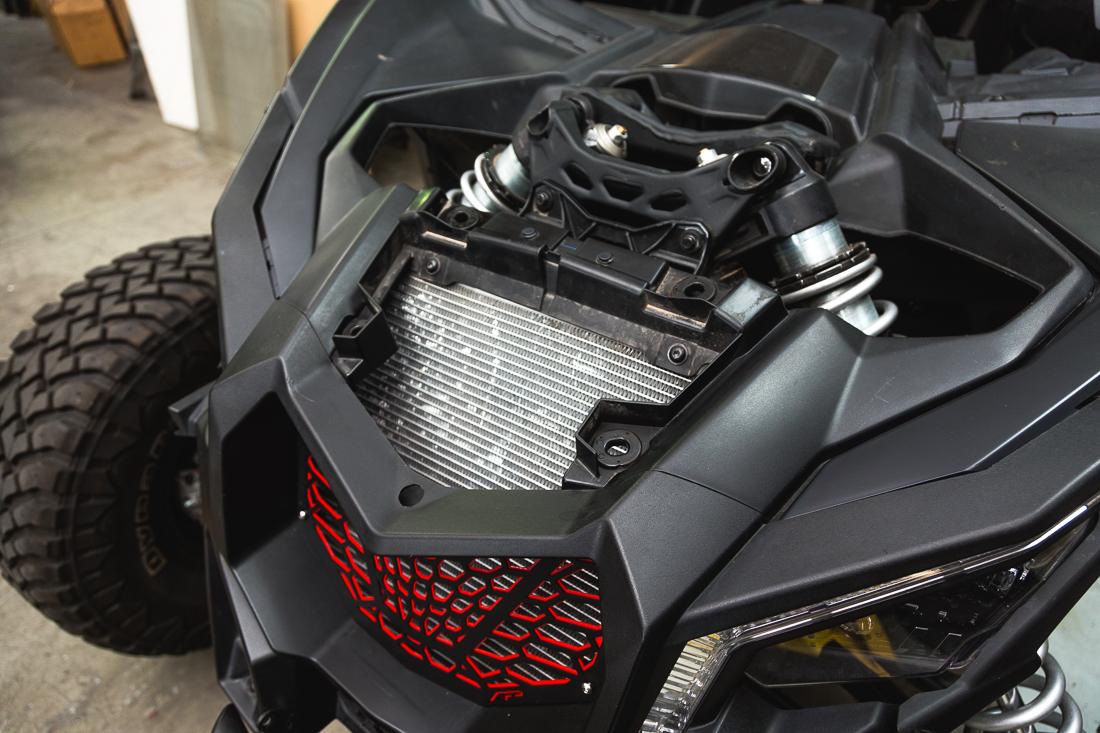
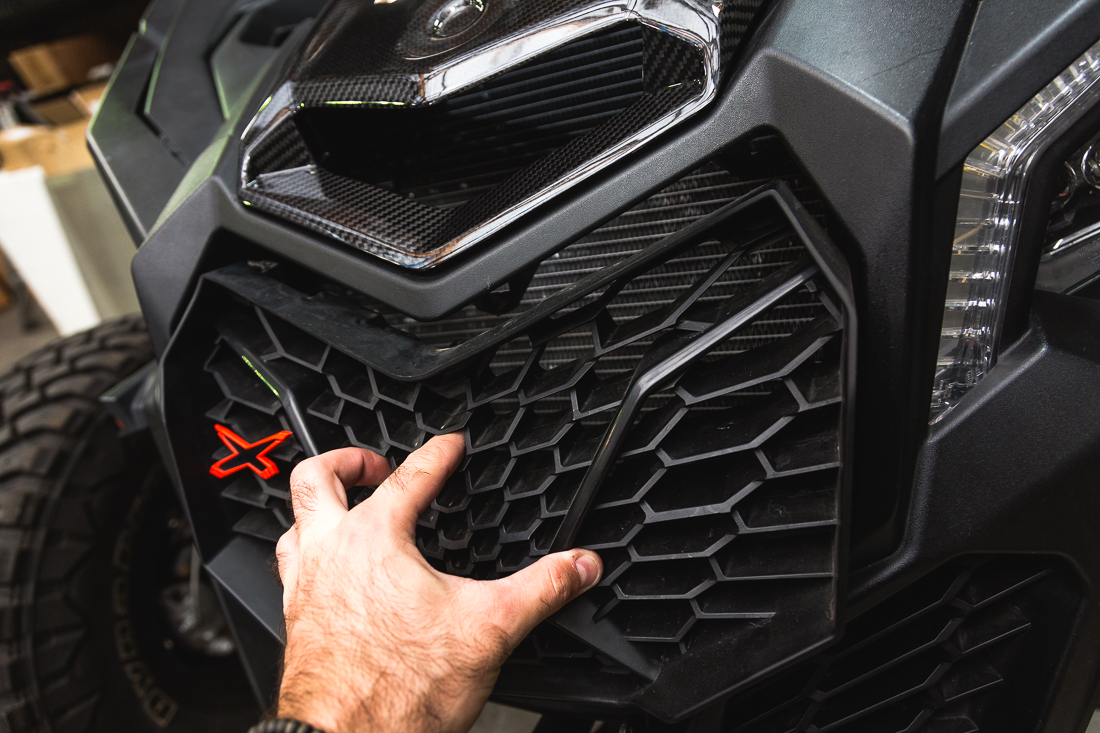
Step 1: The OEM front Grille is only held in place by push clips. Pull outward on the grille to remove from vehicle. If needed you can remove the hood to push out the grille from the back side. The hood will need be removed for the install (Shown in Step 4)
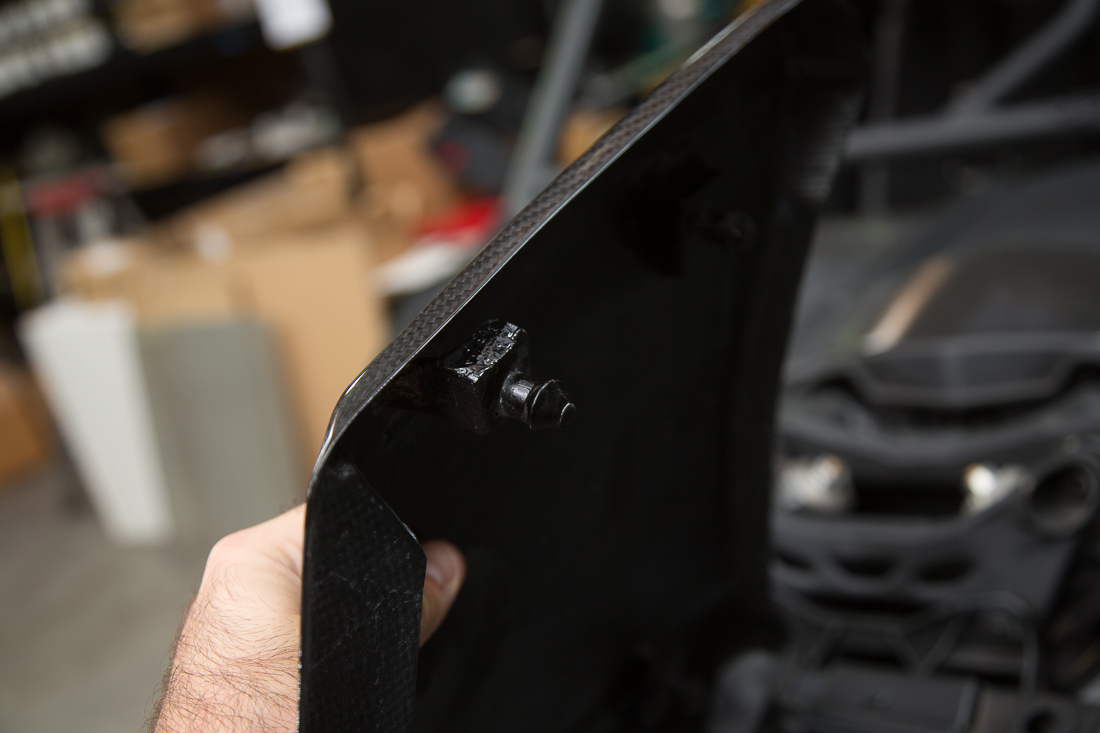
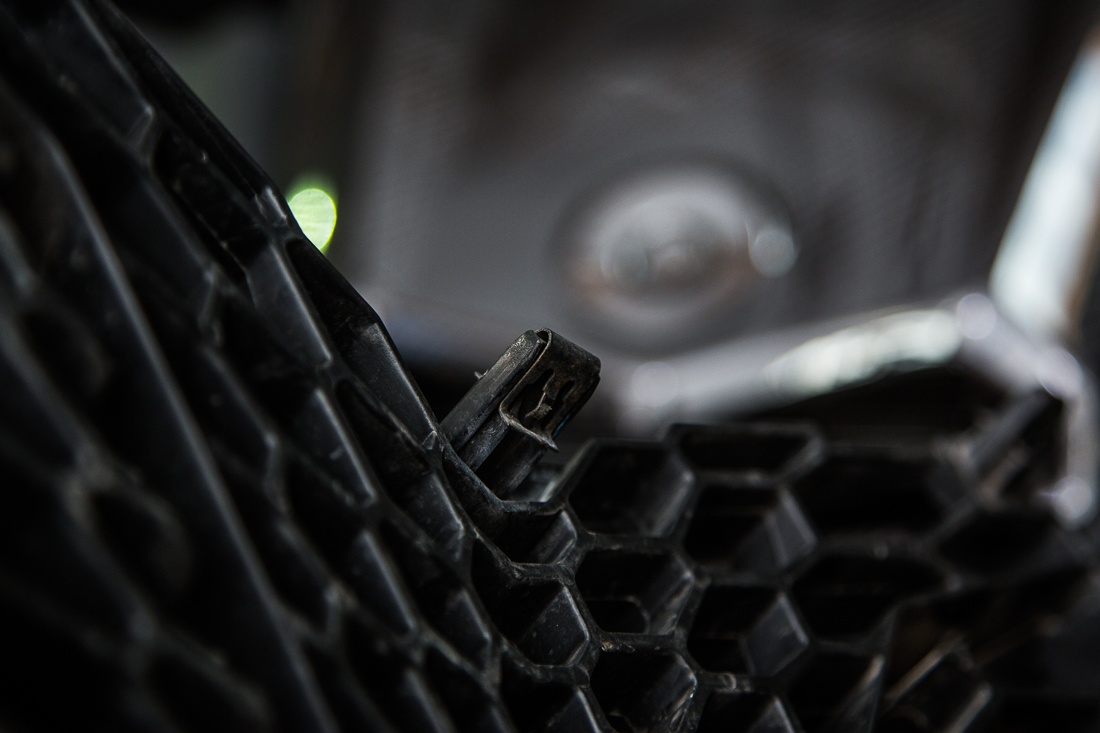
 Close up look at the push clips that hold the factory grille in place.
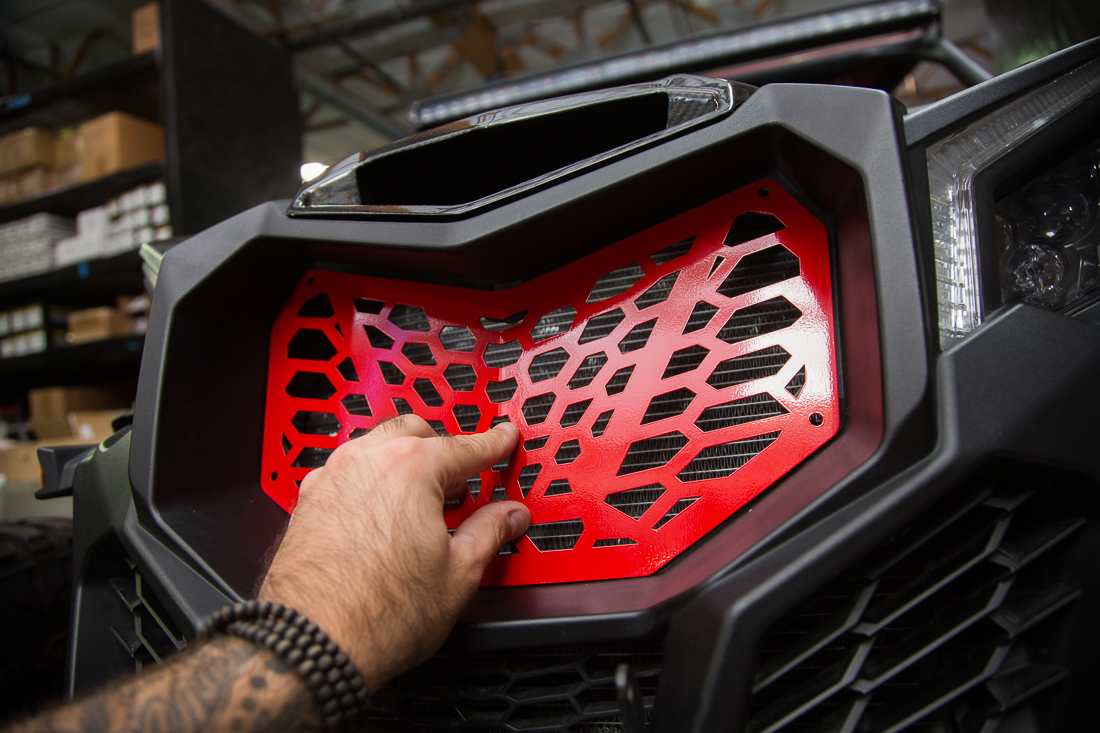
  Step 2: Insert the top and back layer of the Agency Power Grille into the front grille opening of the Can-am X3.
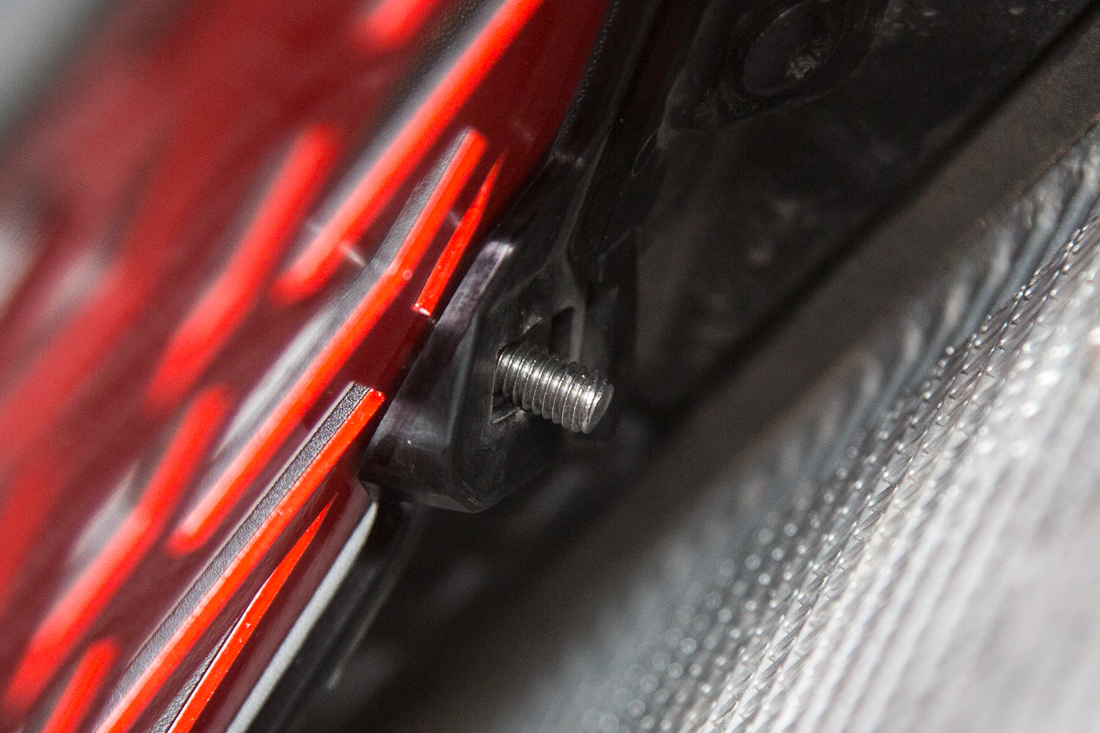
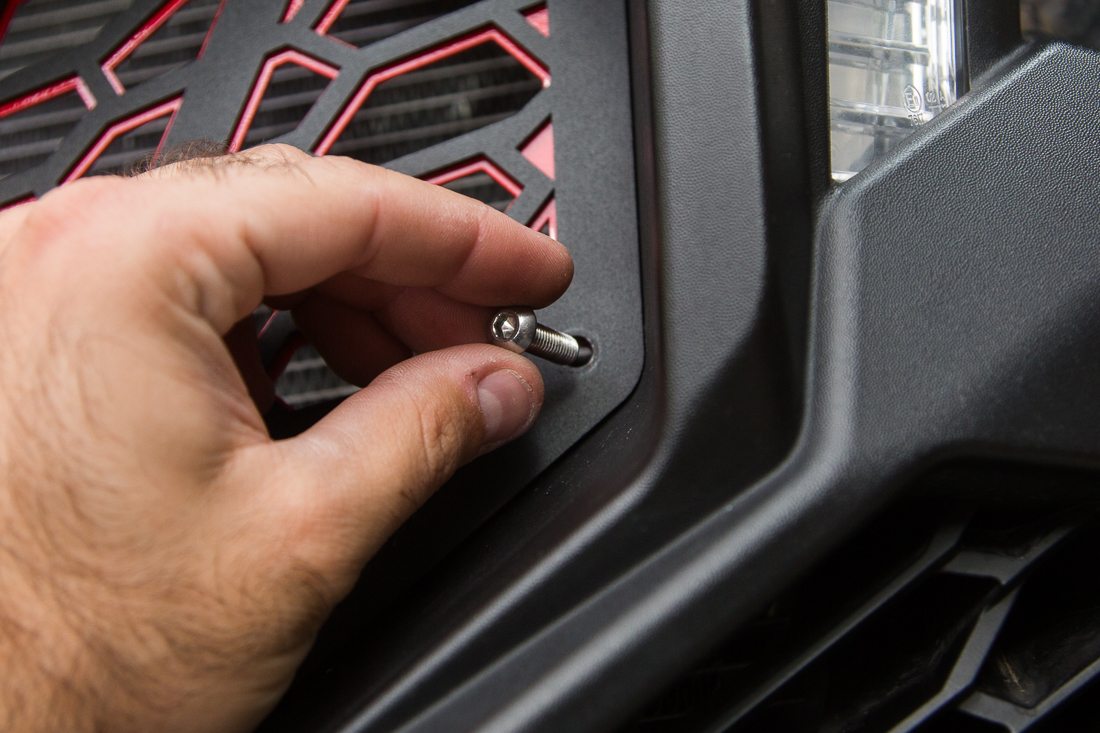
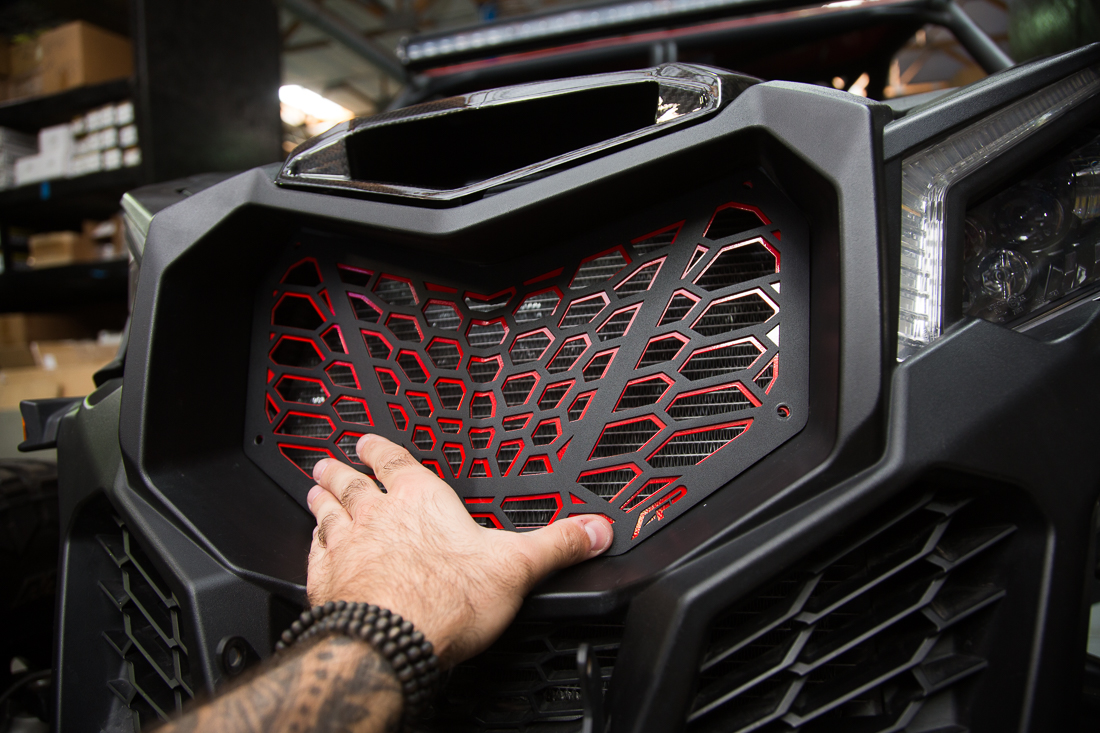 Step 3 : Insert the supplied (4) scews to hold the grille in place.
 Step 4 : Remove the hood to gain access to the back side of the grille. The hood is held on by rubber grommets. Lift up to remove.
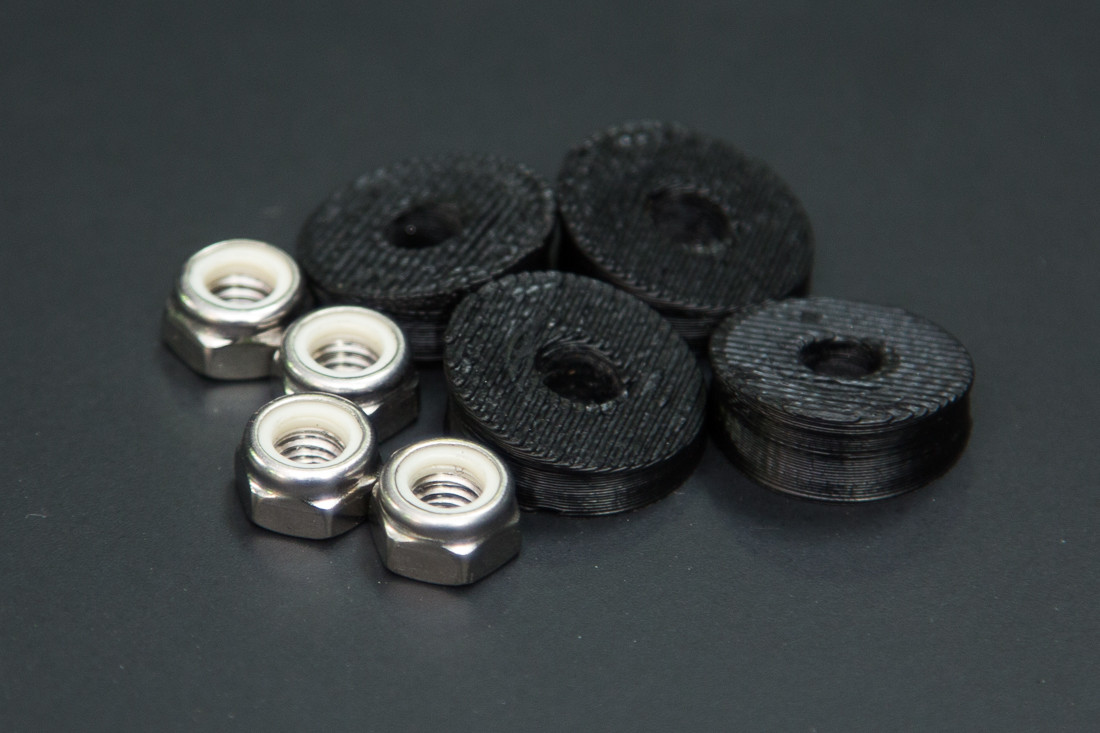
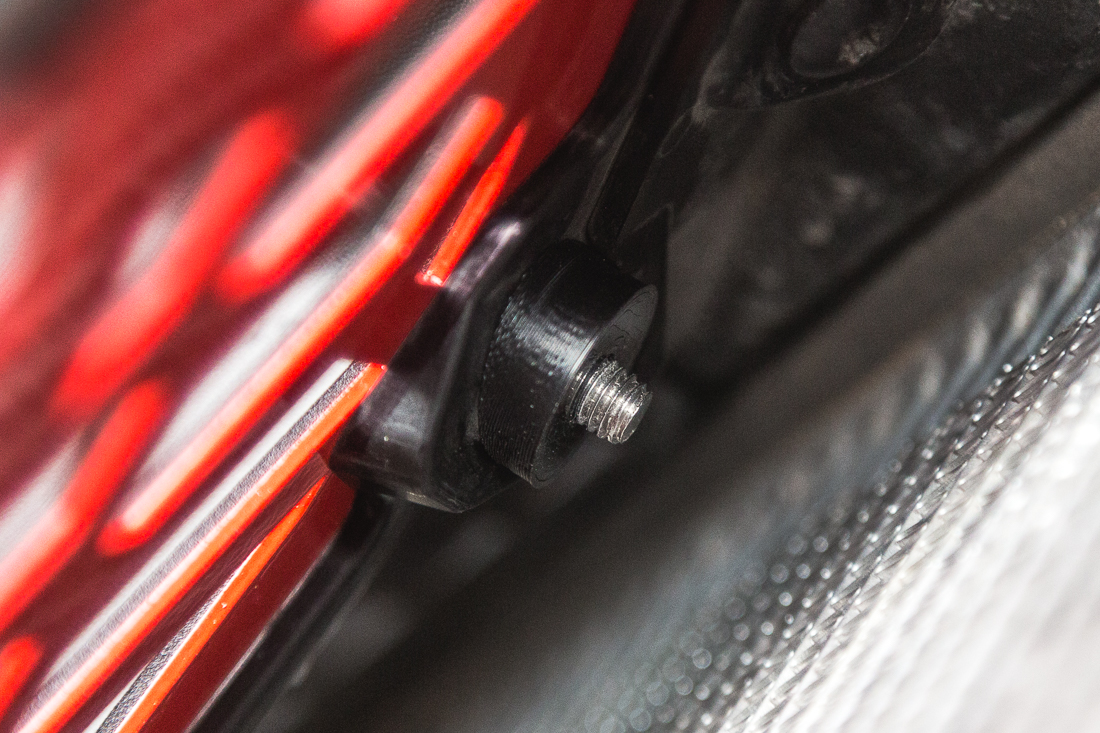
Step 5 : Attached the supplied washer/spacers and nylon lock nuts as shown.
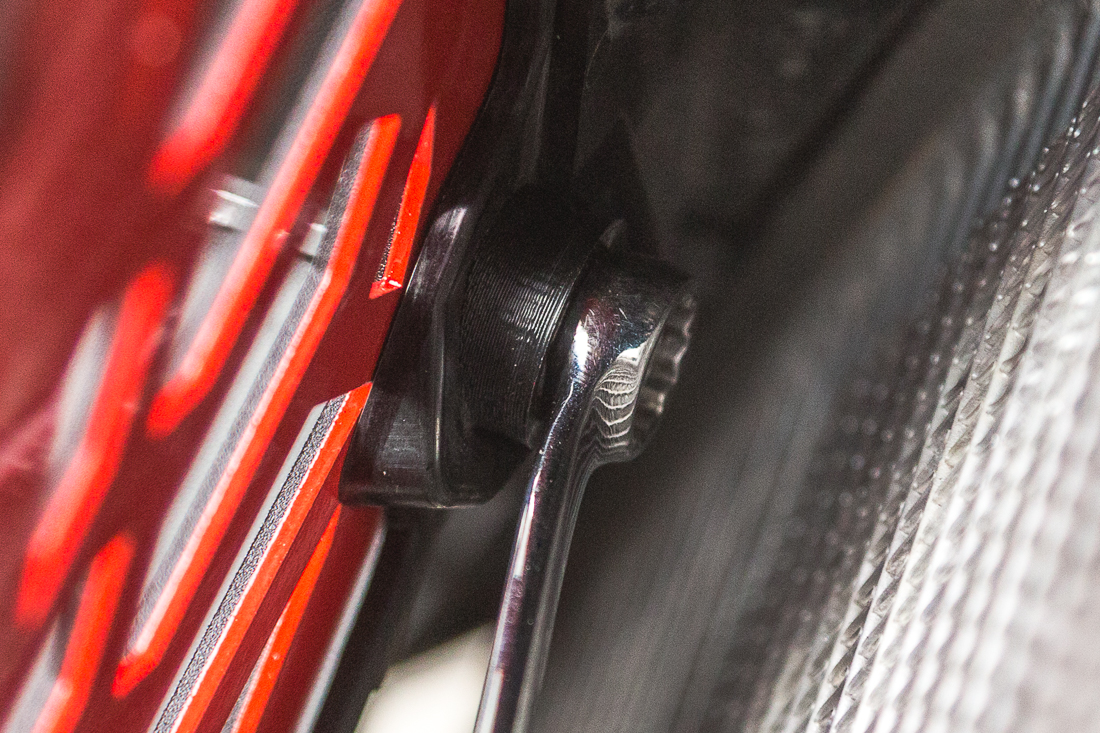
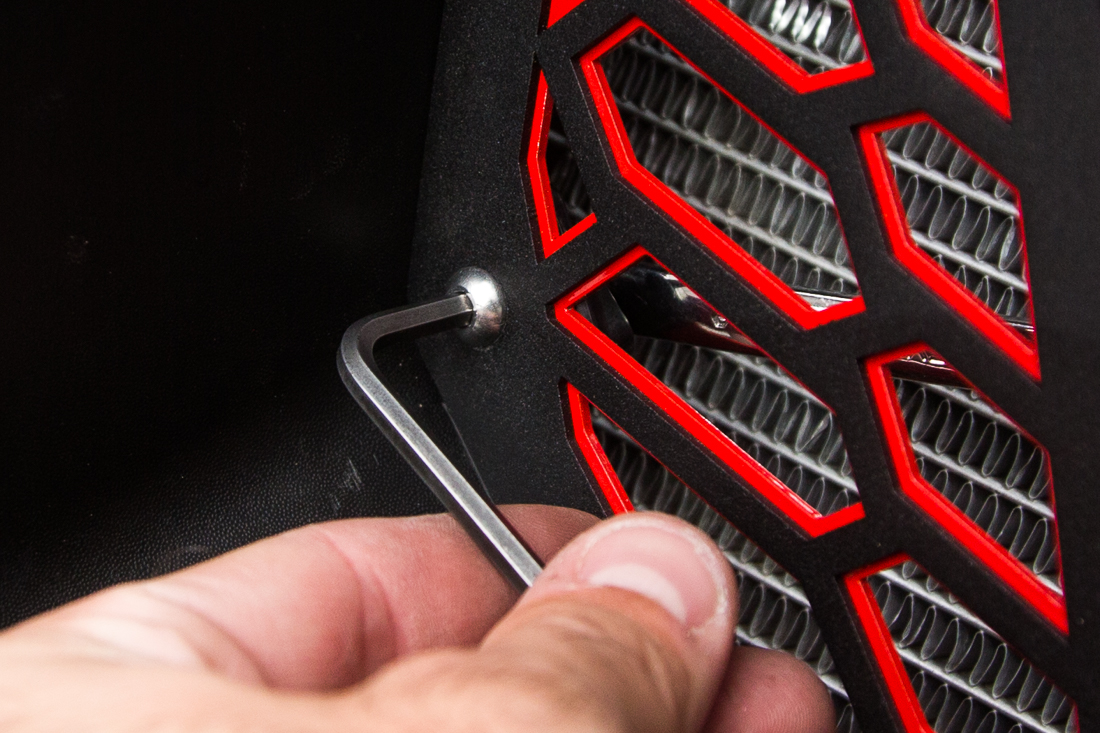
Step 6 : Use an open ended 10mm wrench and 5mm allen wrench and tighten hardware. (Do not over tighten)
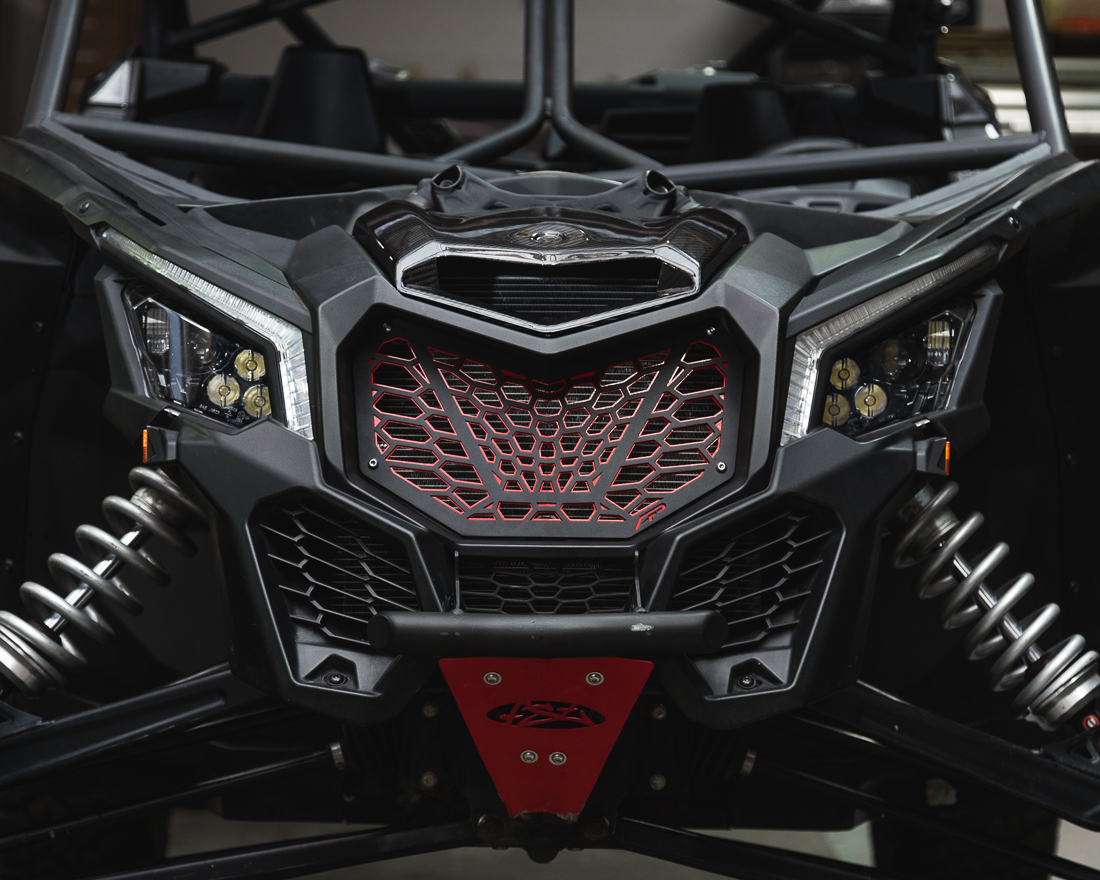
Step 7 : Enjoy the new look of your Can-am X3 | X3RS | X3DS with the new Agency Power Premium Front Grille Installed!


