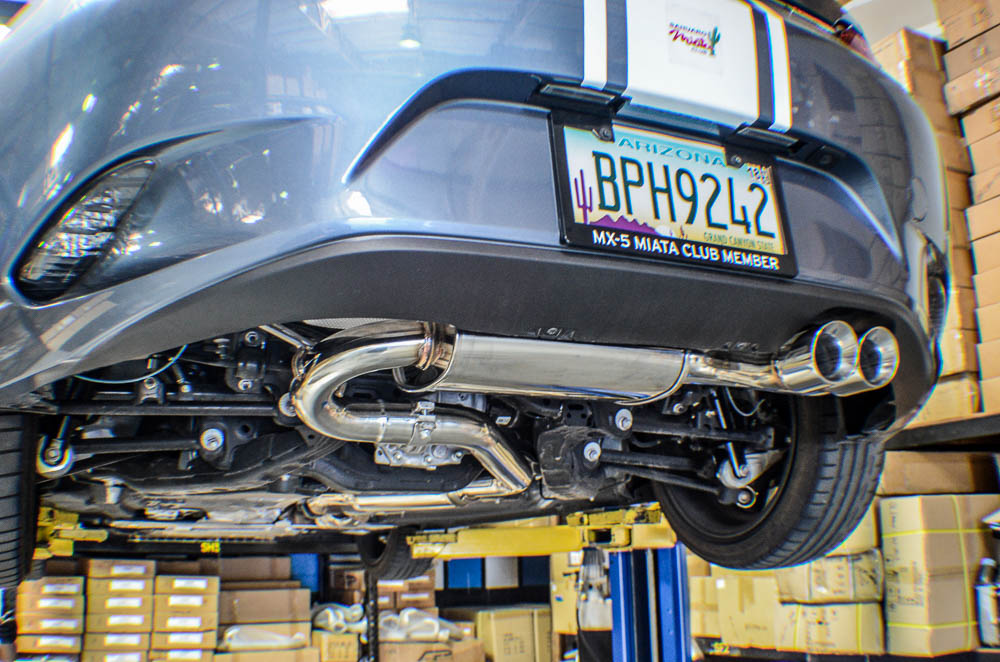
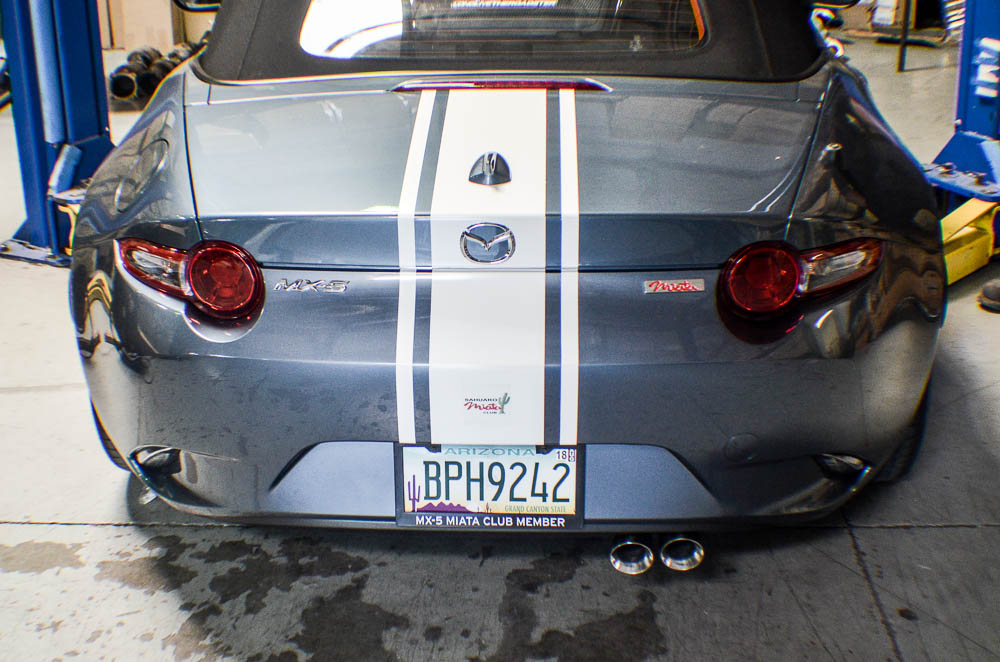
How To Install Agency Power Mazda Miata Catback Exhaust System
This guide is to help with the installation of the Agency Power Catback Exhaust for Mazda Miata.
Install Level: 
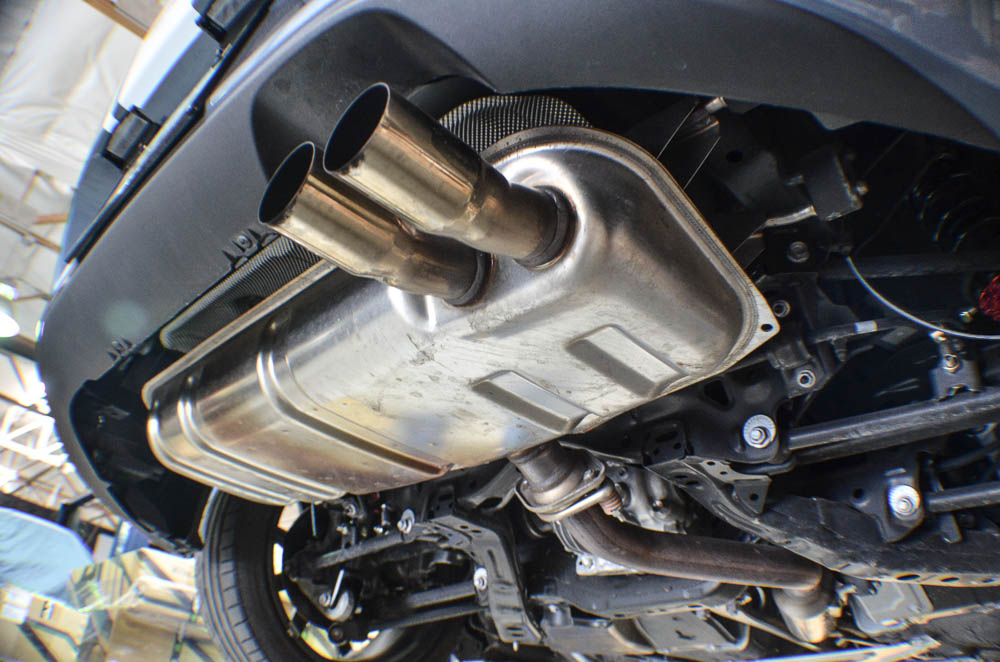
Step 1: Remove the rear muffler section of your factory set up. Undo the 2 bolts and carefully remove hangers. You will reuse the rubber hanger bushings do not damage,
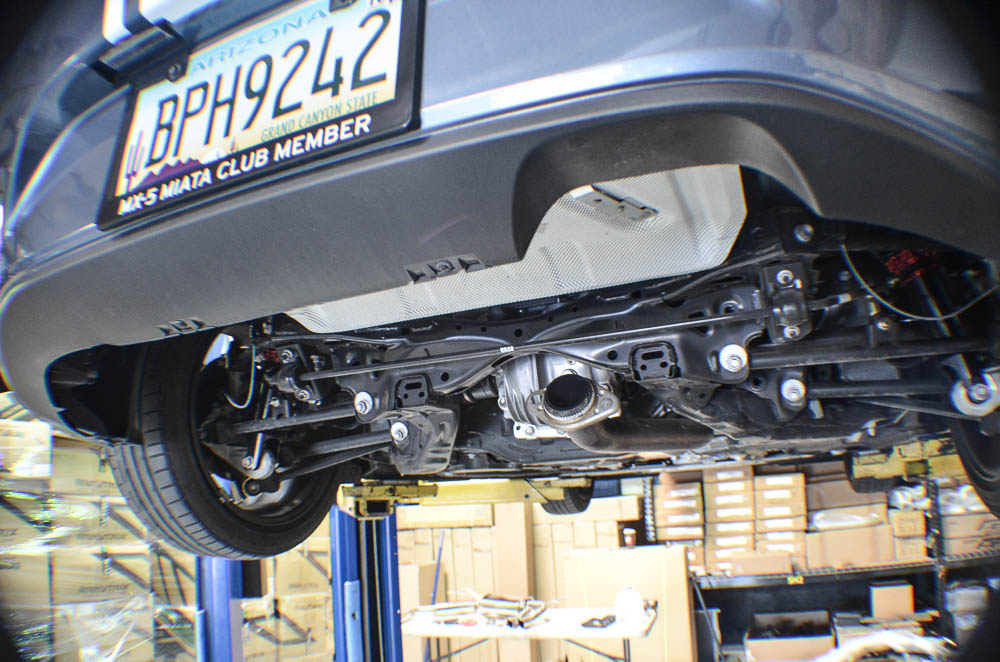
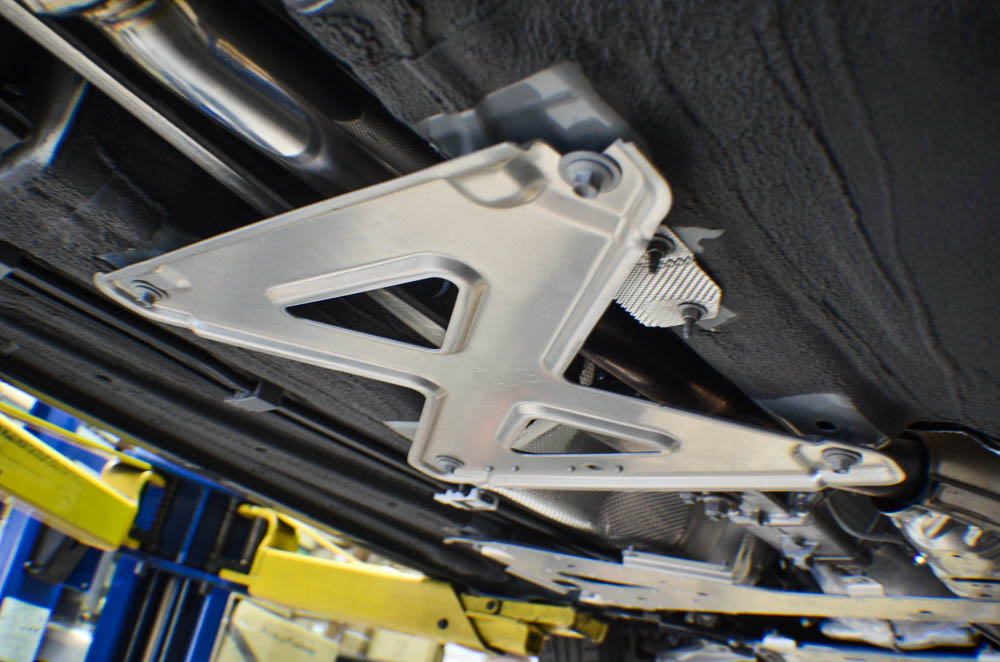
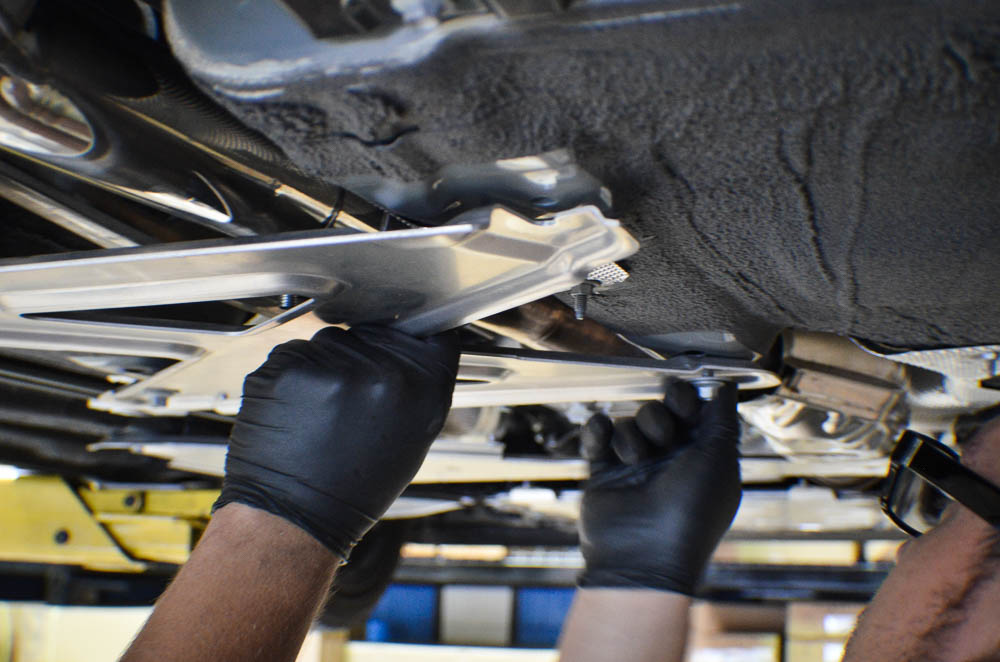
Step 2: Remove 4 bolts holding crossbrace and remove for accesses to the mid-pipe. Do not discard this will be reinstalled at end of installation.
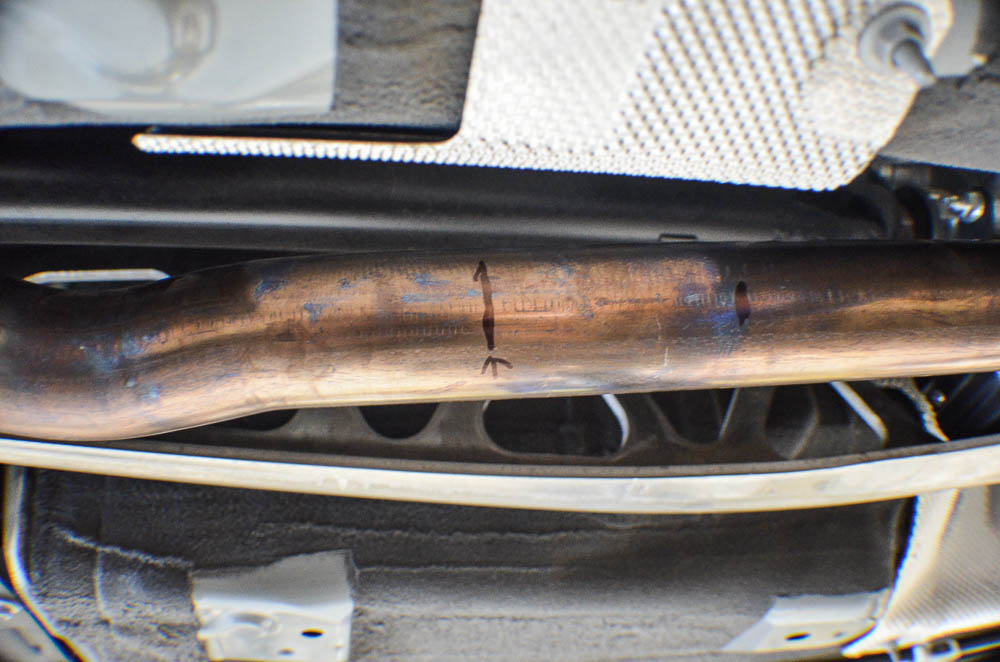
Step 3: Measure mid-pipe for cutting. Leave some pipe so the new system can slide over.
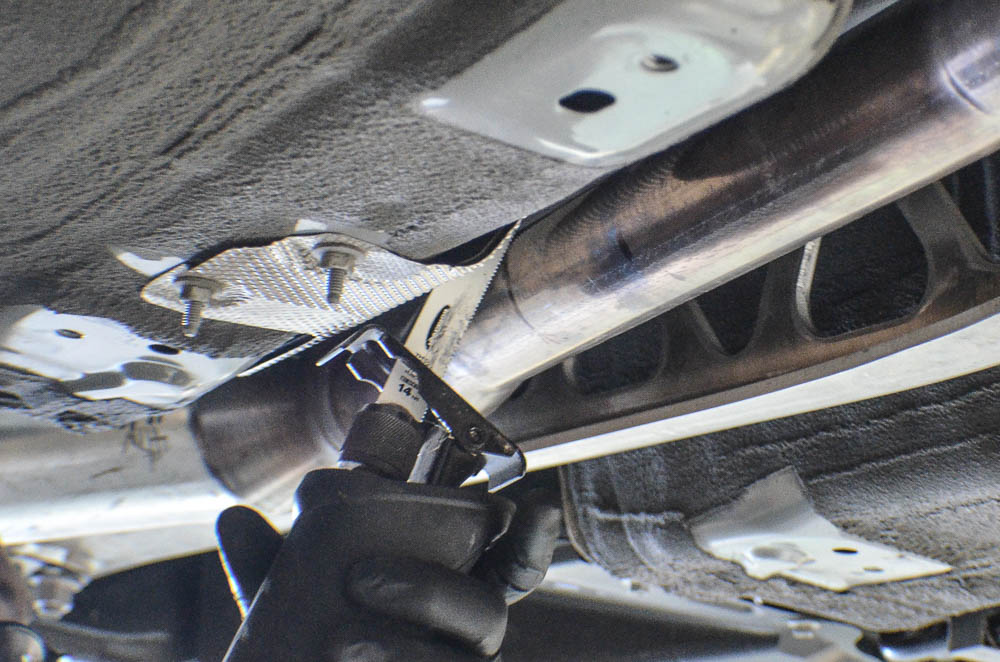
Step 4: Carefully cut the mid-pipe. File the edges to get rid of any excess material during cutting. Remove factory pipe from hanger. Take rubber bushing off.
Step 5: Add factory rubber bushing to new mid-pipe.
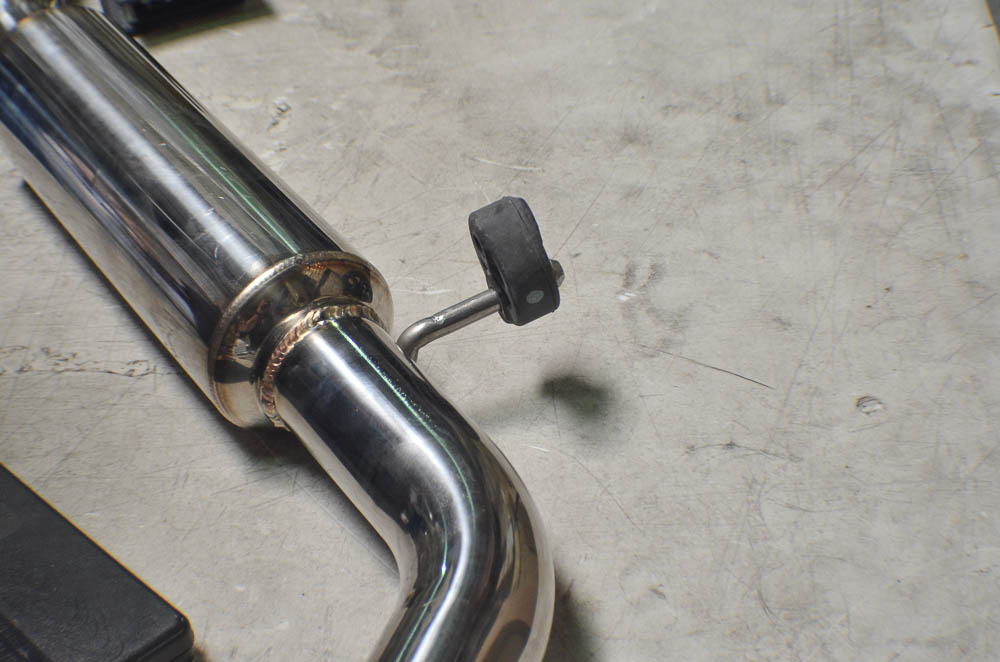
Step 6: Slip on mid-pipe and install rubber bushing to hanger on vehicle. Loosely clamp new mid-pipe but do not tighten till final adjustment.
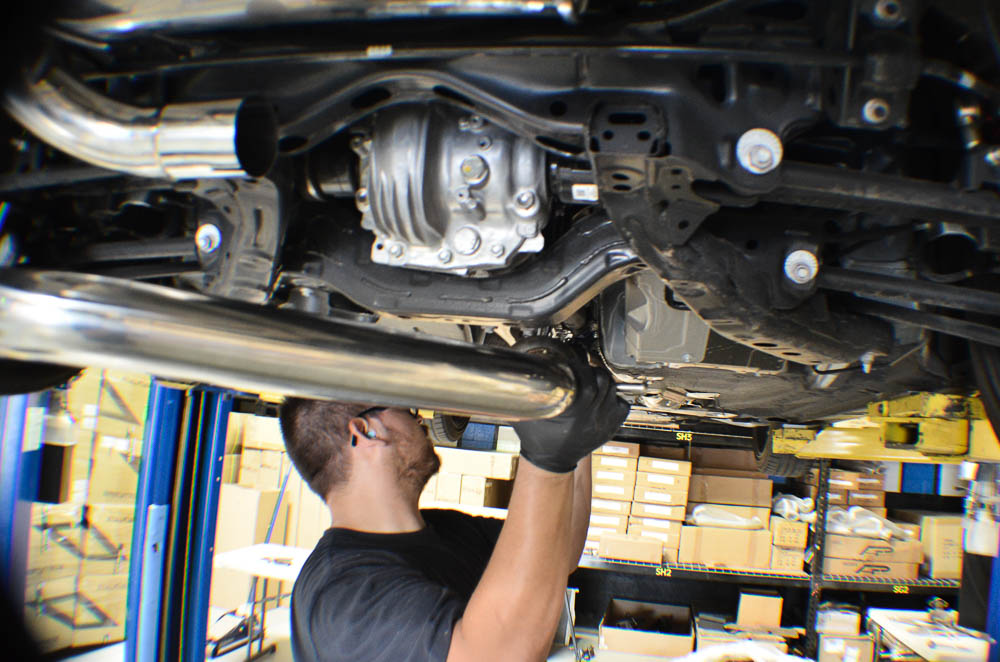
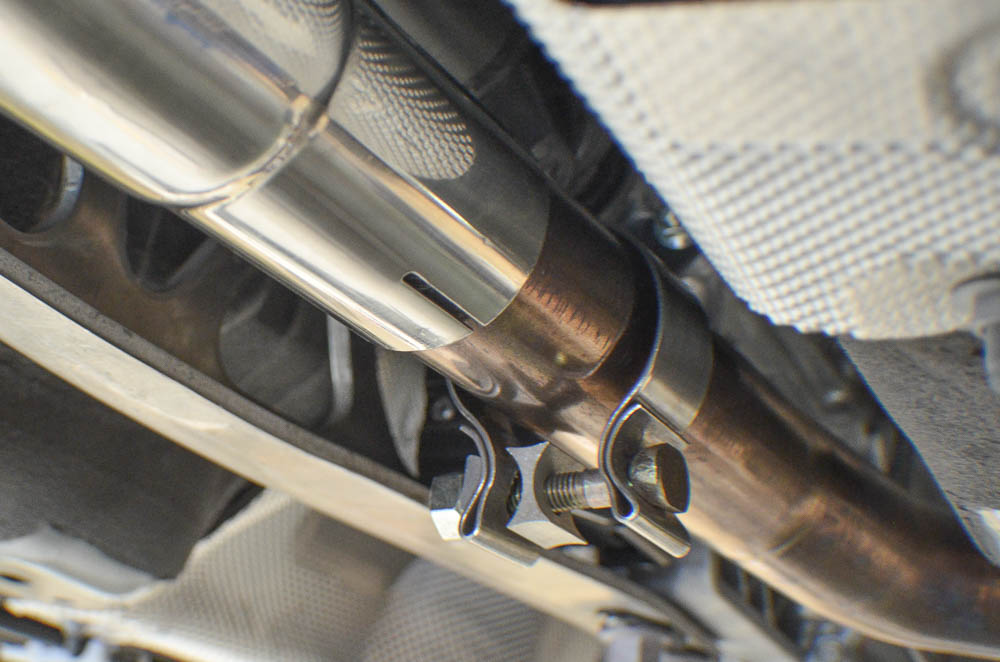
Step 7: Remove rubber hanger bushing from muffler section of factory and install on new exhaust.
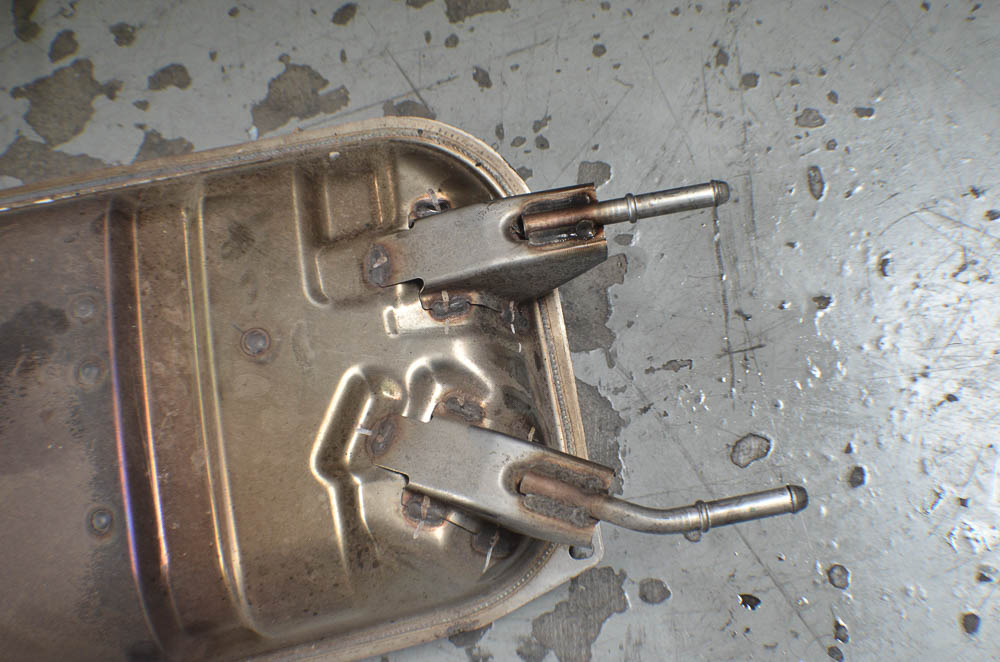
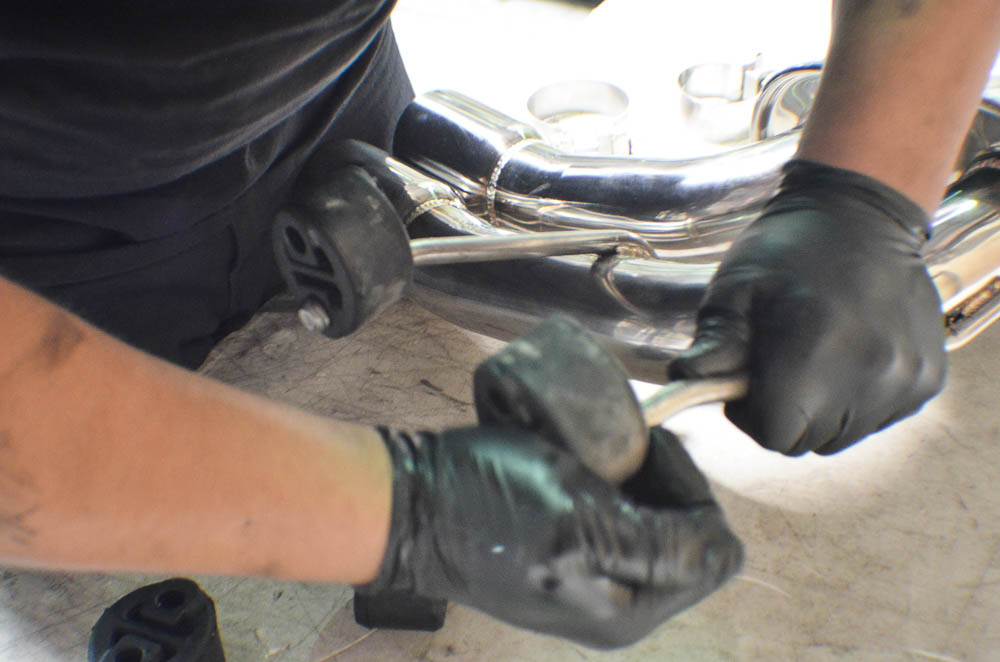
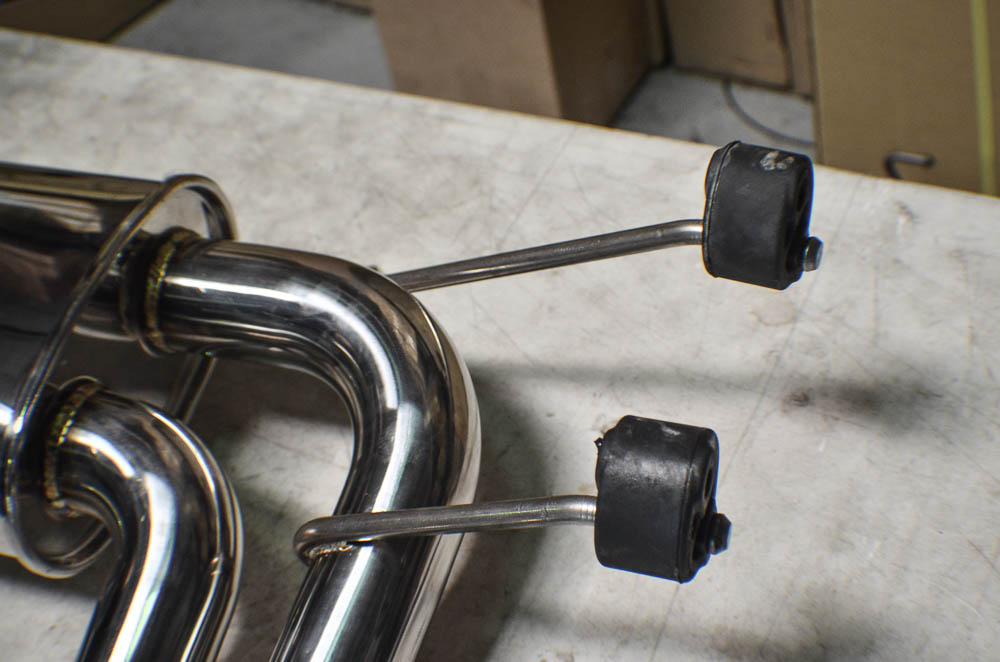
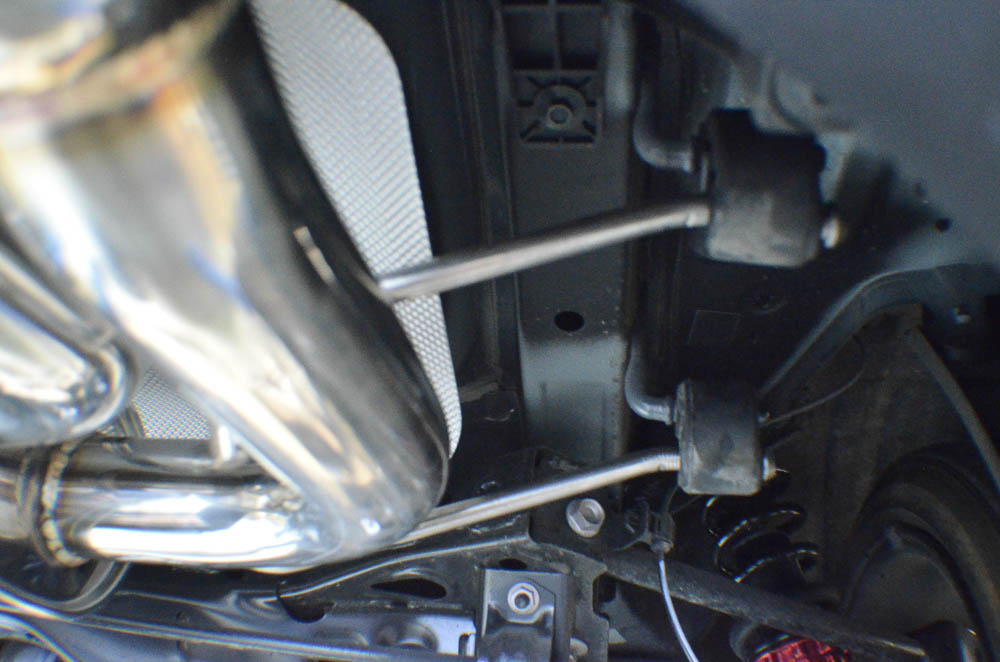
Step 8: Insert rubber bushing into factory hangers and line up rear muffler section to mid-pipe. Loosely tighten clamps for final fitment.
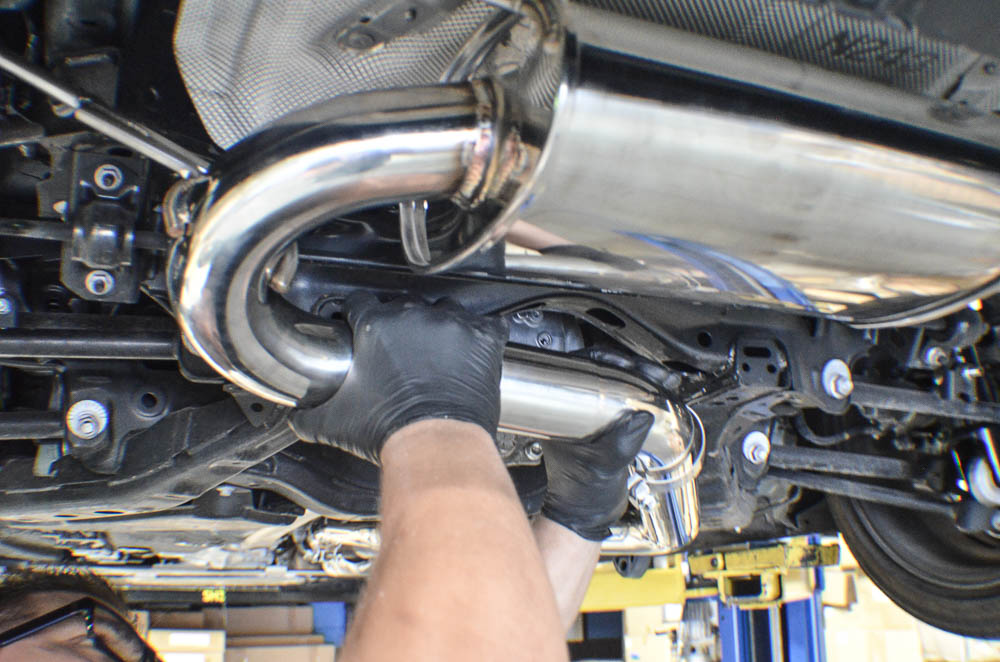
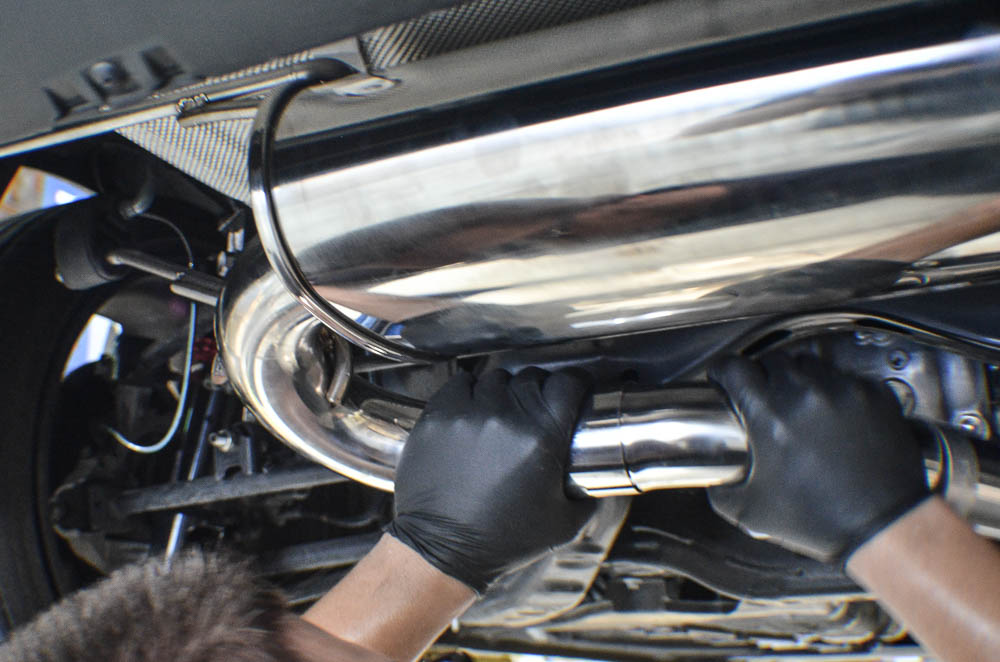
Step 9: Line up system and tighten clamps for final fitment.
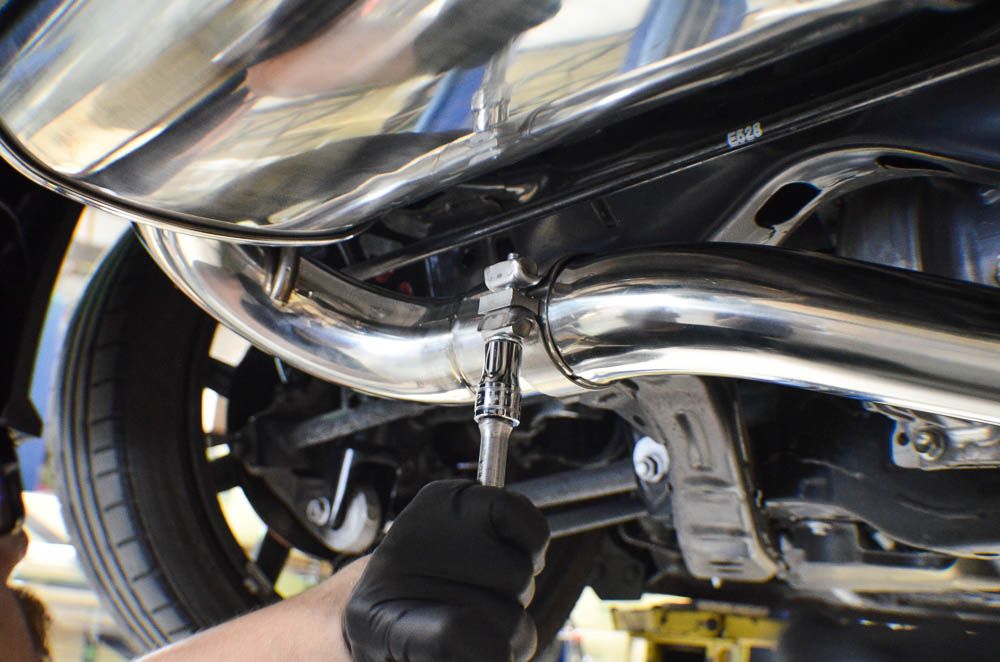
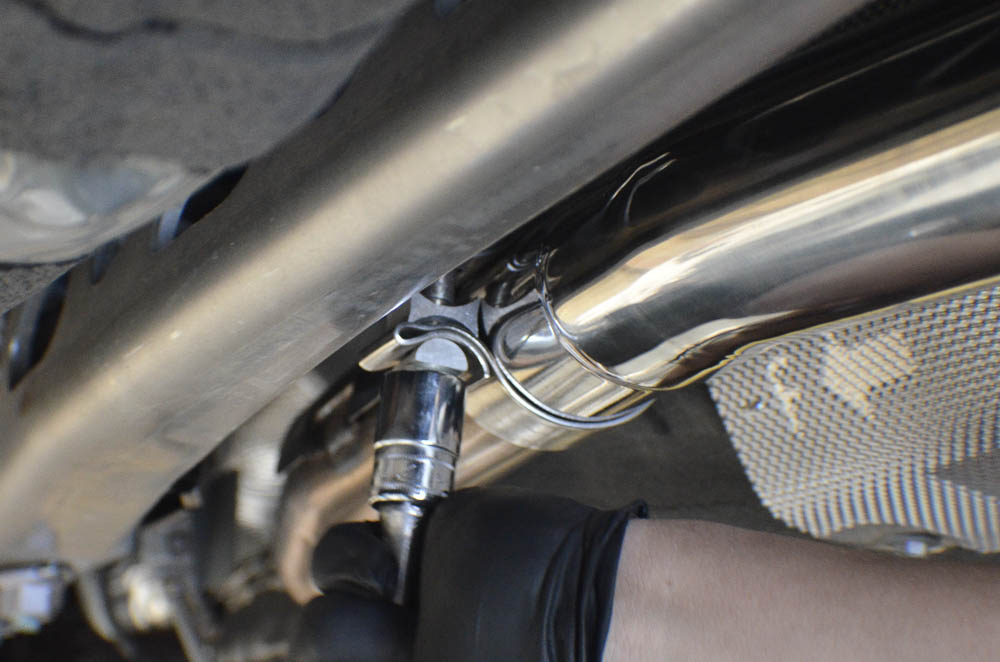
Step 10: Reinstall the crossbrace with the factory 4 bolts.


Step 11: Exhaust installation is complete.
