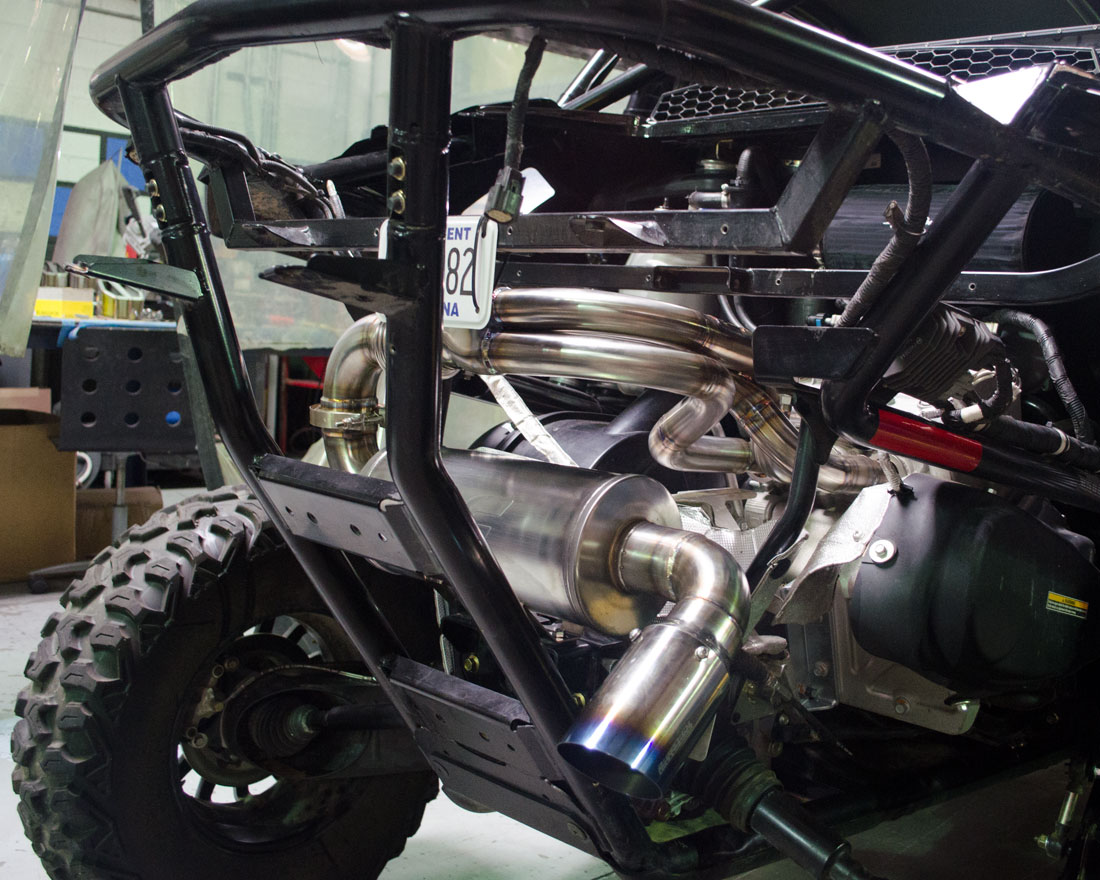
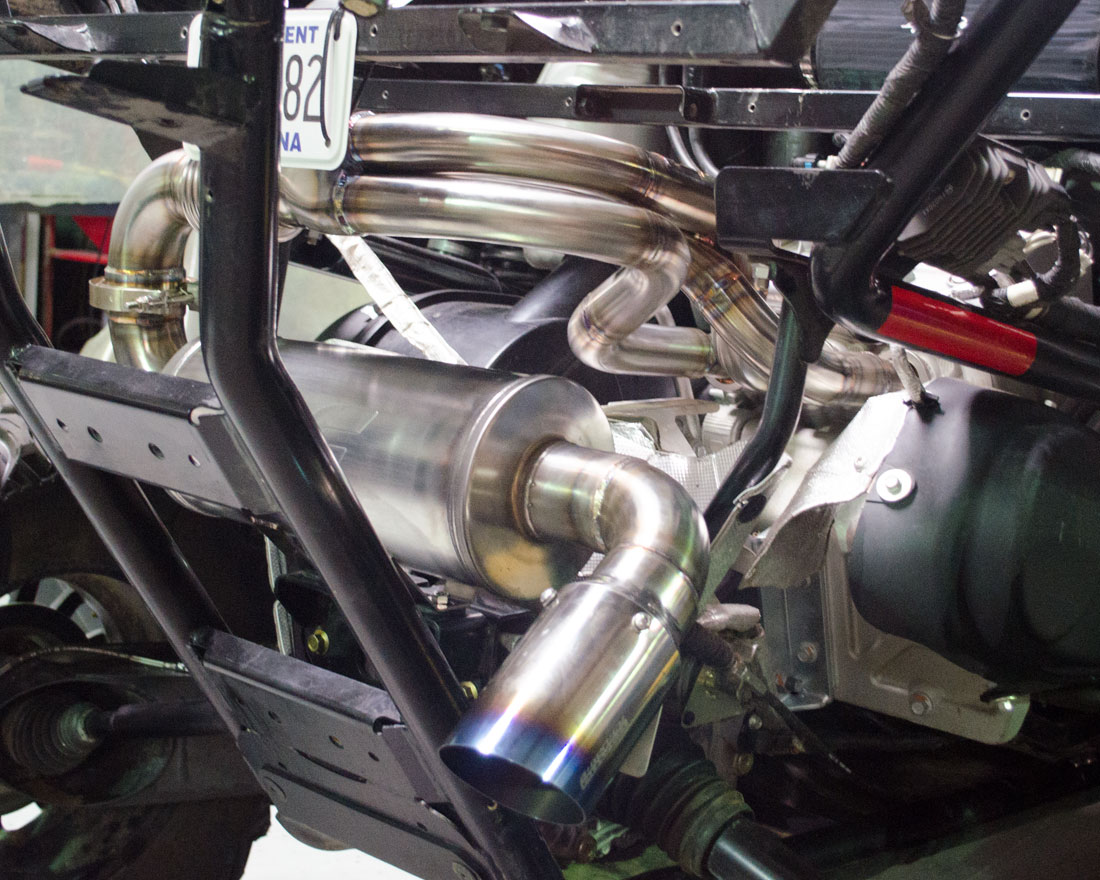
How To Install Agency Power Headers and Exhaust System Textron Wildcat XX
This Install Guide is intended to help with the installation of the Agency Power Headers and Exhaust System on the 2018+ Cold Air Intake Textron Wildcat XX.

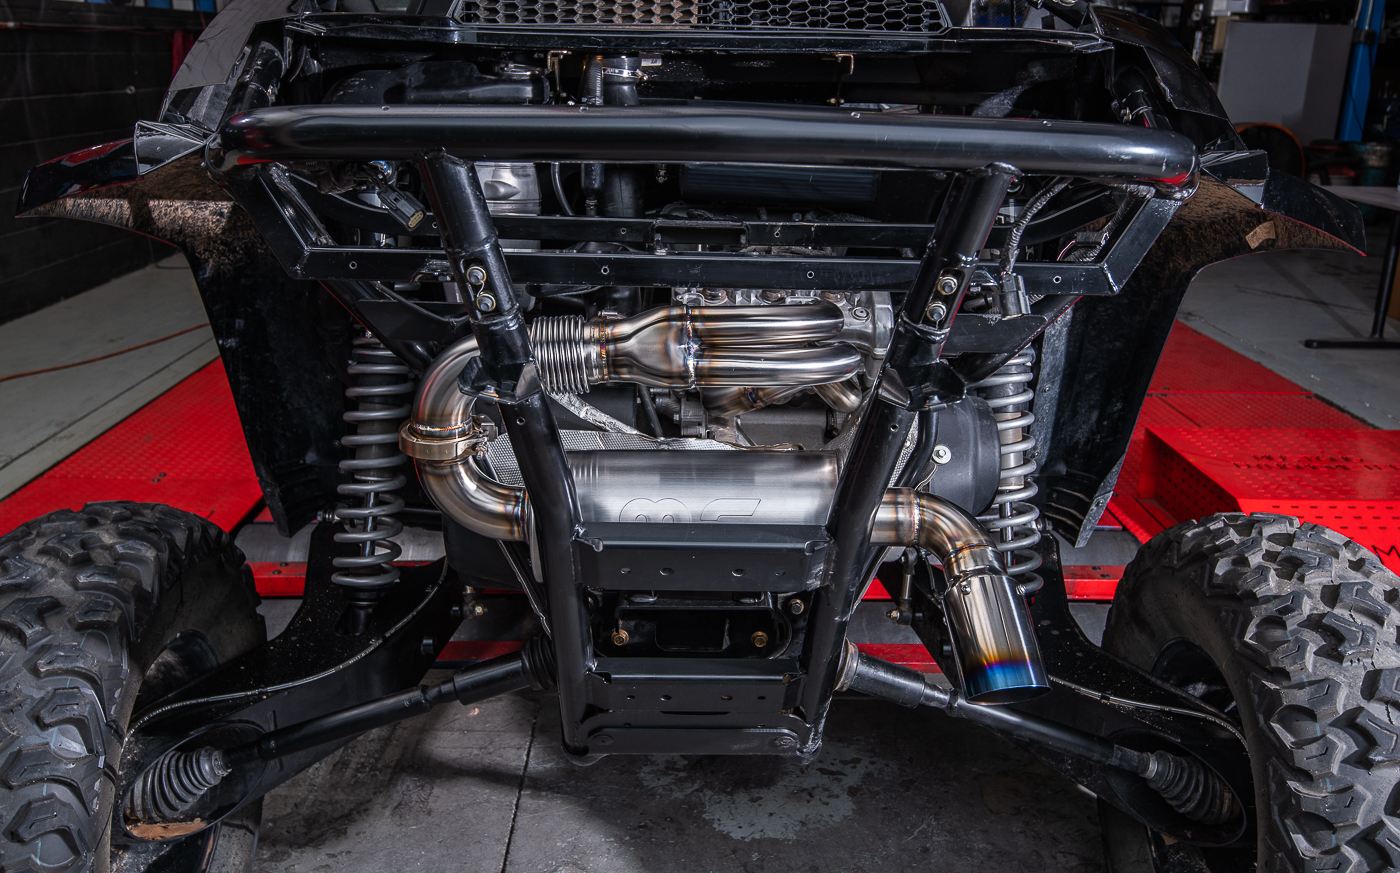
Remove rear tray and cover over exhaust to gain access for install,
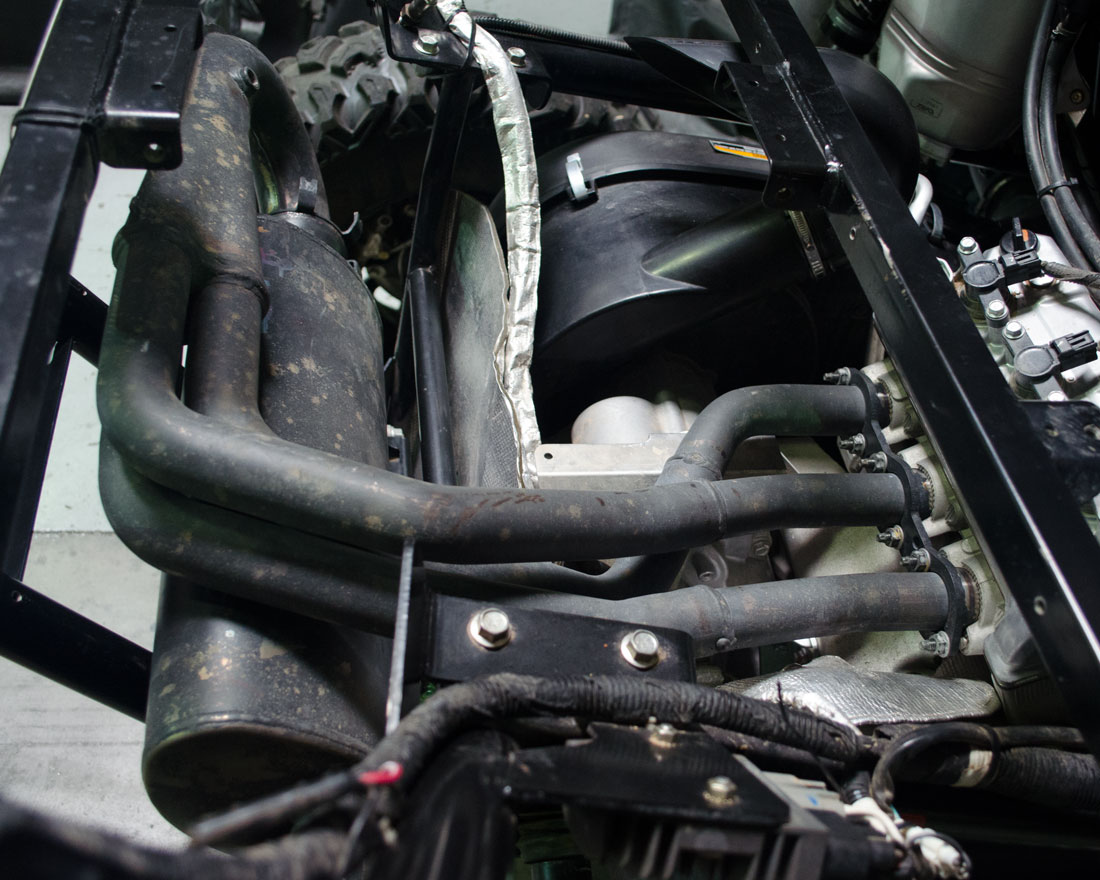
Un-clip the springs hold the factory muffler to the factory header.
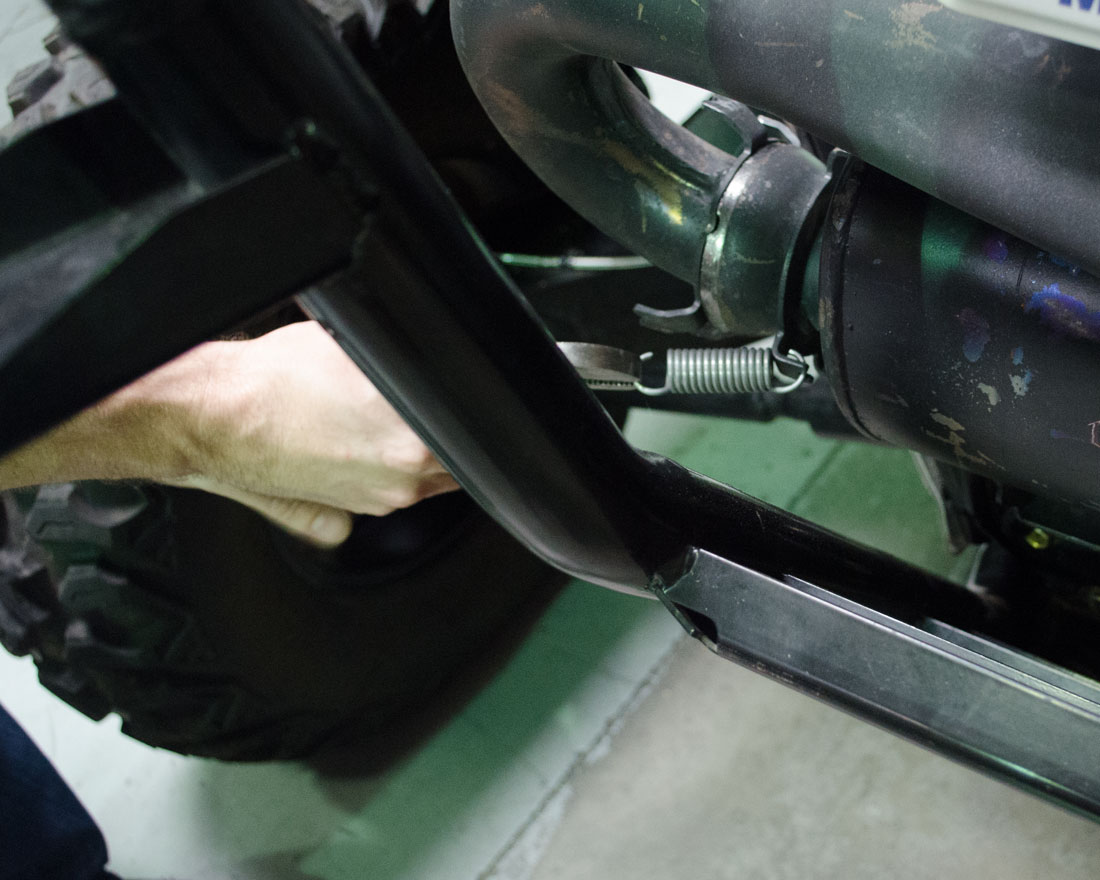
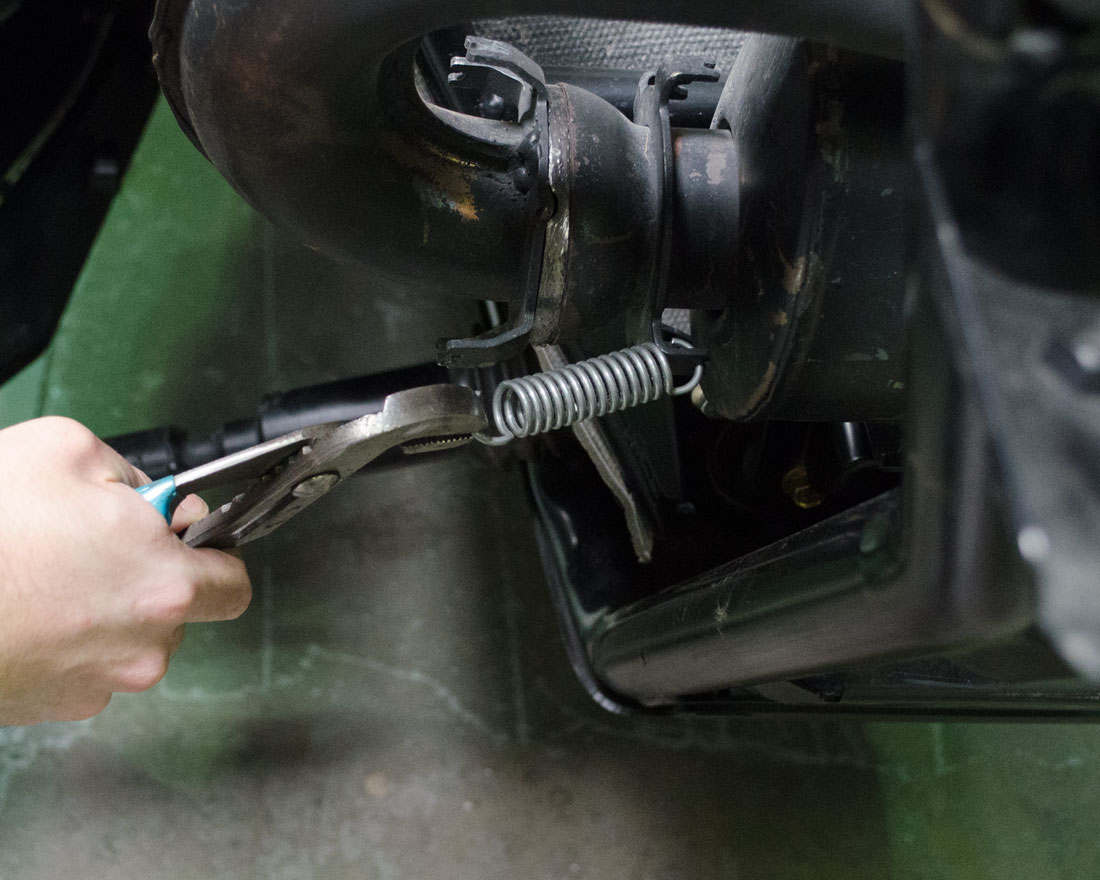
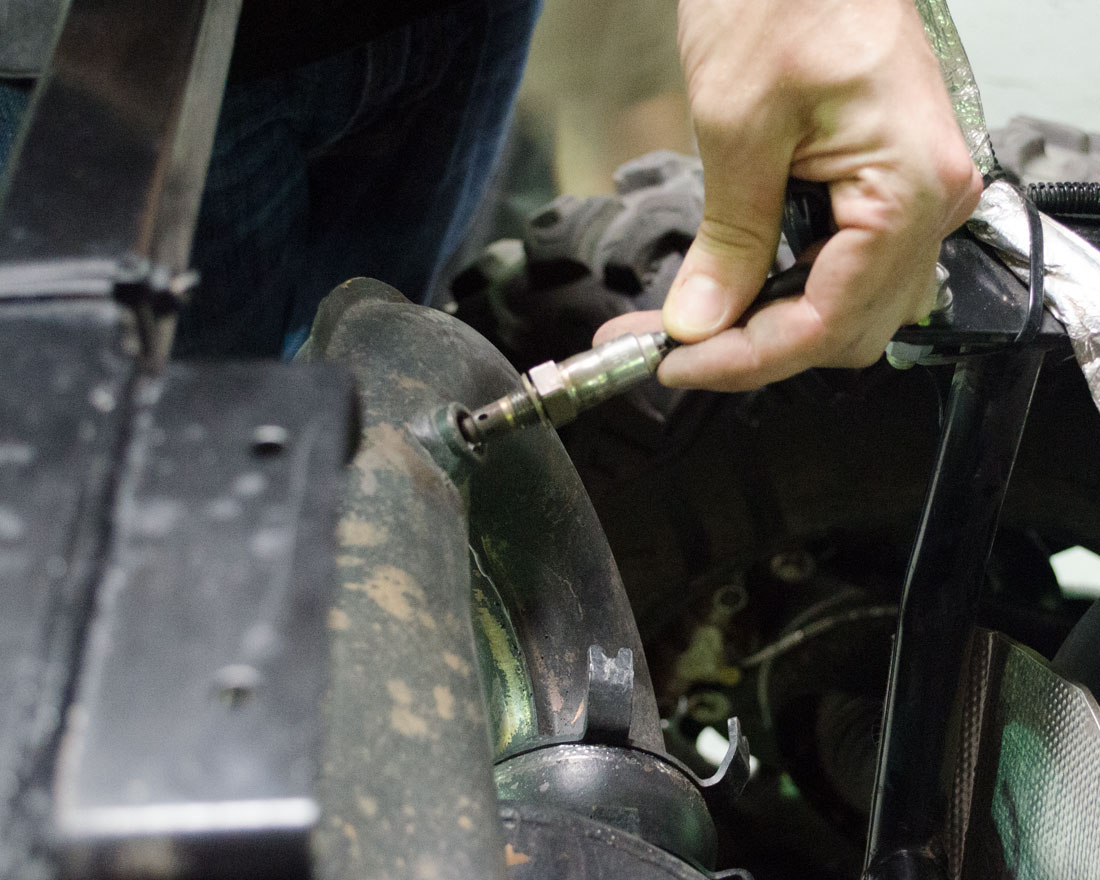
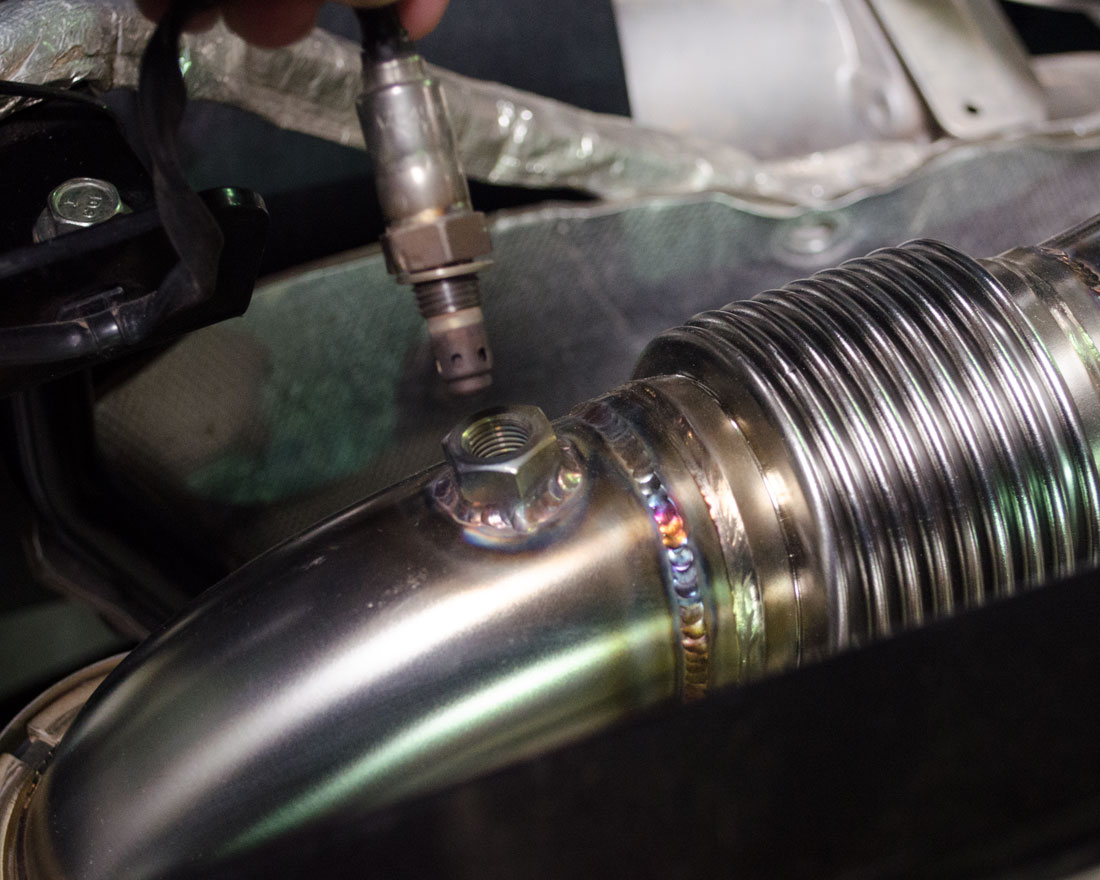
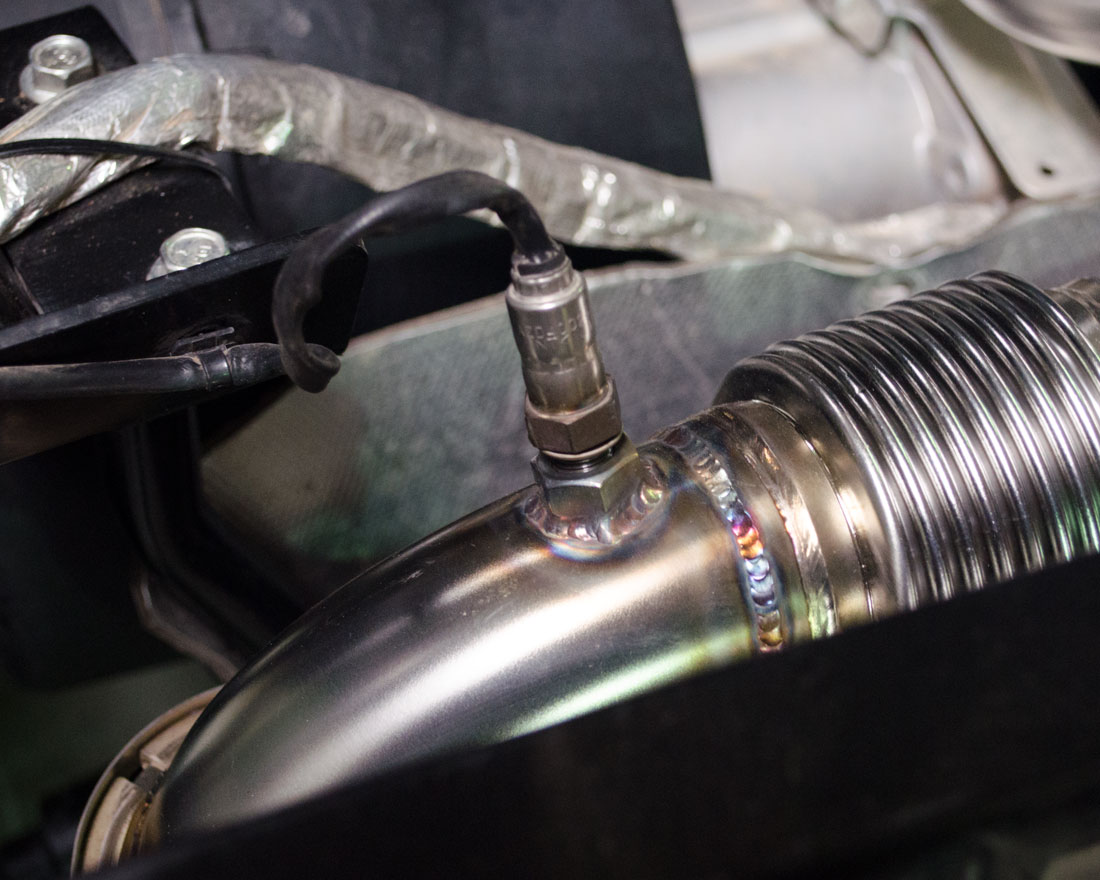
Unbolt and remove factory sensor from header. Put out of way to be re-installed into new system.
Un-bolt the 6 nuts holding the factory header in place.
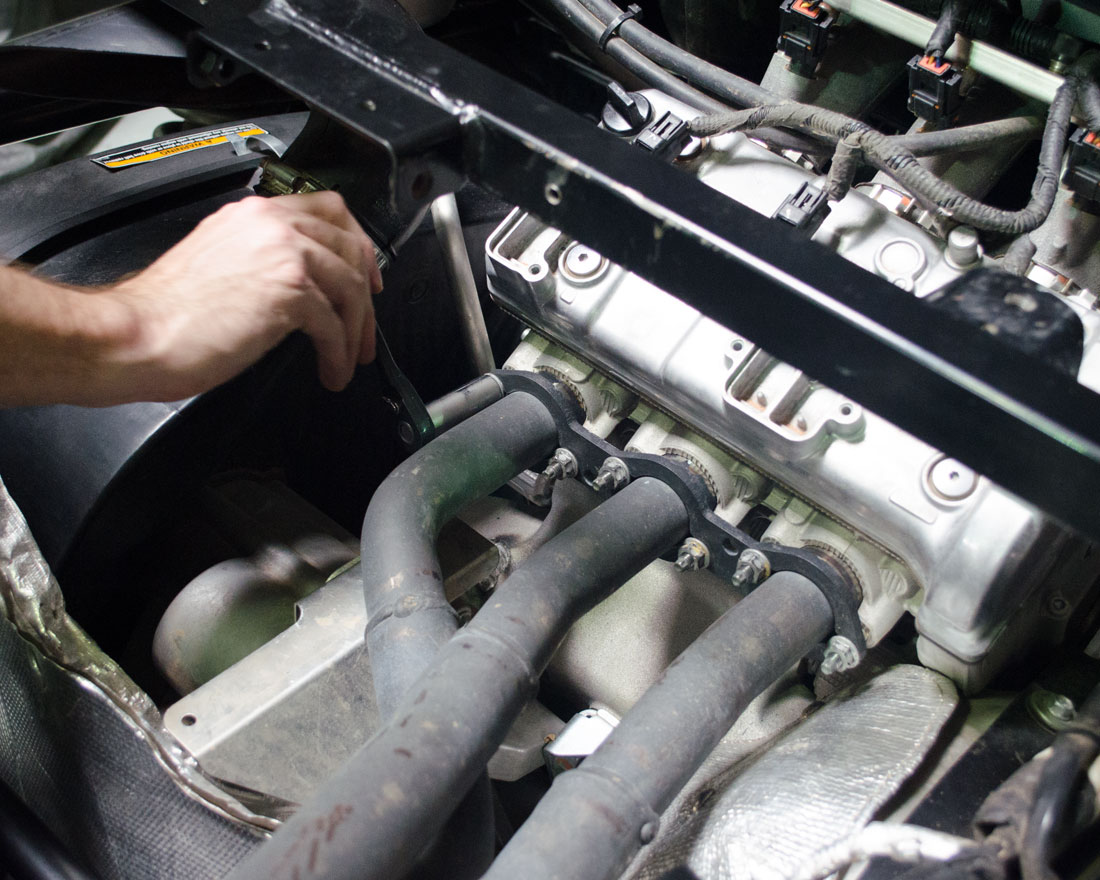
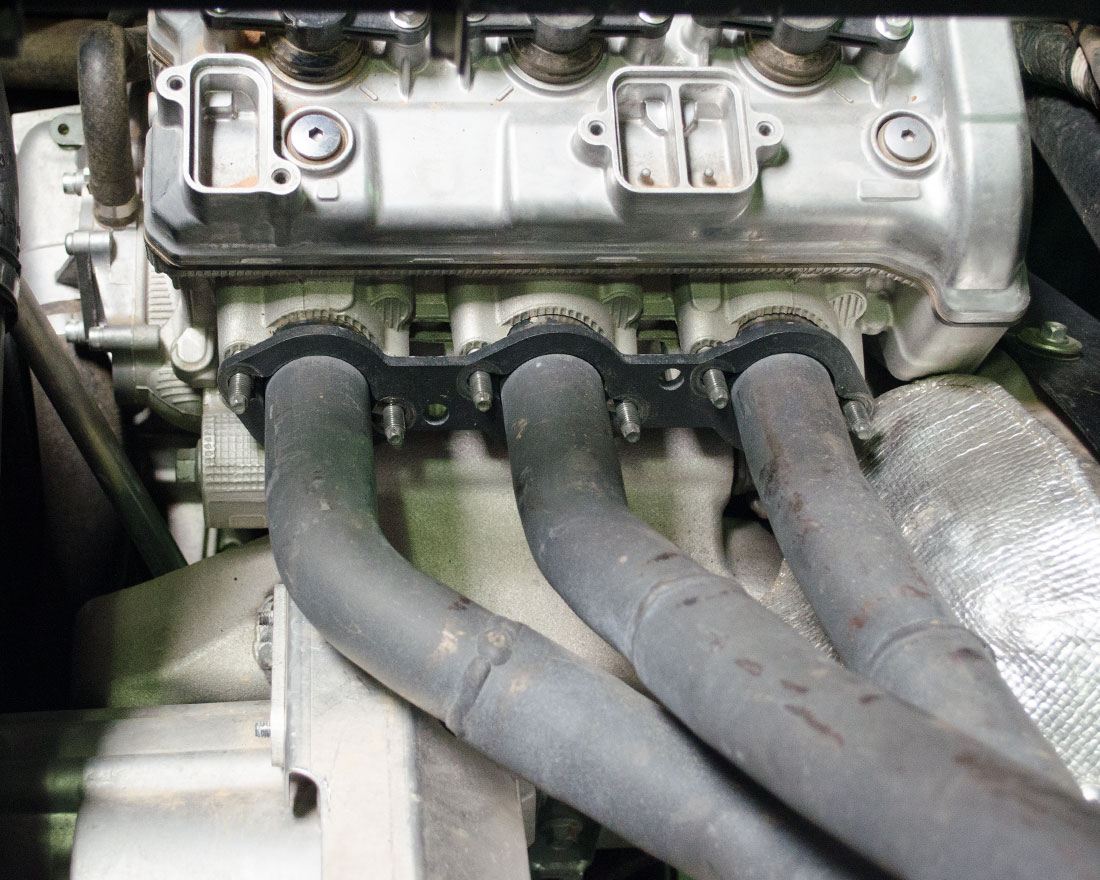
With bolts and muffler springs removed carefully take out the factory header.
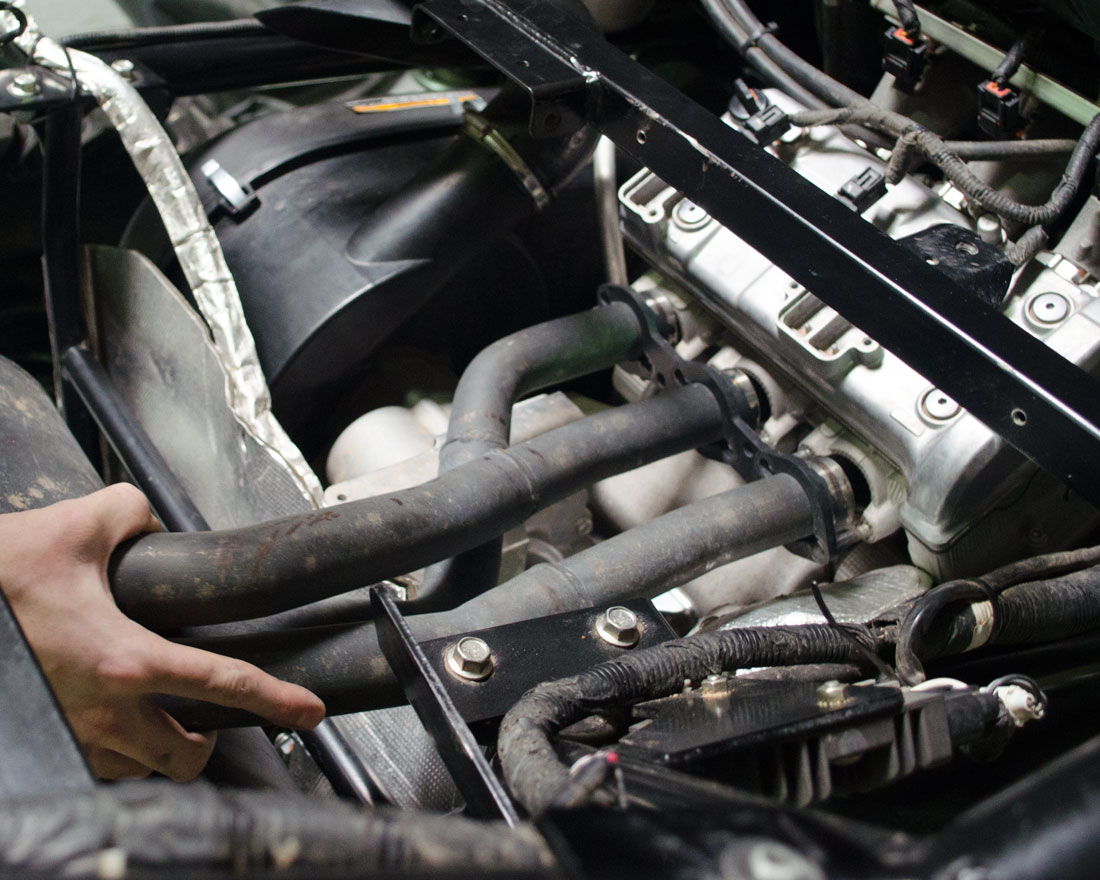
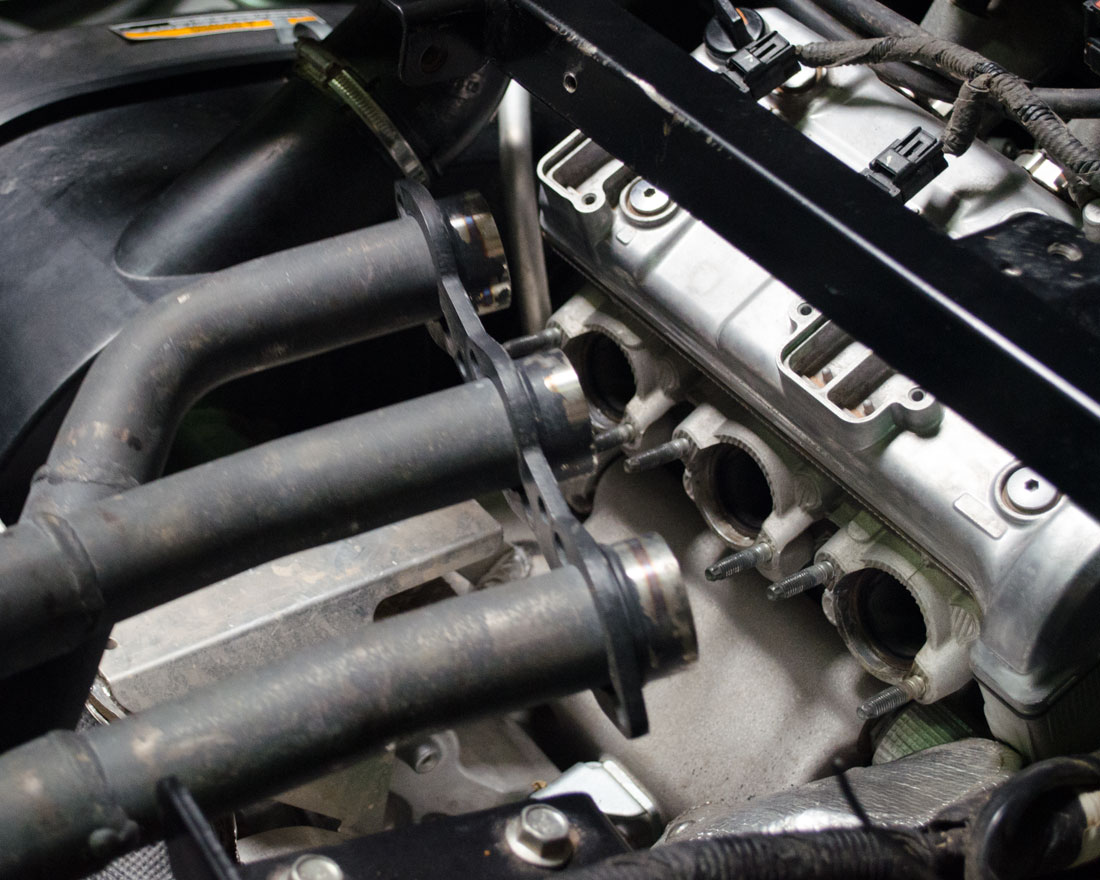
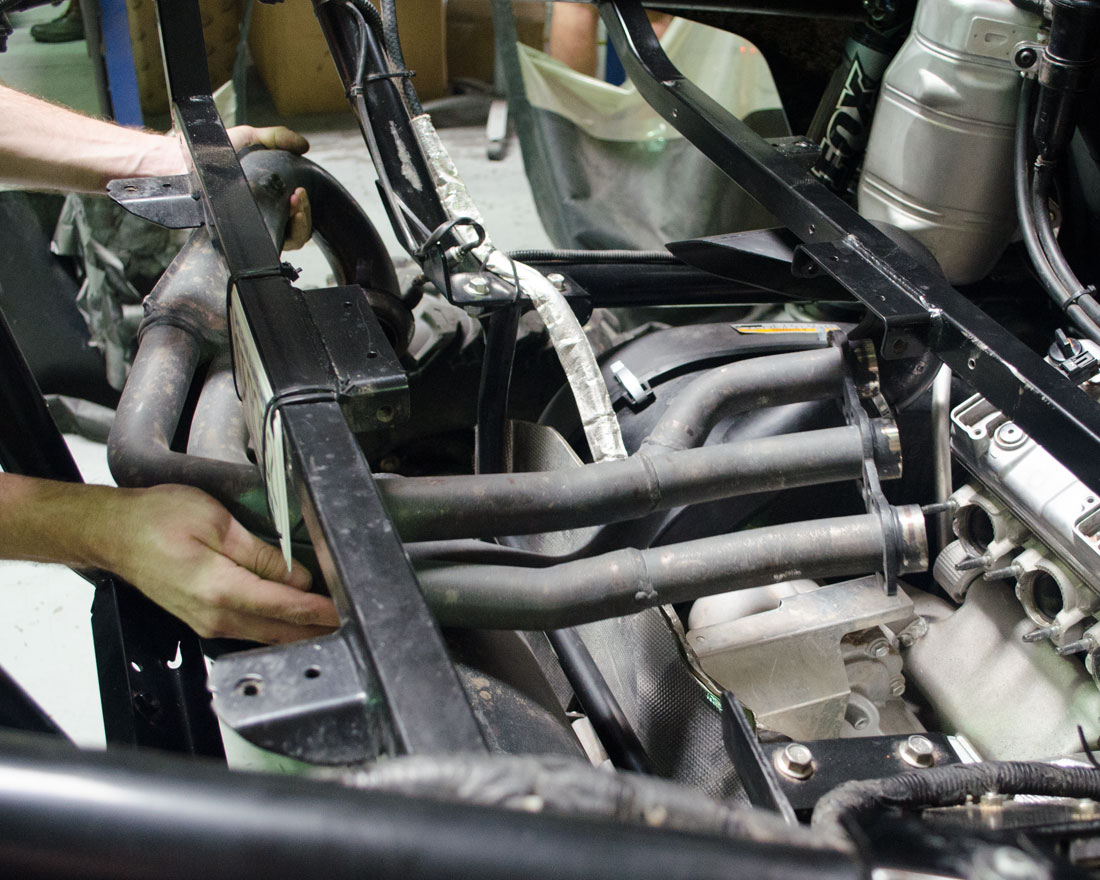
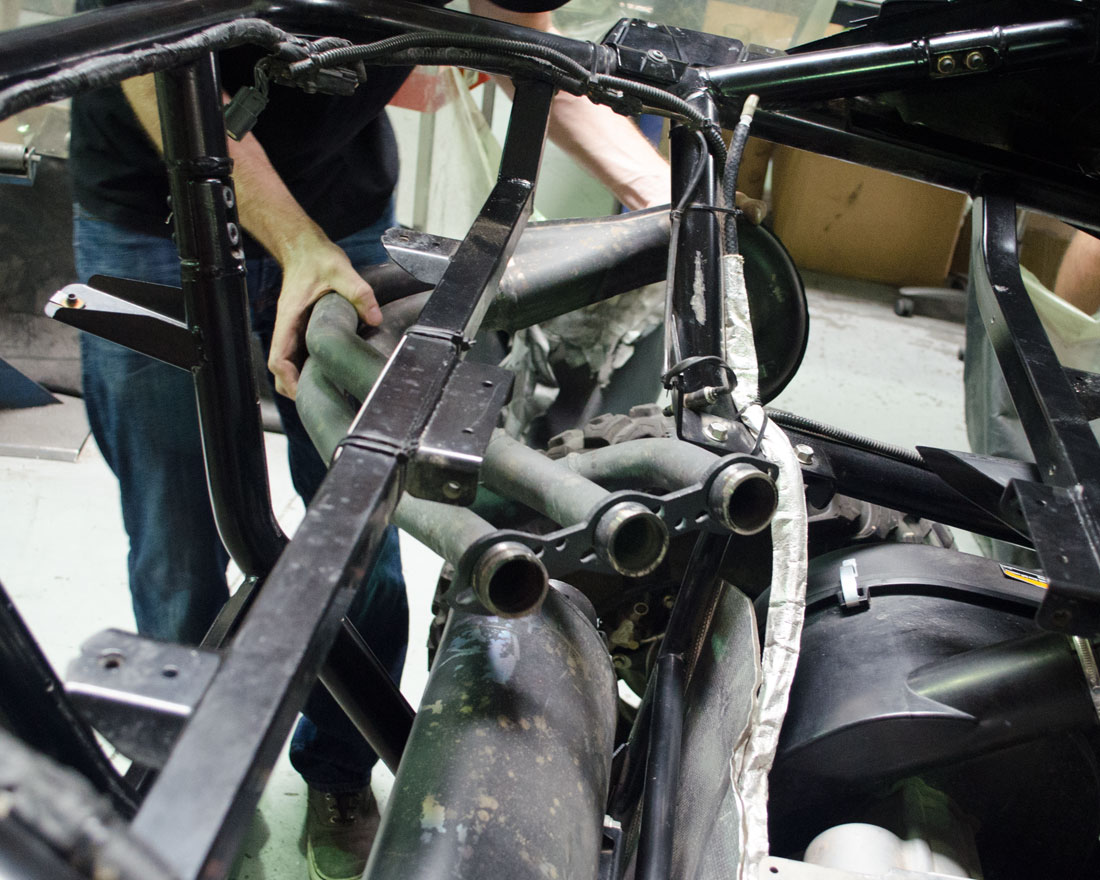
Remove the 2 nut and bolts holding muffler in place. Leave rubber bushings in place.
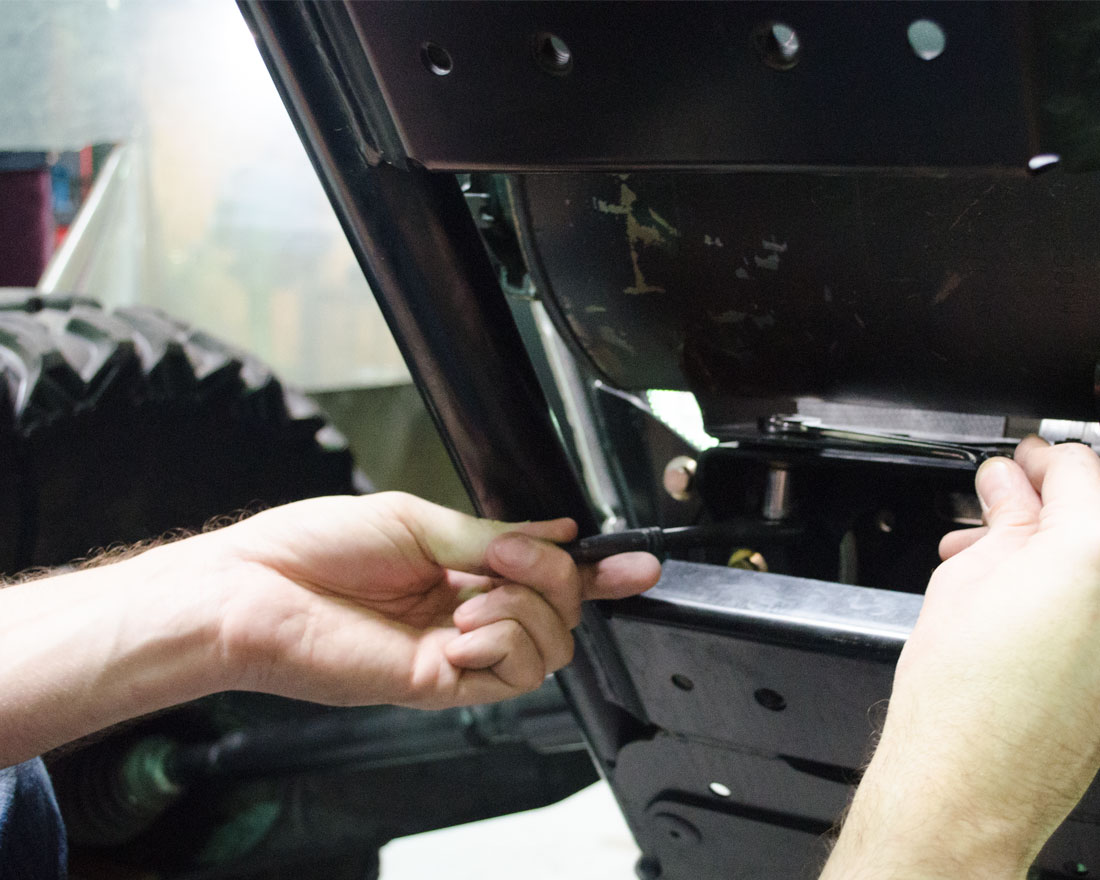
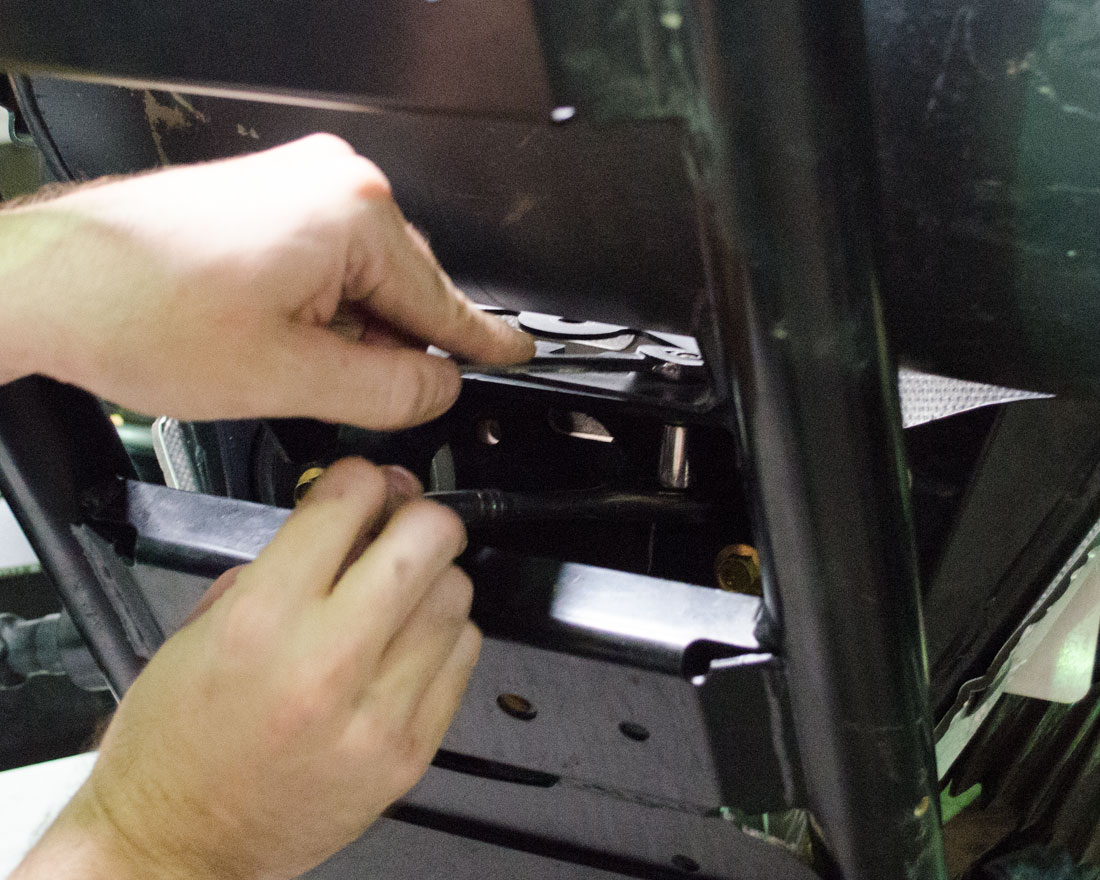
Carefully remove the factory muffler.
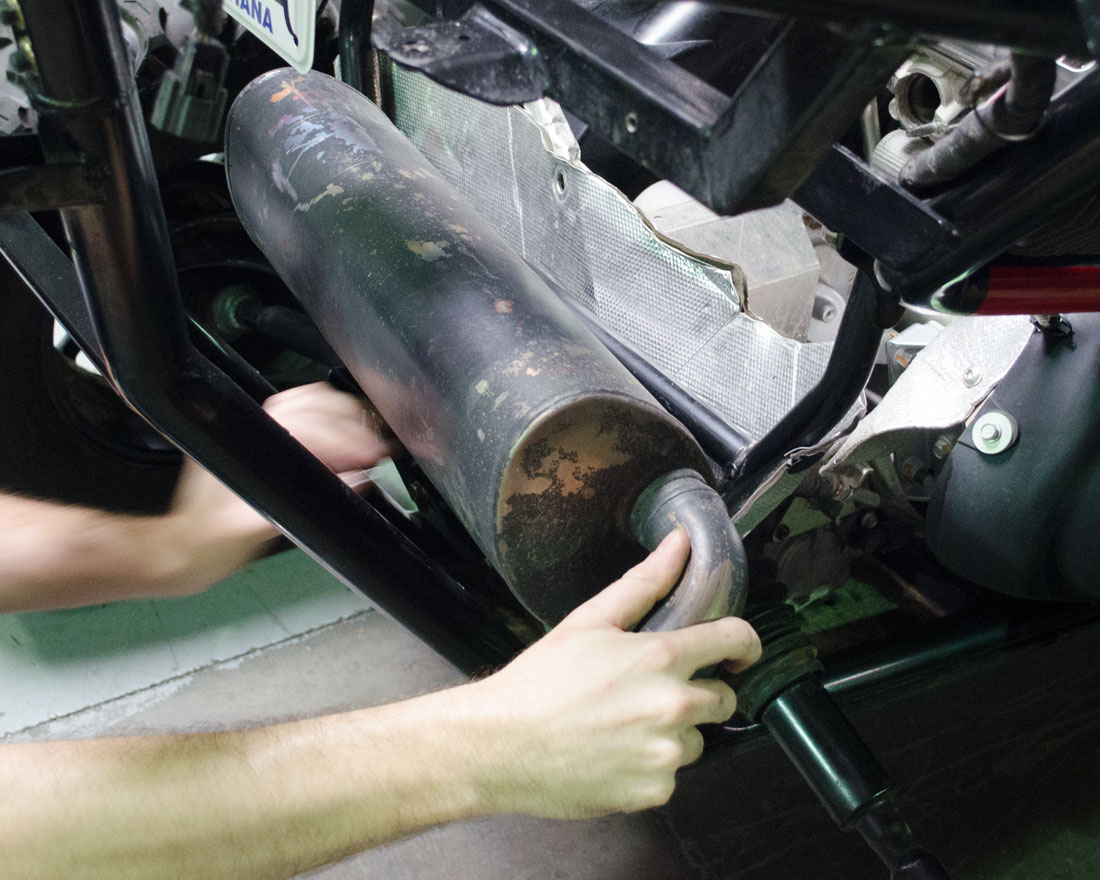
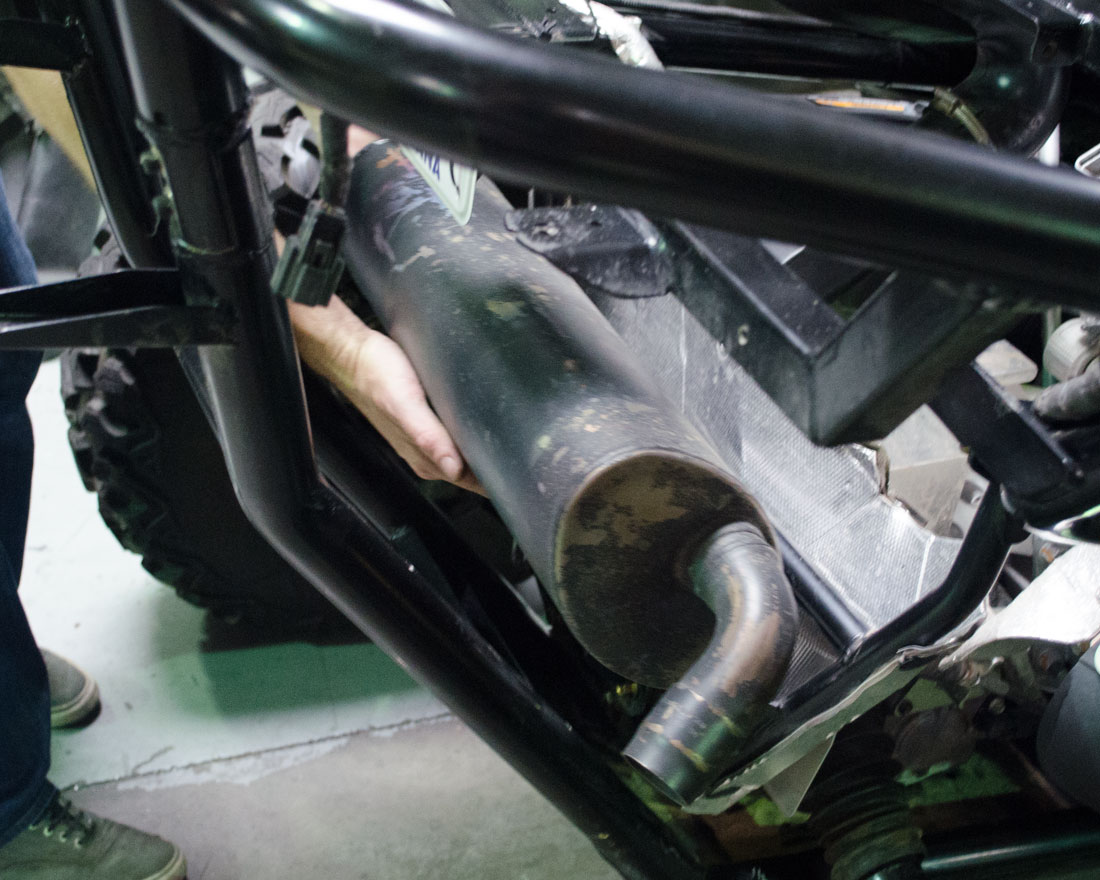
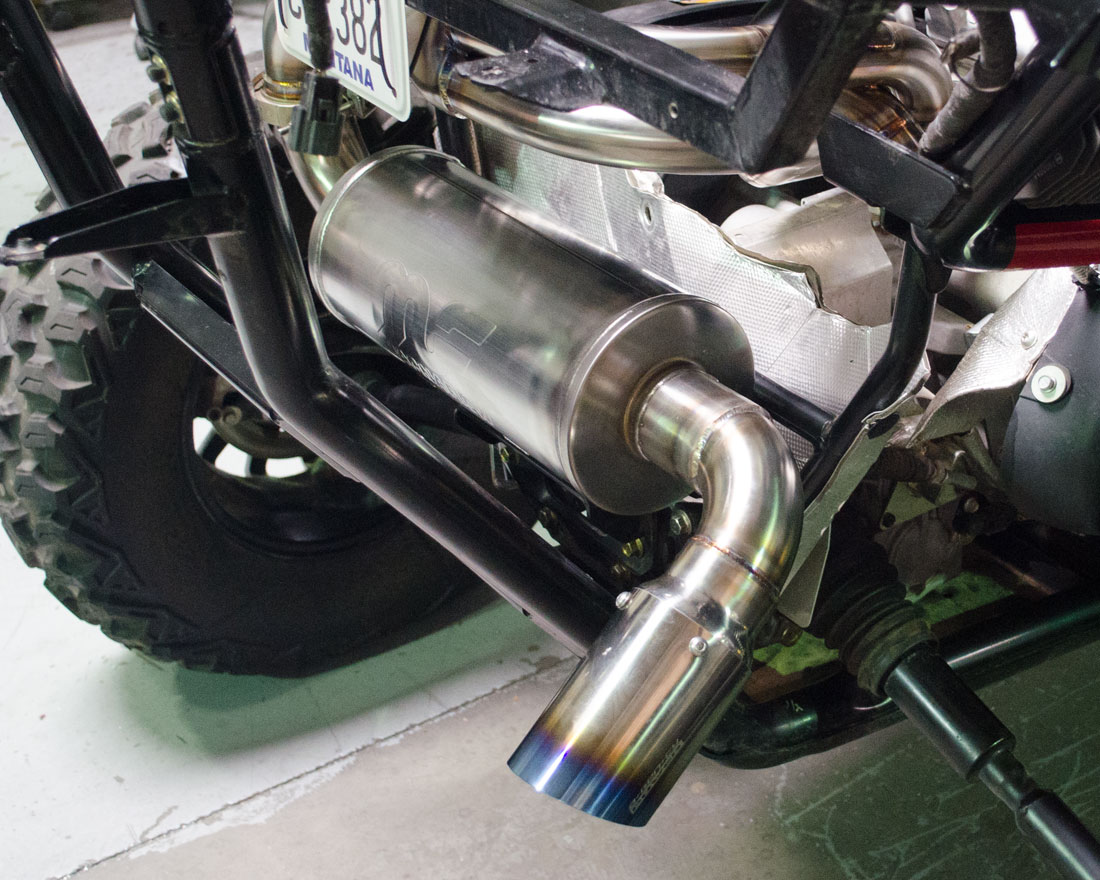
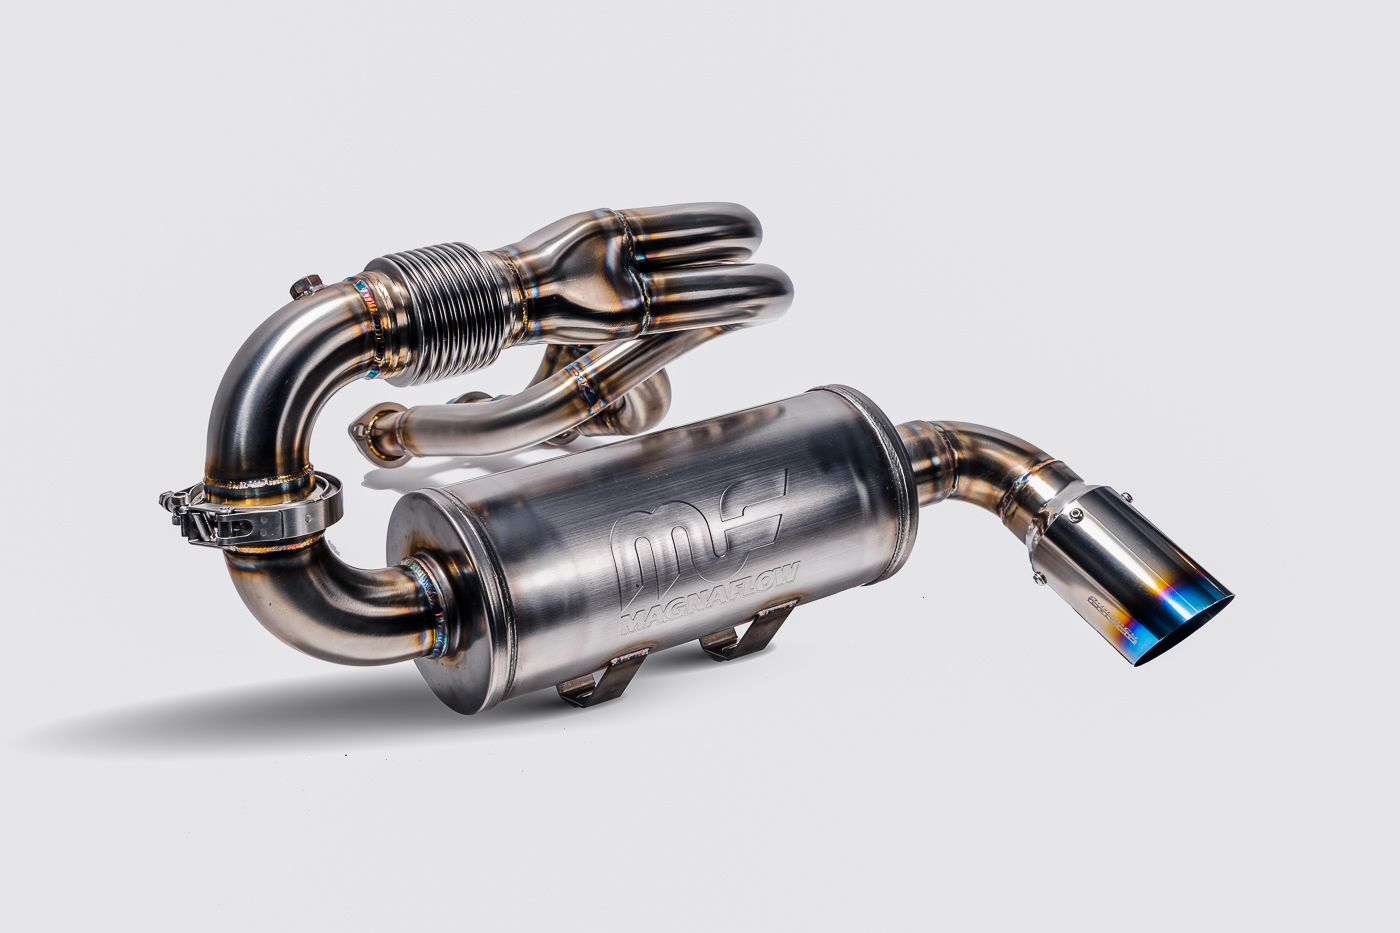
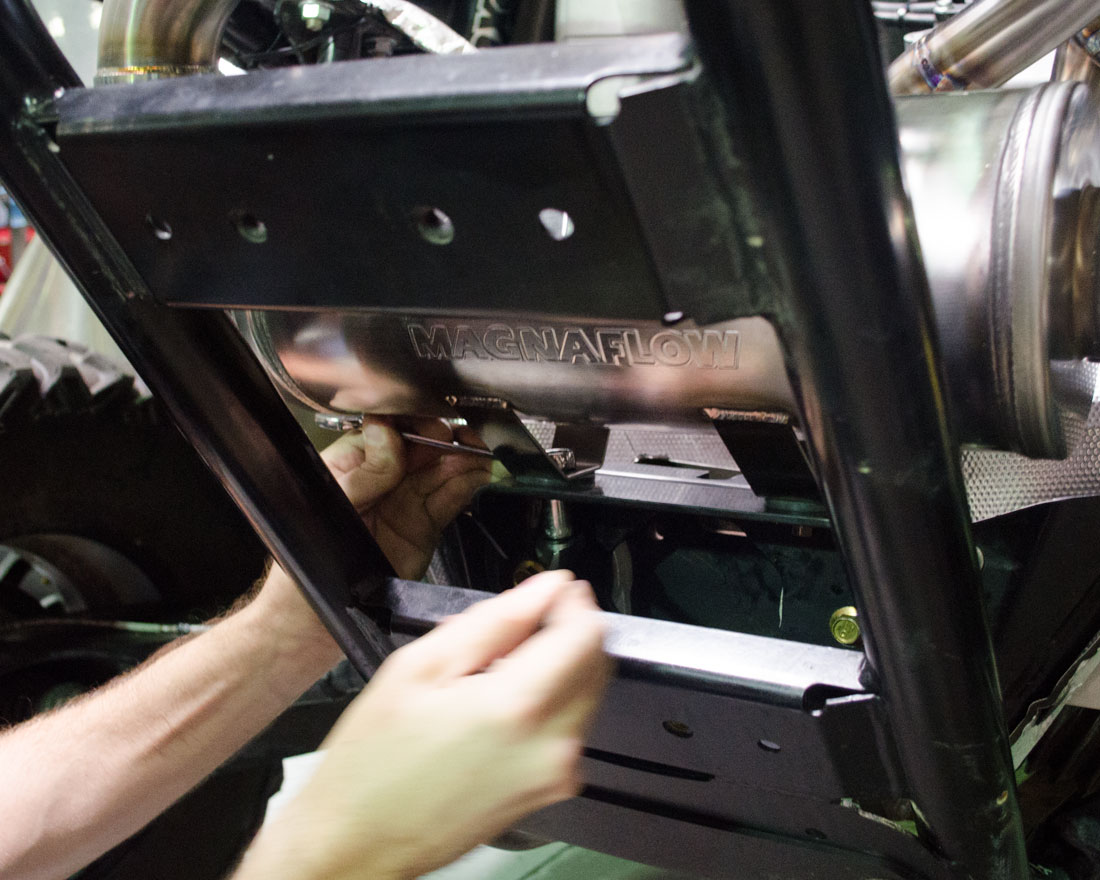
Place the new Agency Power muffler on mount and bushings.
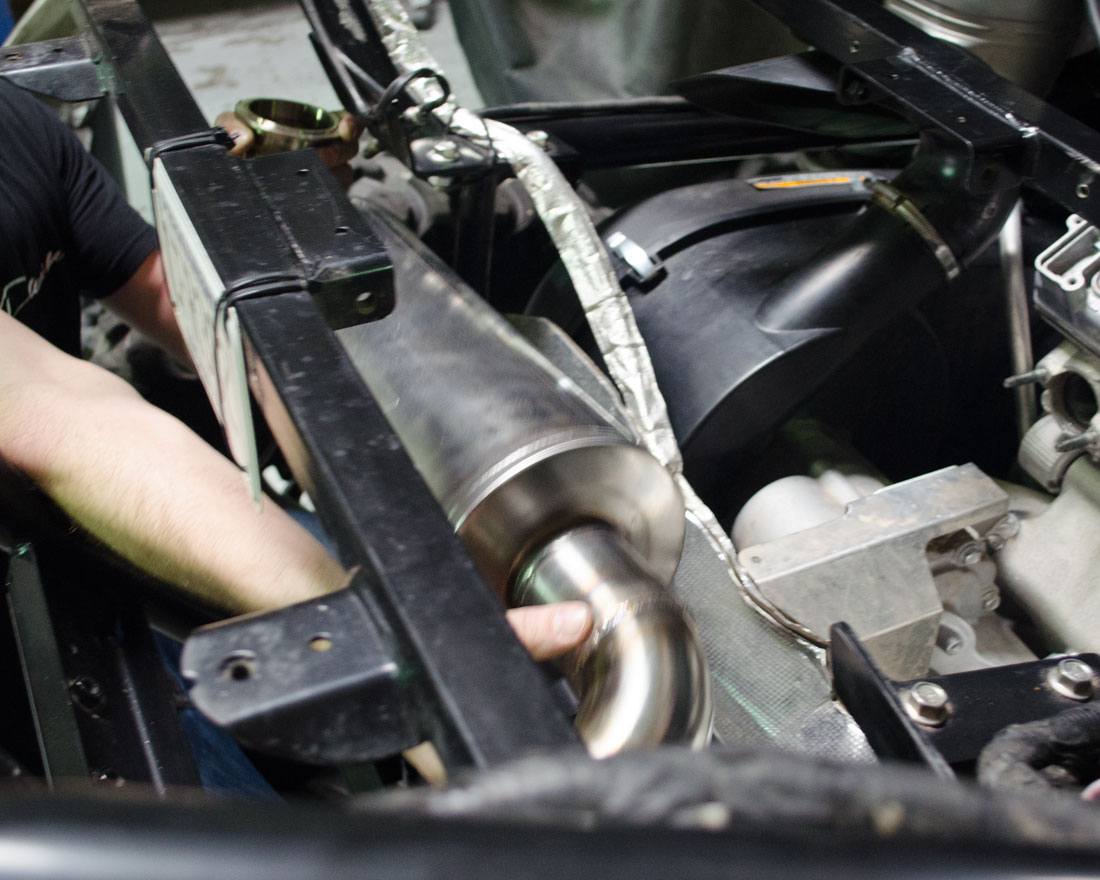
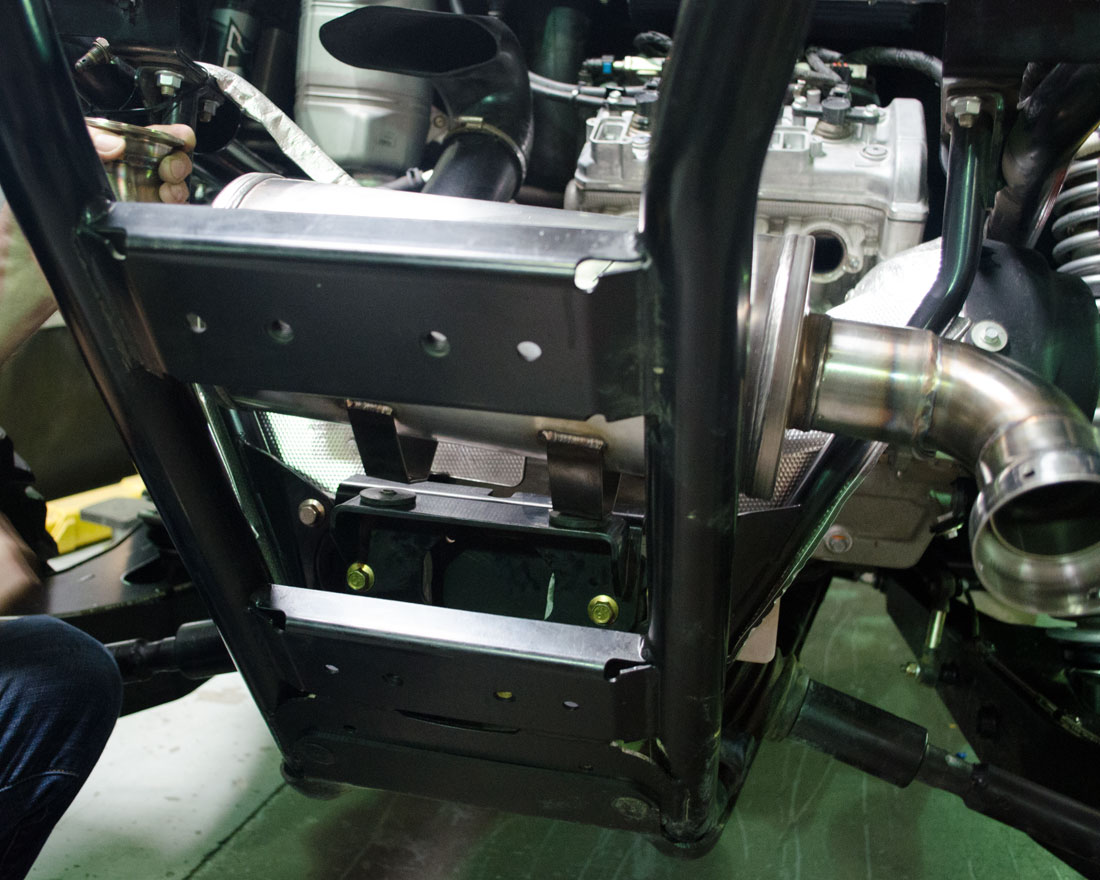
Loosely install the 2 nut and bolts. Do not tighten yet this will allow for alignment once header is installed.
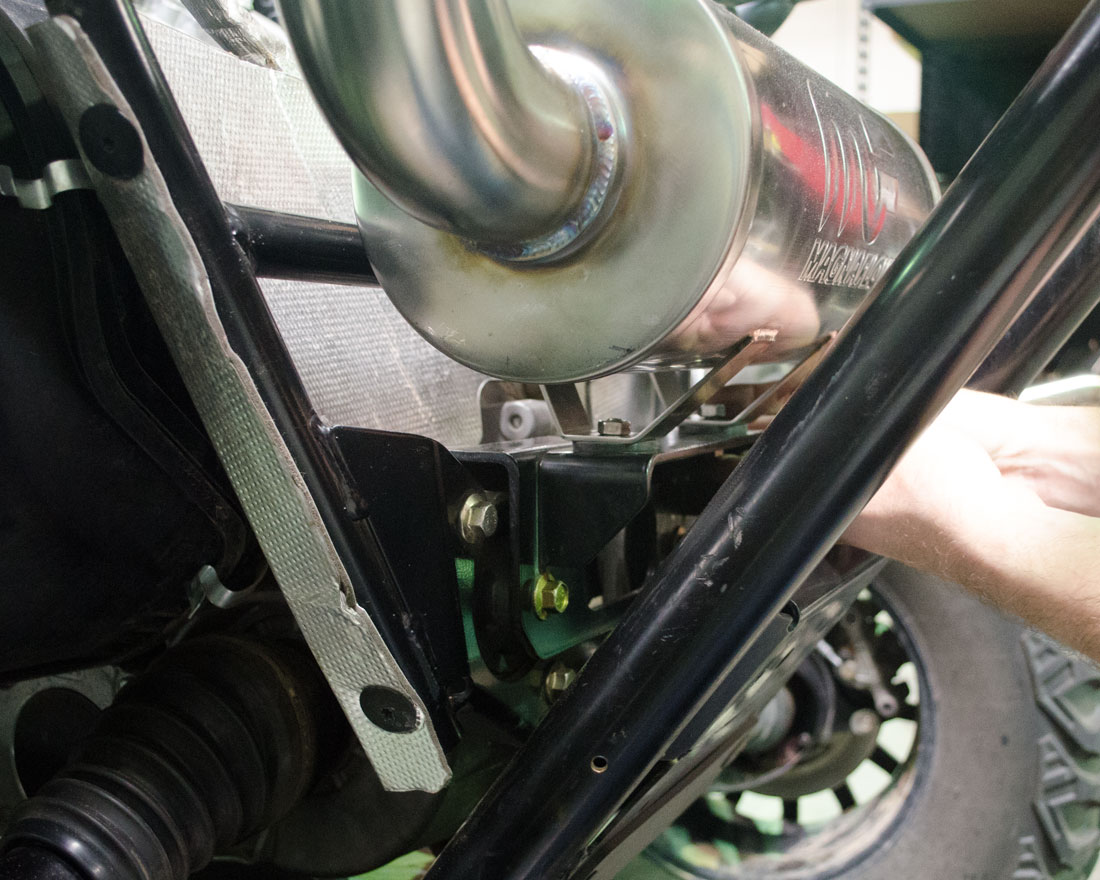
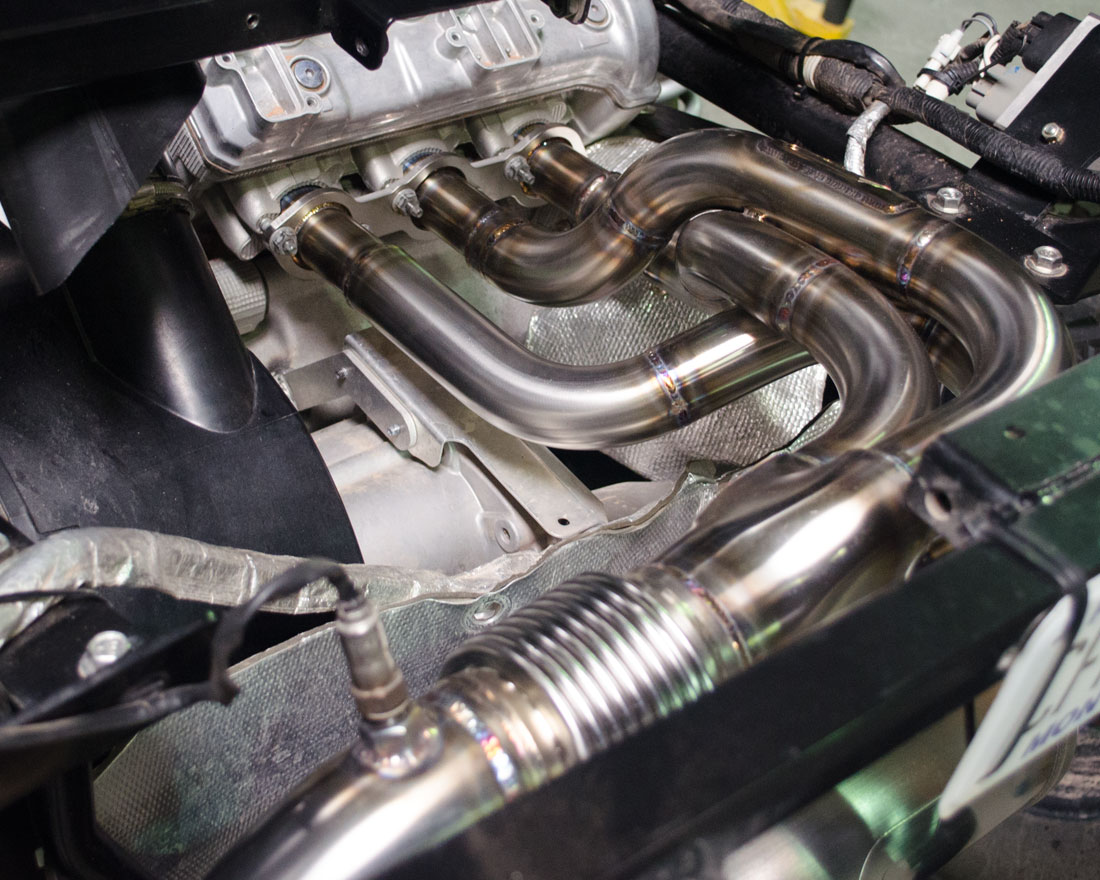
Feed header into engine bay.
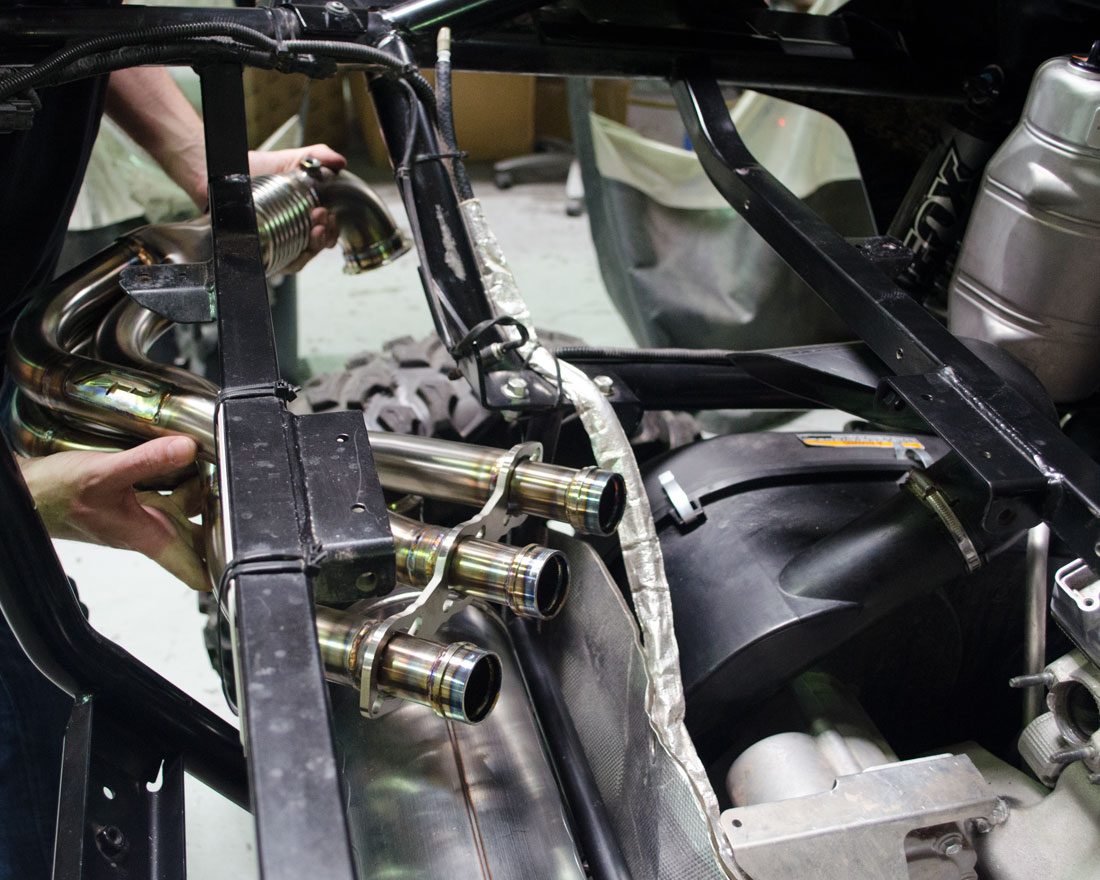
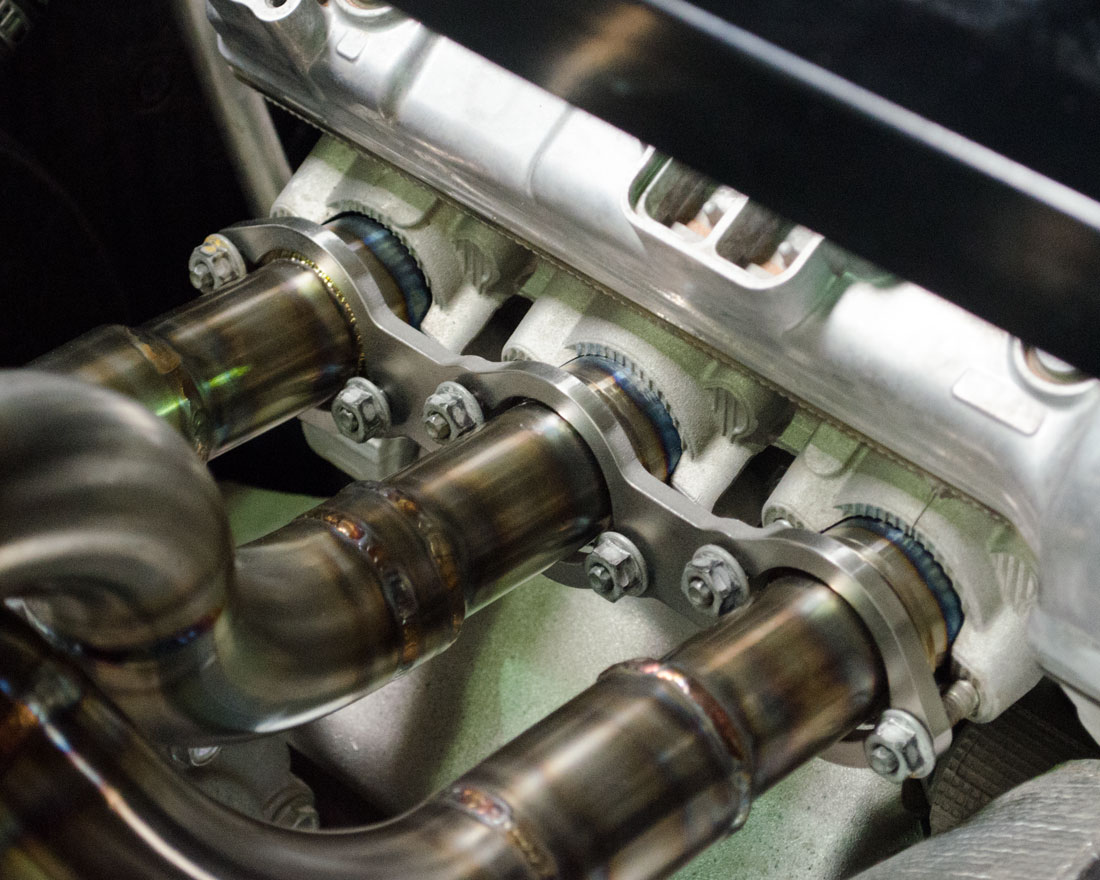
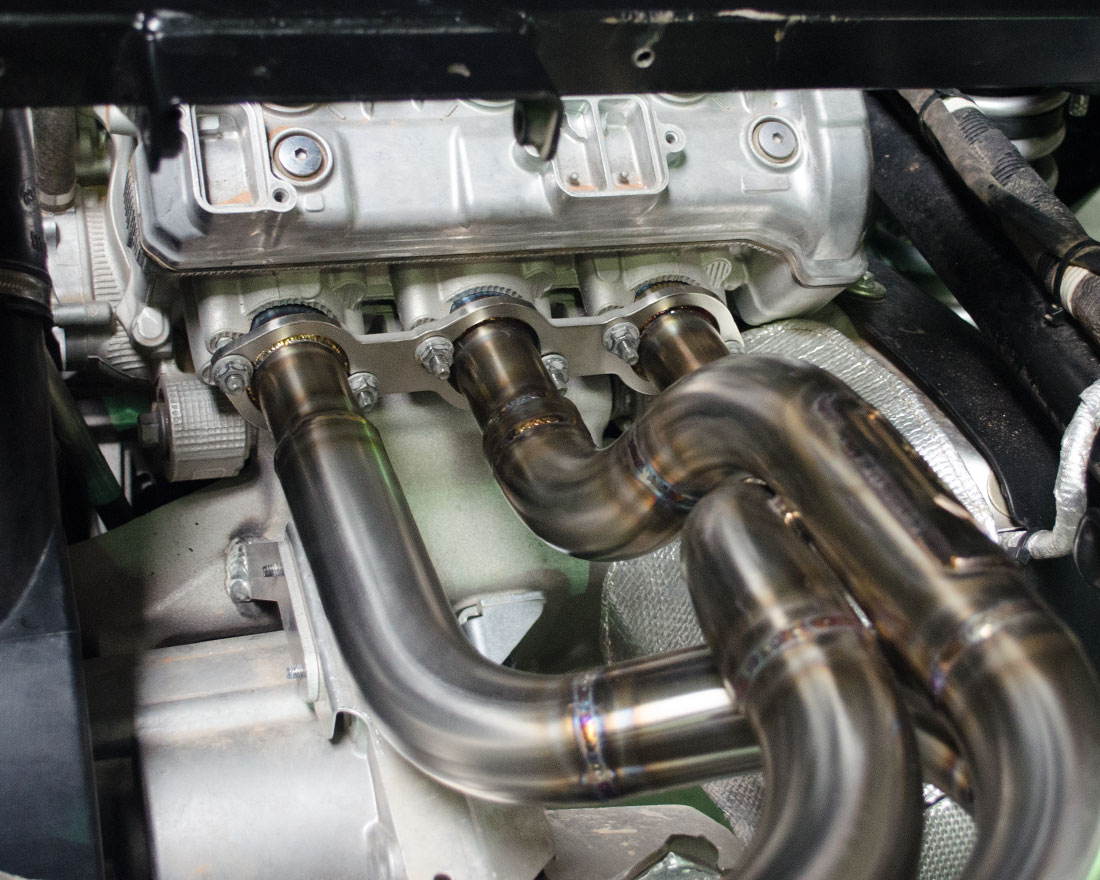
Push headers into heads and move flange over stud into position.
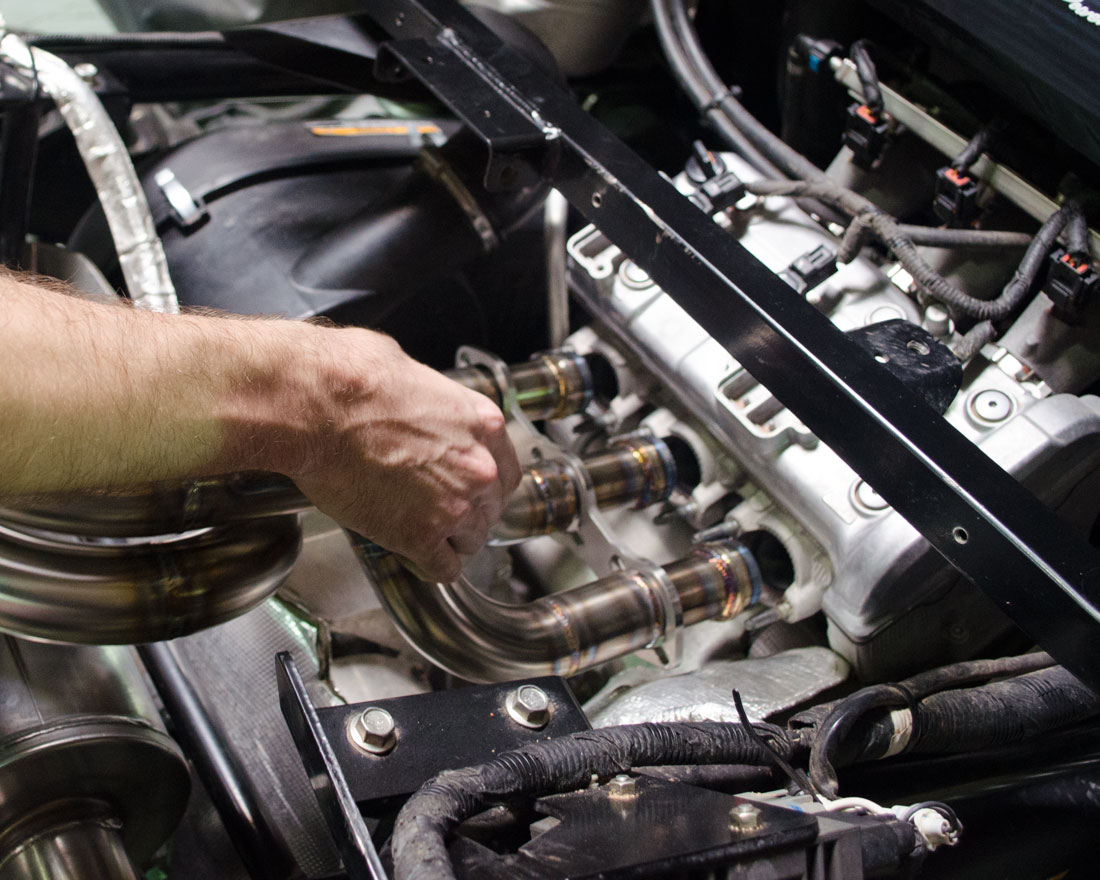
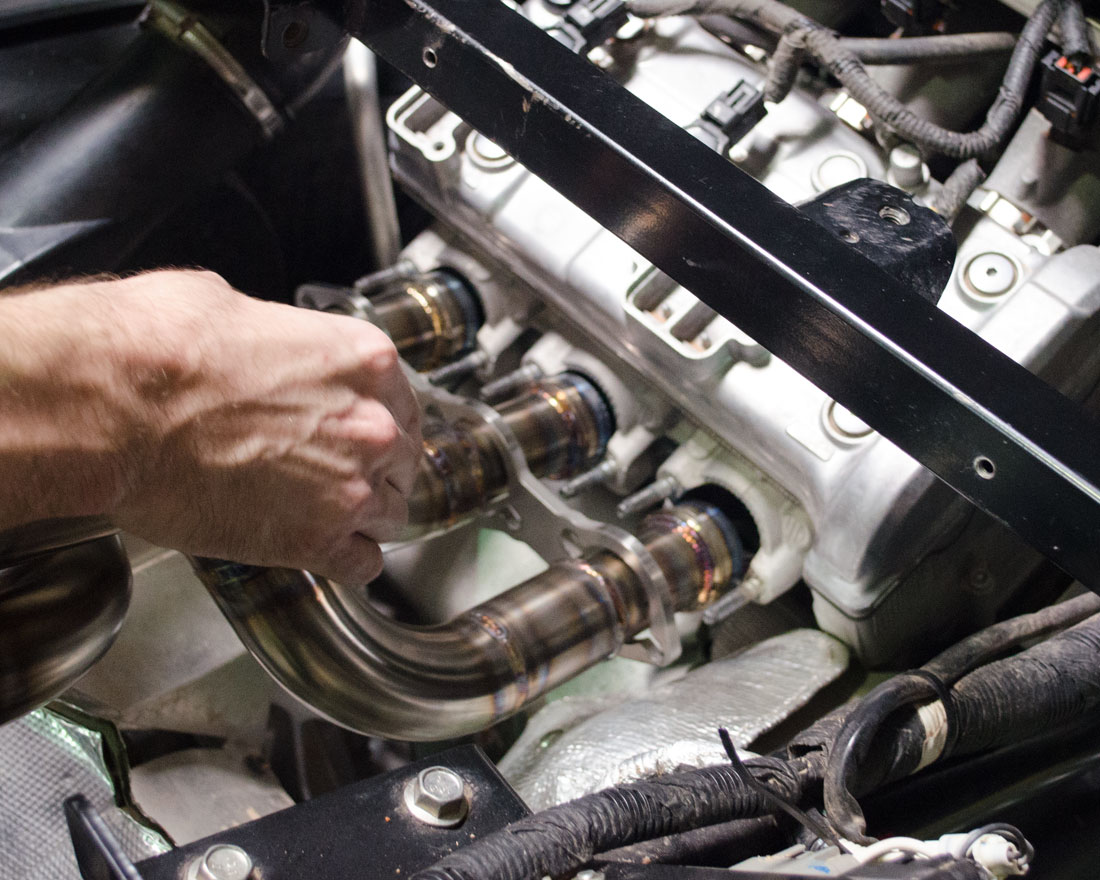
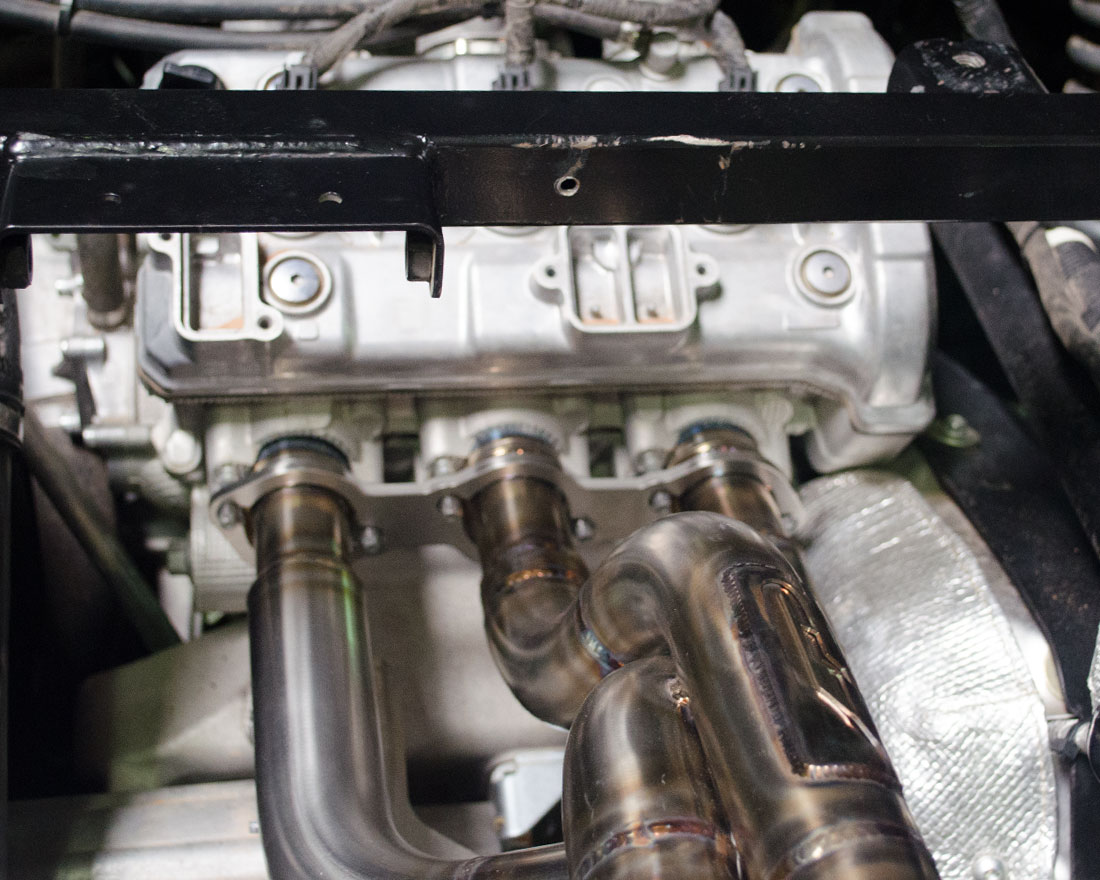
Loosely install the 6 nuts onto the head studs.
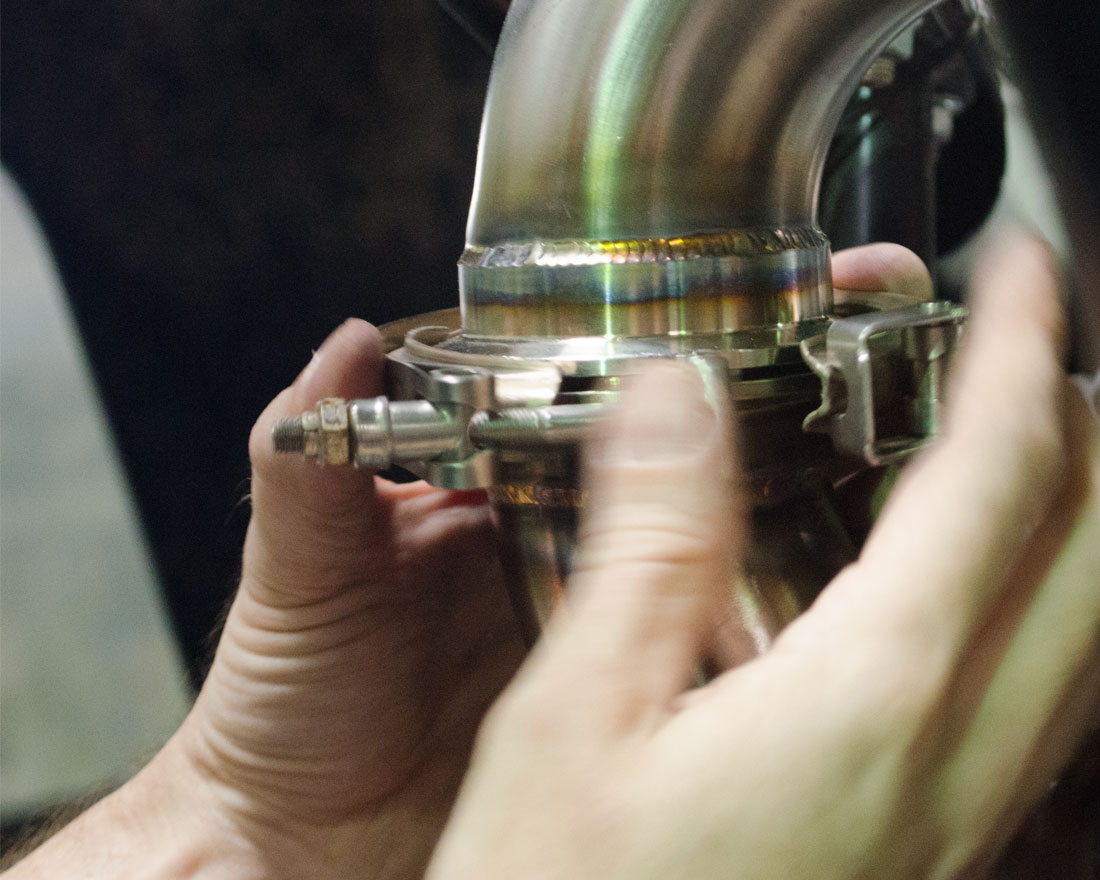
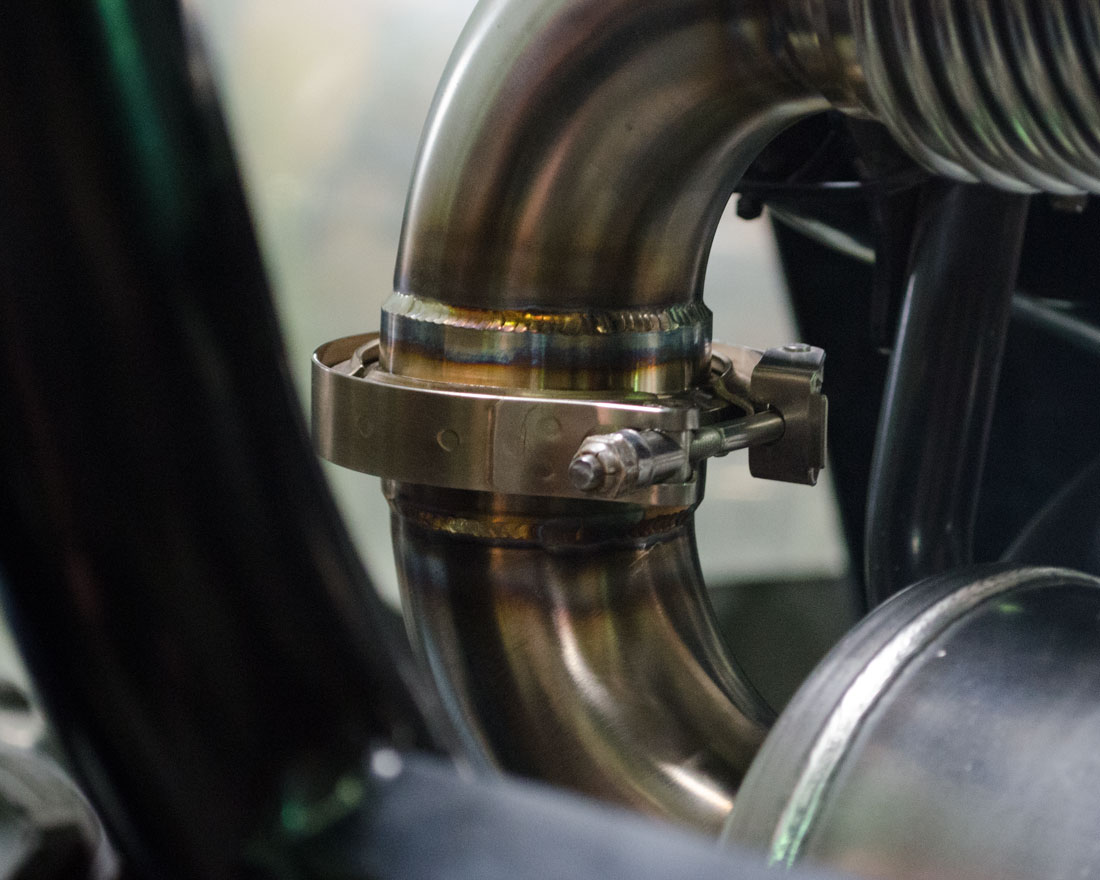
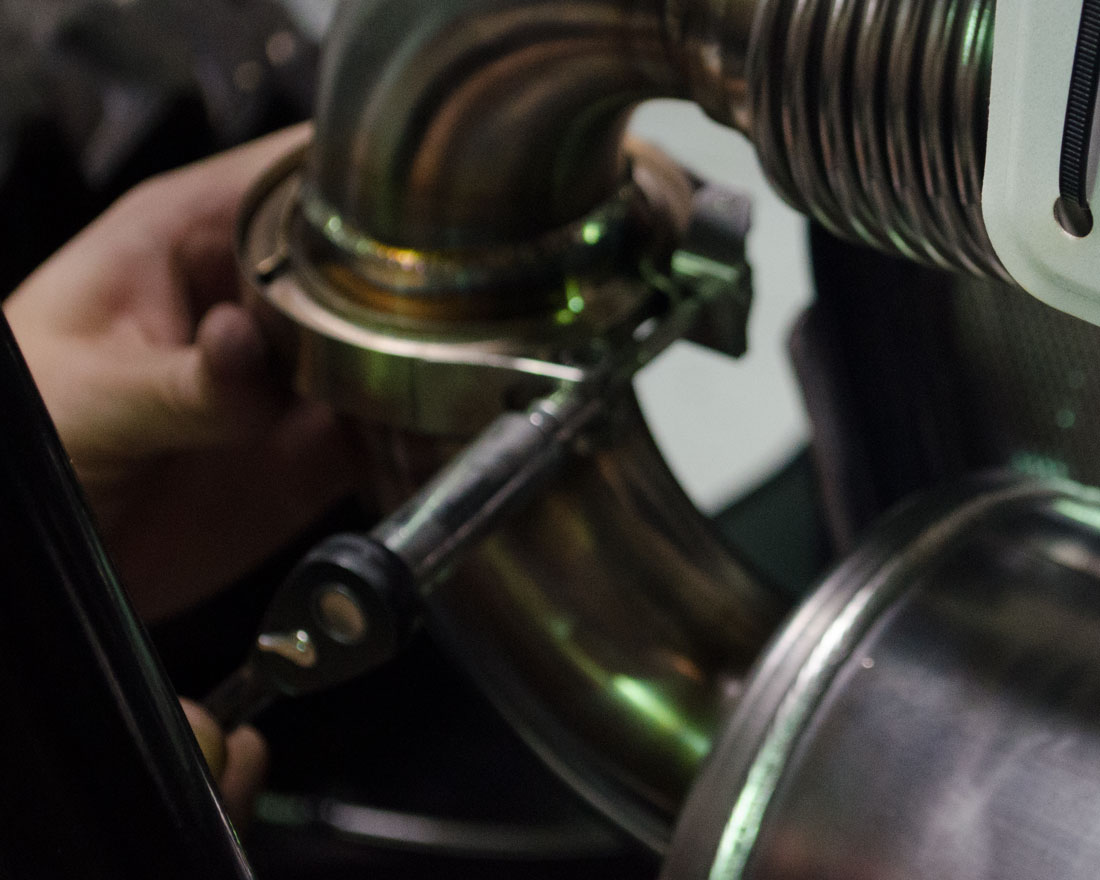
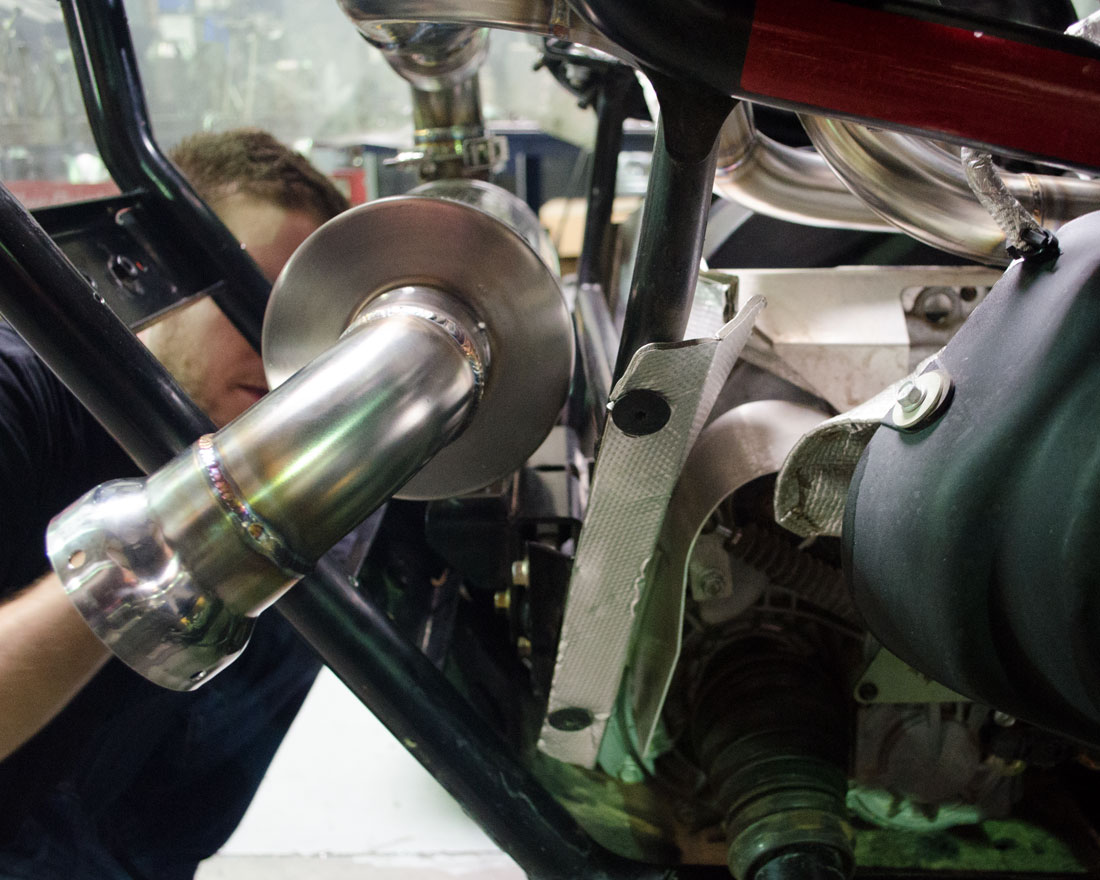
Align the header exit pipe with the muffler inlet pipe and secure with V-Band. And Tighten Clamp.
Line up muffler and tighten 2 nut and bolts to the mount.
Evenly tighten the 6 header nuts onto the studs.
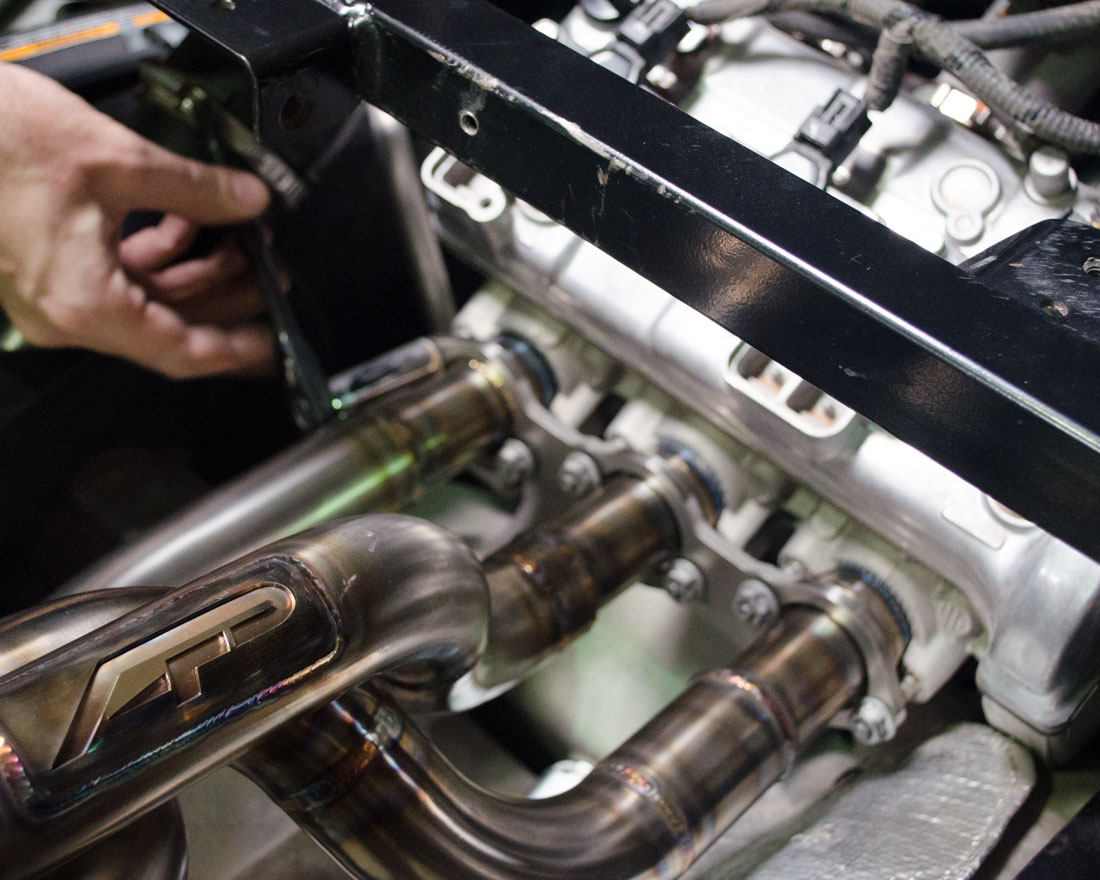
Re-install factory sensor and tighten.
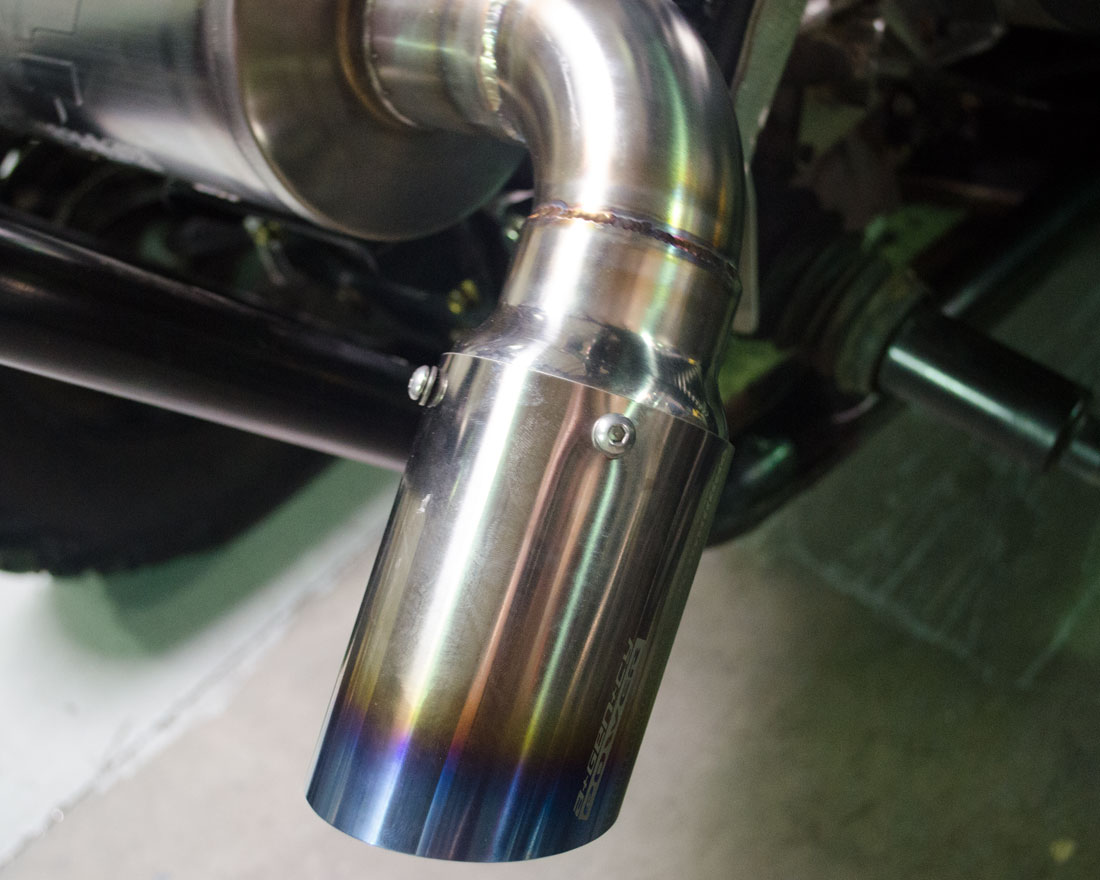
Install the spark arrestor, mounting ring and tip.
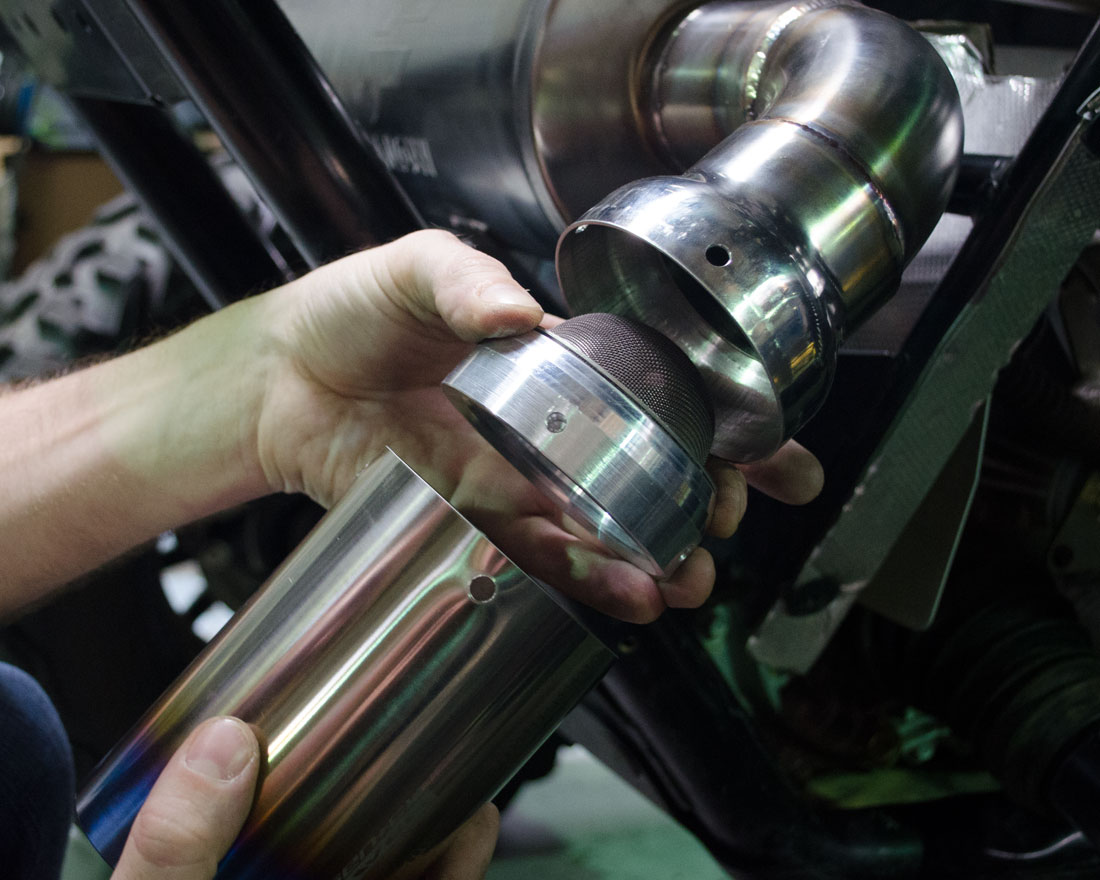
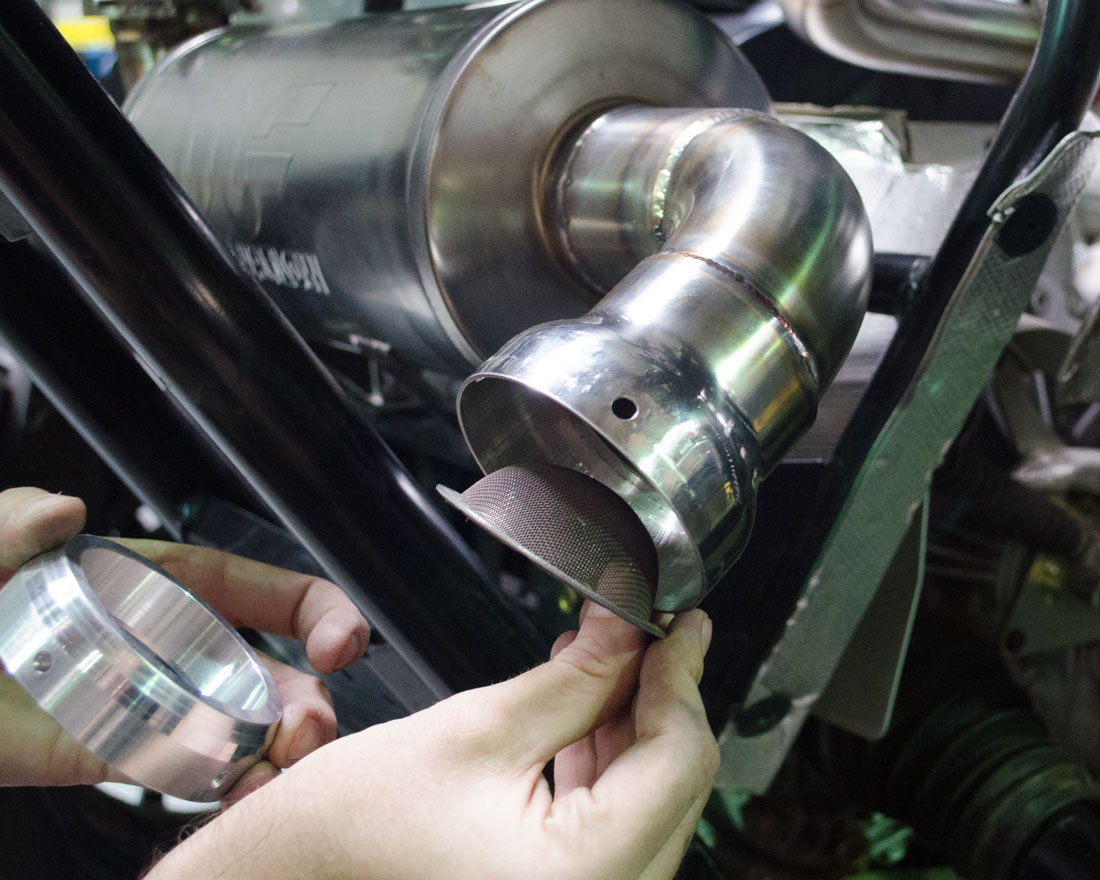
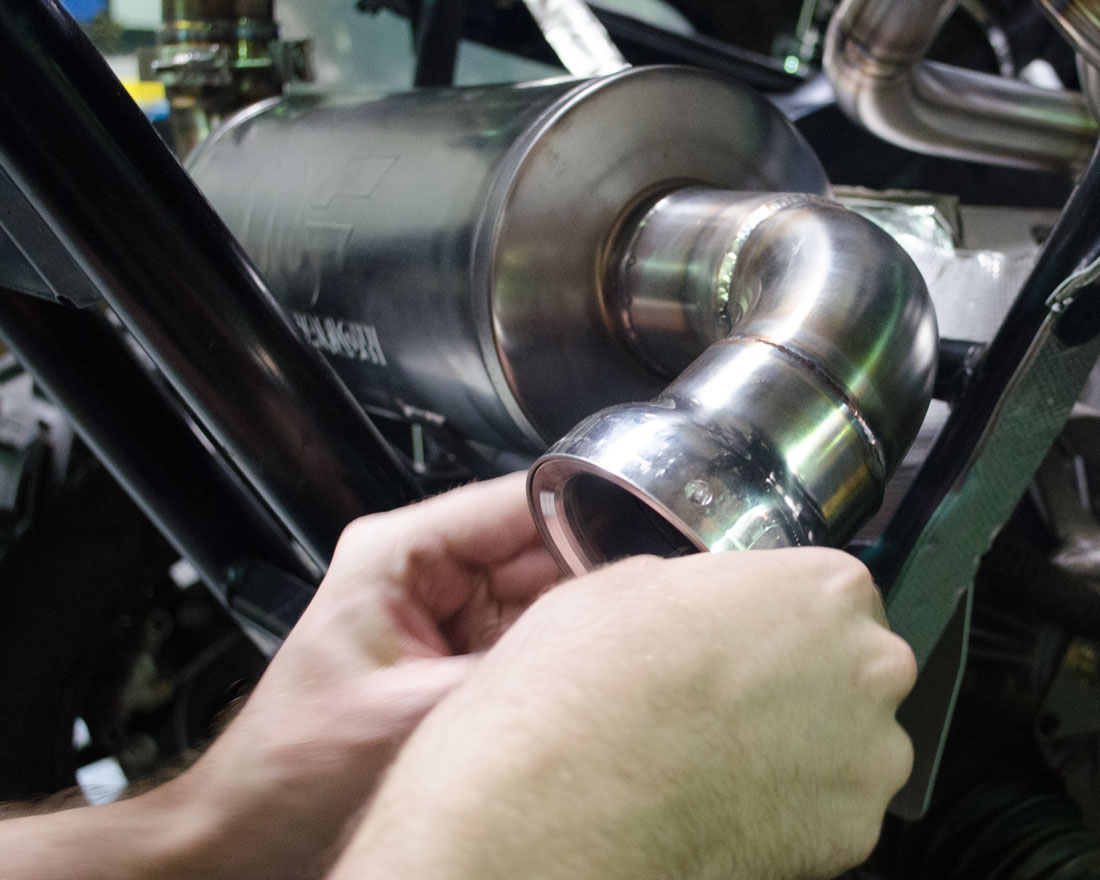
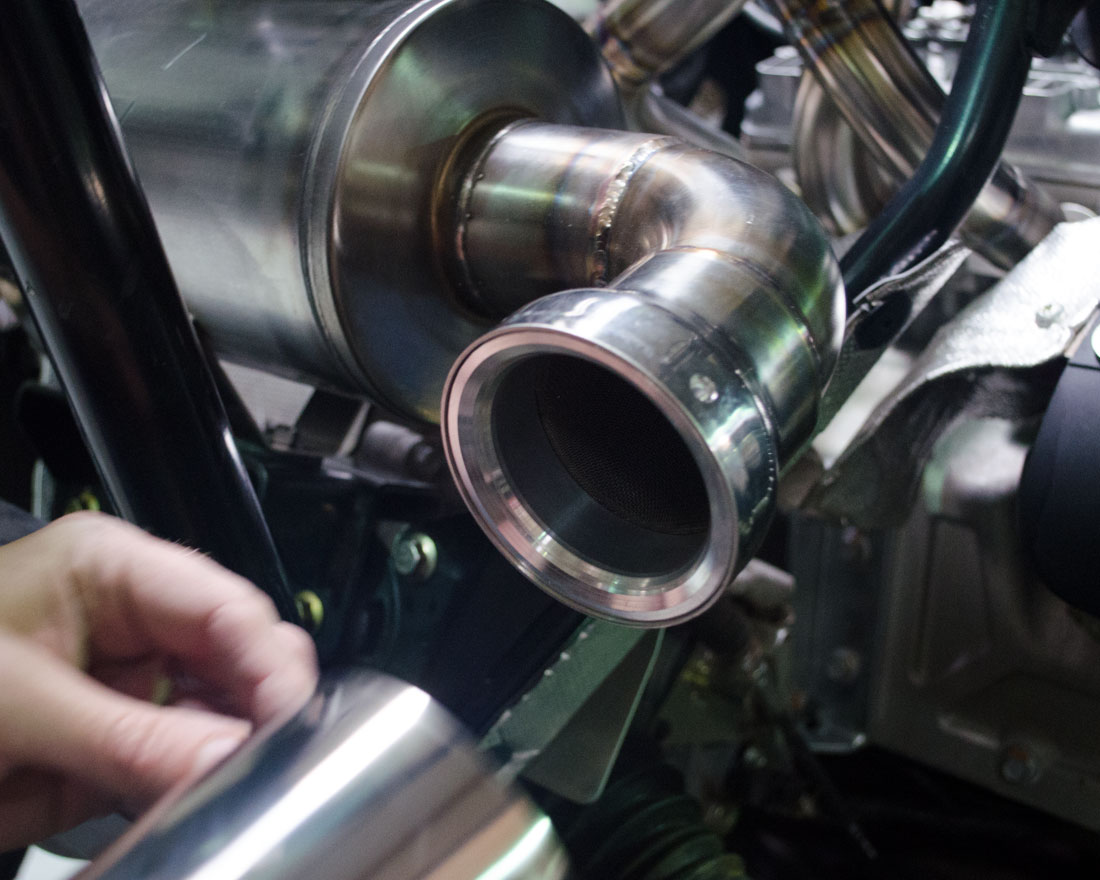
Insert and tighten 4 allen screws to hold tip, spark arrestor and ring in place.
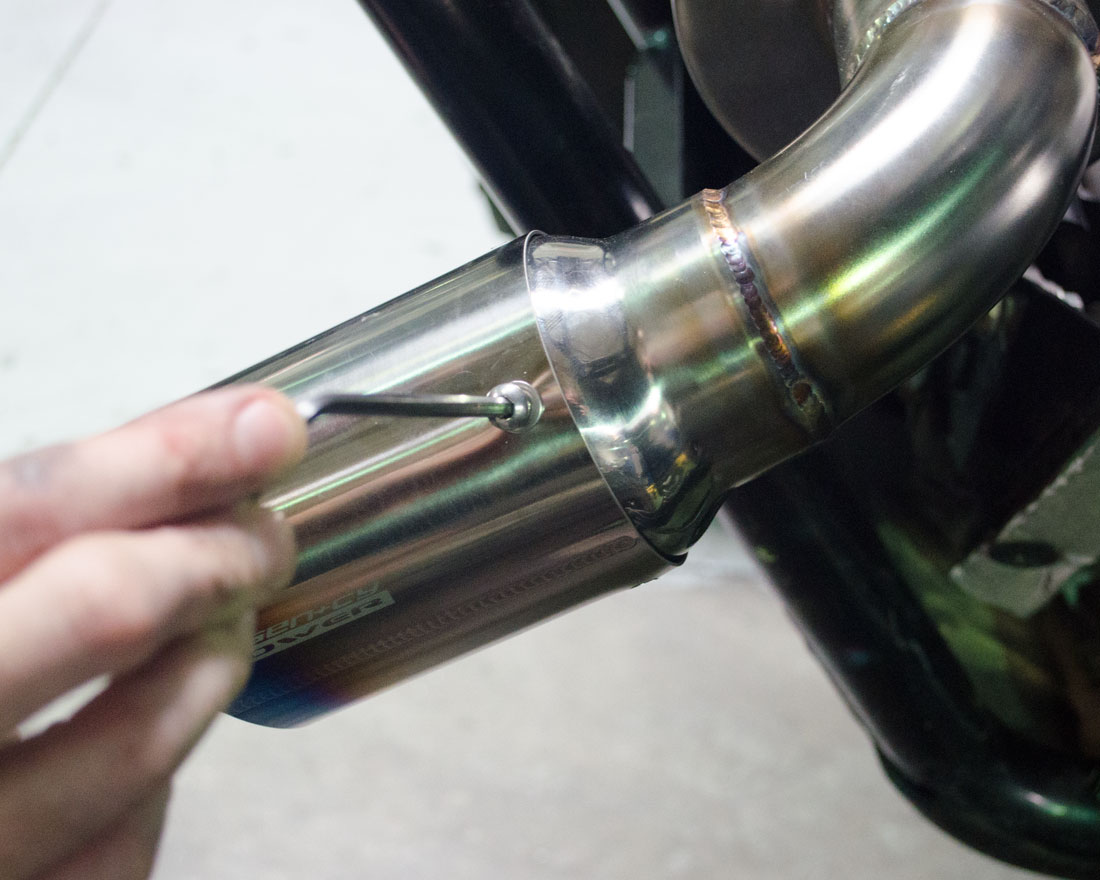
Re-Install rear exhaust cover and cargo tray.
Congratulation you have now installed Agency Power headers and exhaust.
NOTES:
- When Running A Spark Arrestor Screen Be Sure to Check On Them From Time to Time That They Are Free Flowing And Not Clogged Of Debris.
- Spark Arrestor Screens Will Need to Be Serviced Which Varies on Driving Conditions.
