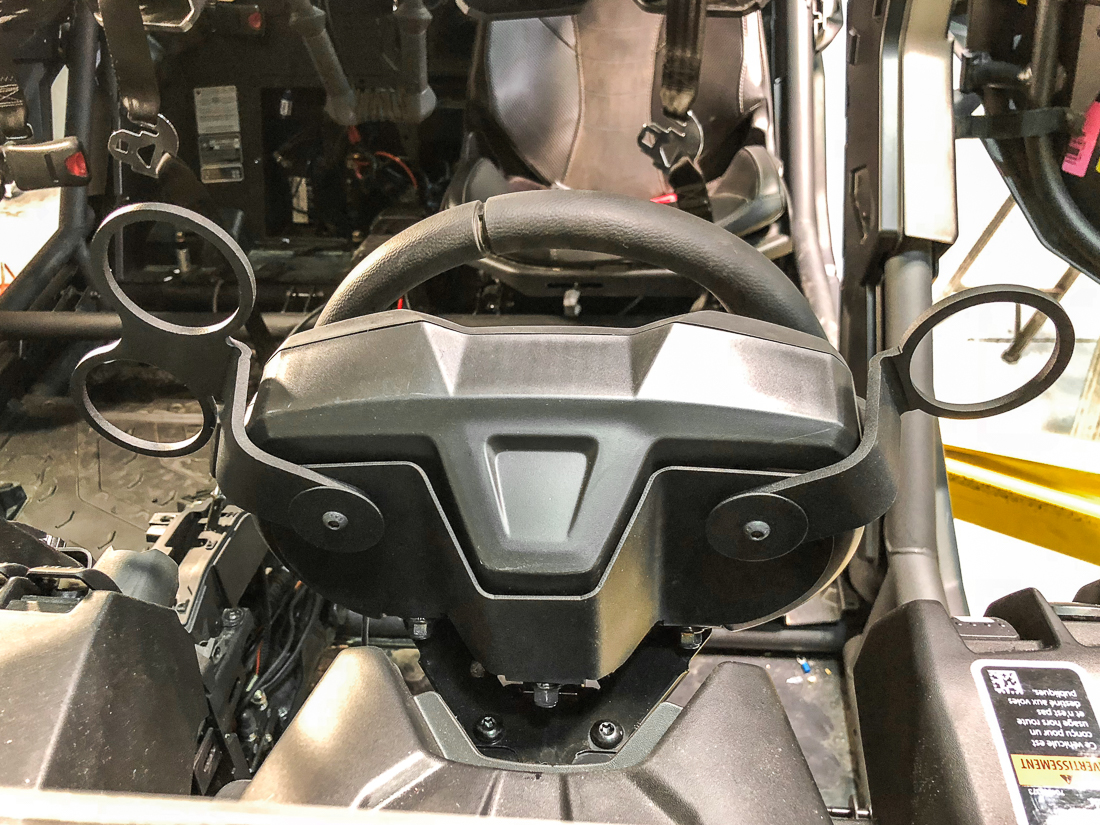
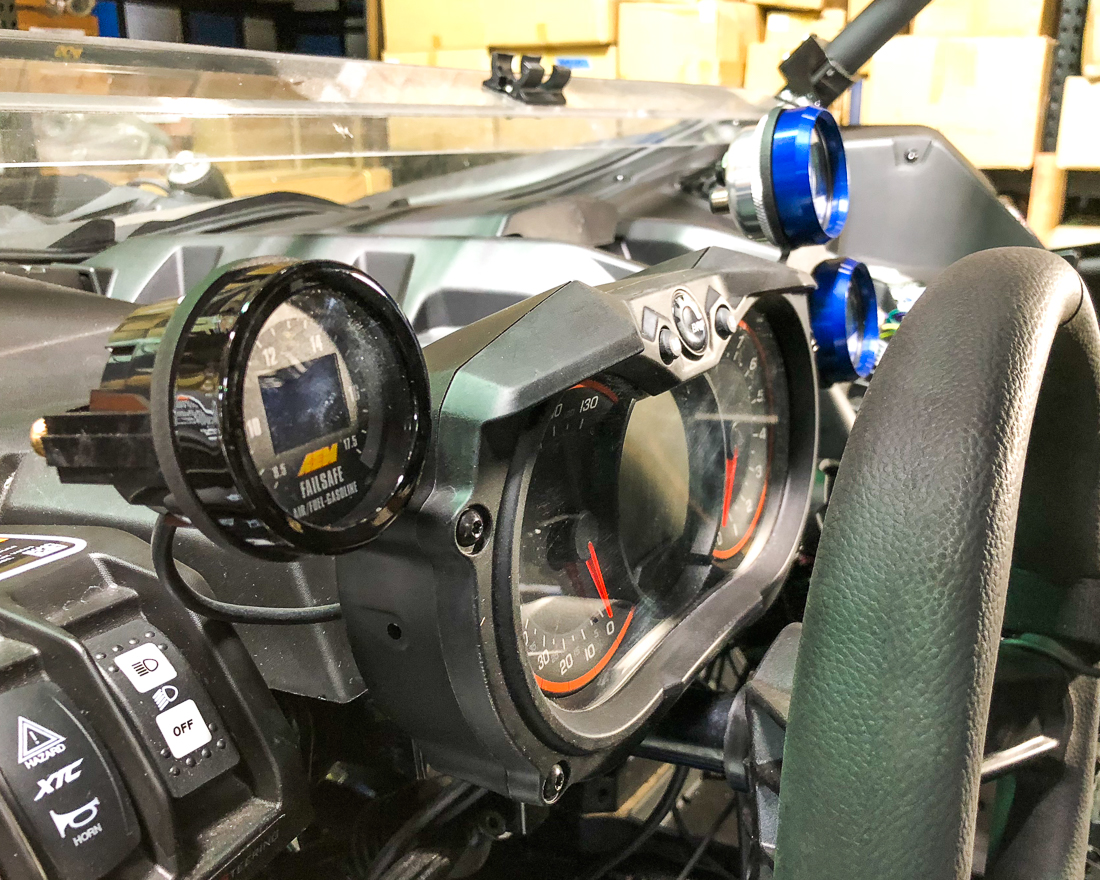
Can-Am X3 Modular Gauge Pod Installation
This guide to help with the installation of the Agency Power Can-am X3 Modular Gauge Pod
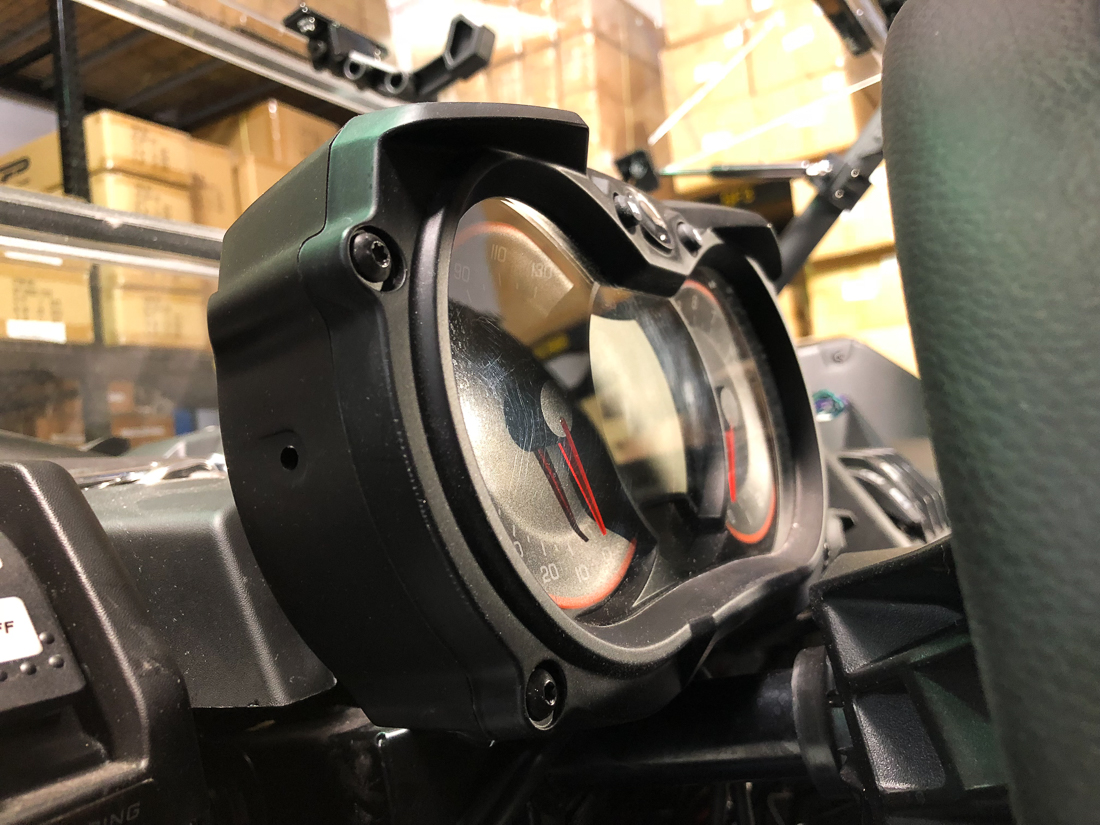
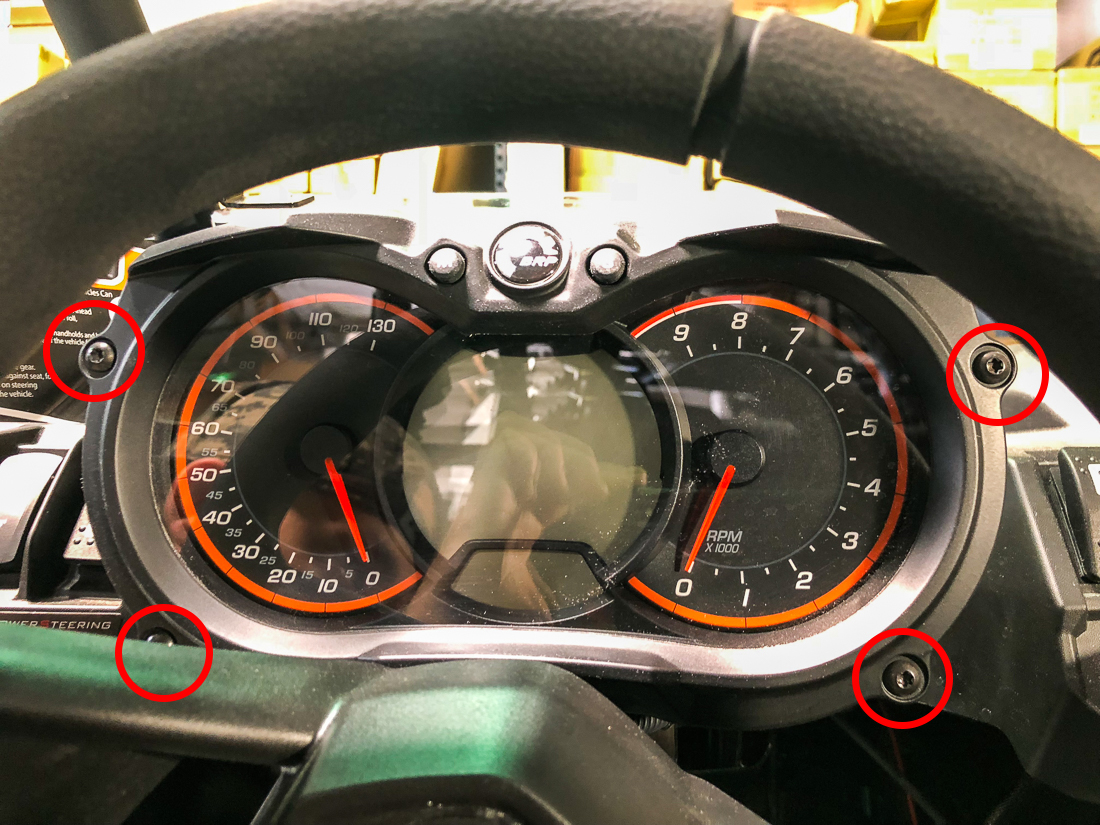
Step 1: Remove the 4x torx screws from the dash bezel
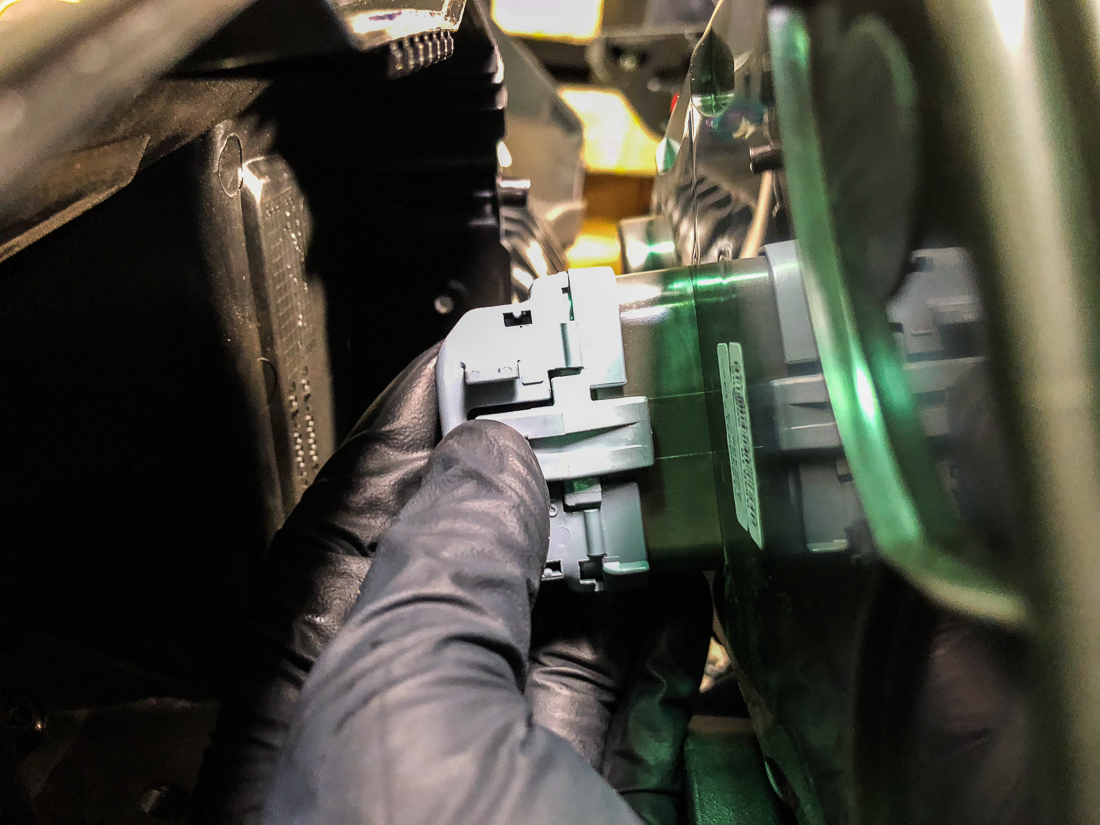
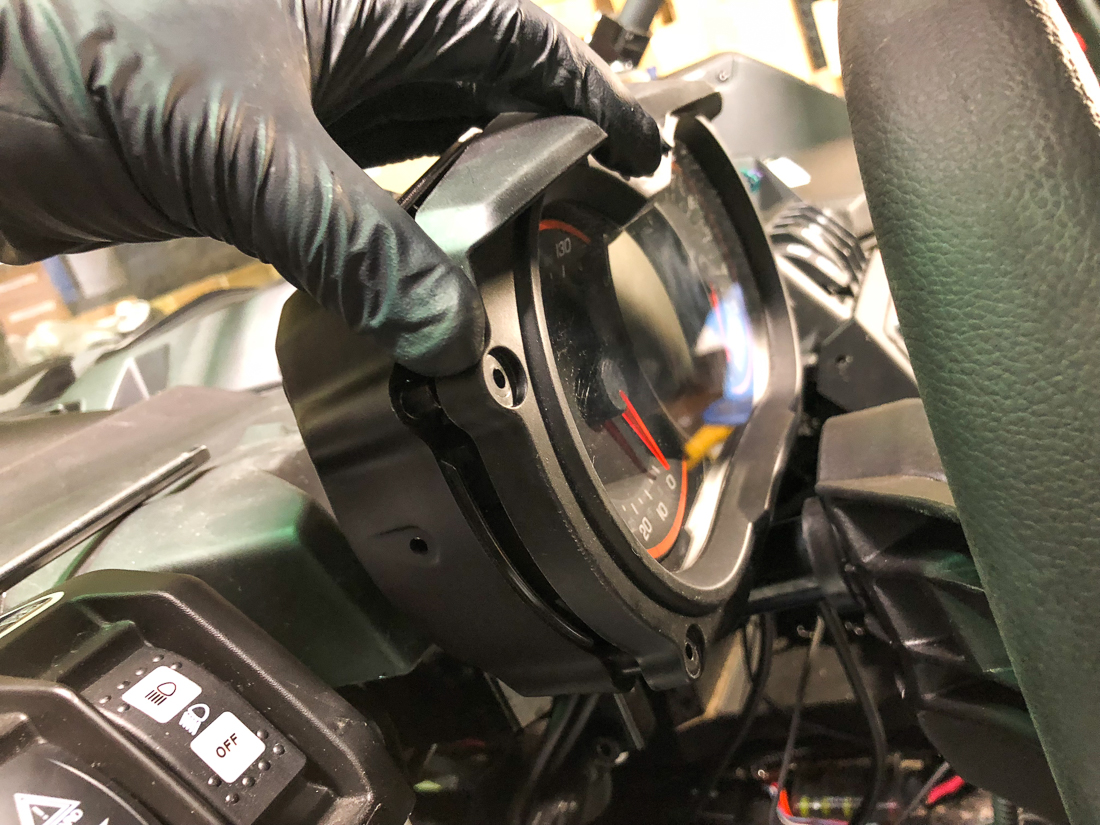
Step 2: Pull the gauge slightly out from the housing and disconnect the electrical harness from the back of the gauge.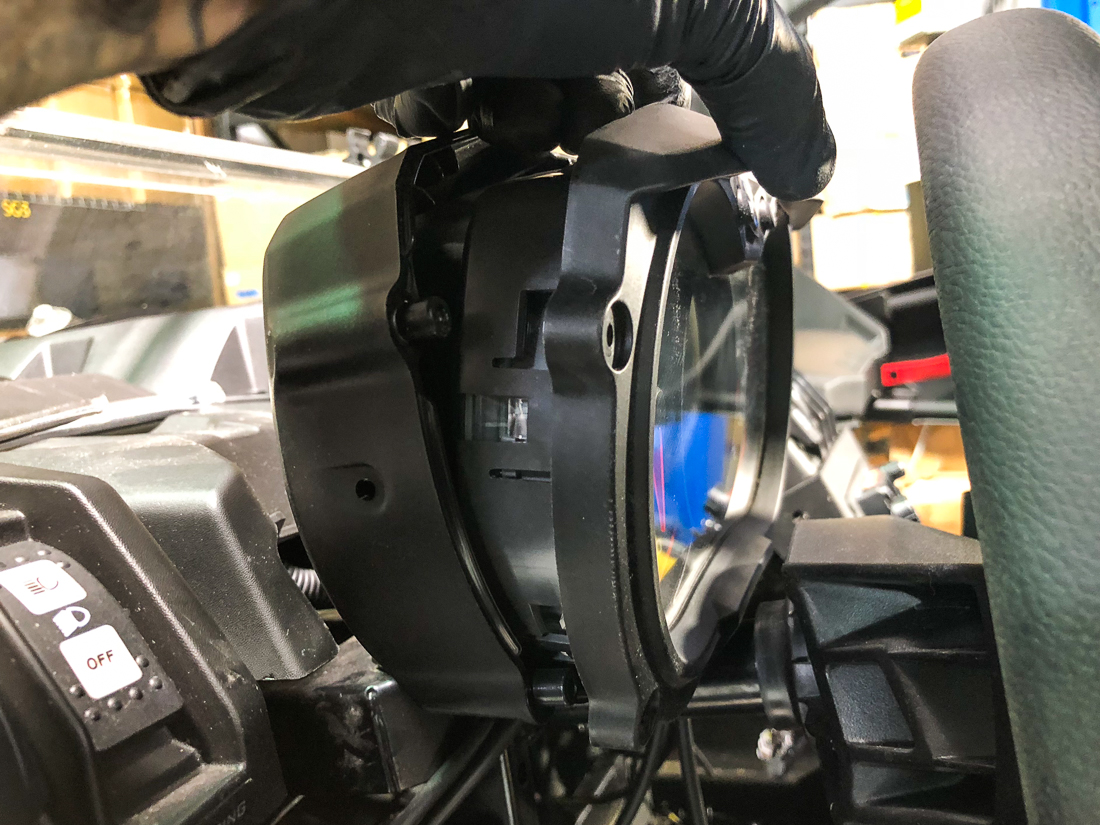
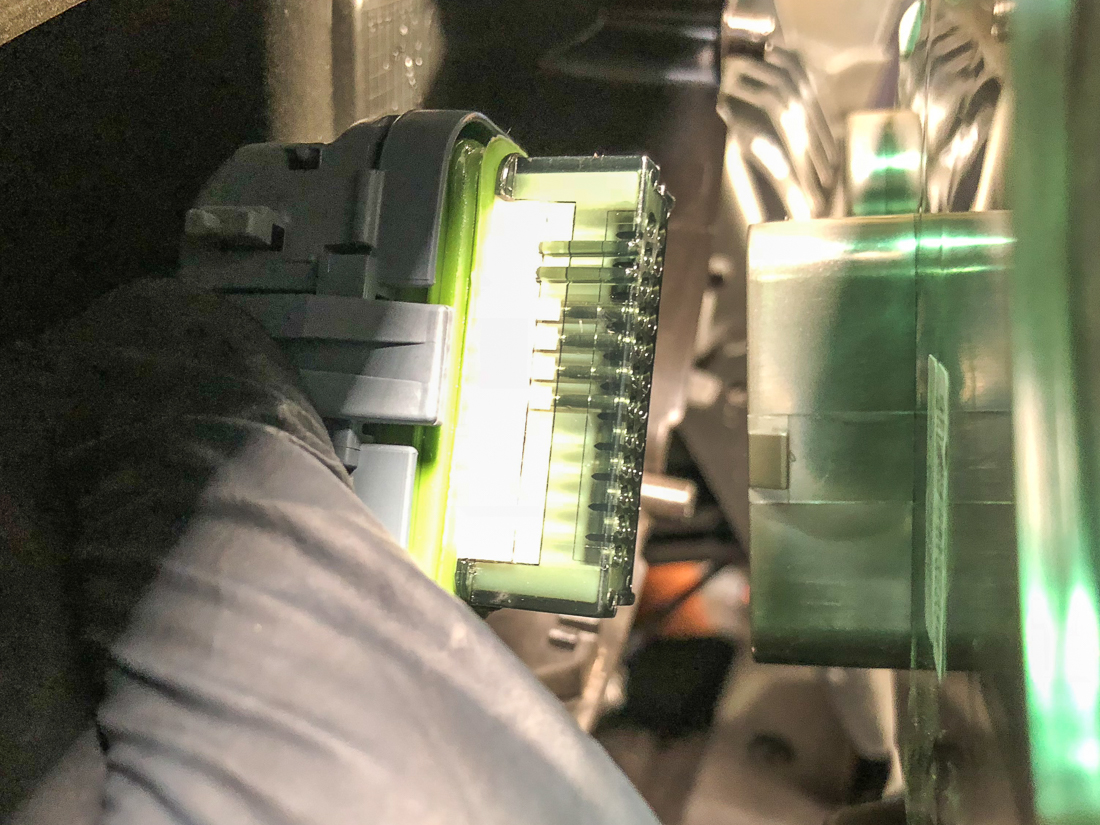
Step 3: Remove gauge housing by removing the 3x torx bolts. Use a 10mm open end wrench to hold the nut from spinning on the back side of the gauge housing. 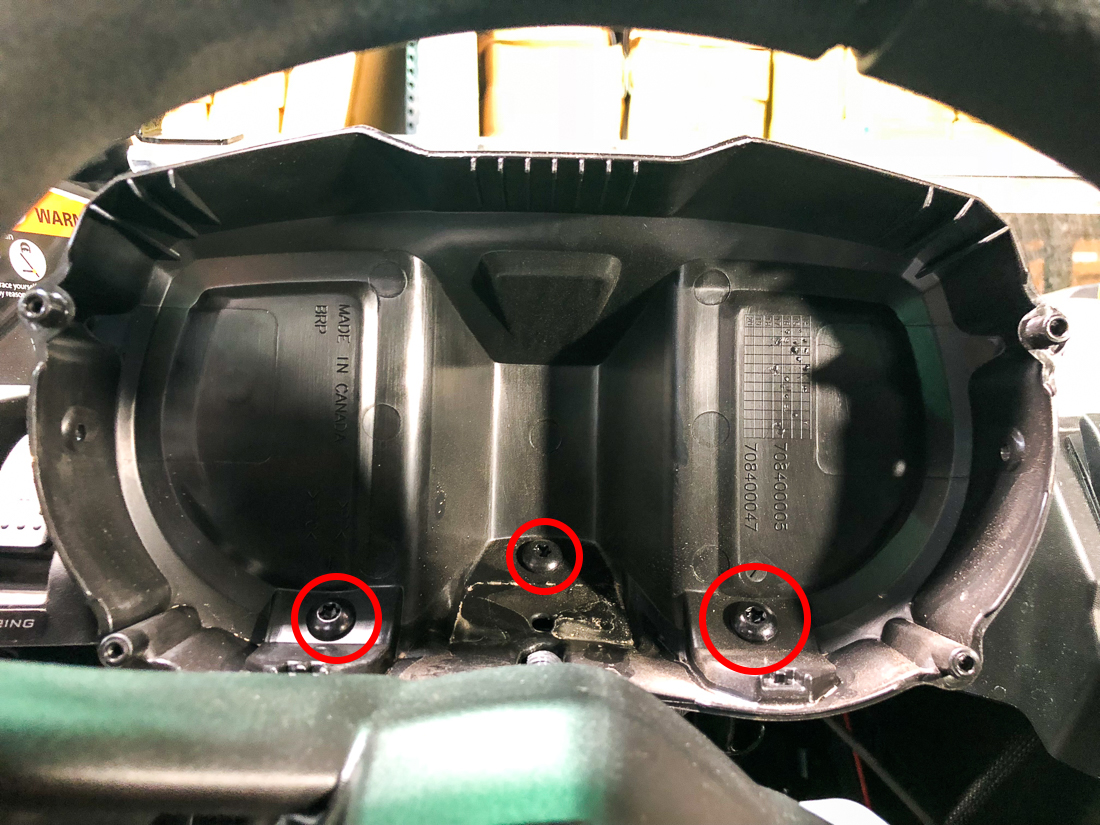
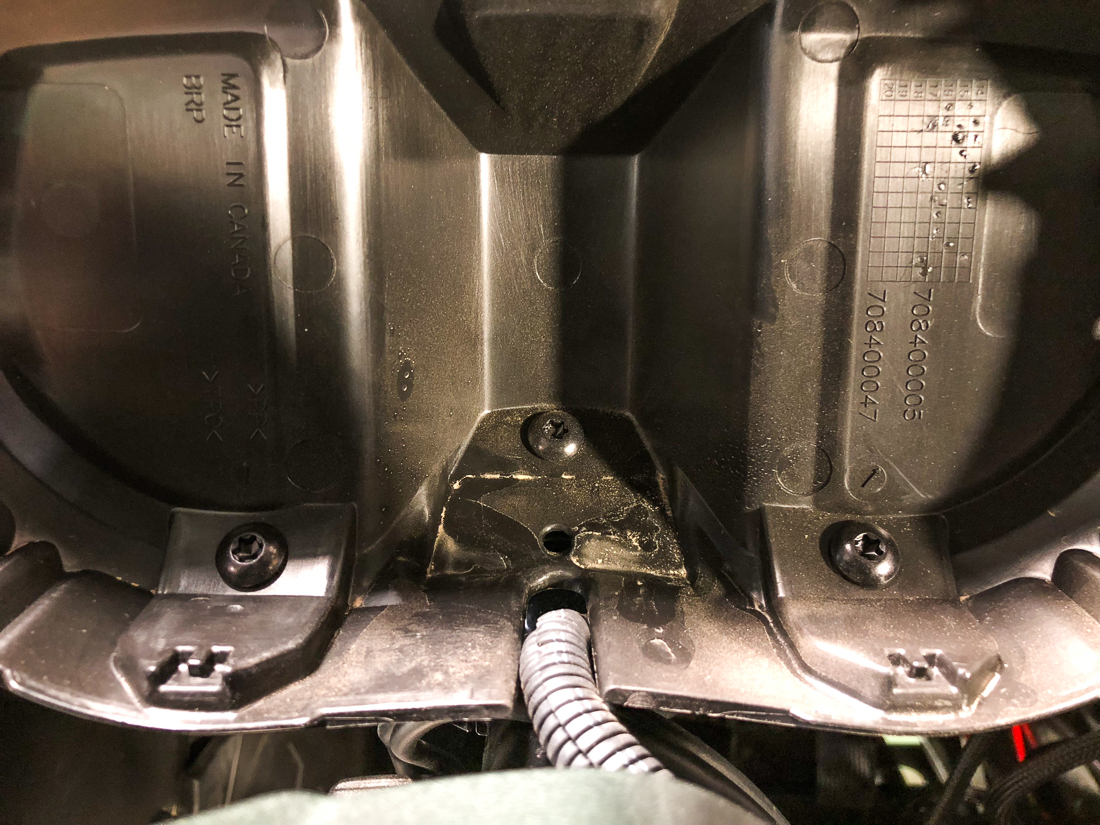
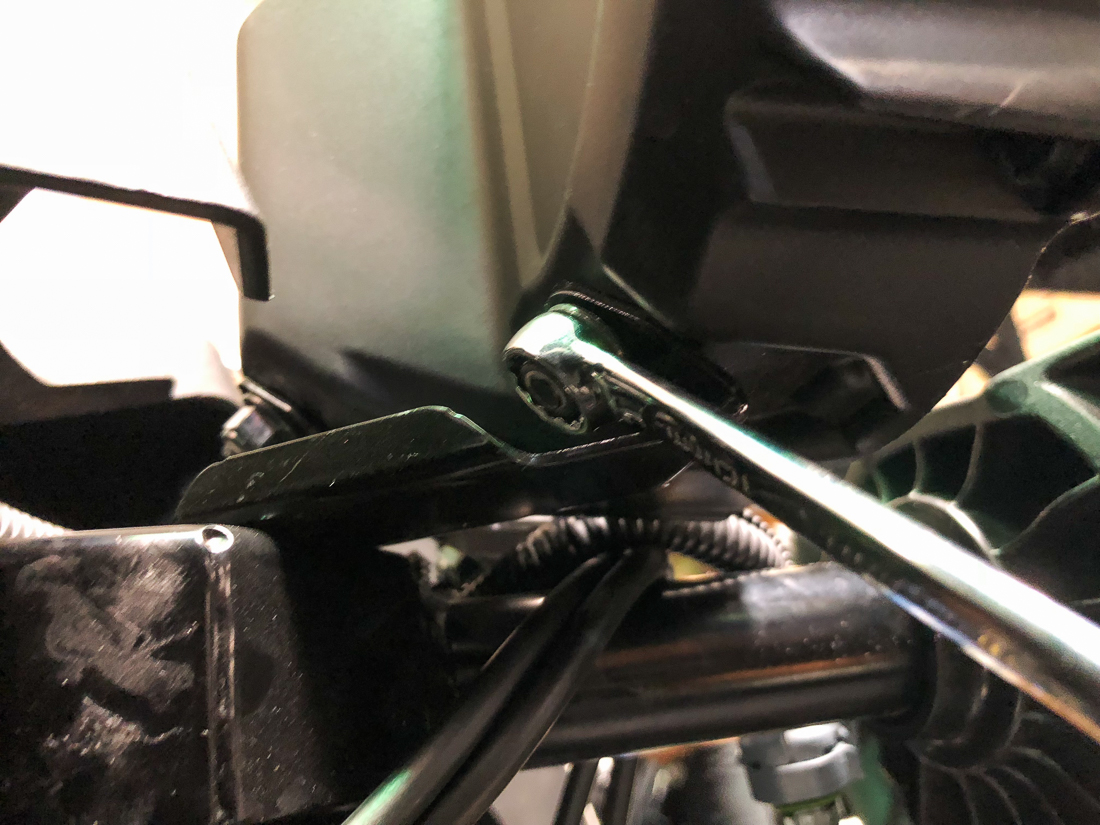
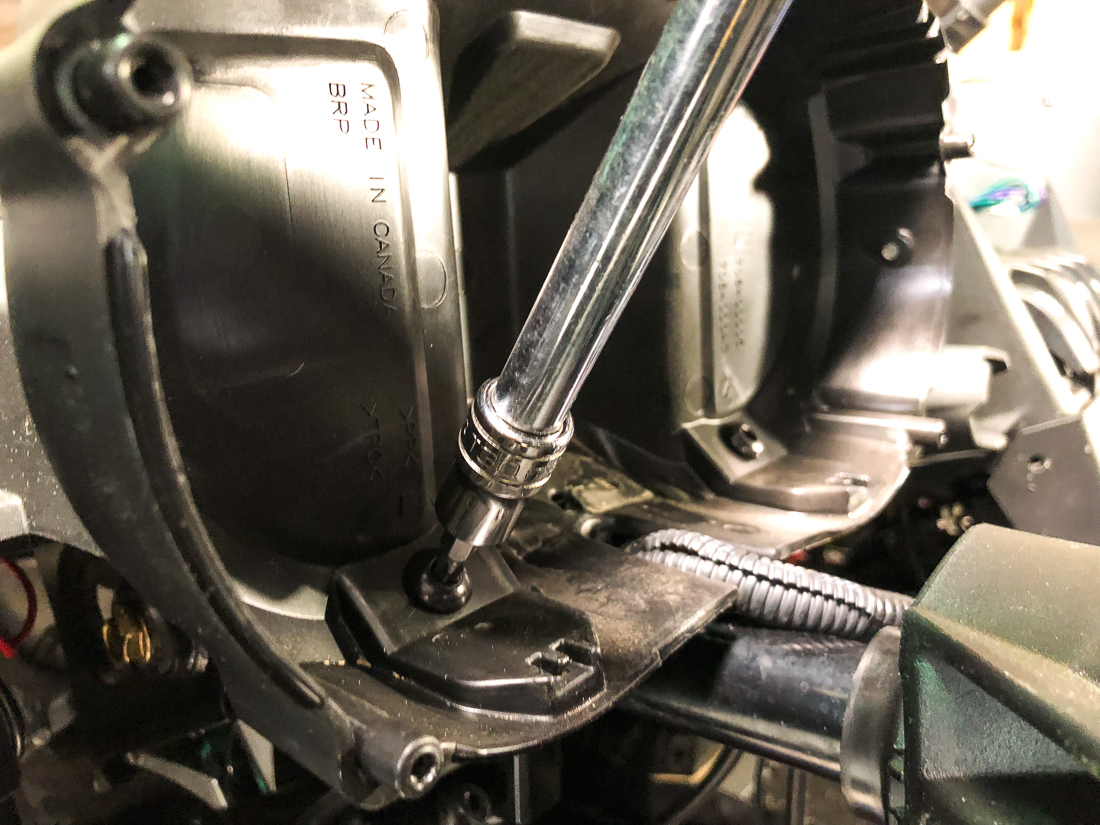
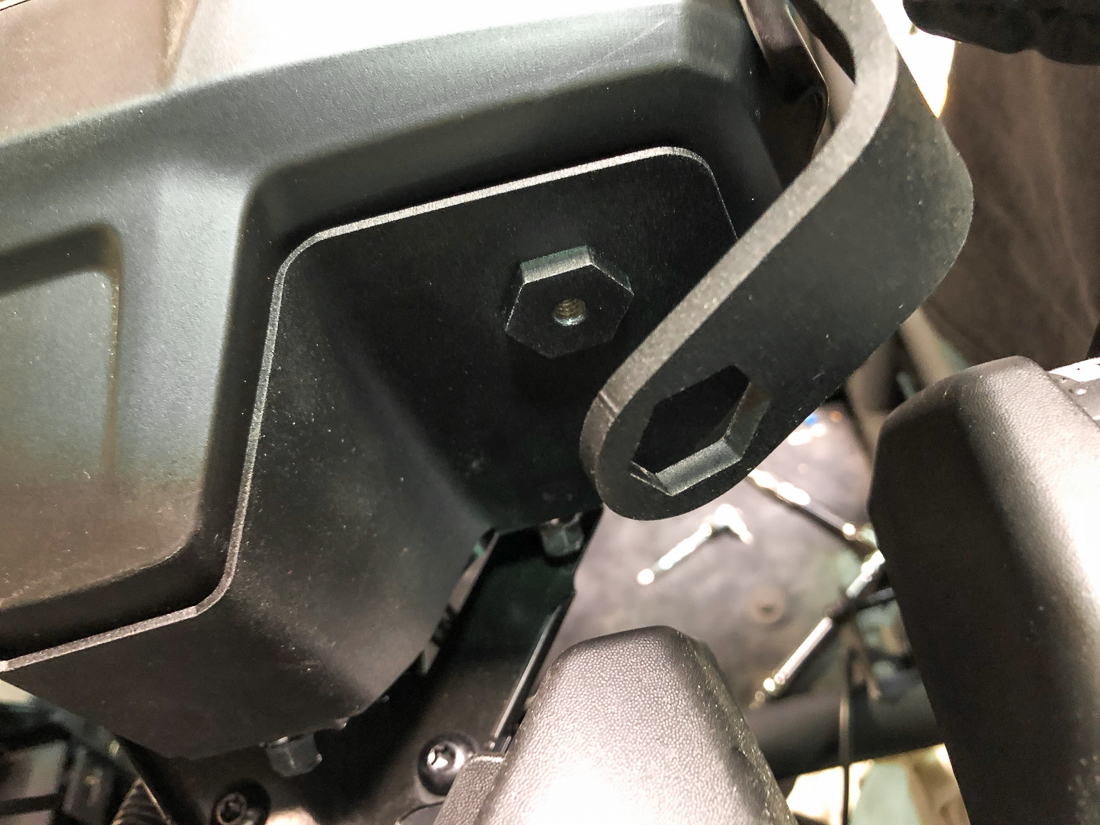
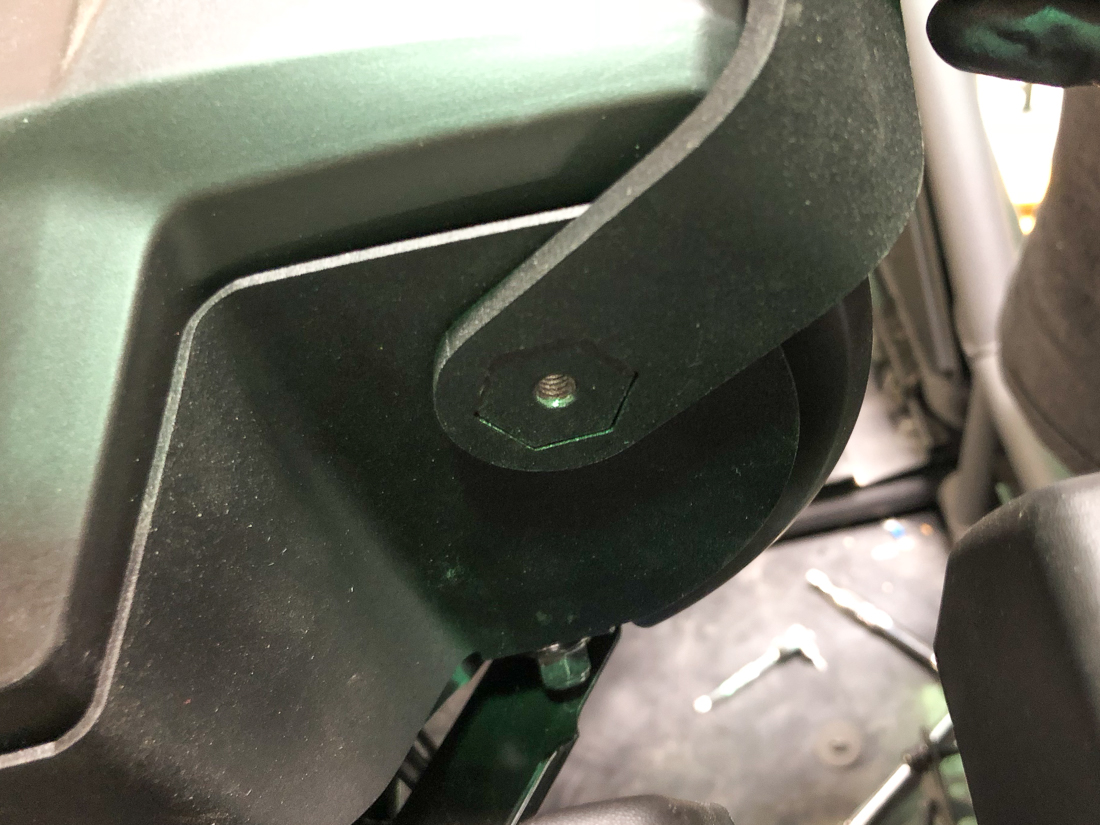
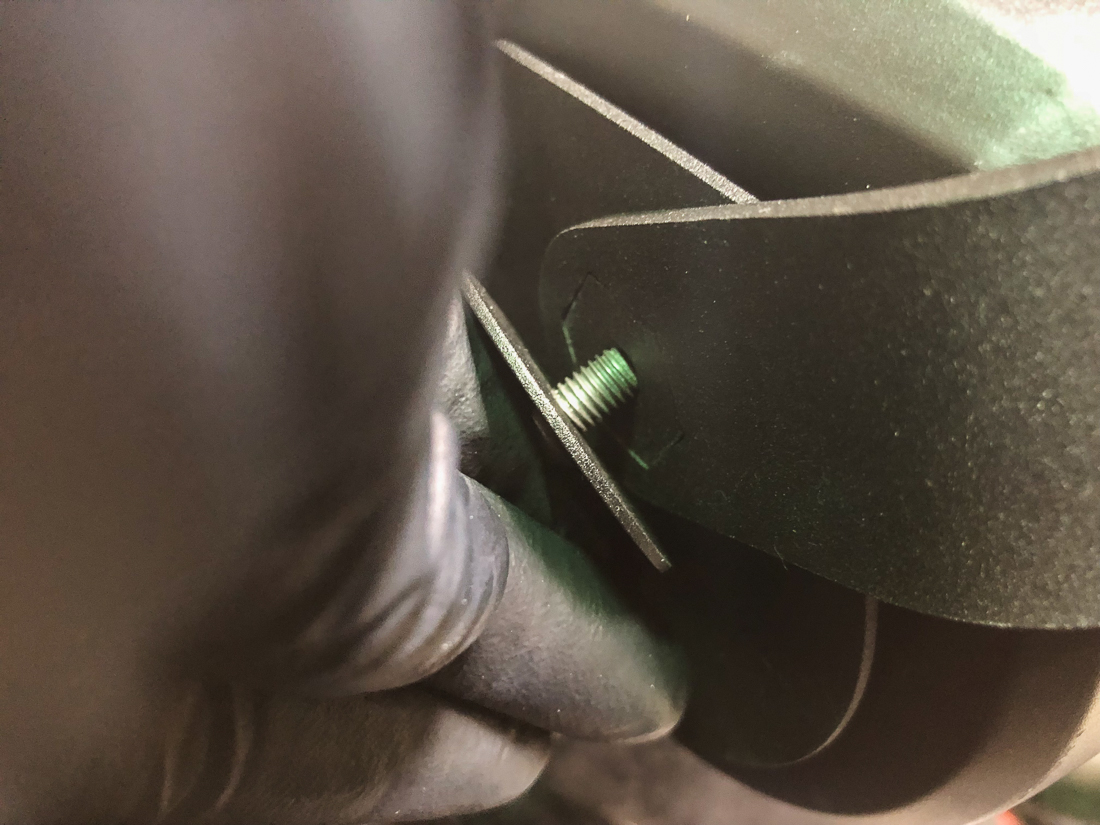
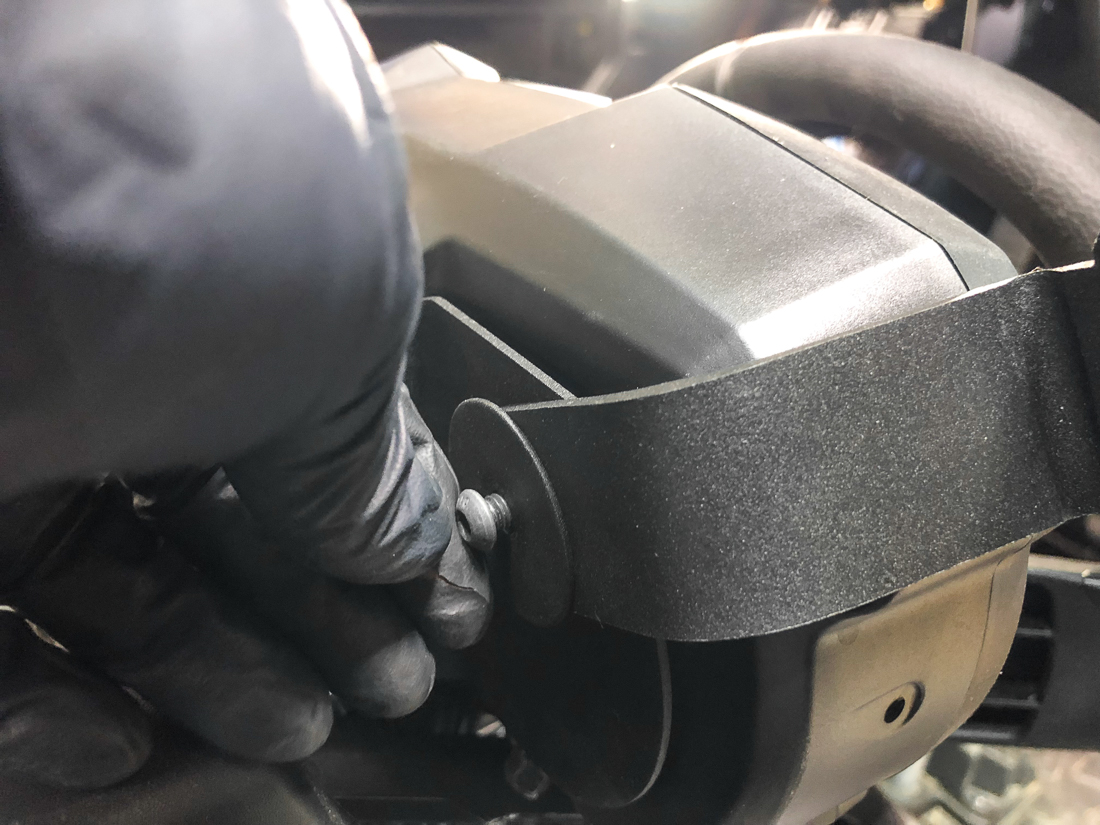
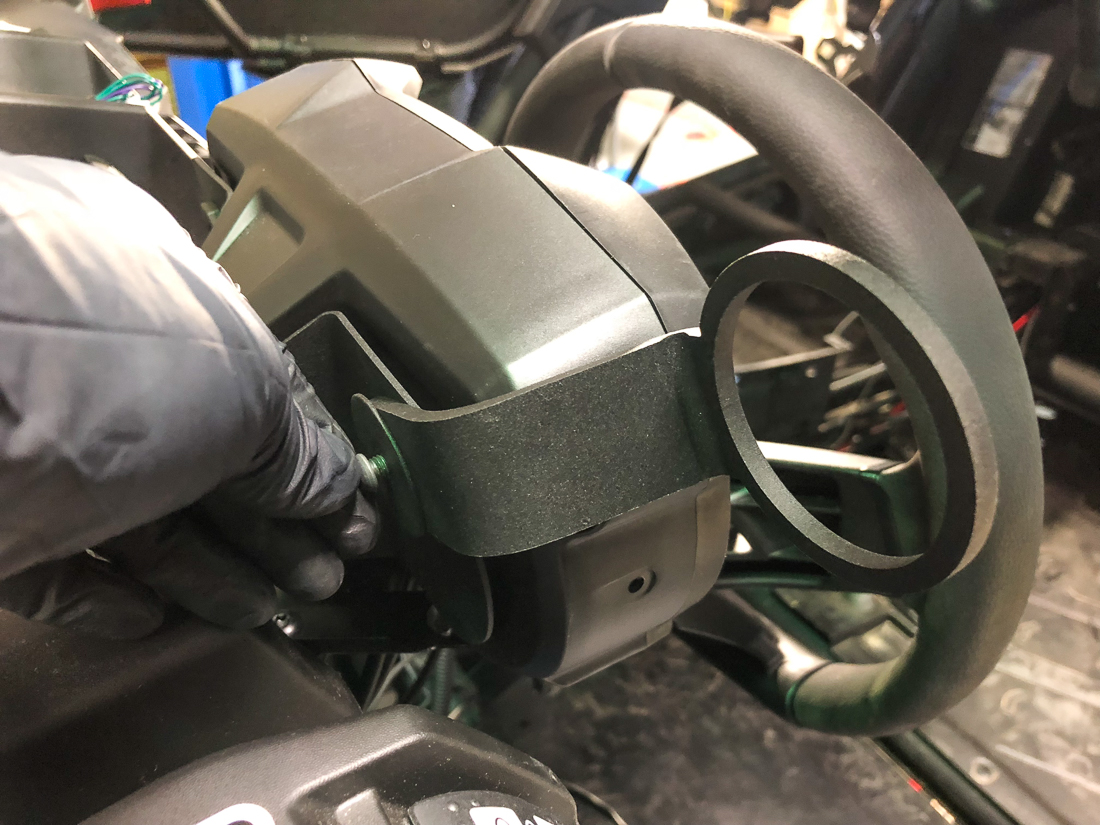
Step 4: Attach the new gauge pod plate in between the plastic gauge housing and install using the hardware that was removed on step 3 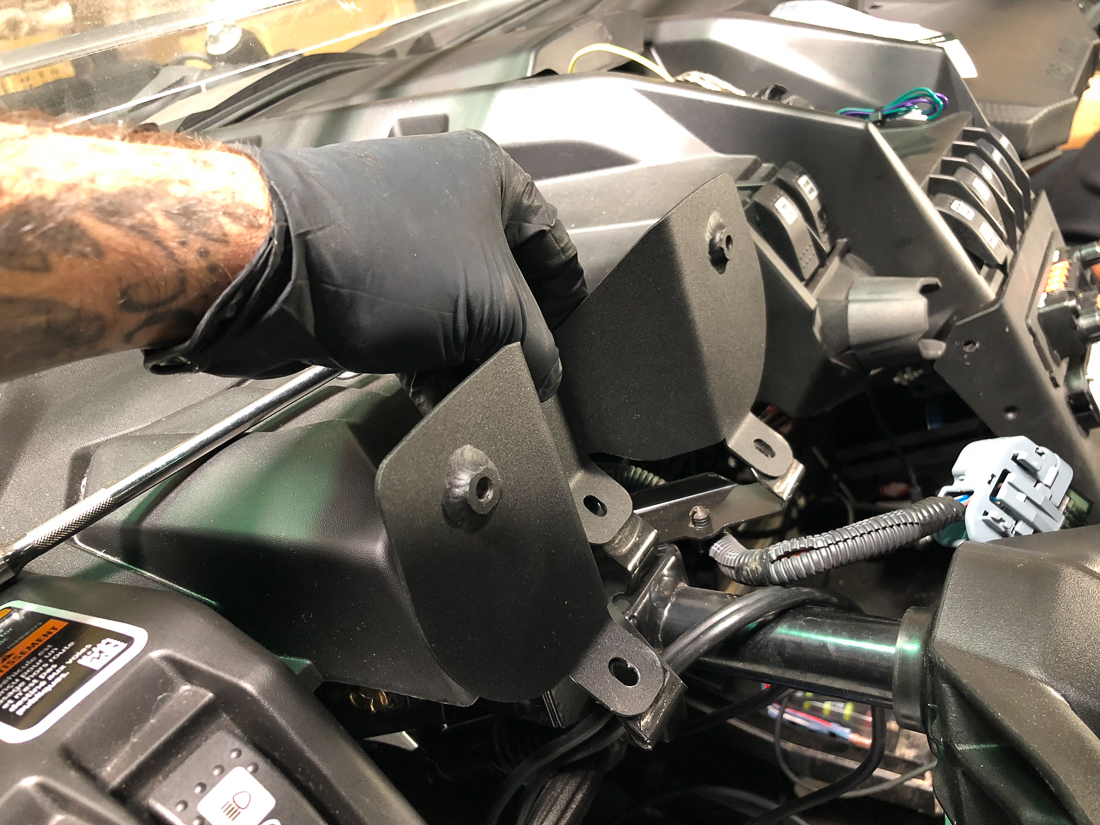
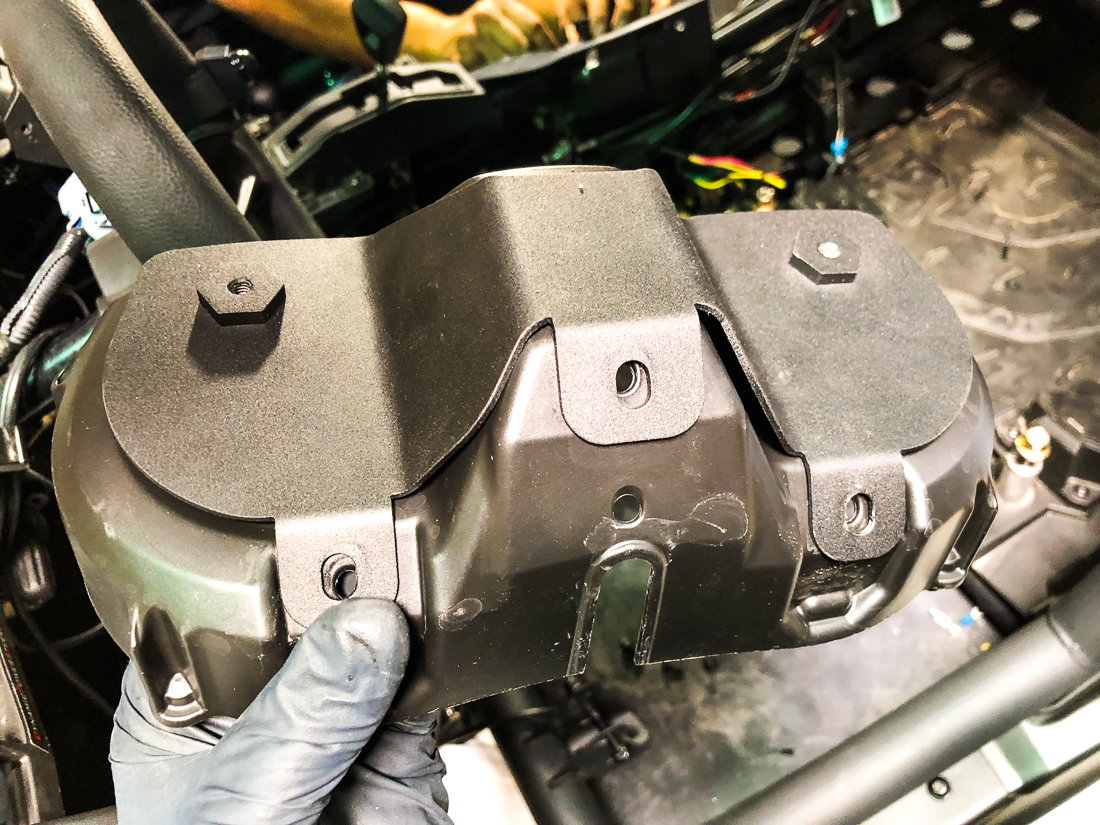
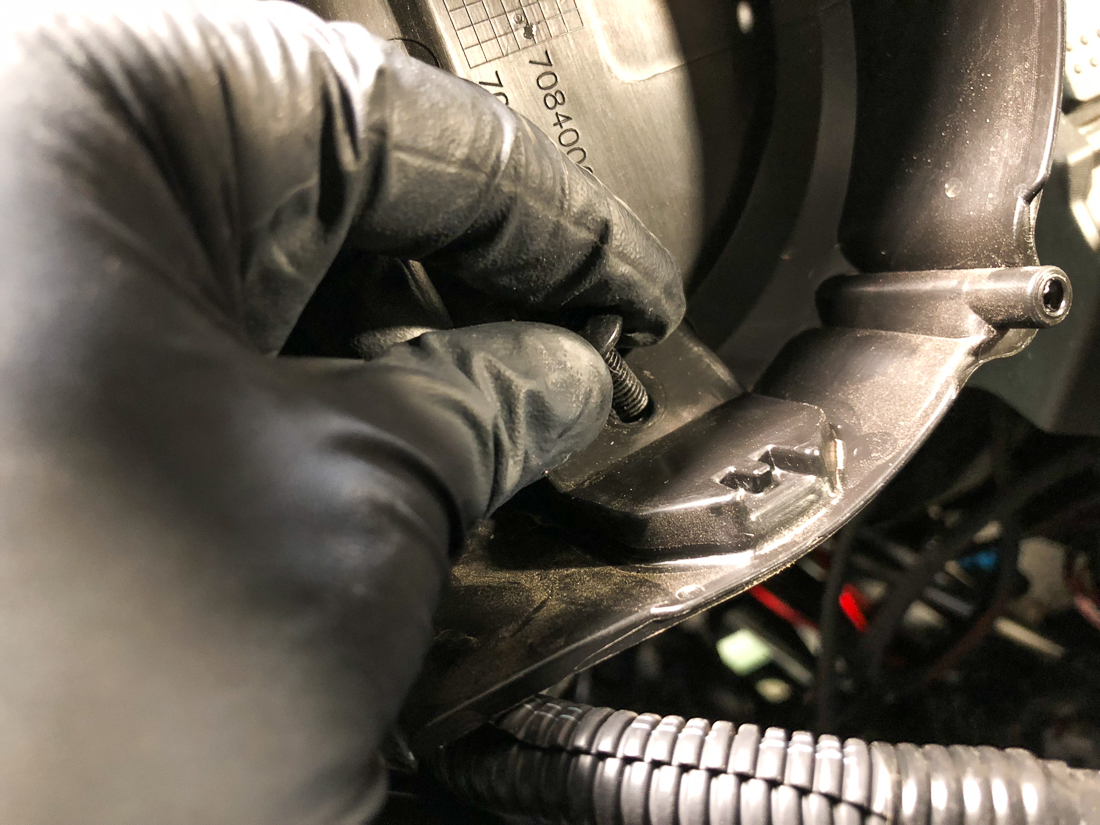
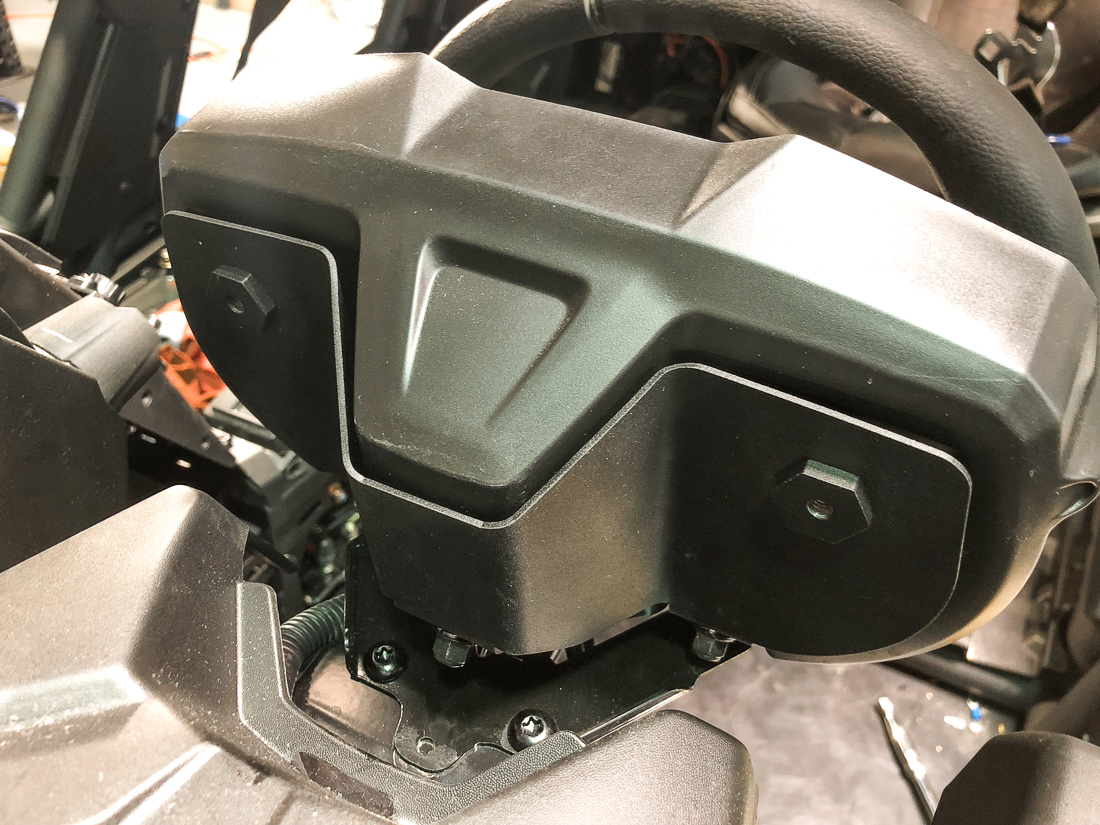
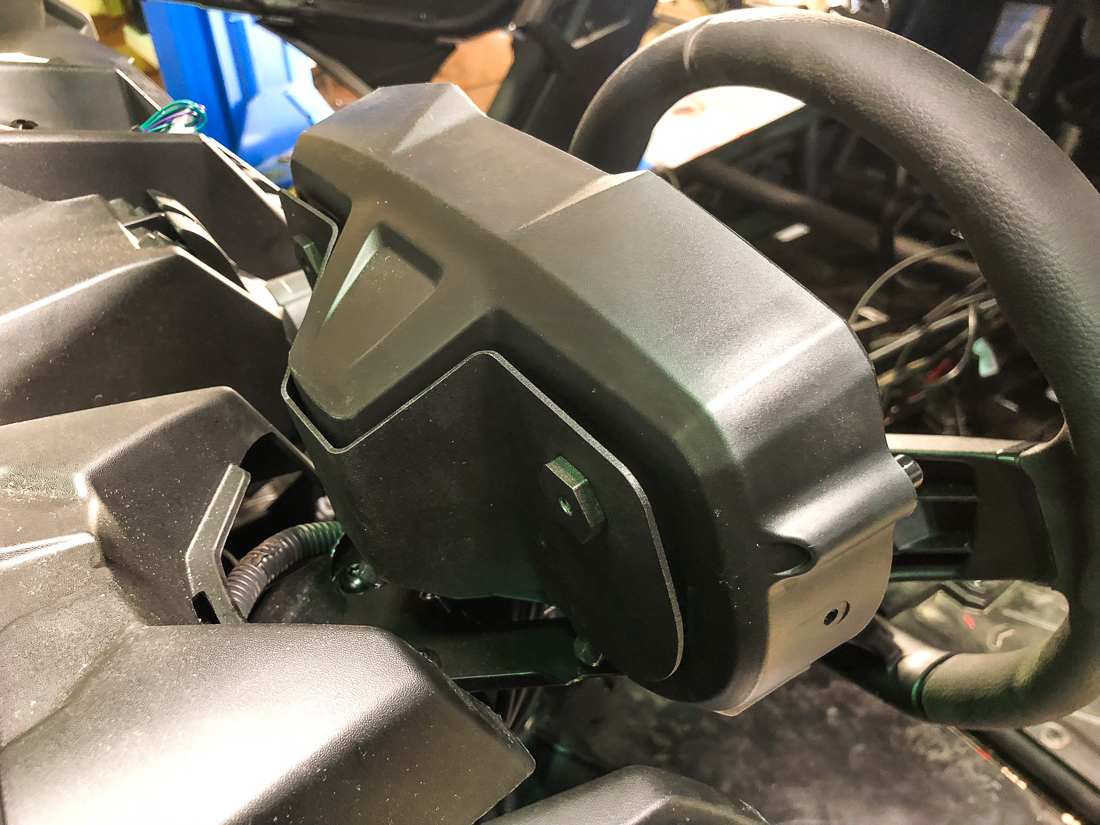
Step 5: Re-Install the gauge back into the housing and reconnect the electrical connector to the factory gauge.
Step 6: Attach the Agency Power Hex Key Gauge Pod Mount to the back of the bracket using the provide hardware. Rotate the mount either counter or clockwise to desired position.
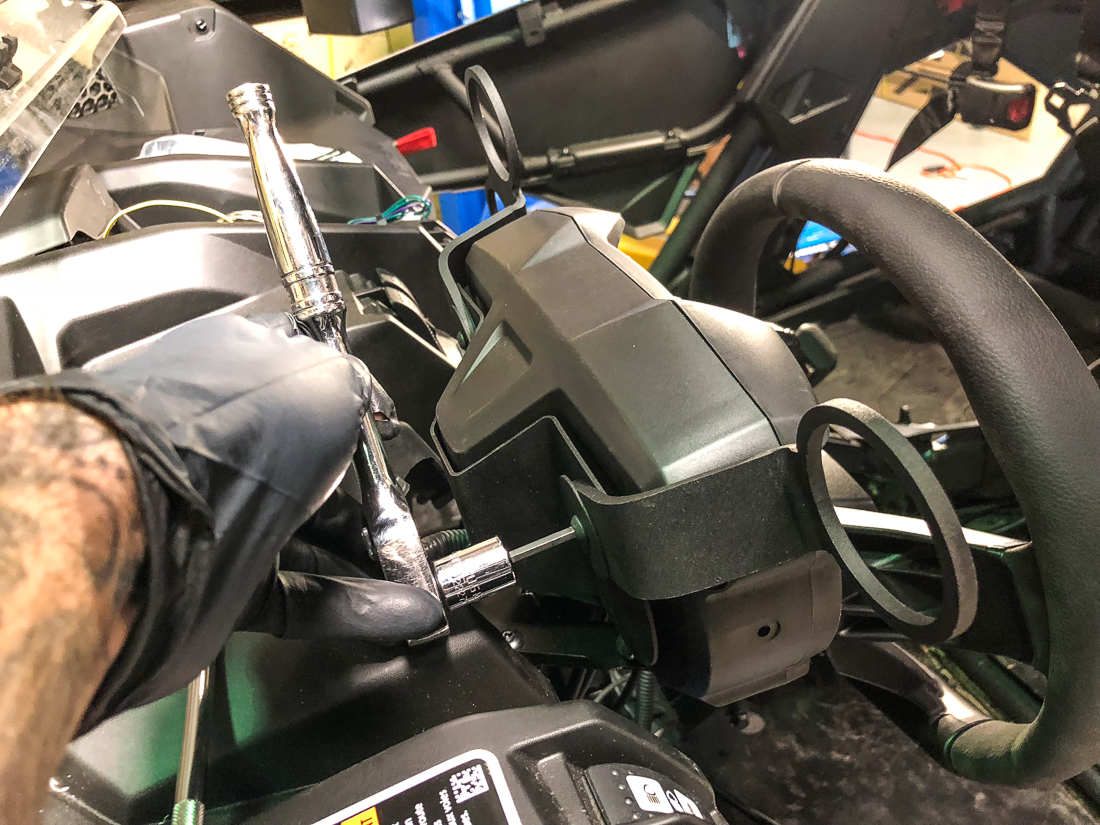
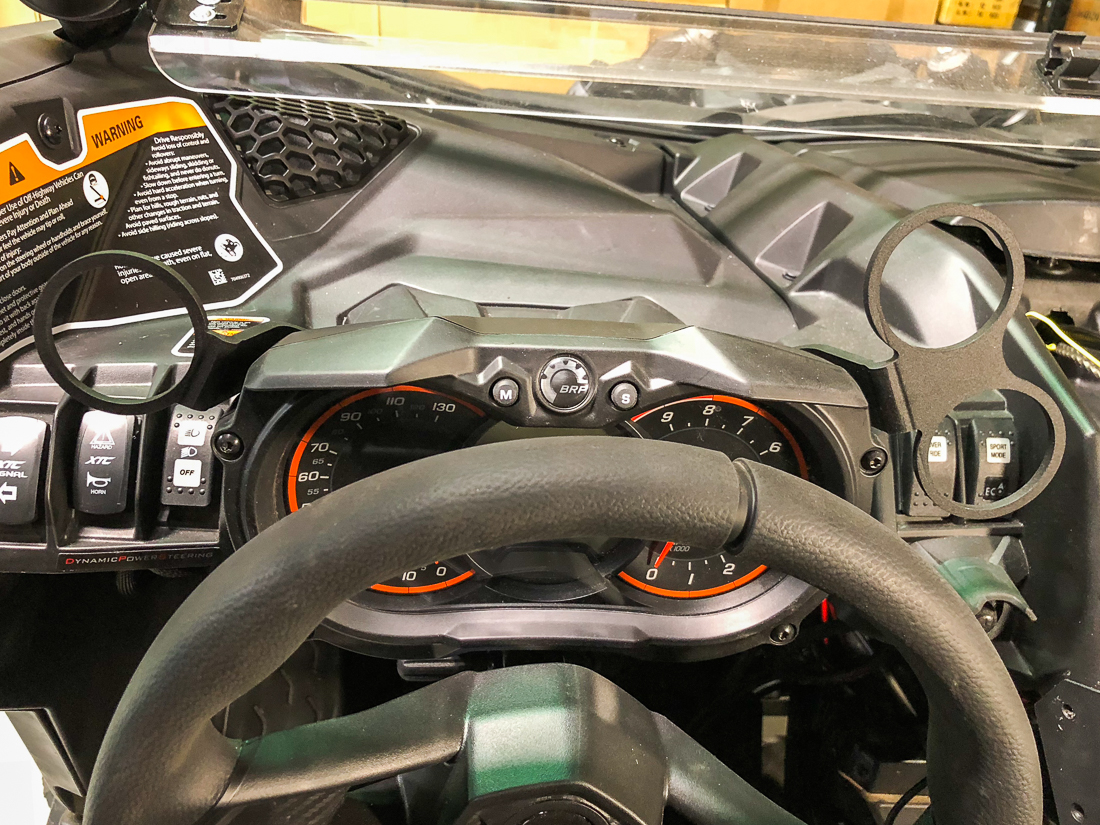
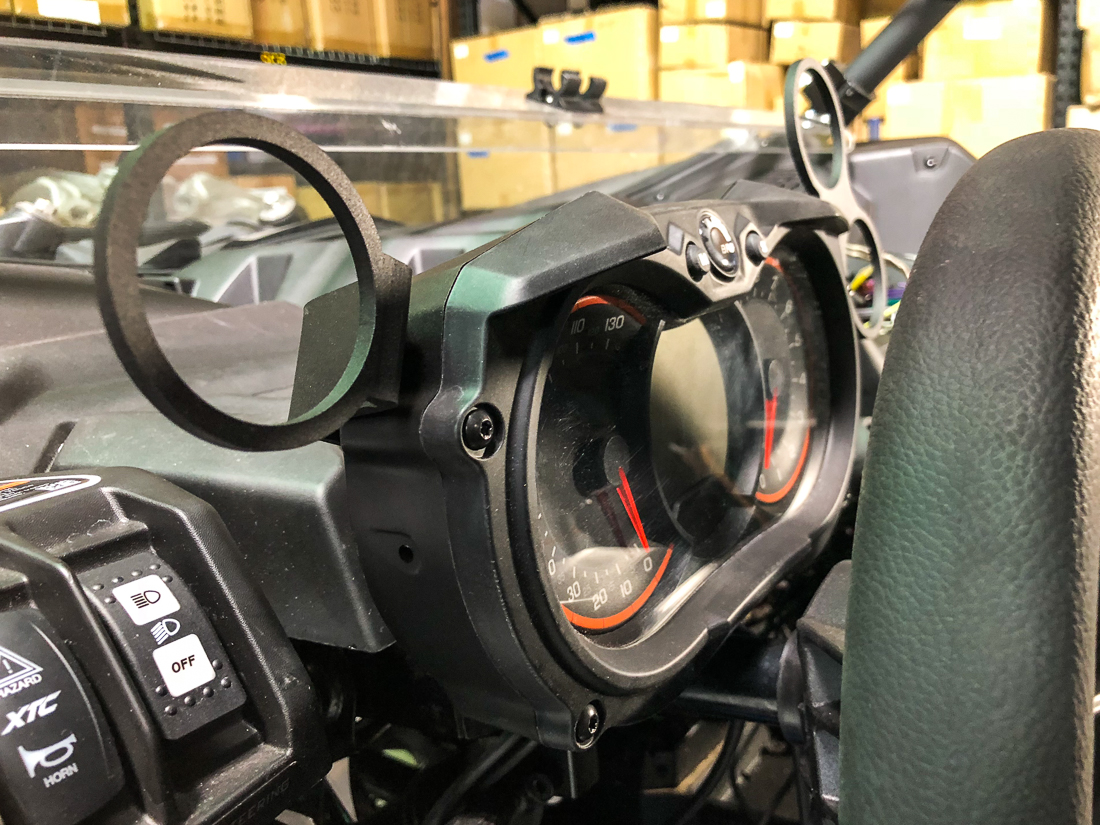
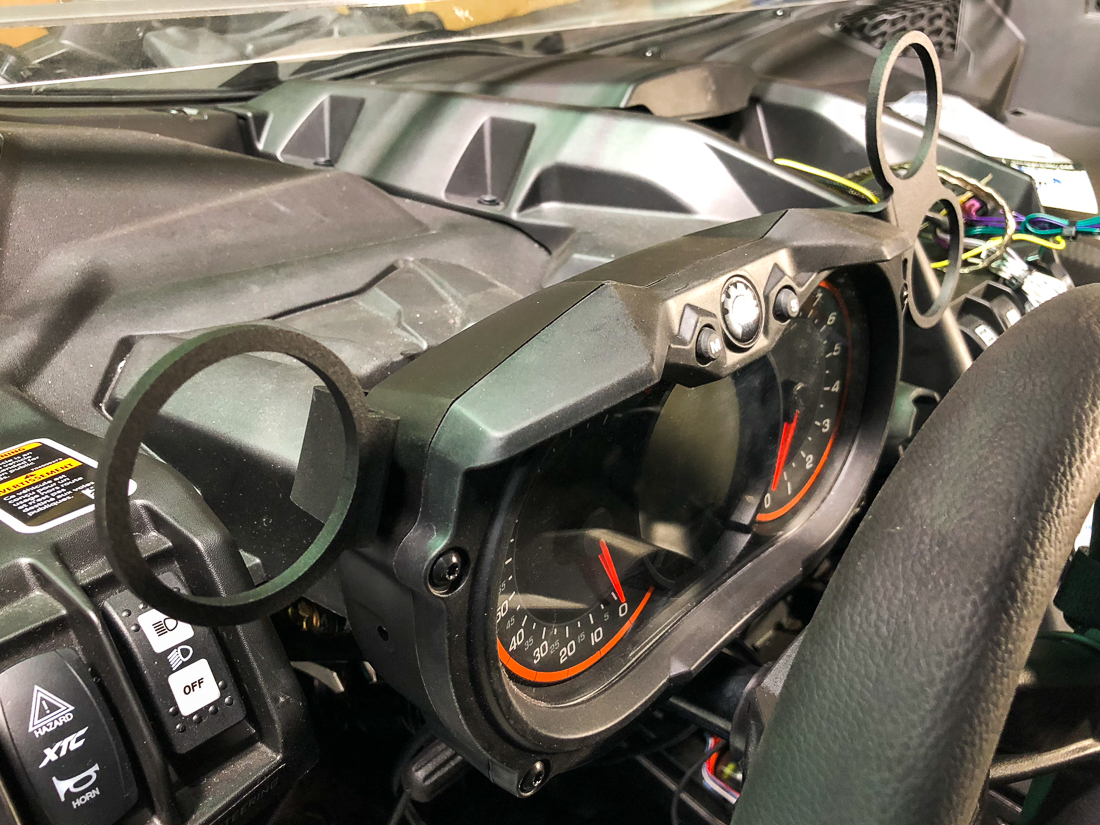
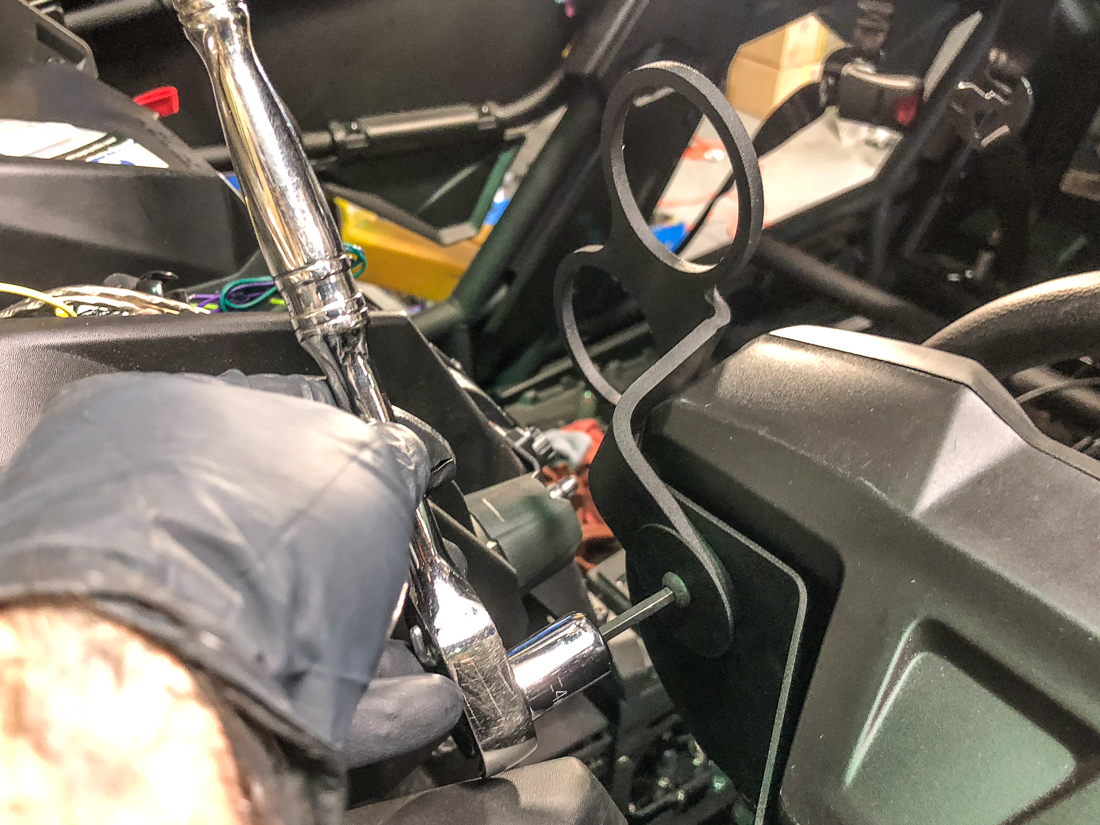 Step 7: Complete! You can now install your choice of gauges into the pods.


