Can-Am Maverick X3 Turbo Upgraded Intercooler Installation
This guide is to help with the installation of the Agency Power Upgraded Intercooler for the Can-am Maverick X3 Turbo | DS | RS & RC
Estimated Install time: 30-45 min
Step 1: Remove the intake and intercooler plastic covers from the rear of the X3.
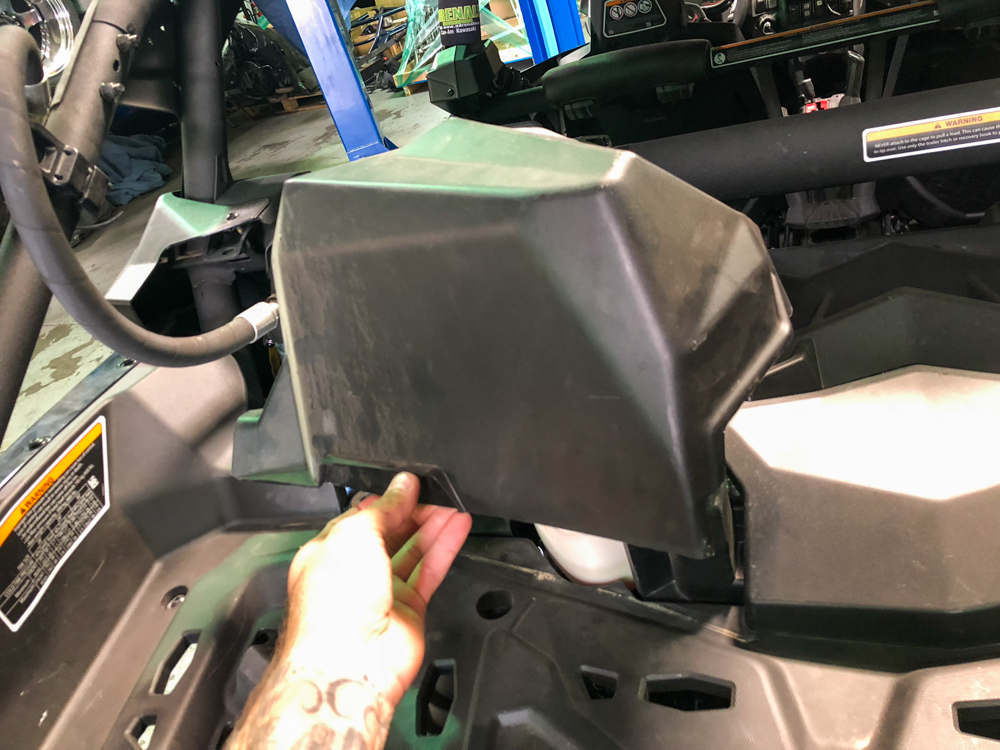
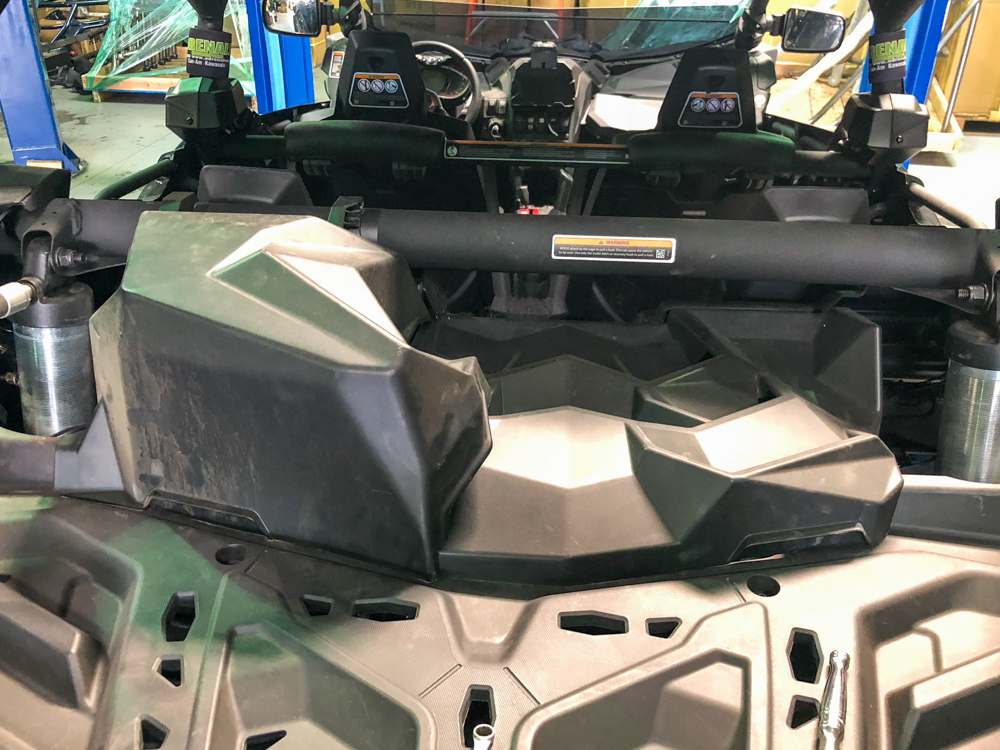
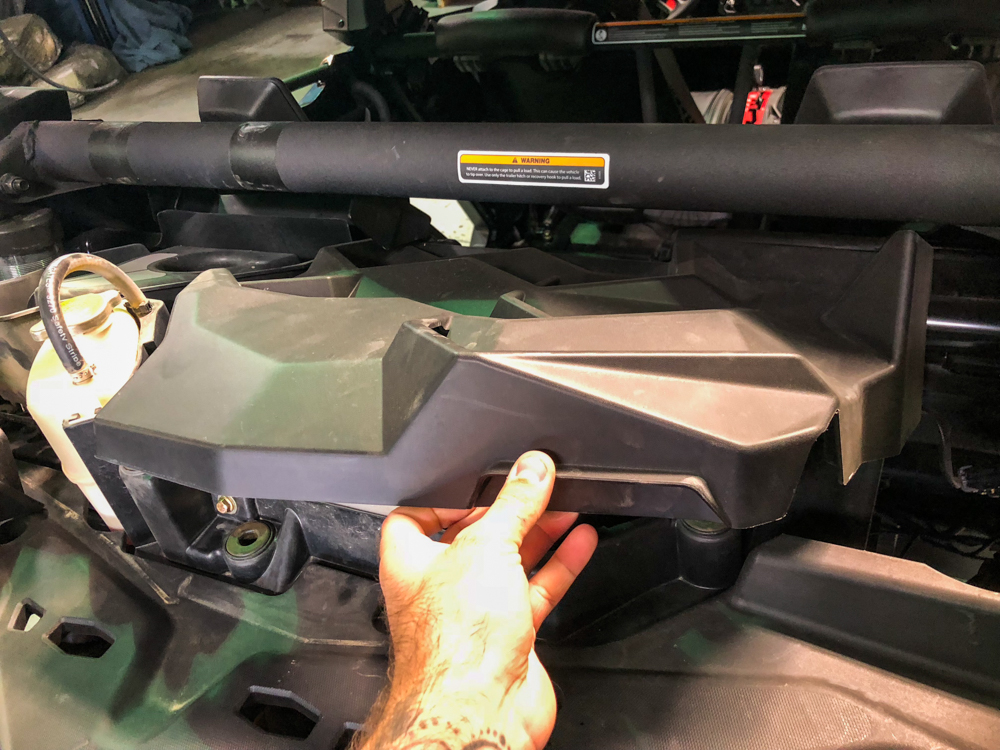
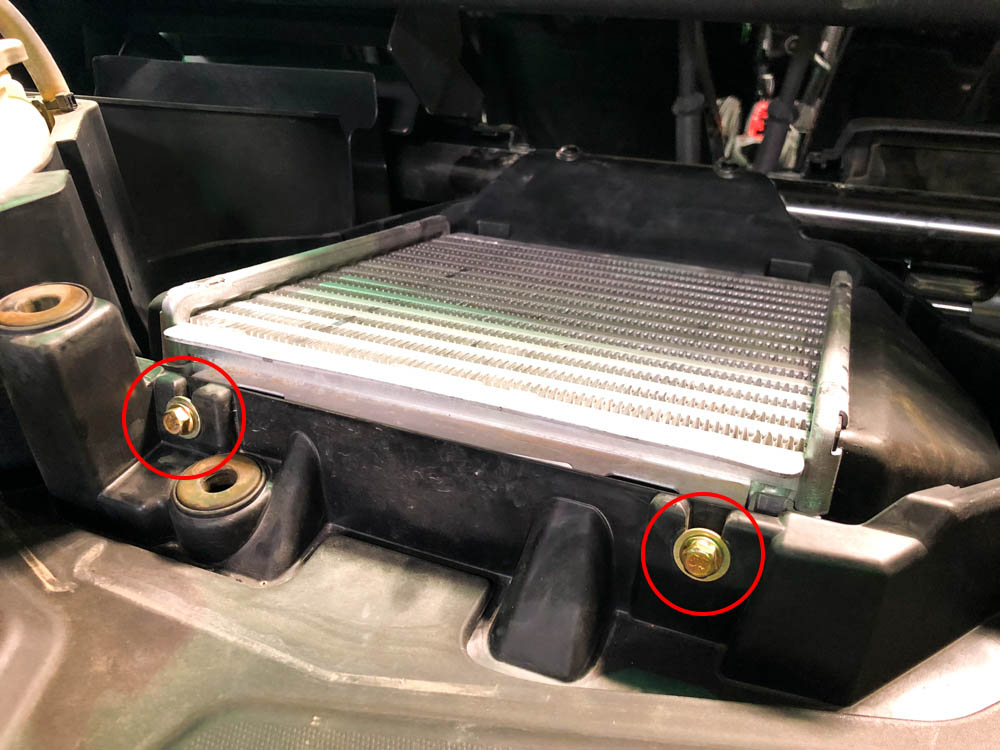
Step 2: Remove the two 2x 10mm bolts
Step 3: On the inside of the X3, remove the engine access panel located on the center of the rear firewall. 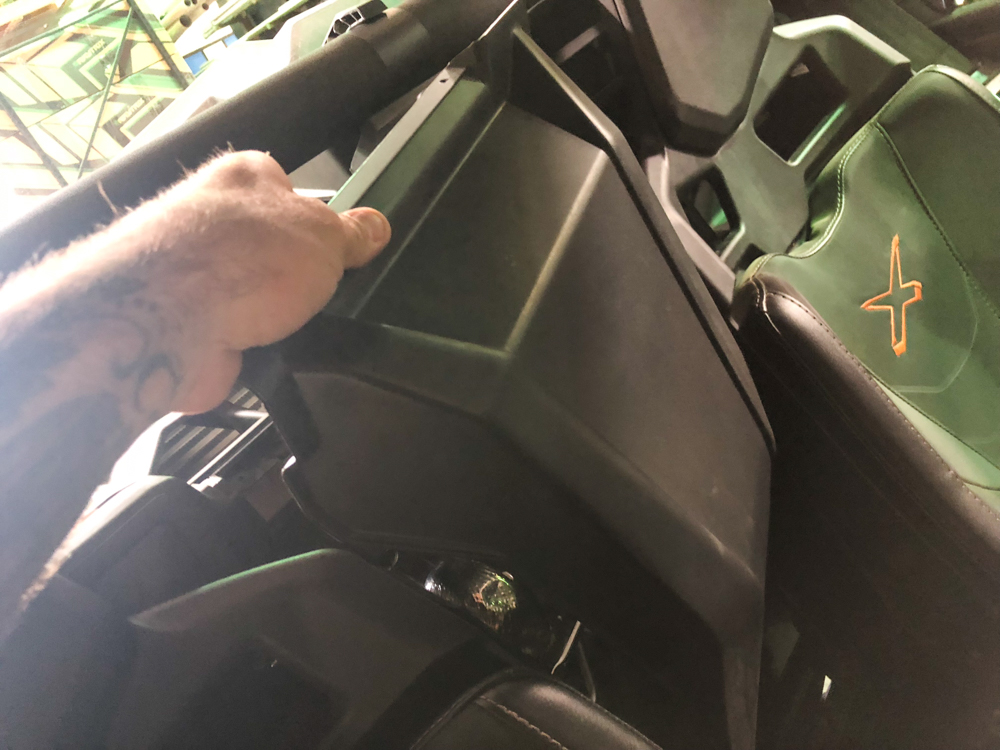
Step 4: Remove the 2x 10mm bolts shown
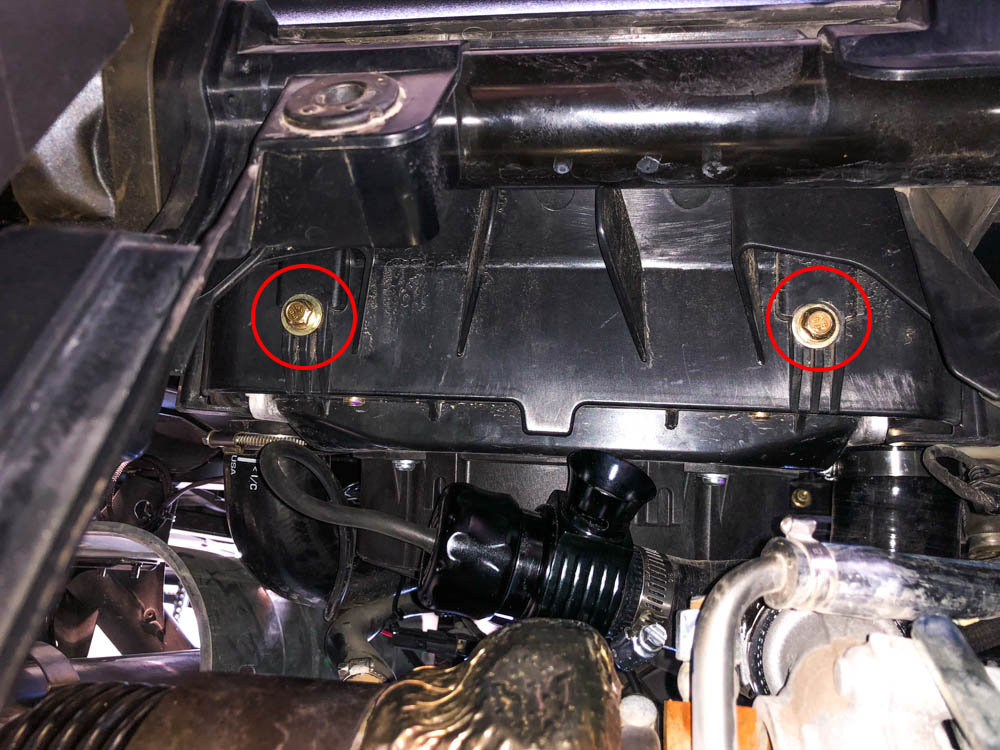
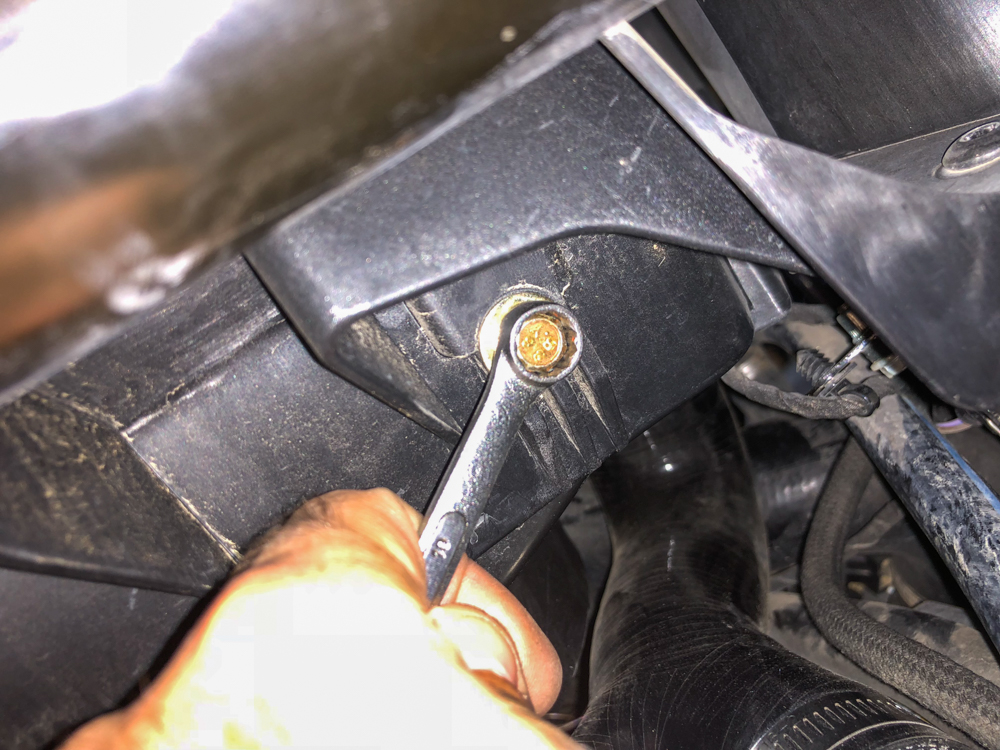
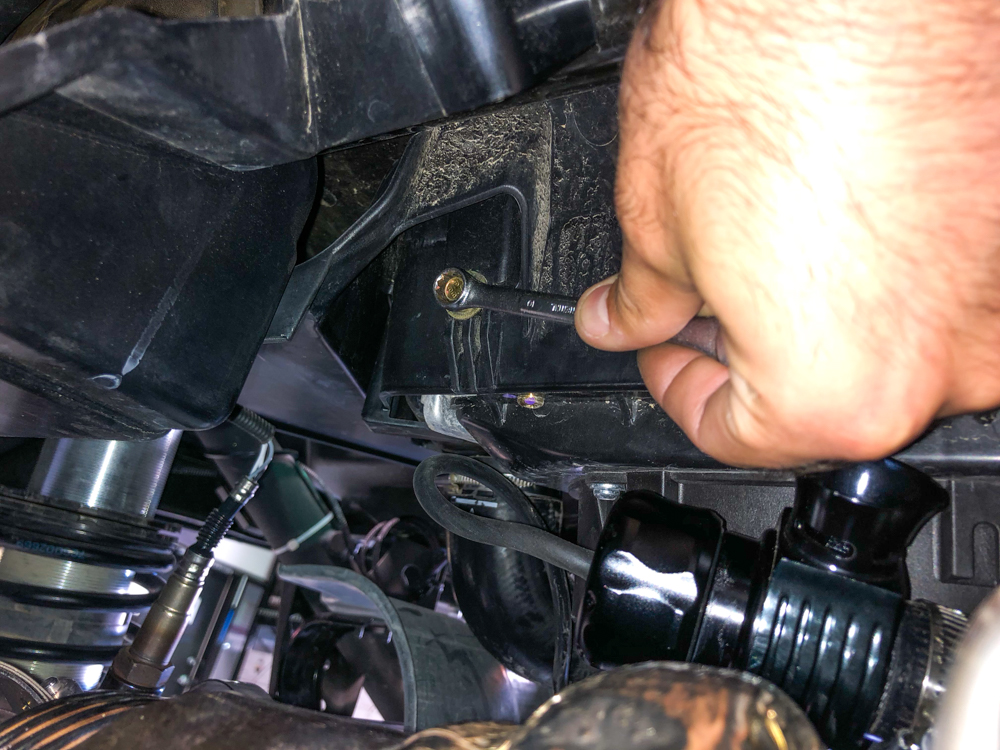
Step 5: Loosen the two hose clamps that secure the intercooler hoses to the intercooler.
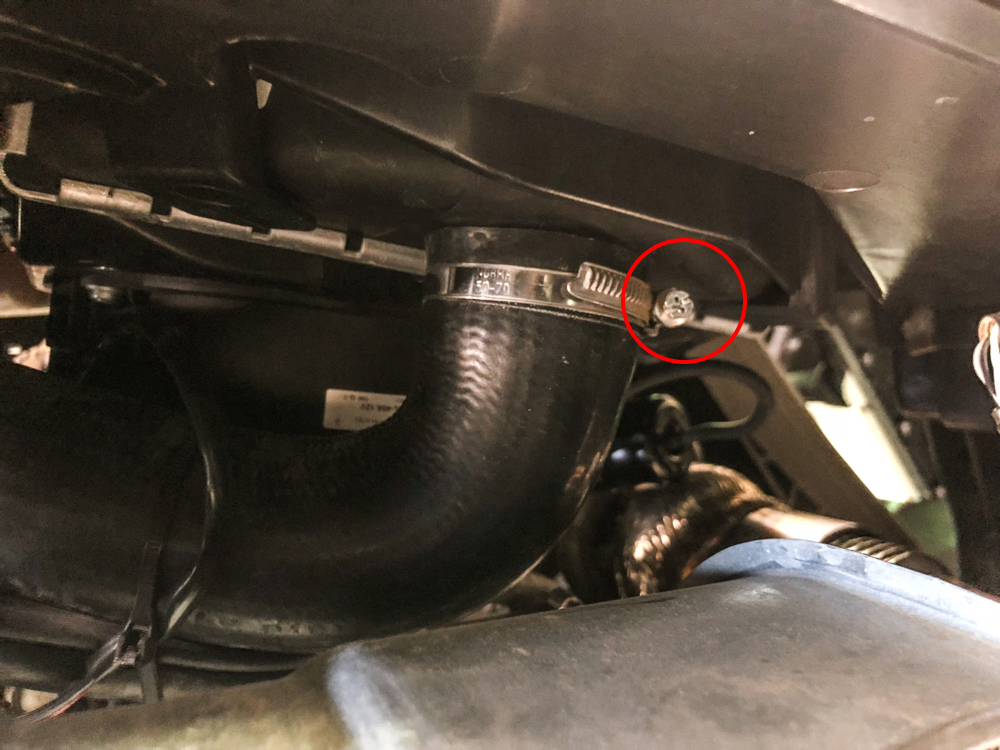 NOTE: The driver side intercooler hose is a bit trickier to reach but can be accessed from the driver side rear of the engine compartment as shown below.
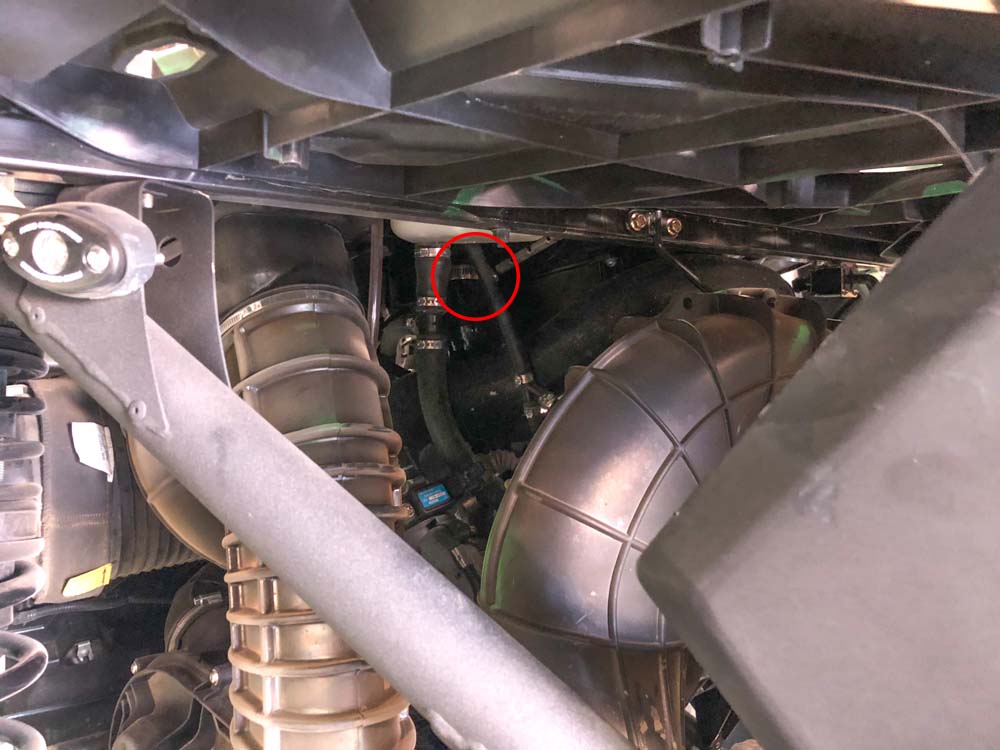
Step 6: Disconnect the intercooler fan
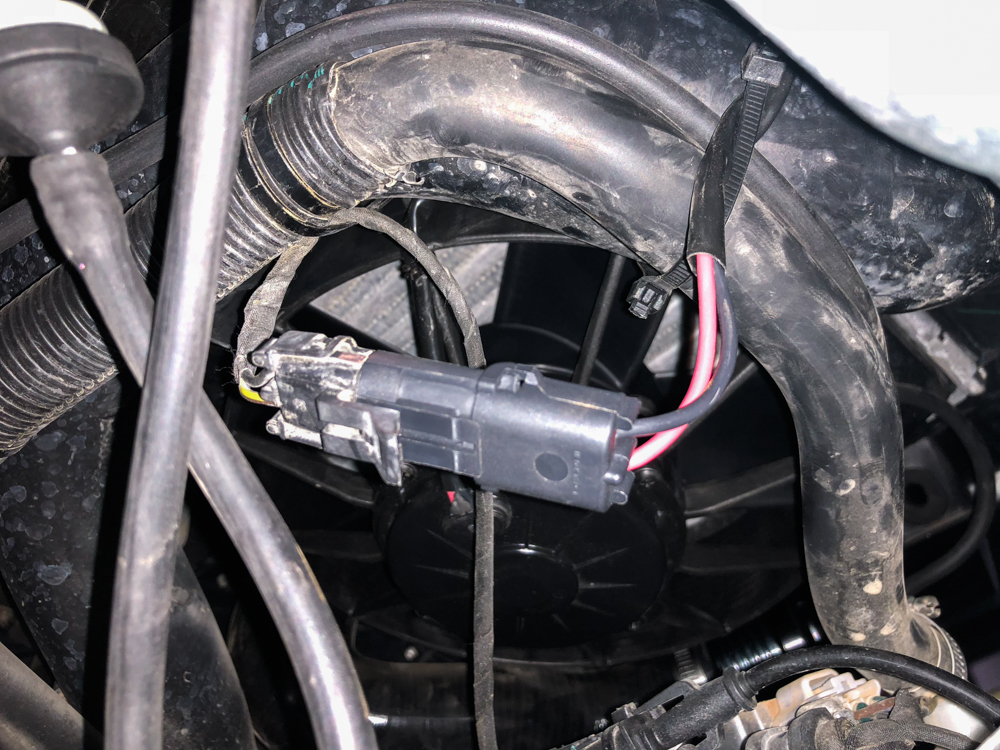
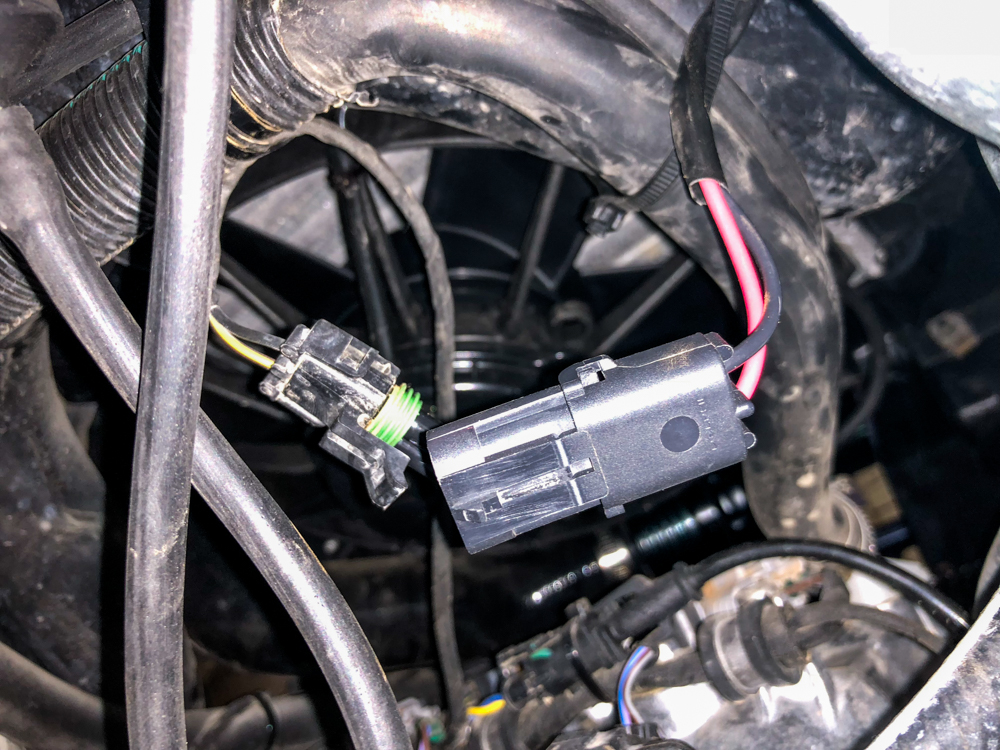
Step 7: Remove the Intercooler from the vehicle 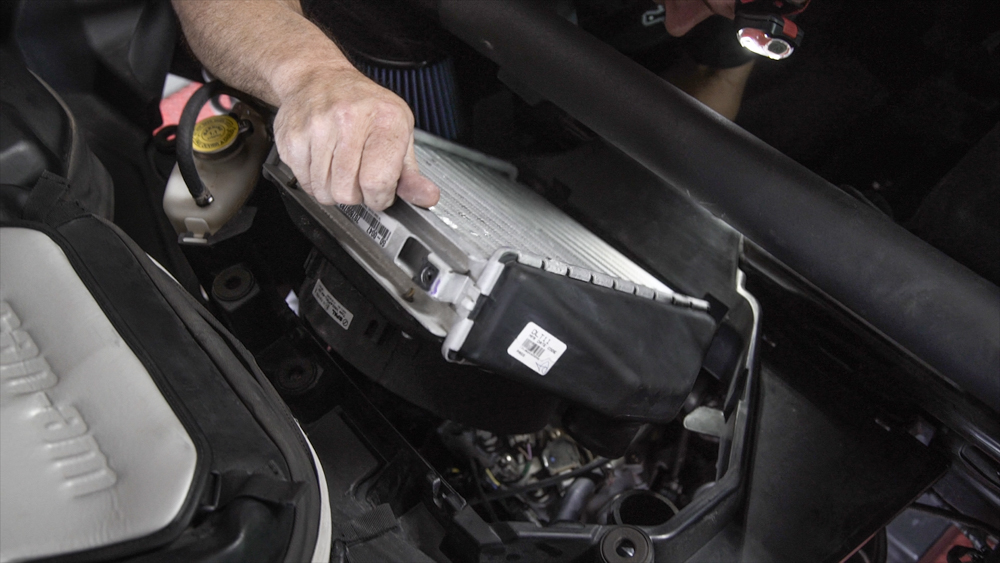
Step 8: remove the 4x torx screws securing the intercooler fan to intercooler and swap the Fan onto the new Agency Power Intercooler. 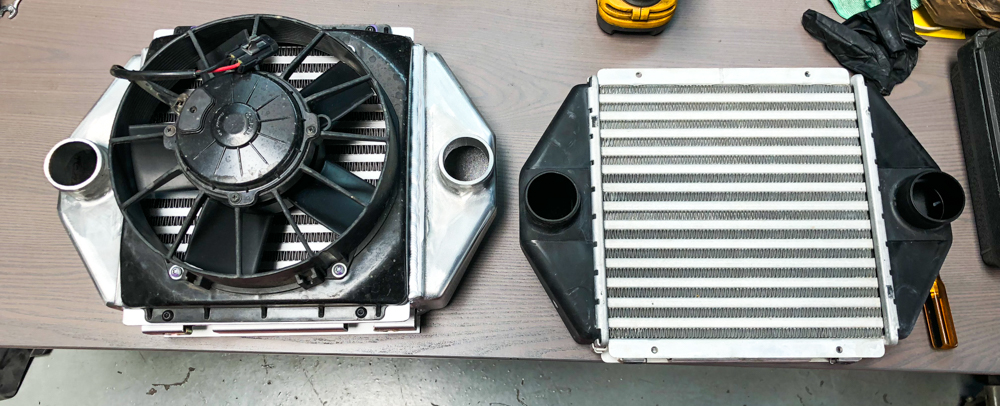
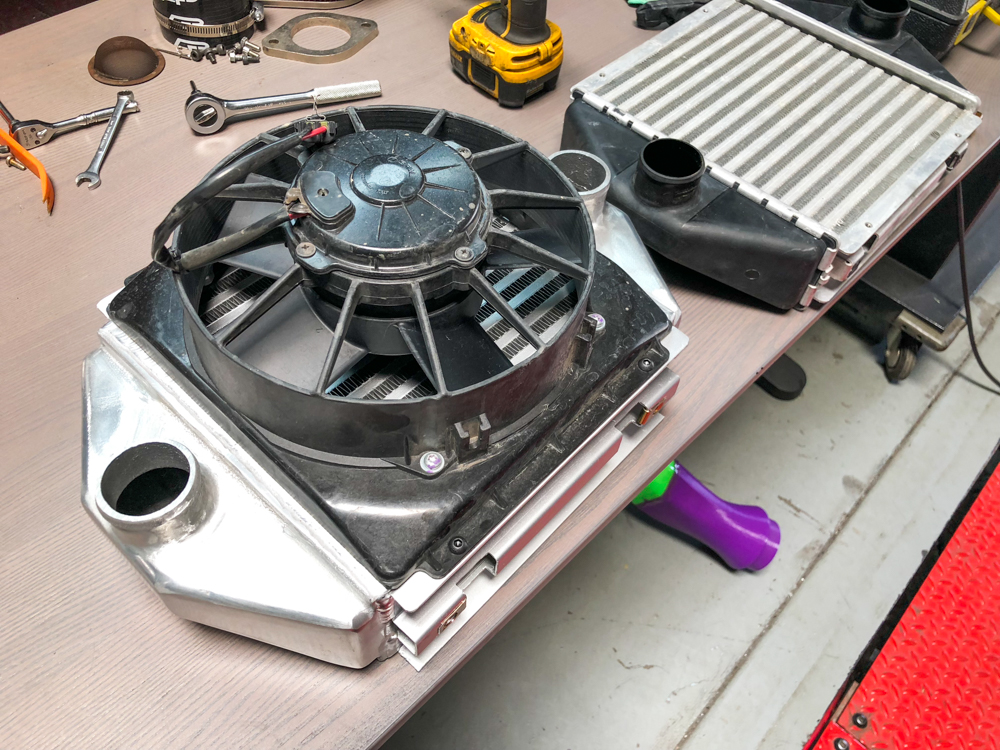
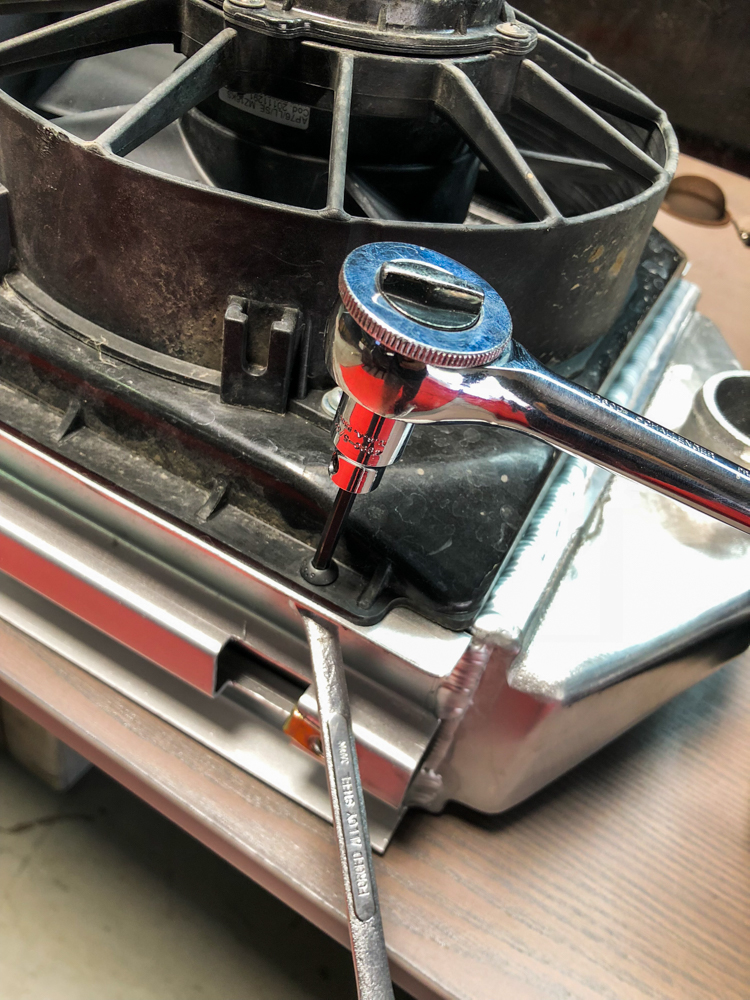
Step 9: Cut and remove the (4) plastic tabs so that they are flush with the side of the intercooler housing.
NOTE: Make sure to cover the intercooler hoses to avoid dropping any debris into them during cutting. 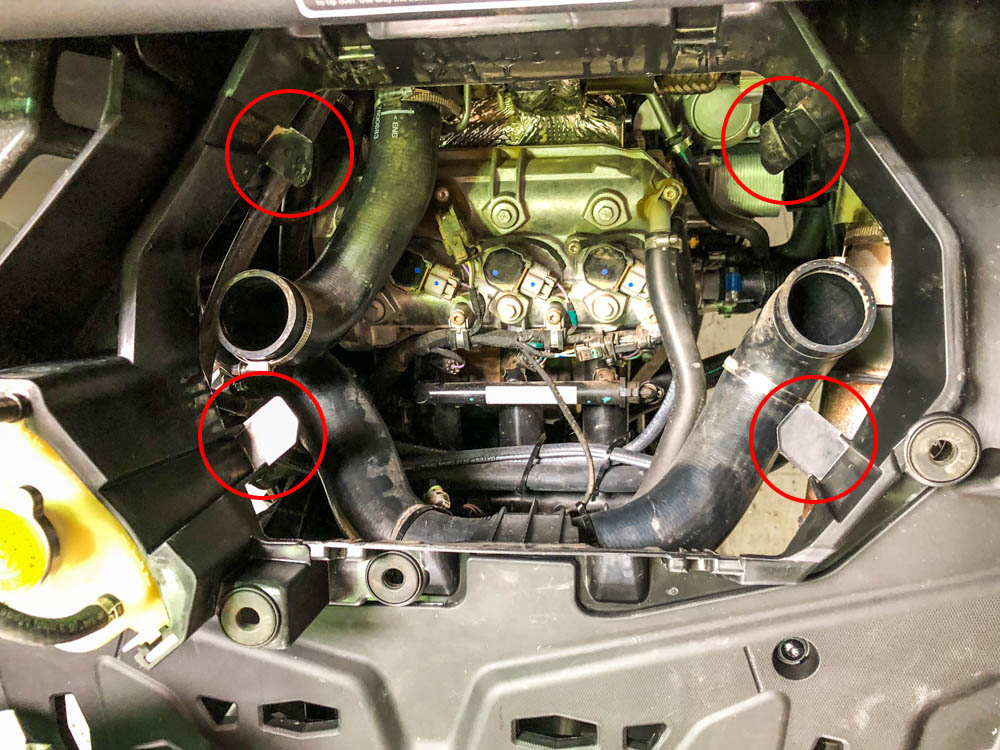
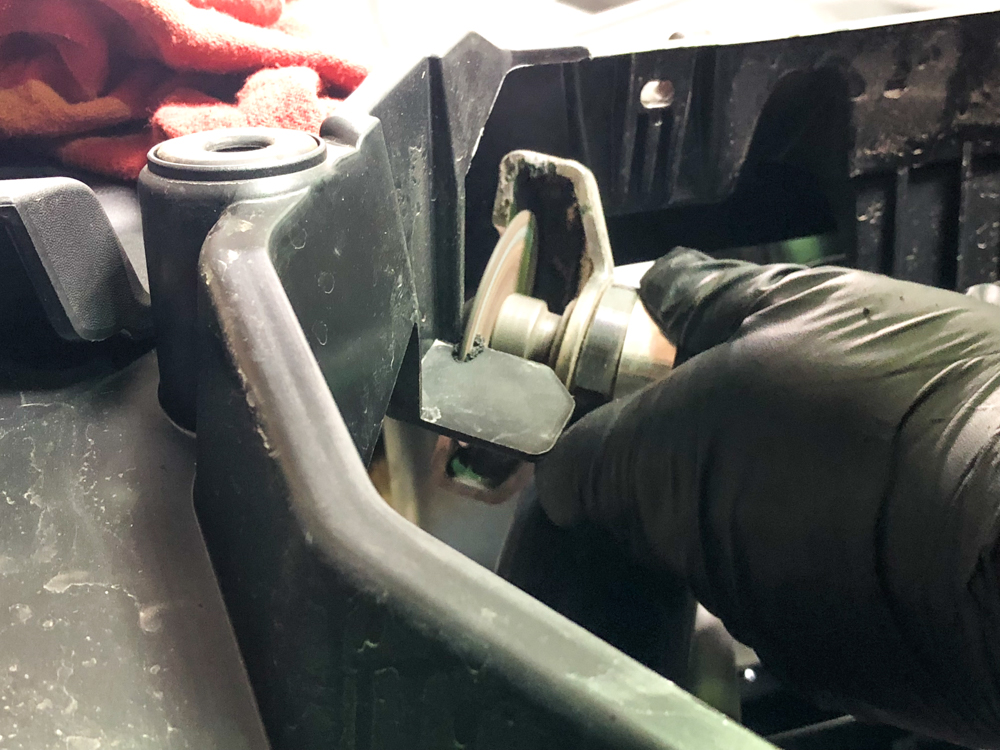
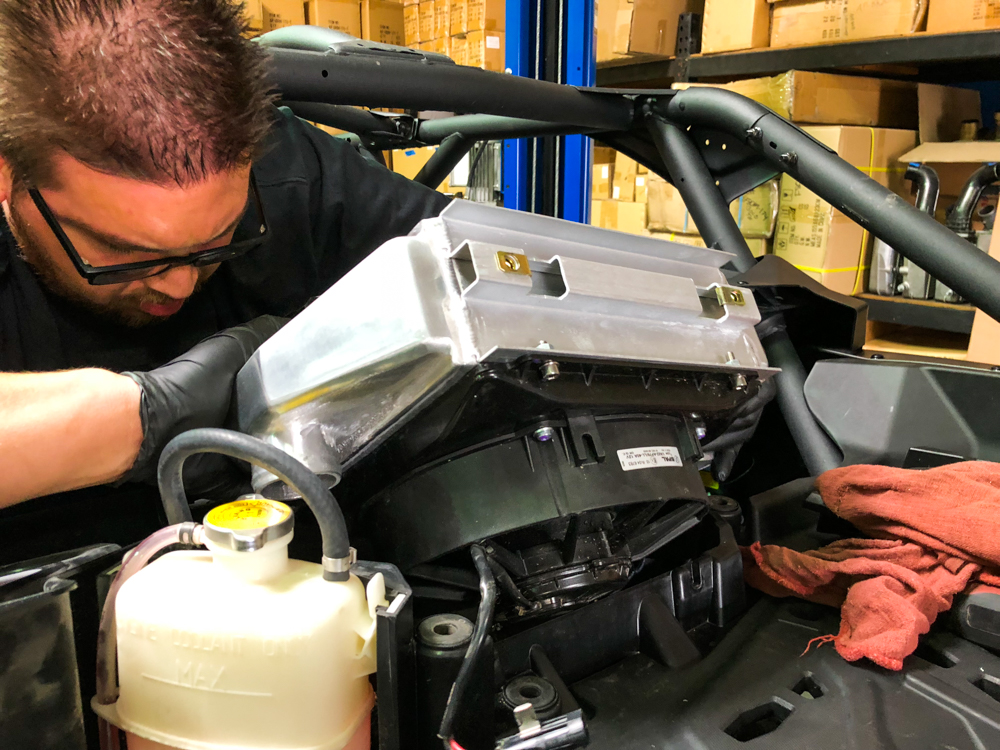
Step 9: Install the Agency Power intercooler. Reverse steps 1-6 to complete the installation.


your site is a joke no pictures upload some of the installation sites will not load because of privacy issues
Our site is not a joke. There is obviously a technical issue we will fix. Have a great day!