Agency Power Nissan GT-R R35 Upgraded Intercooler Kit | Install Guide
Installation Overview | Agency Power Upgraded Intercooler Kit Nissan GT-R R35 09-18
This guide to assist with the installation of the Agency Power Upgraded Intercooler kit for the Nissan GT-R. The installation process requires trimming of the plastic air guide. Professional installation is highly recommend!
This guide assumes that you have the knowledge and equipment required to safely perform this installation. Do not attempt to do this install if you do not have the skills, tools or knowledge required.
Included Items
1x Agency Power Intercoolers (LEFT)
1x Agency Power Intercooler (RIGHT)
1x Upper Intercooler Bracket
1x Lower intercooler bracket (A)
1x Lower Intercooler bracket (B)
1x Aluminum Spacer
6x M8 Bolts
4x Rubber Washers
4x M5 Rivet nuts
4x M5 bolts
4x M5 flat washers
2x M6x35mm
2x M6x15mm
4x M6 Flat Washers
2x M6 Lock nuts
1x Trim template
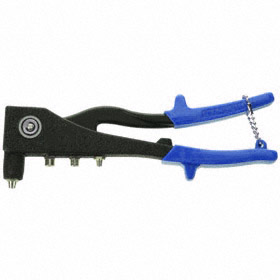
Before installation make sure you have access to a blind rivet tool.
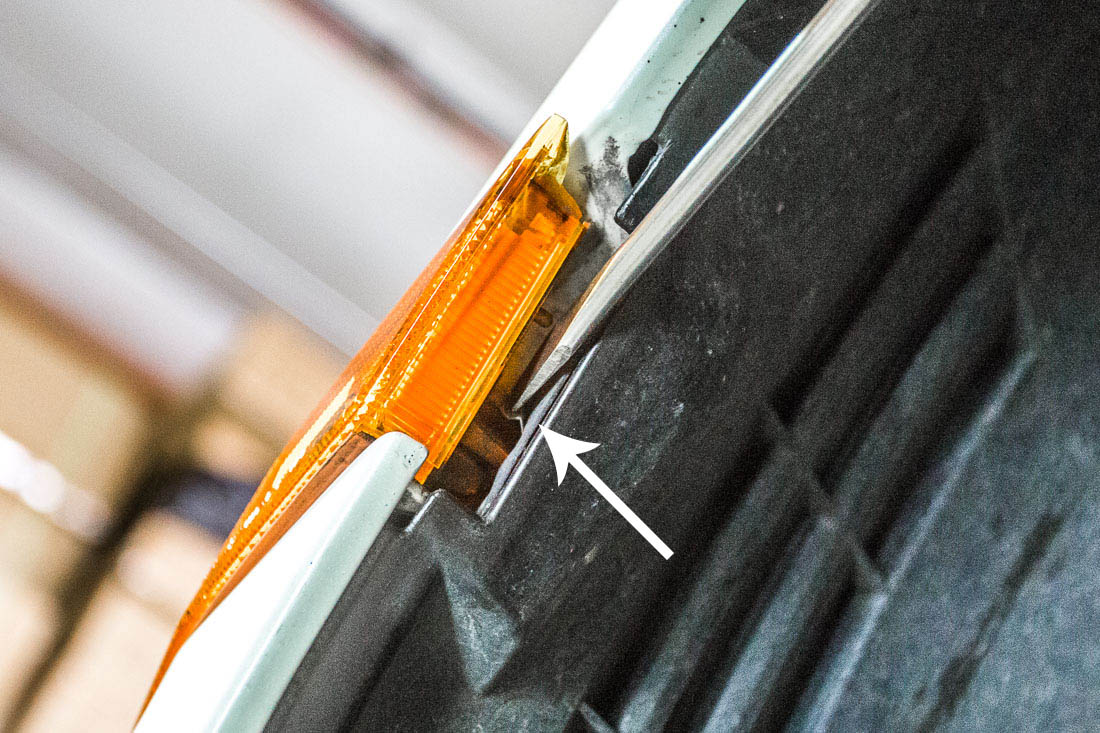
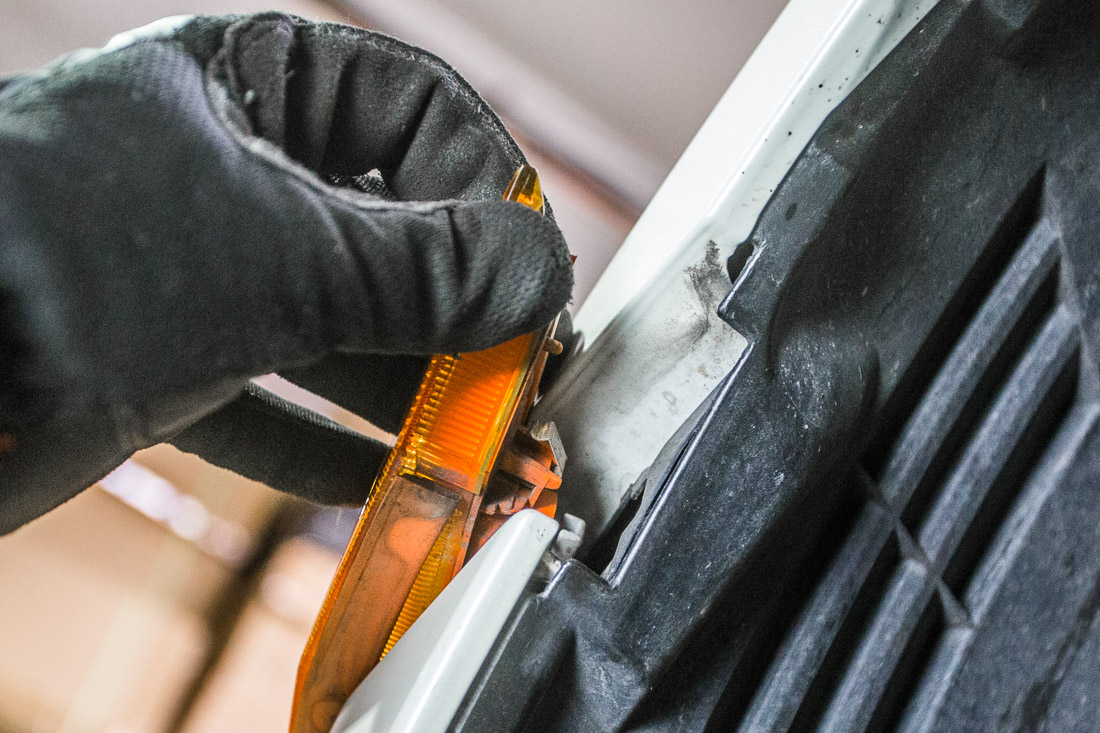
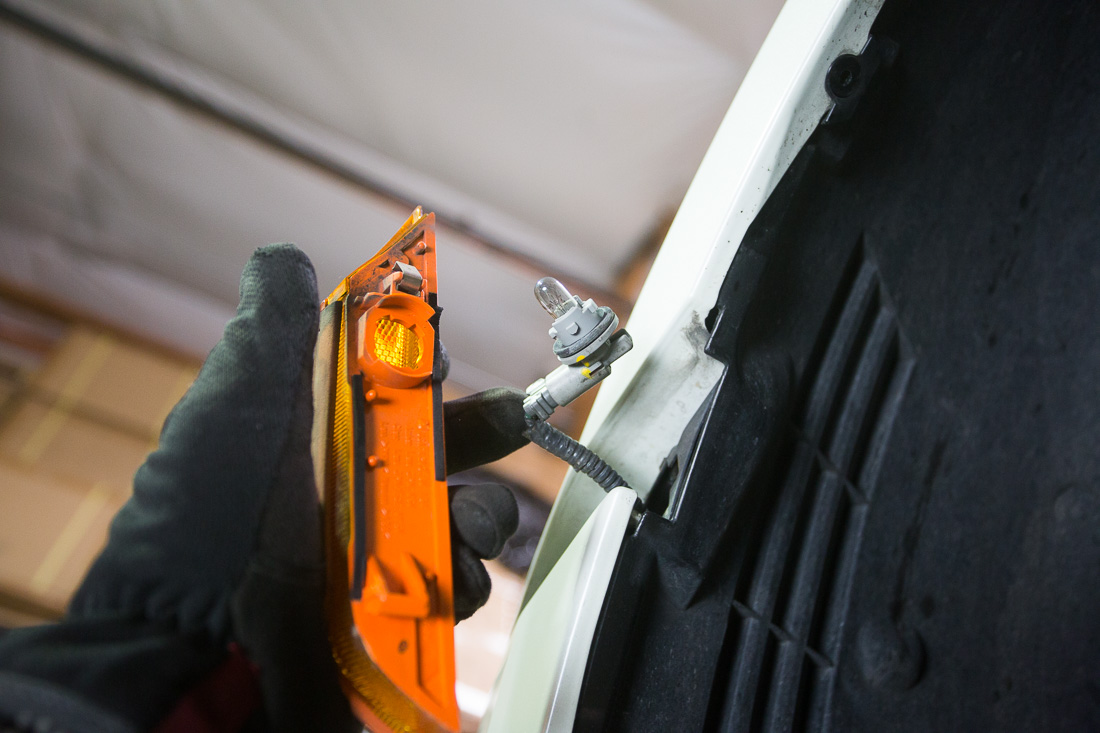
Remove and disconnect the left & right turn signals.
NOTE: Push in the metal tab using a flat screw driver to release turn signal
Remove the driver & passenger front inner fenders.
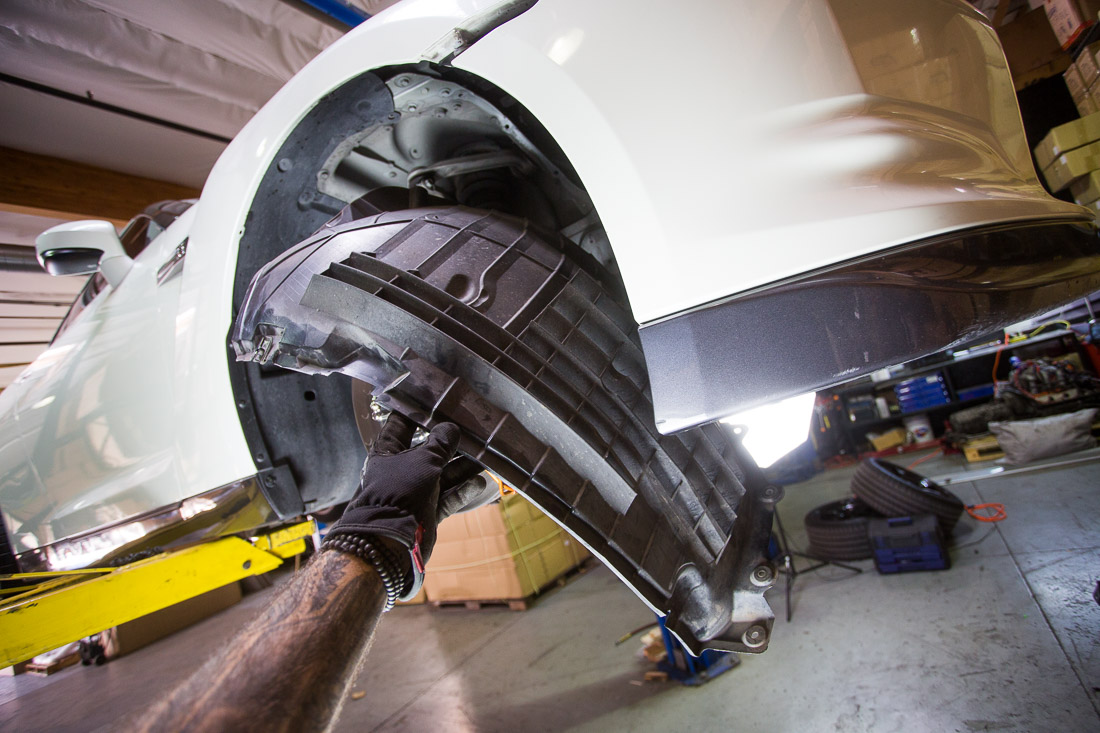
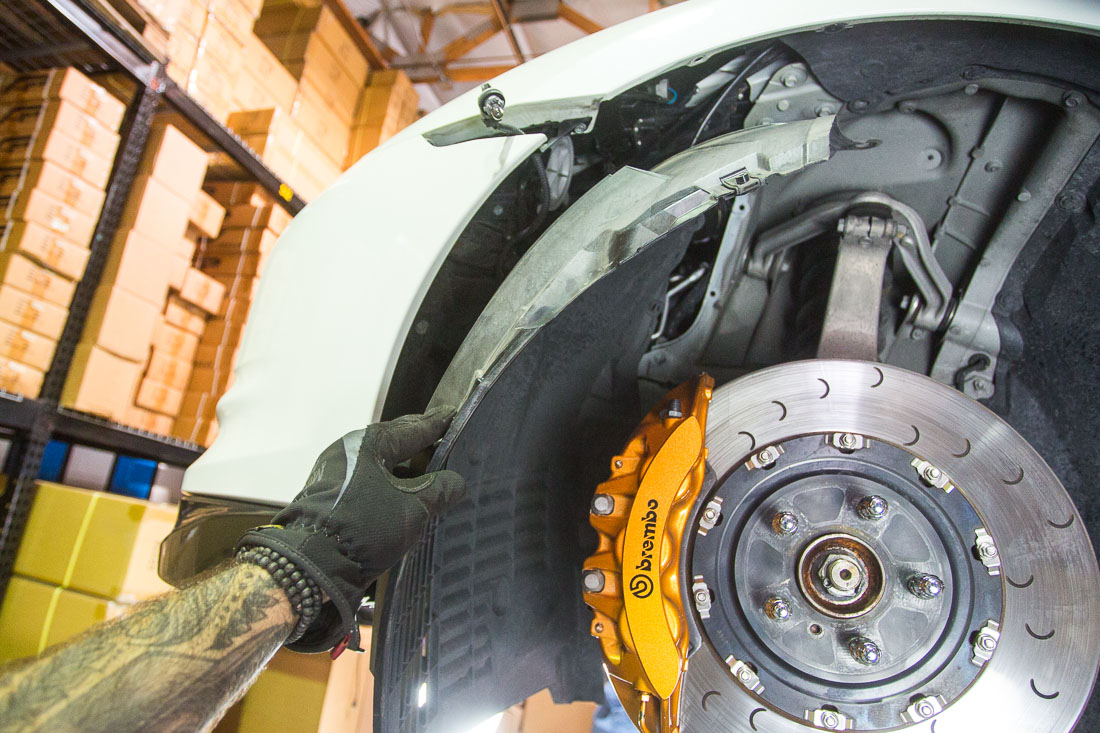
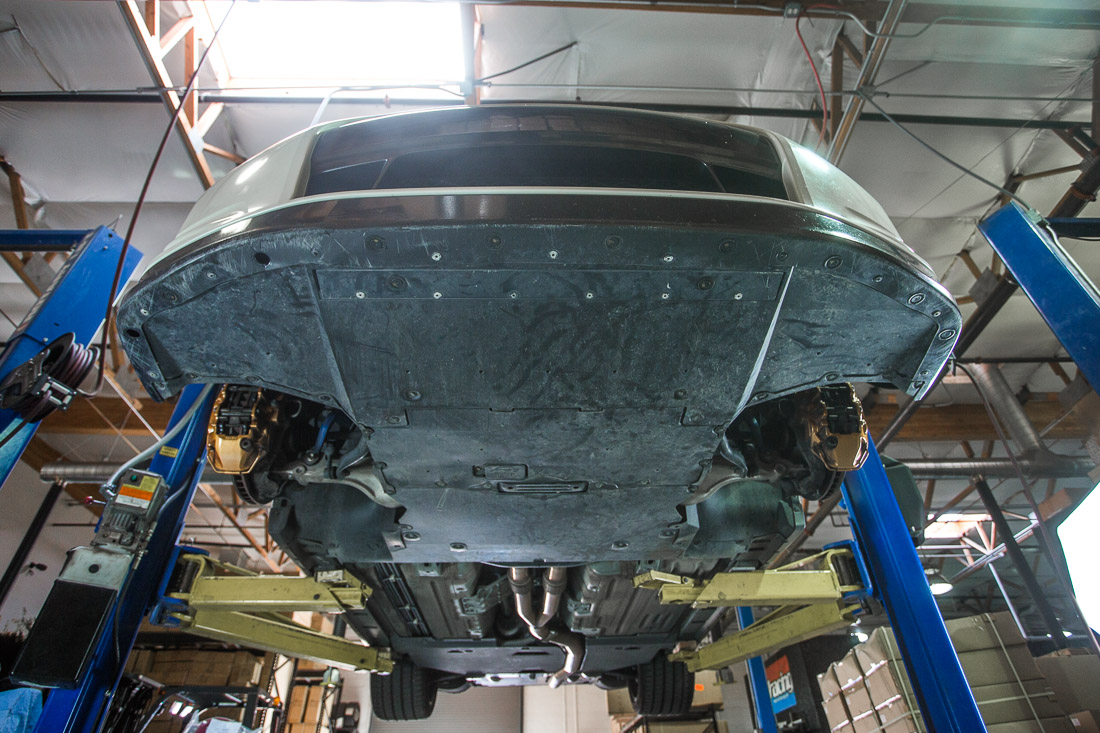
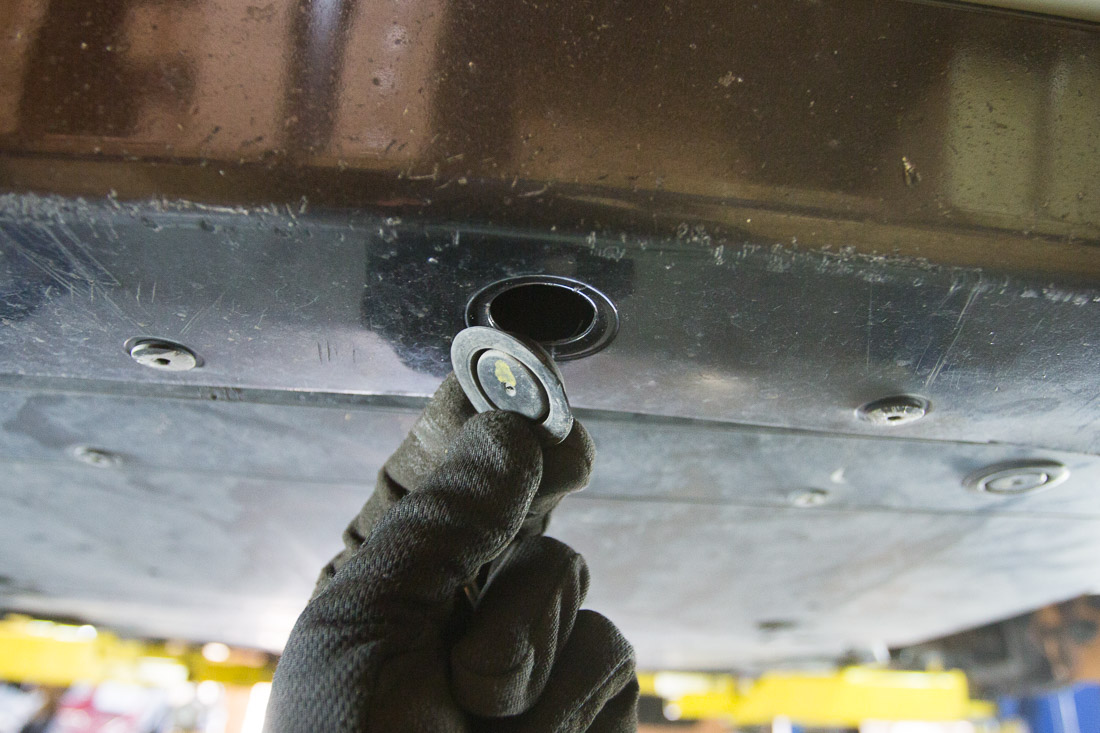
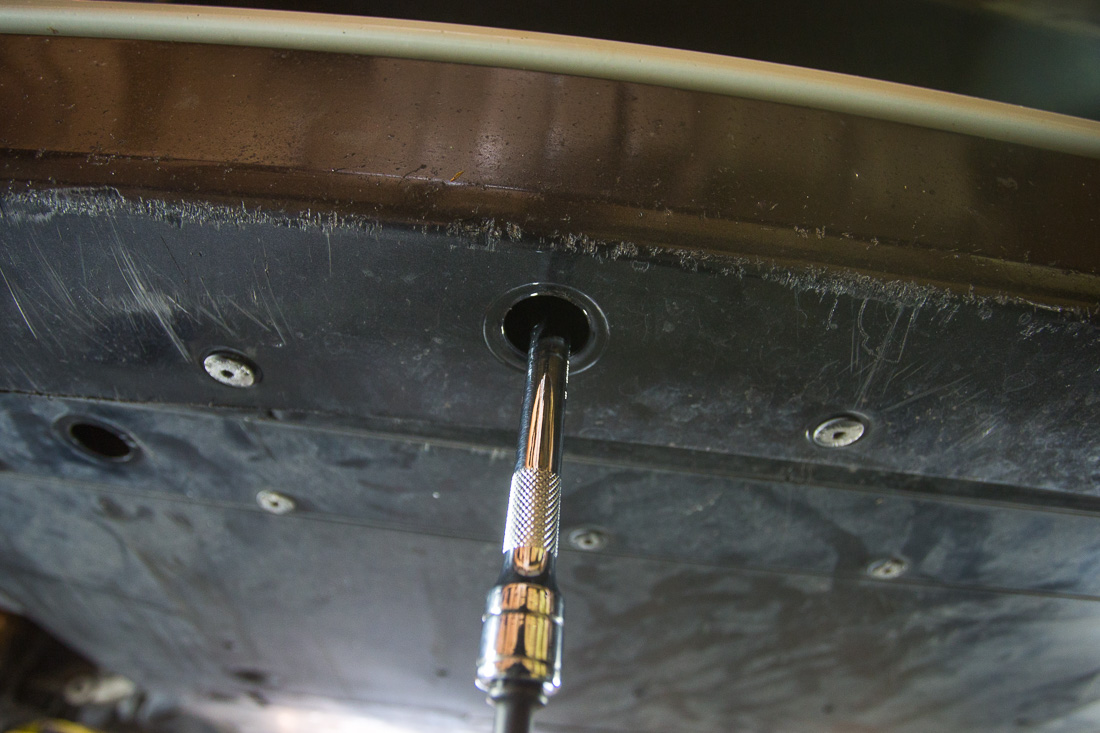
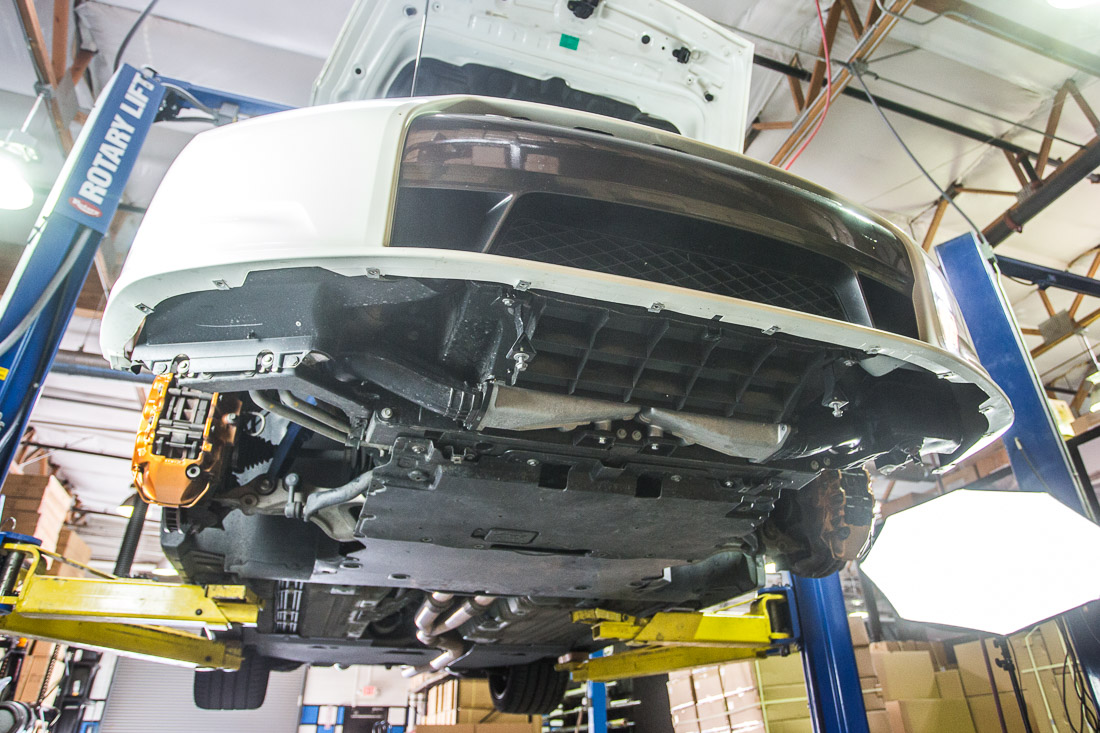
Remove the undercover
NOTE: Some of the bolts are located under the rubber caps. See below
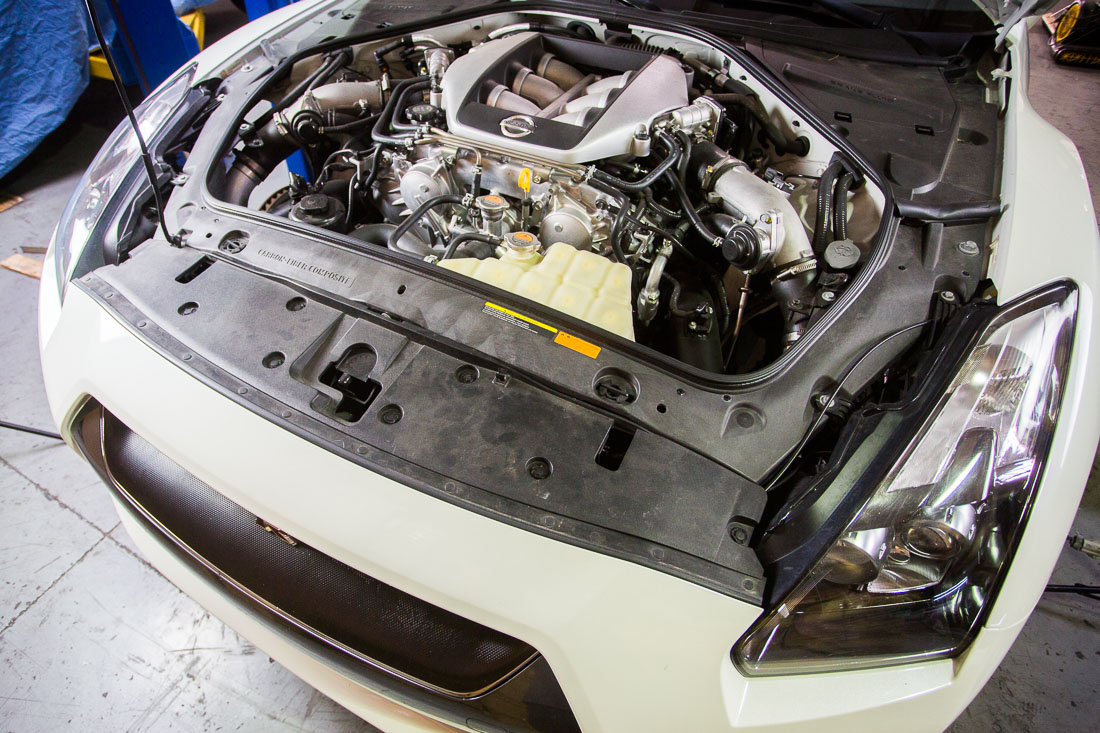
Remove the radiator cover
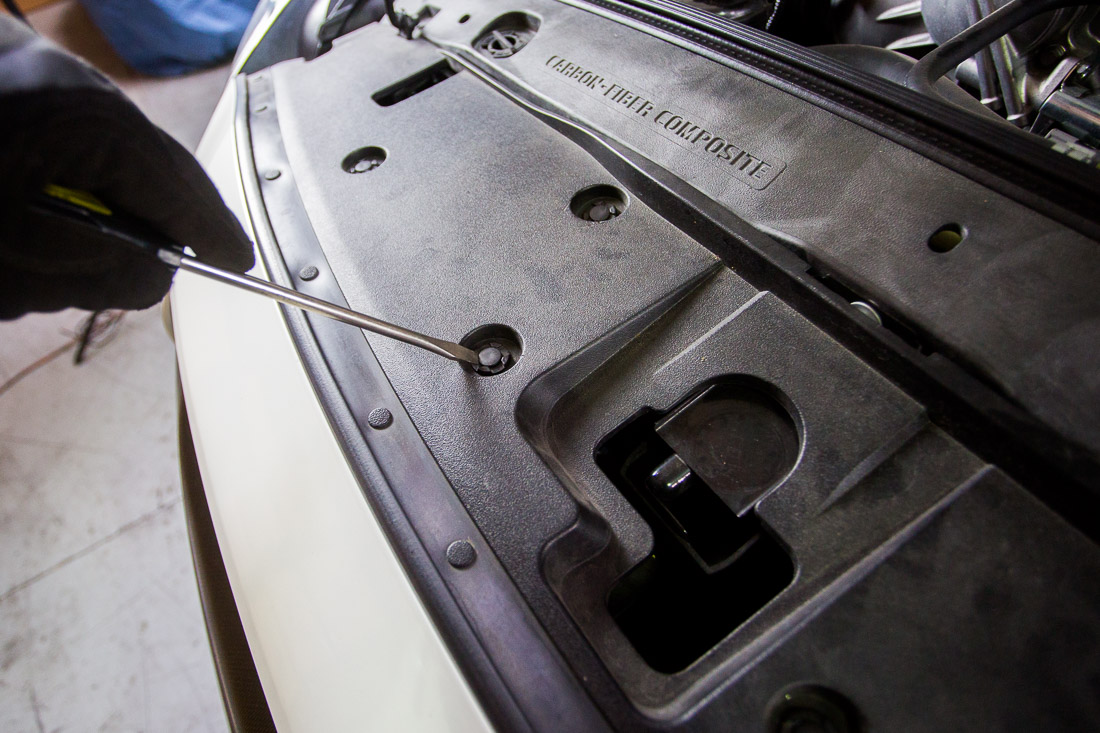
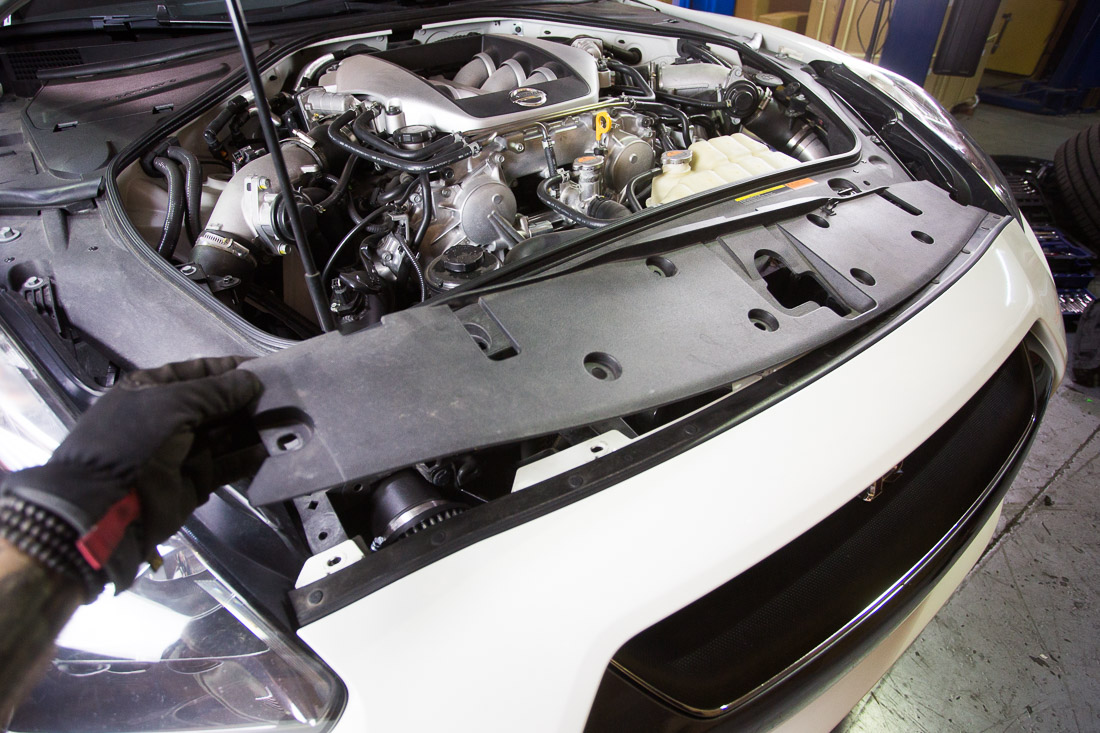
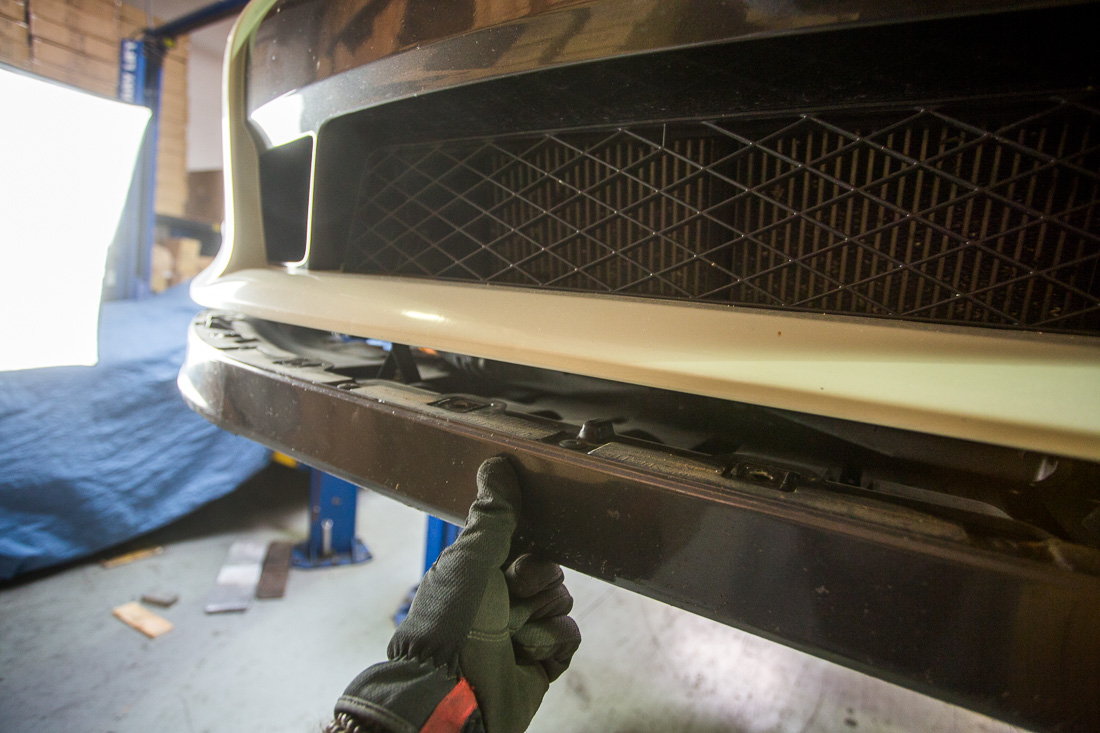
Loosen and remove the bolts securing the bumper to the fender. These are located on the underside of the driver and passenger fender next to the turn signals.
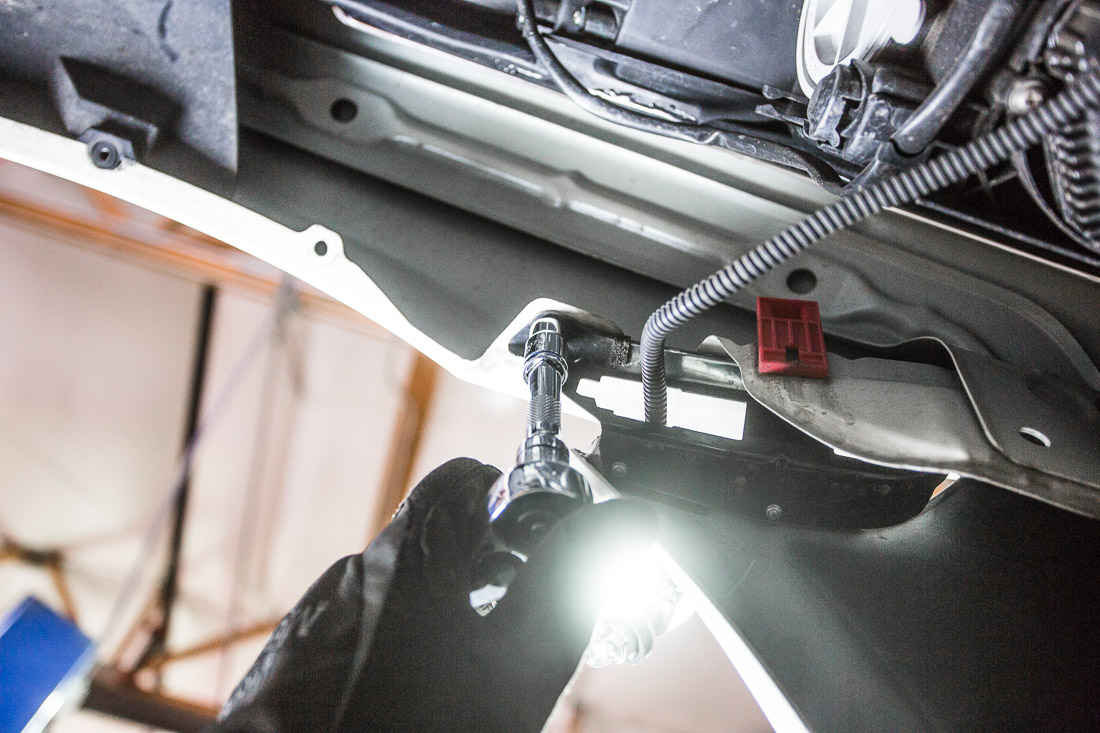
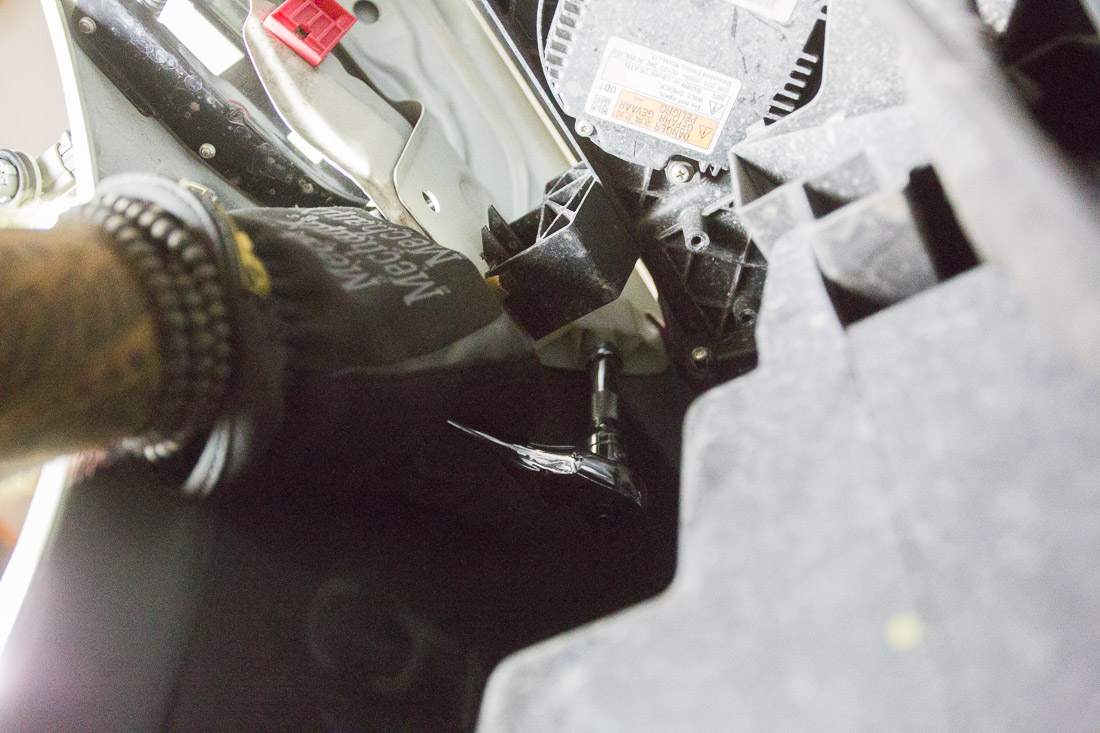
Remove the front bumper.
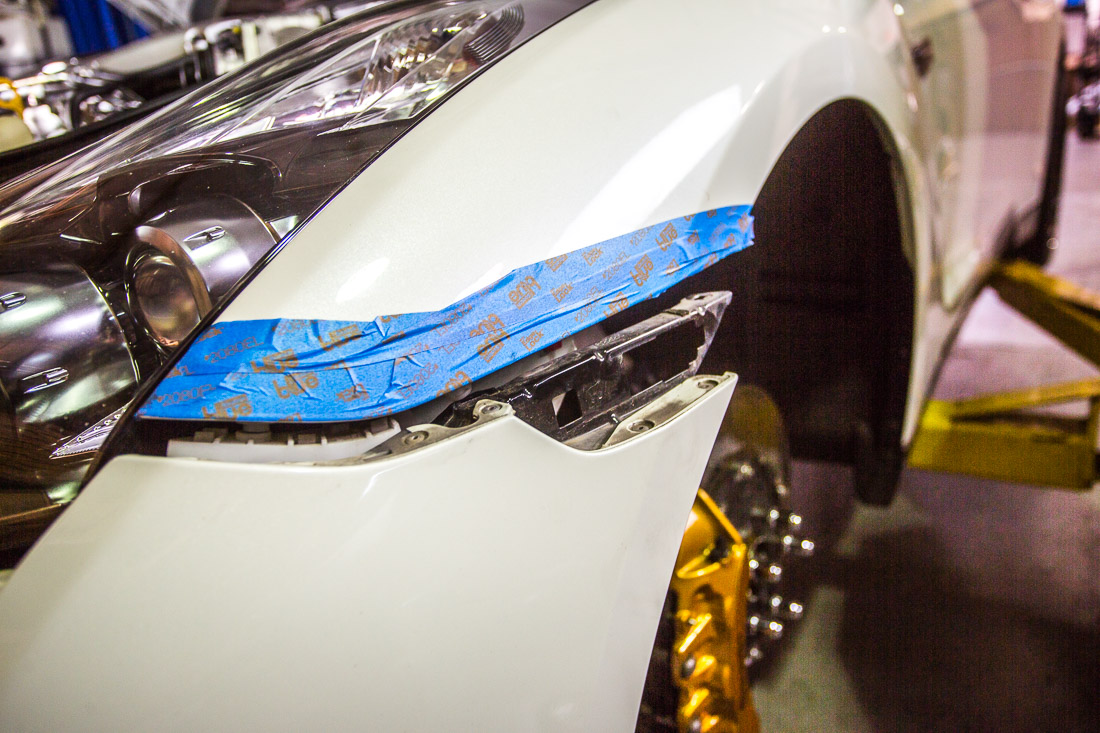
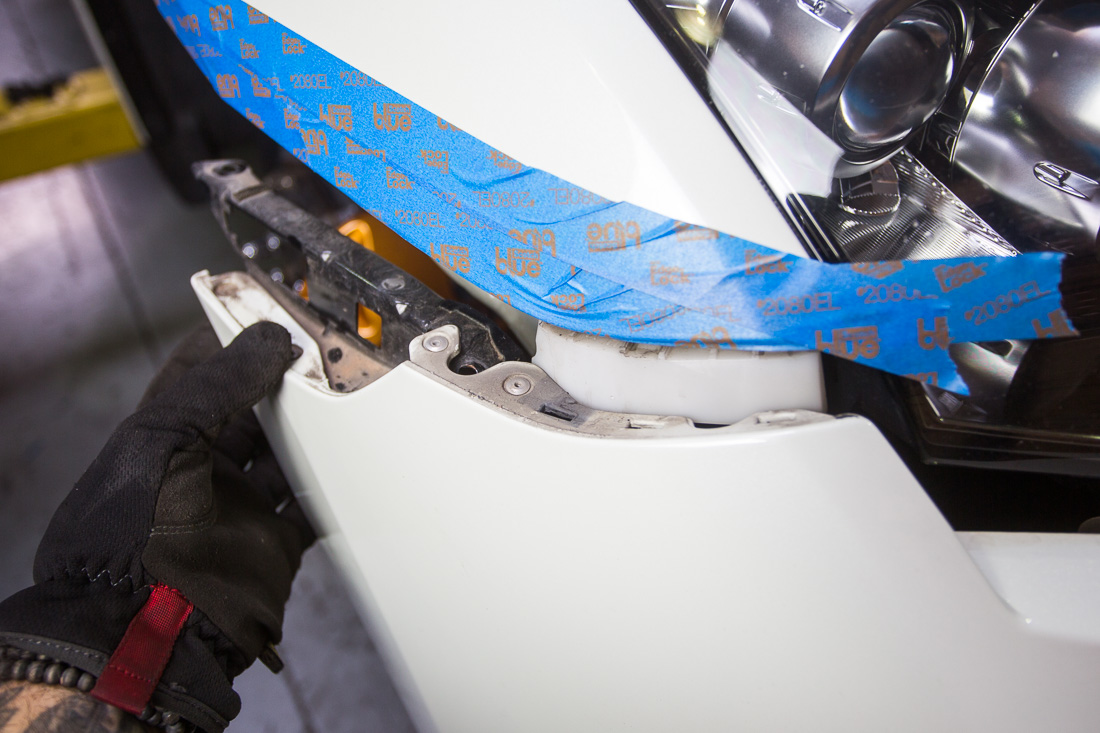
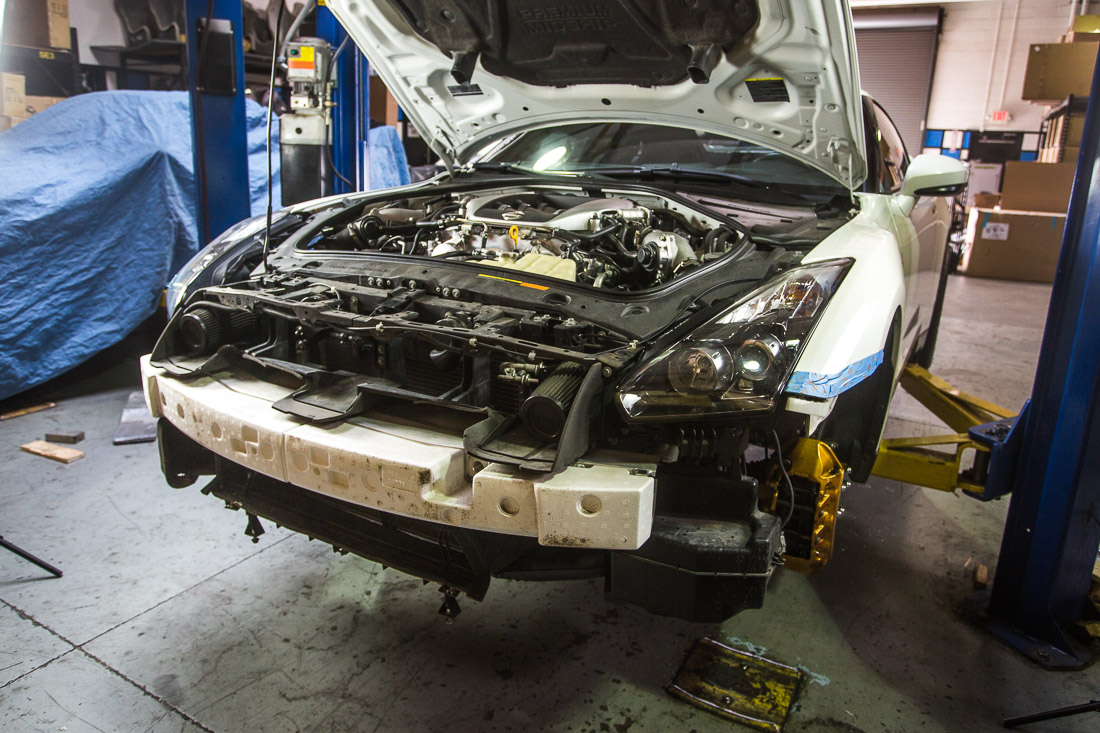 Remove the energy absorber
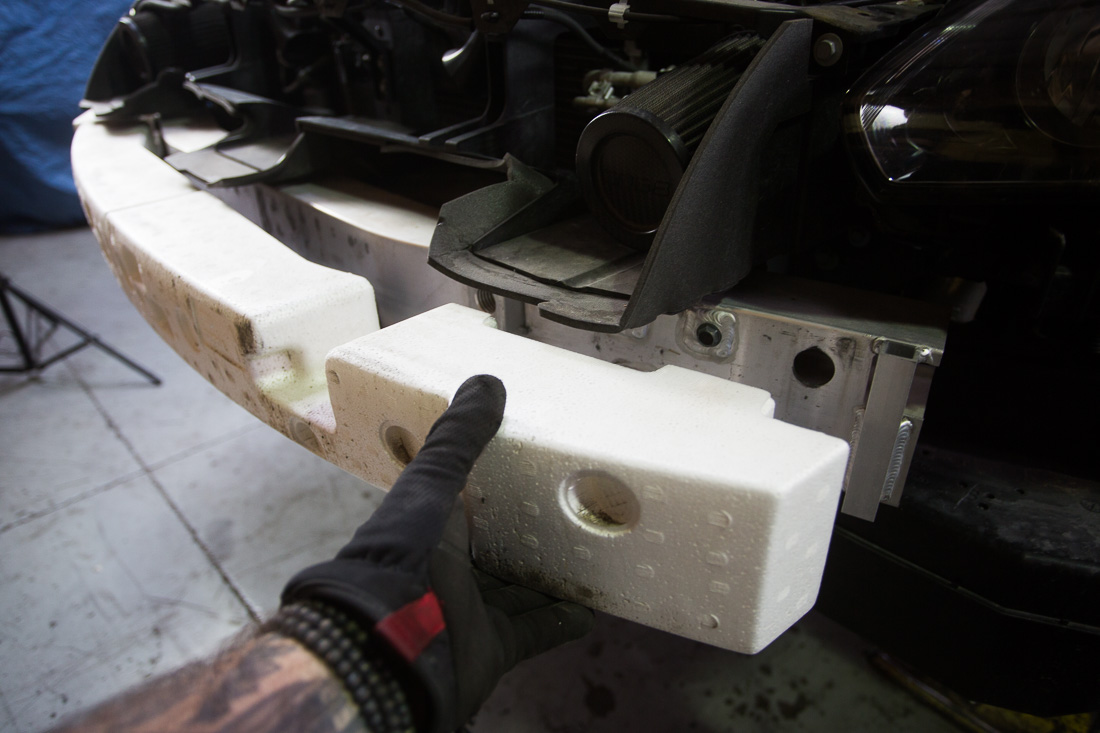
Remove the Aluminum crash bar
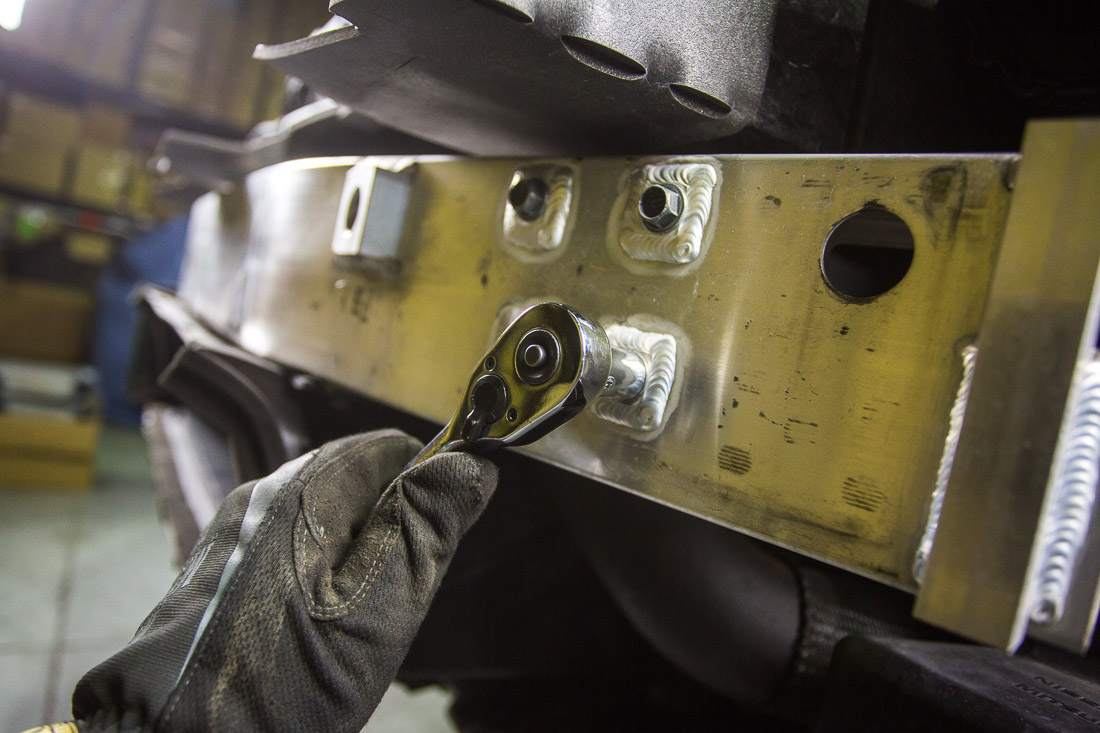
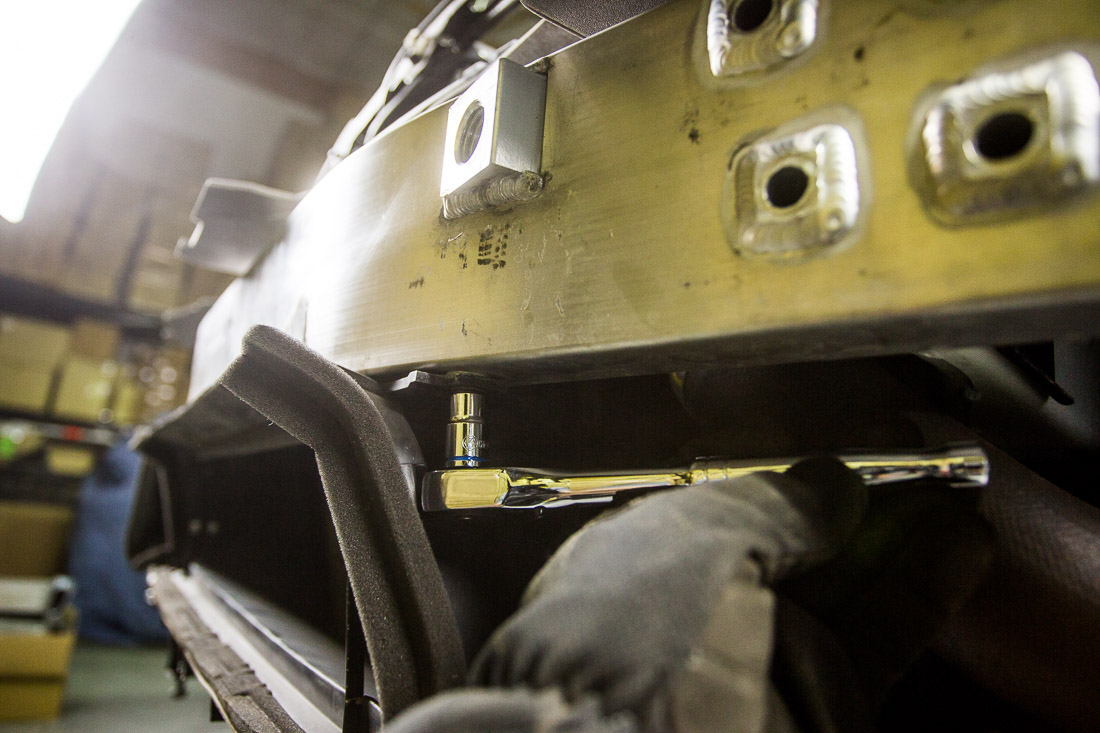
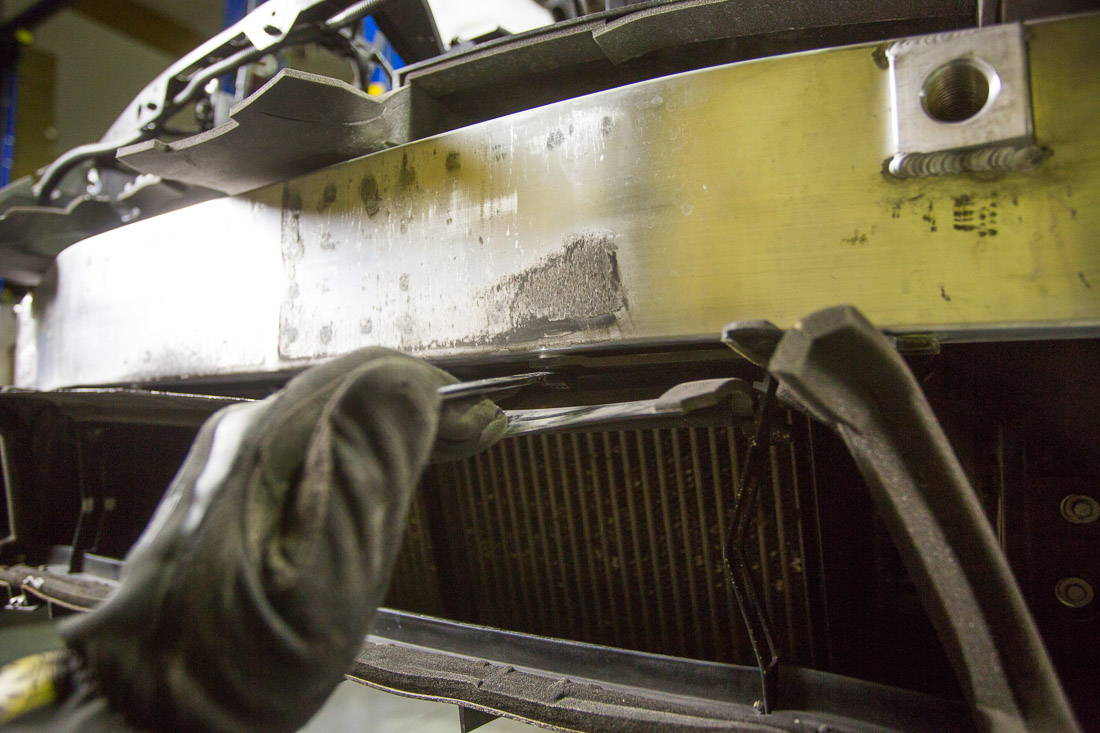
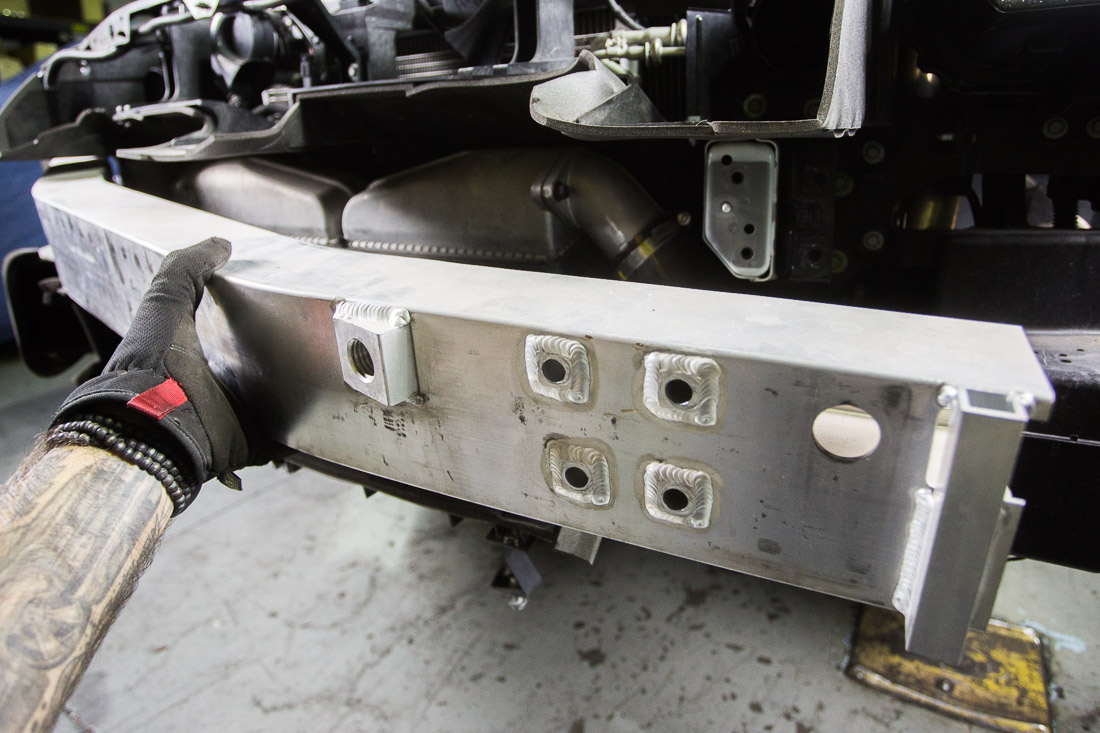
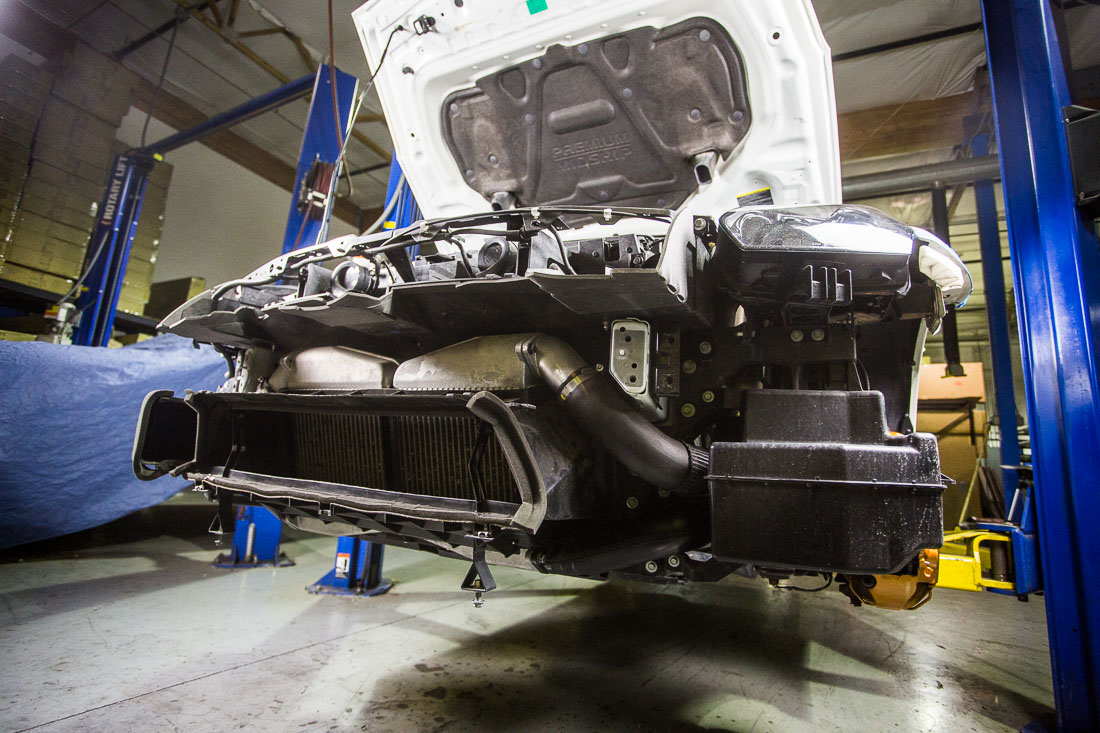
Remove the oil cooler duct
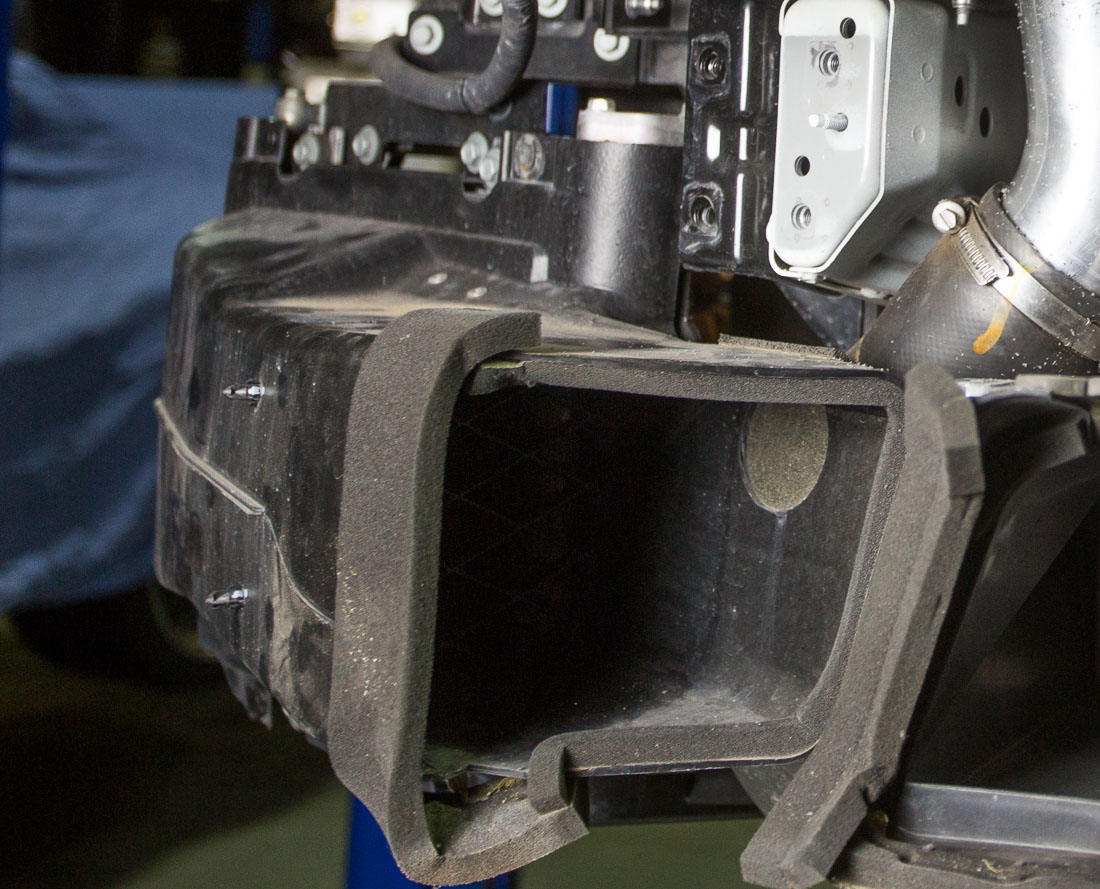
Loosen the upper and lower intercooler hose clamps.
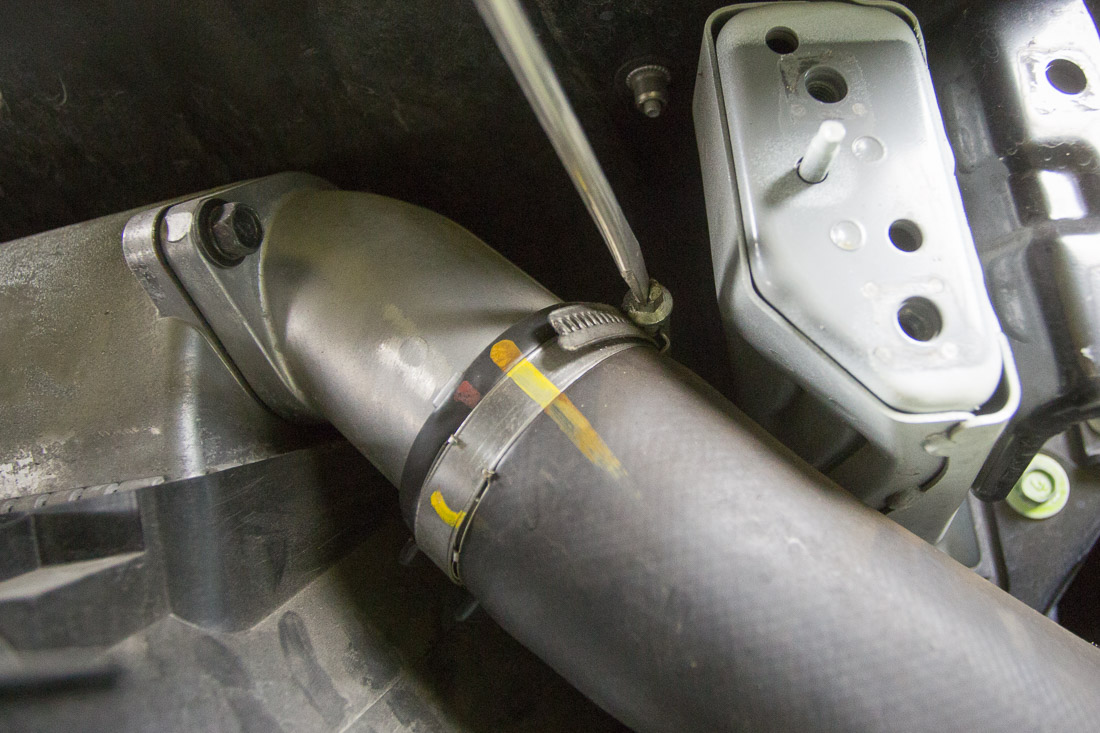
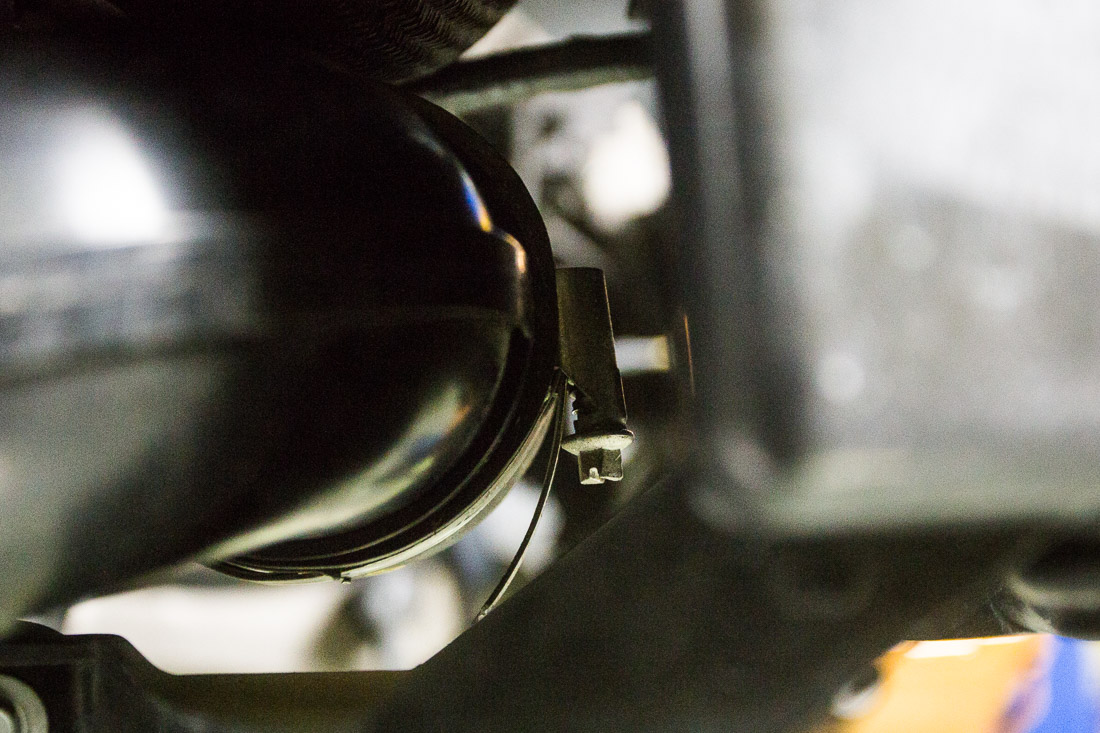
Remove the P/S Cooler bolts
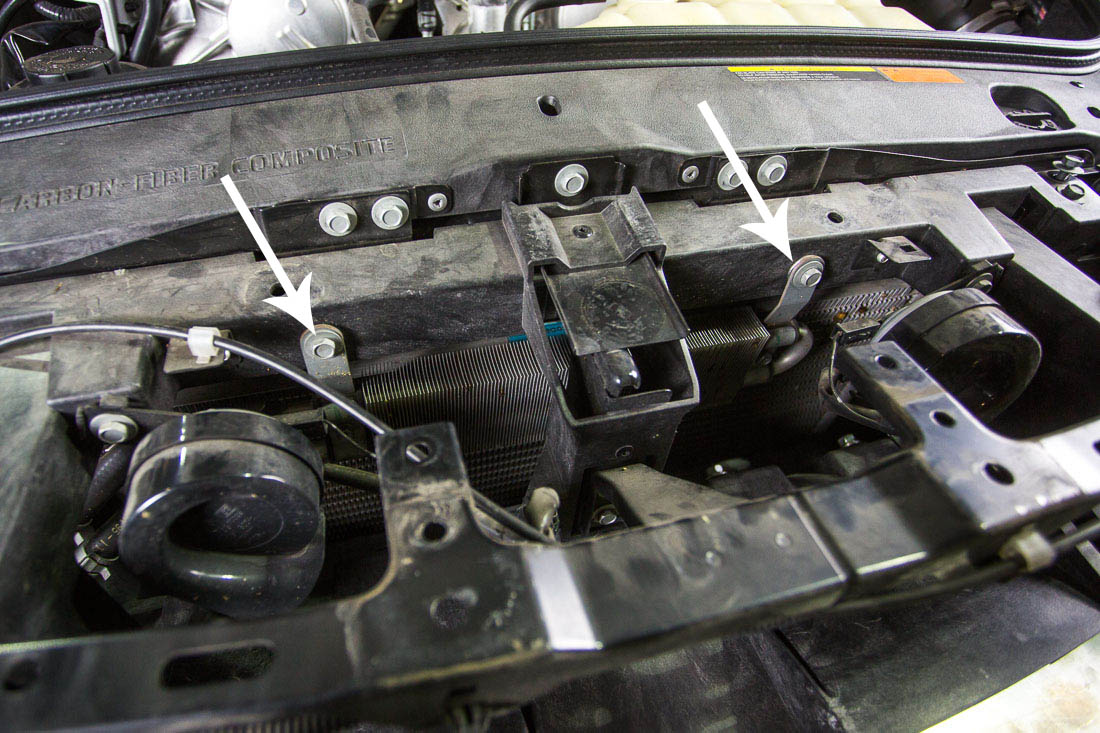
Free the wire clips and hood cables from the air guide bracket and remove from vehicle.
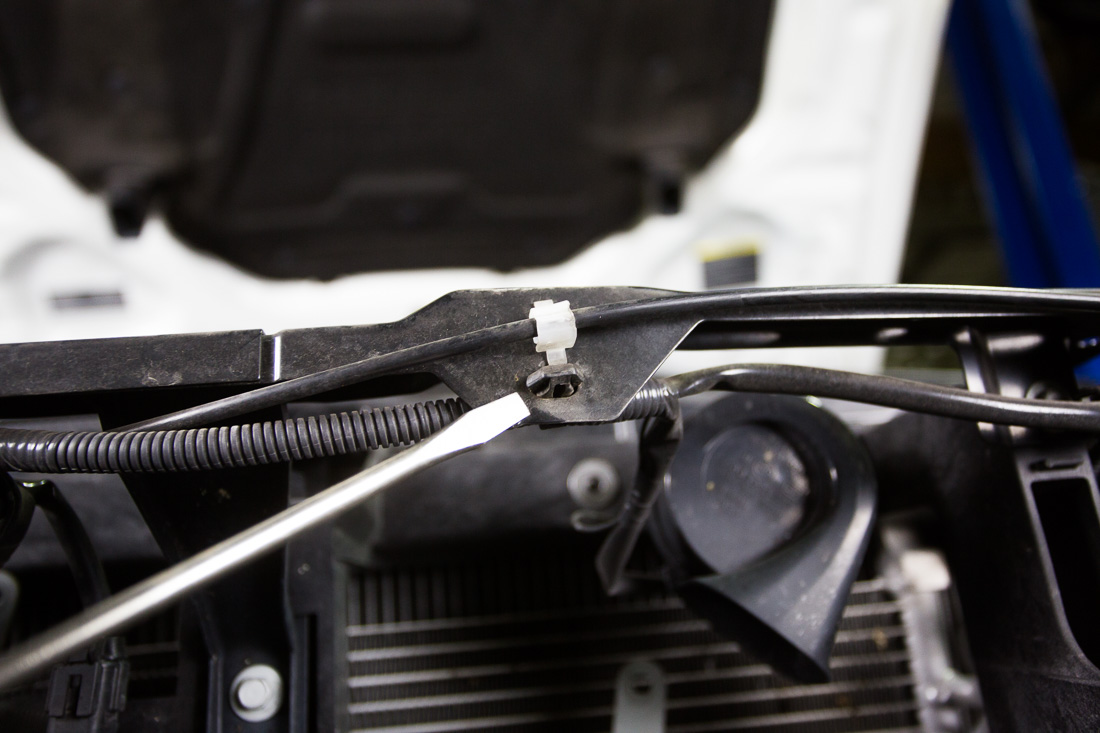
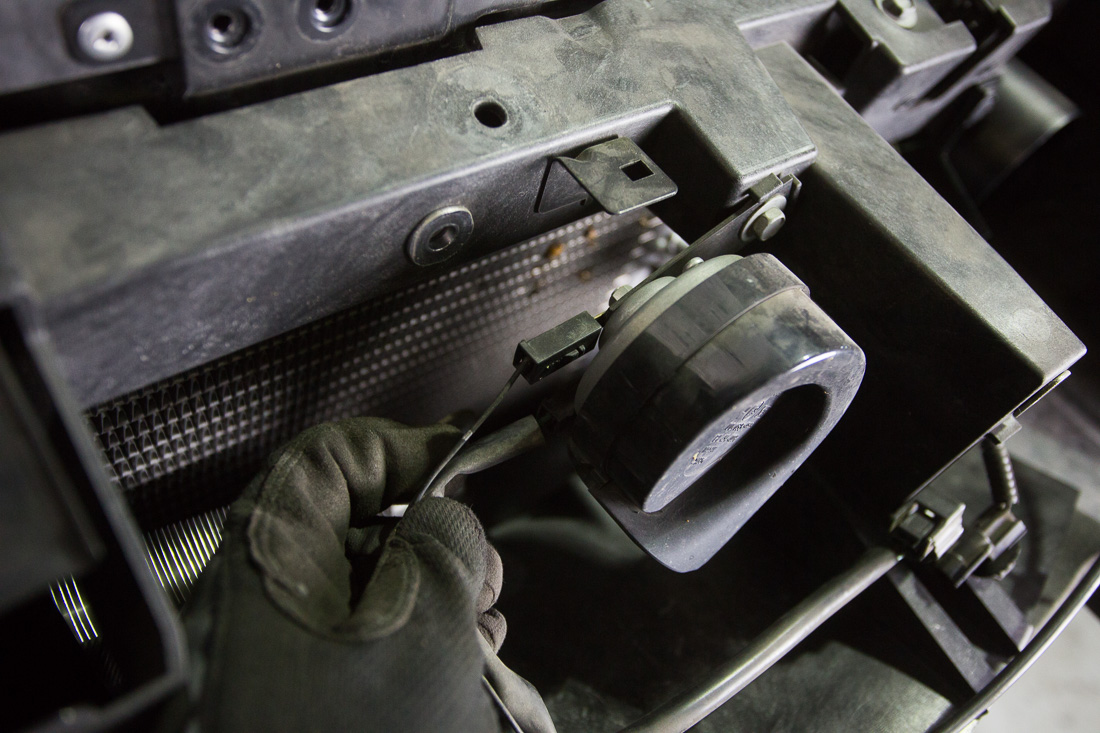
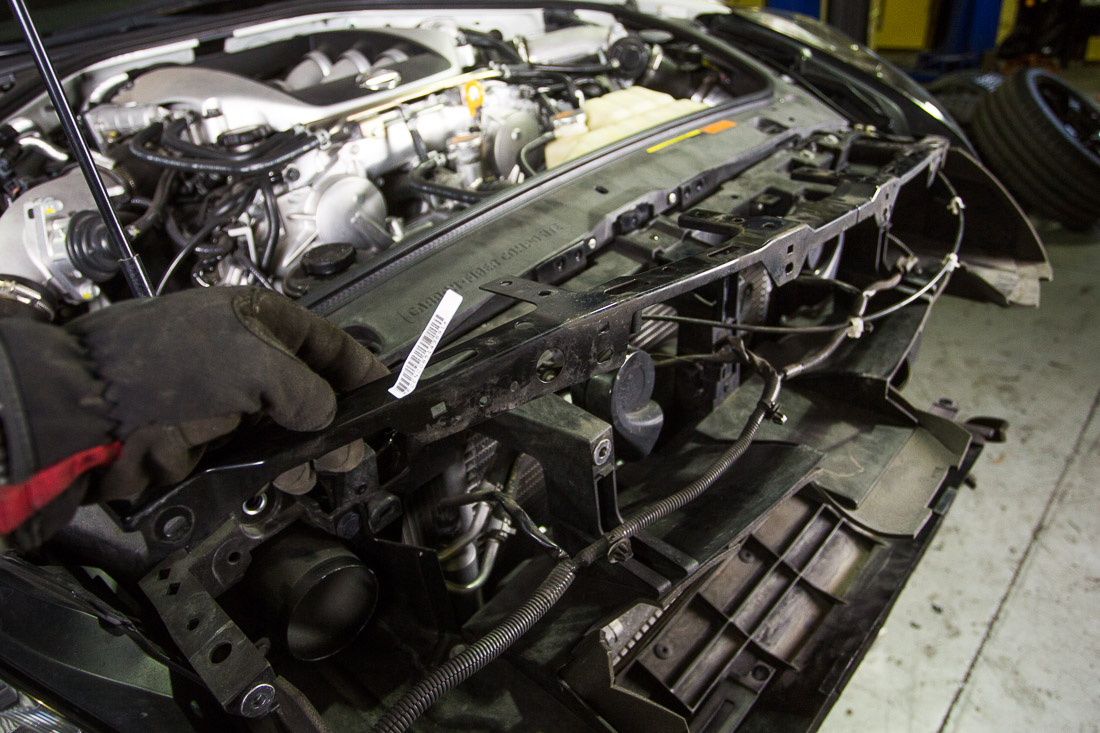 Disconnect the Temp sensor, Horns and hood latch cables.
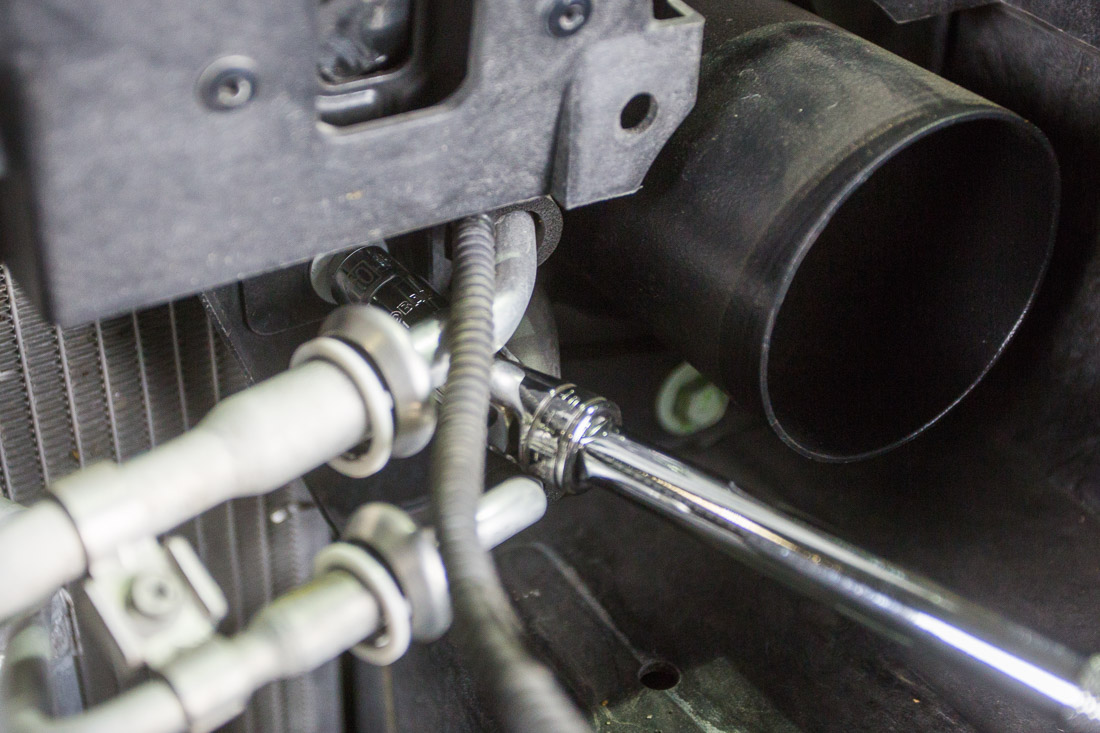
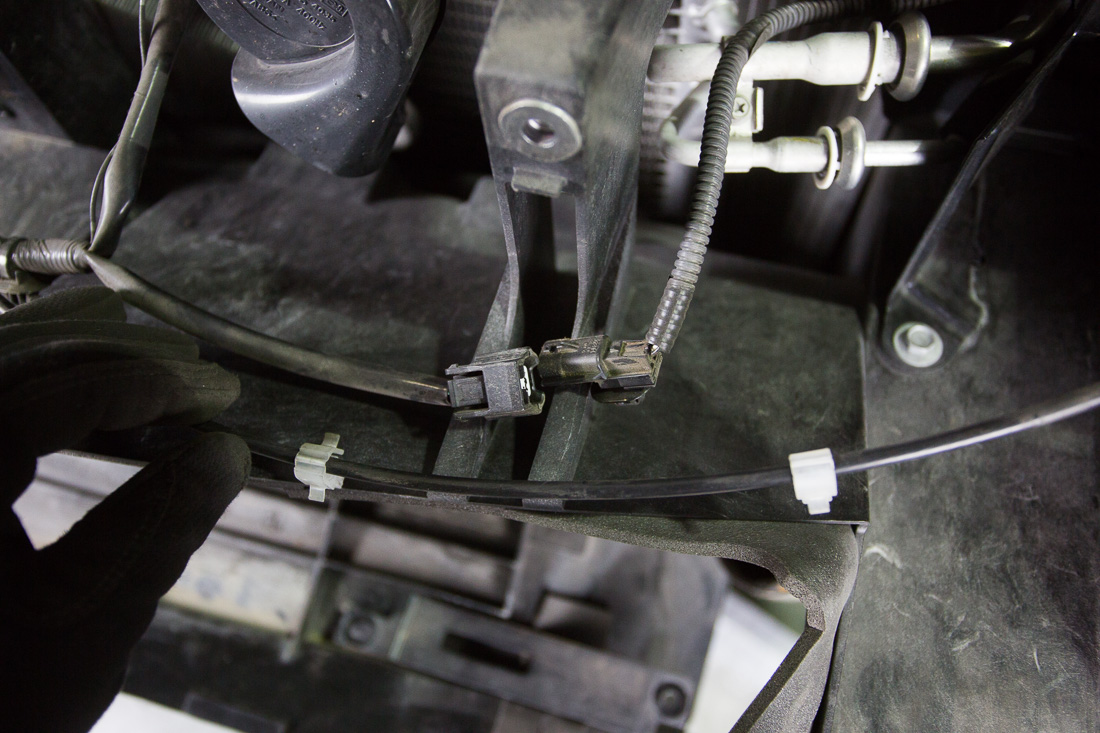
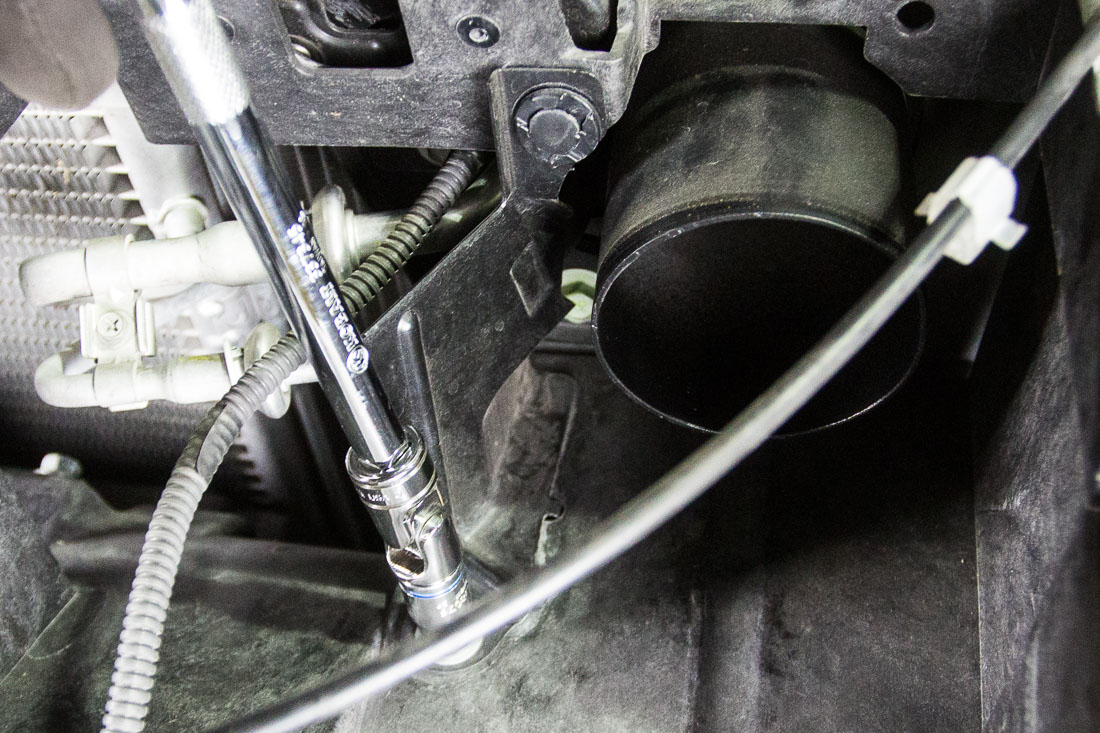
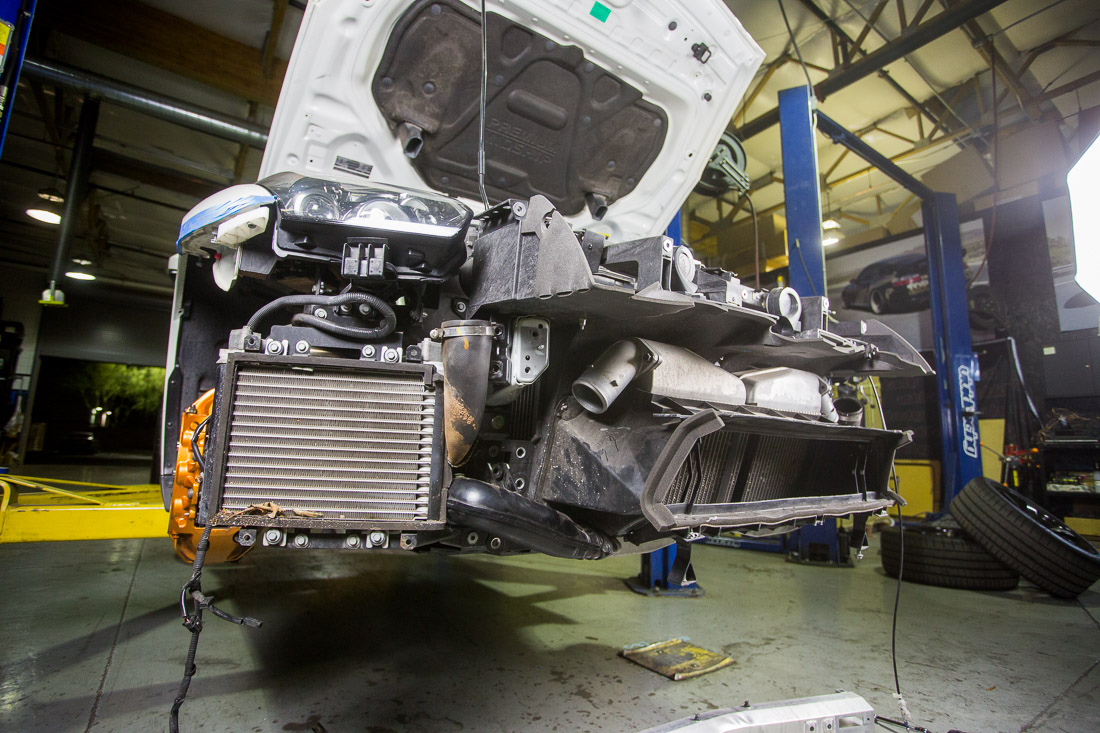 Remove brackets near air funnels to gain access to the radiator guide bolts
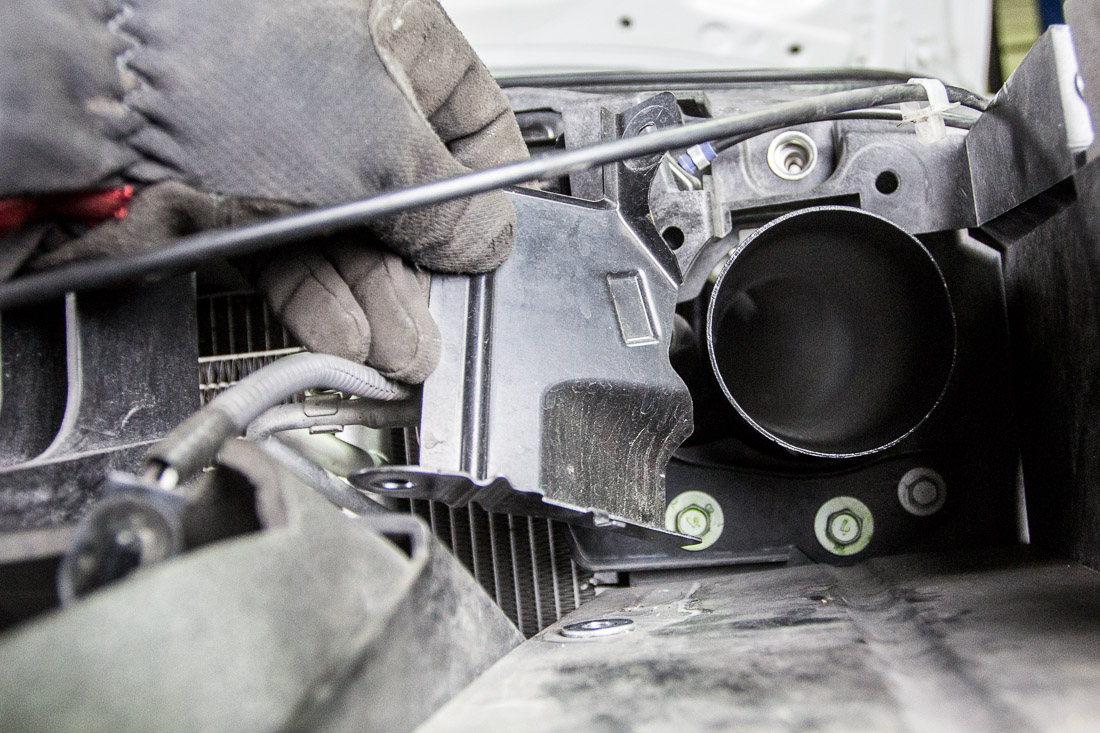
Unbolt the radiator and intercooler air guides and remove from the vehicle.

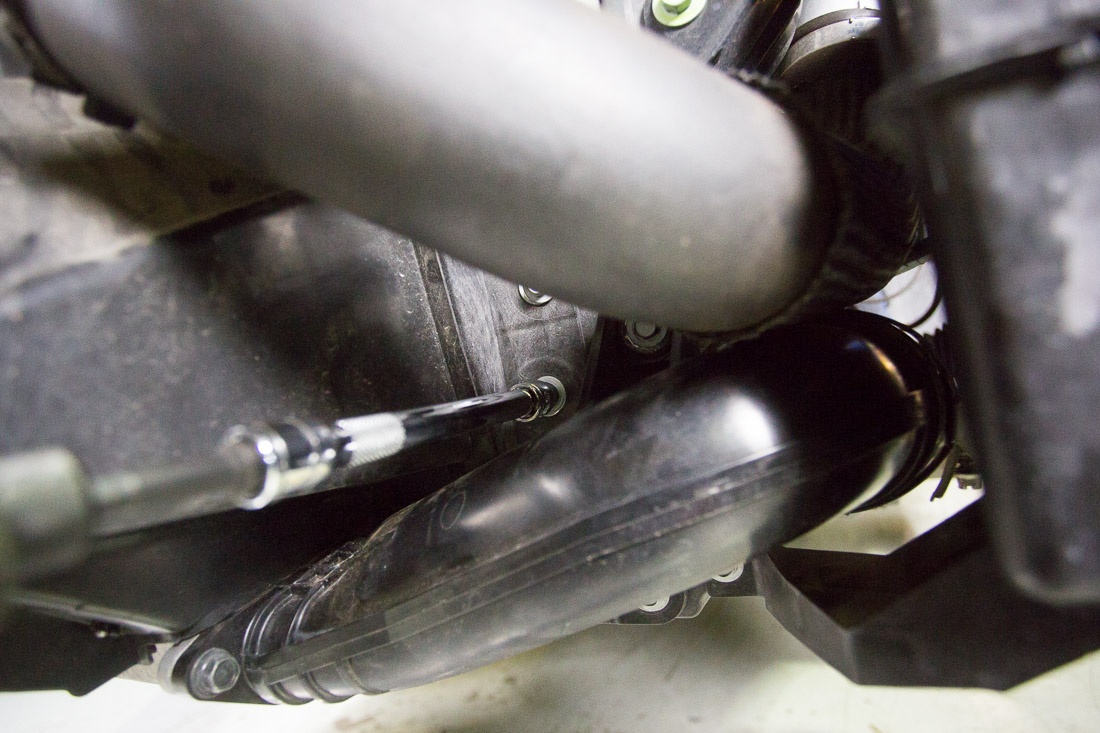
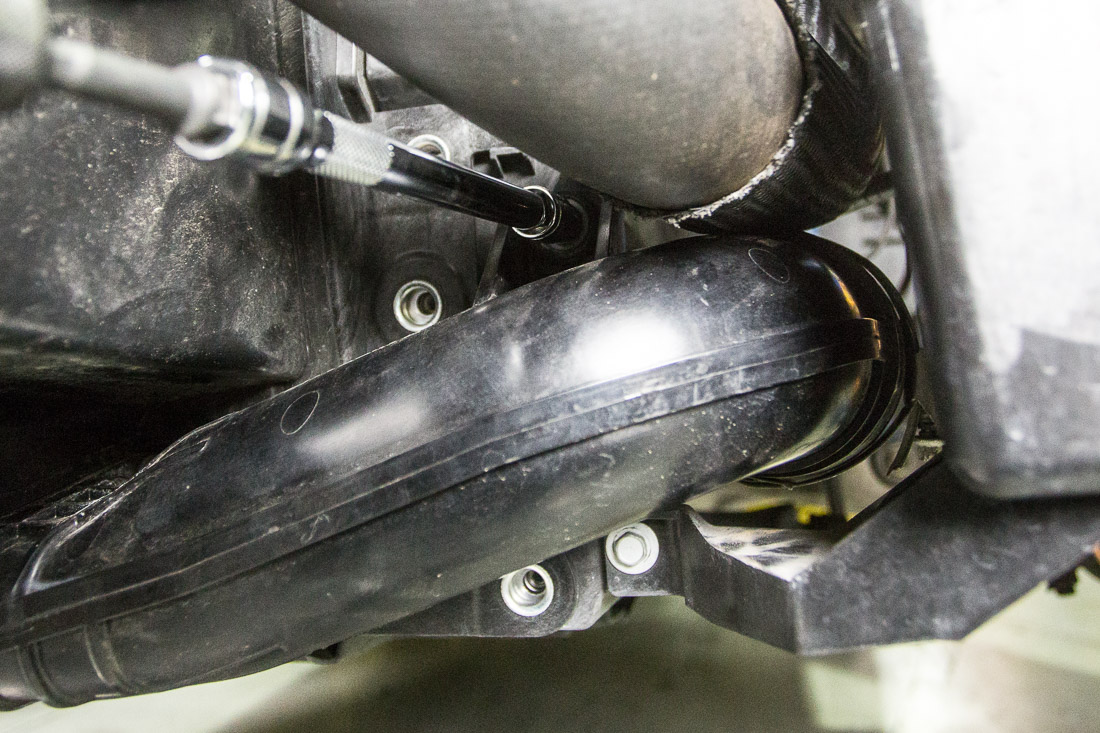
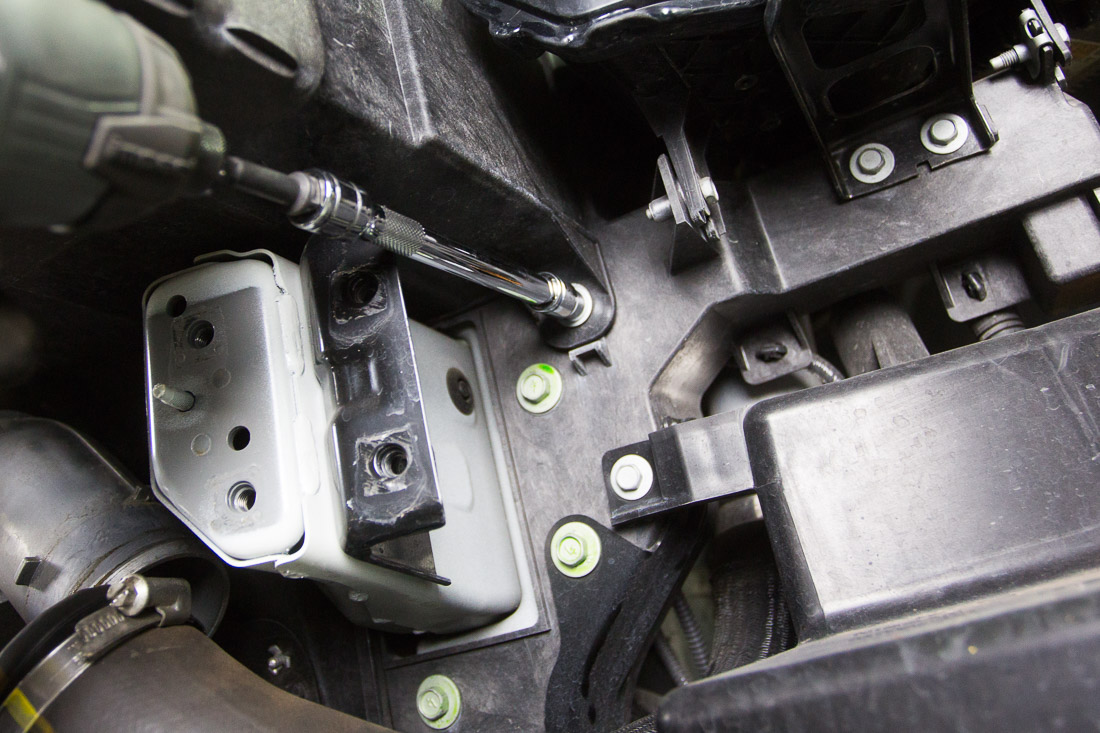
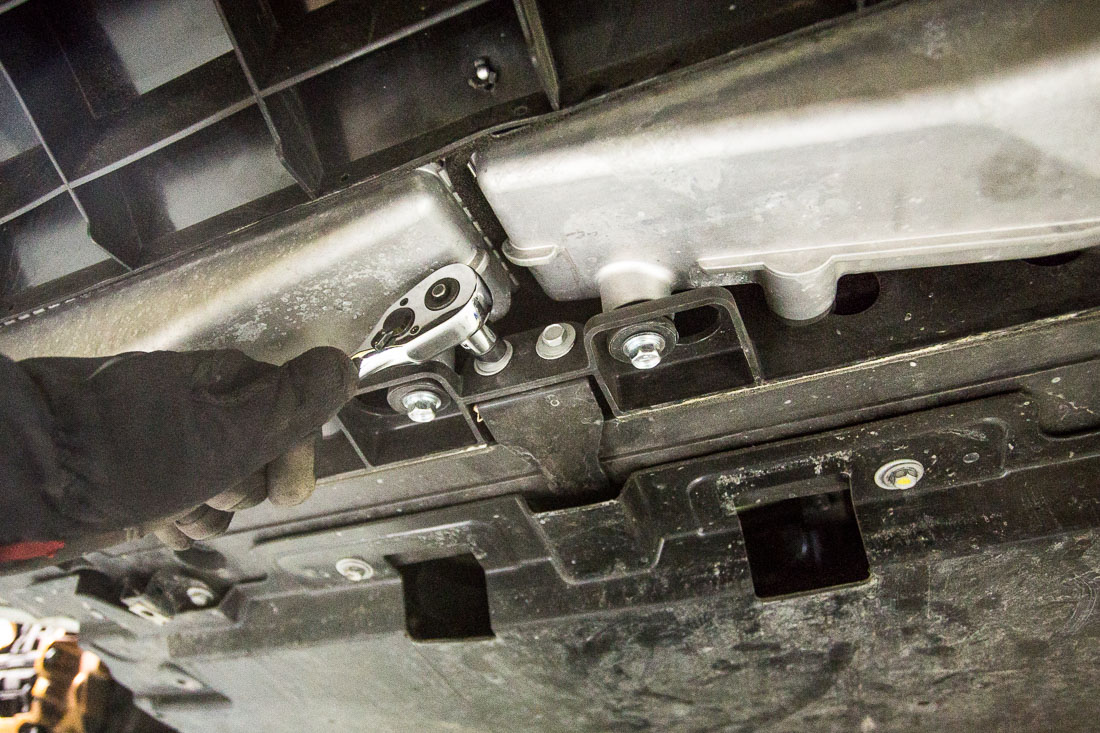
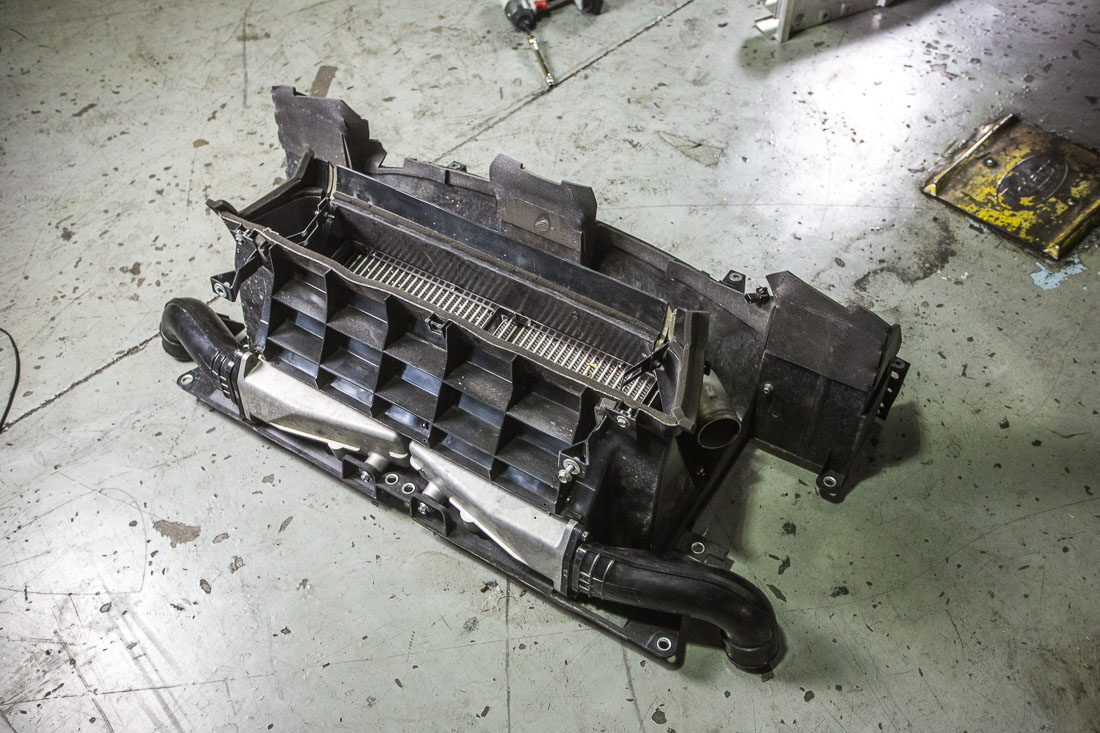
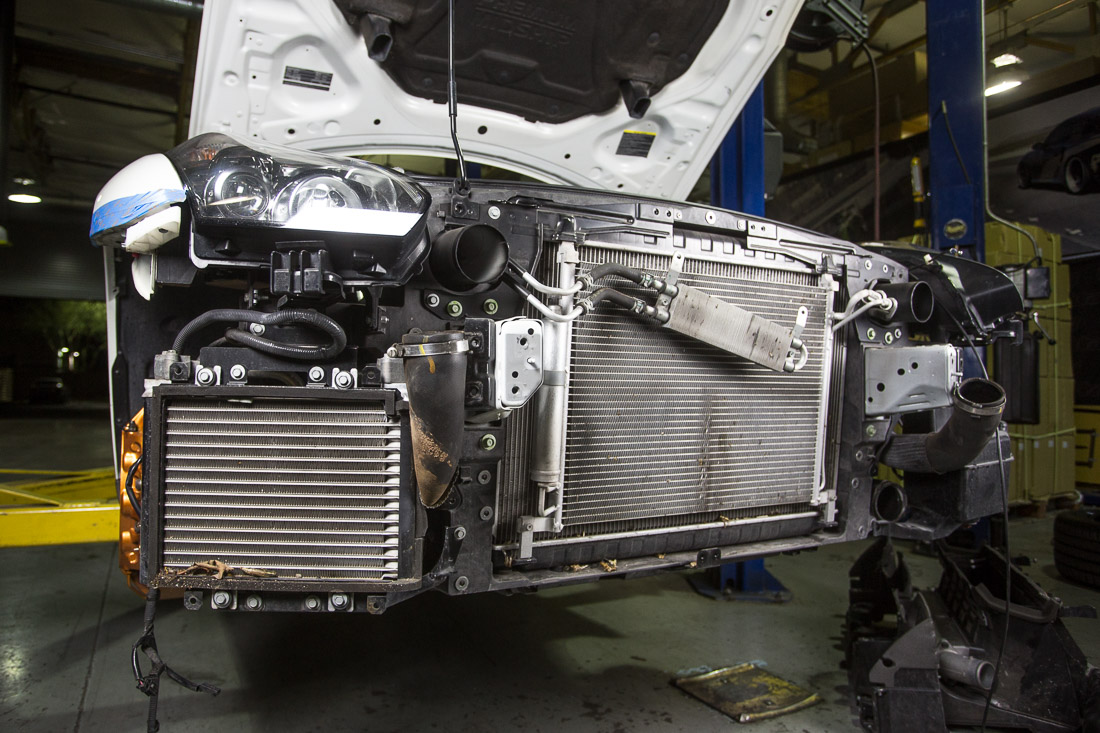
Cut and remove the rivets holding the intercooler air guide to the radiator air guide. These will be replaced with the provided (4x) M5 blind rivet nuts

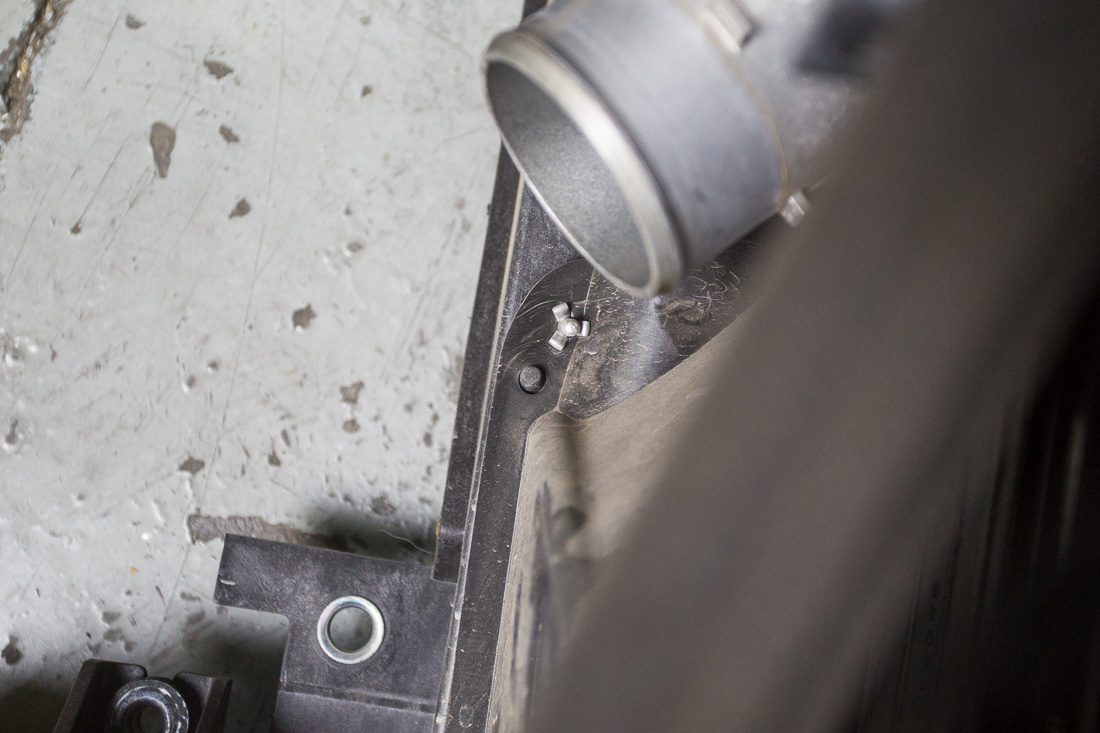
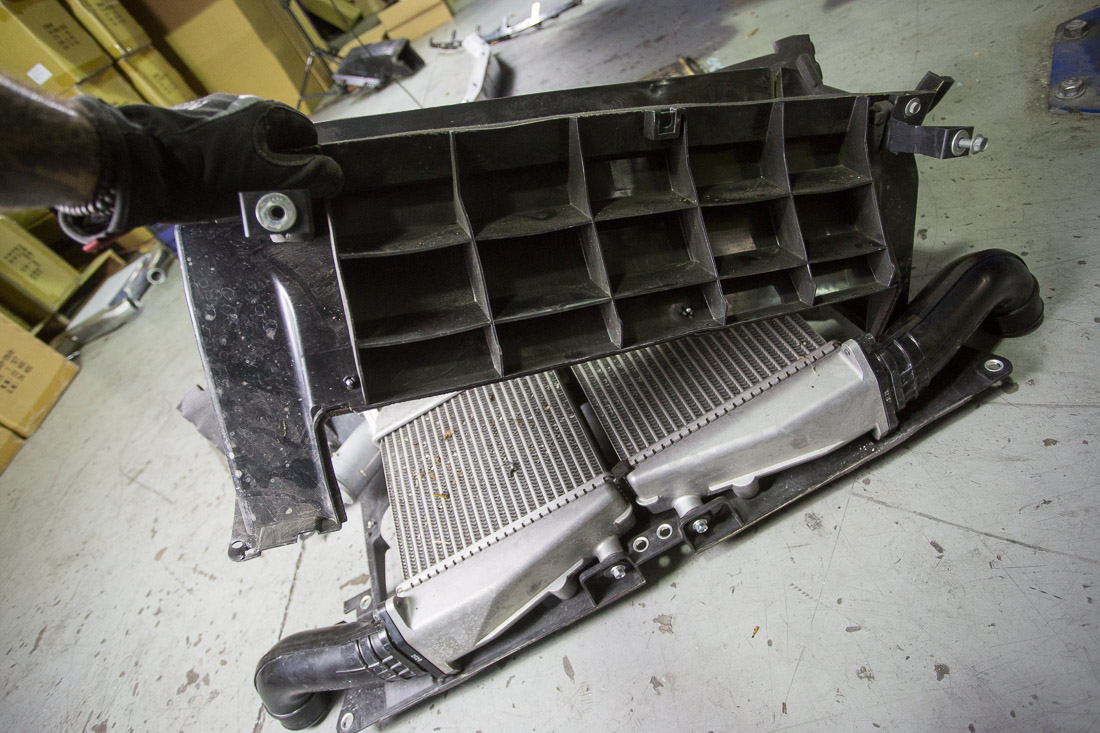
Remove the intercoolers from the air guide.
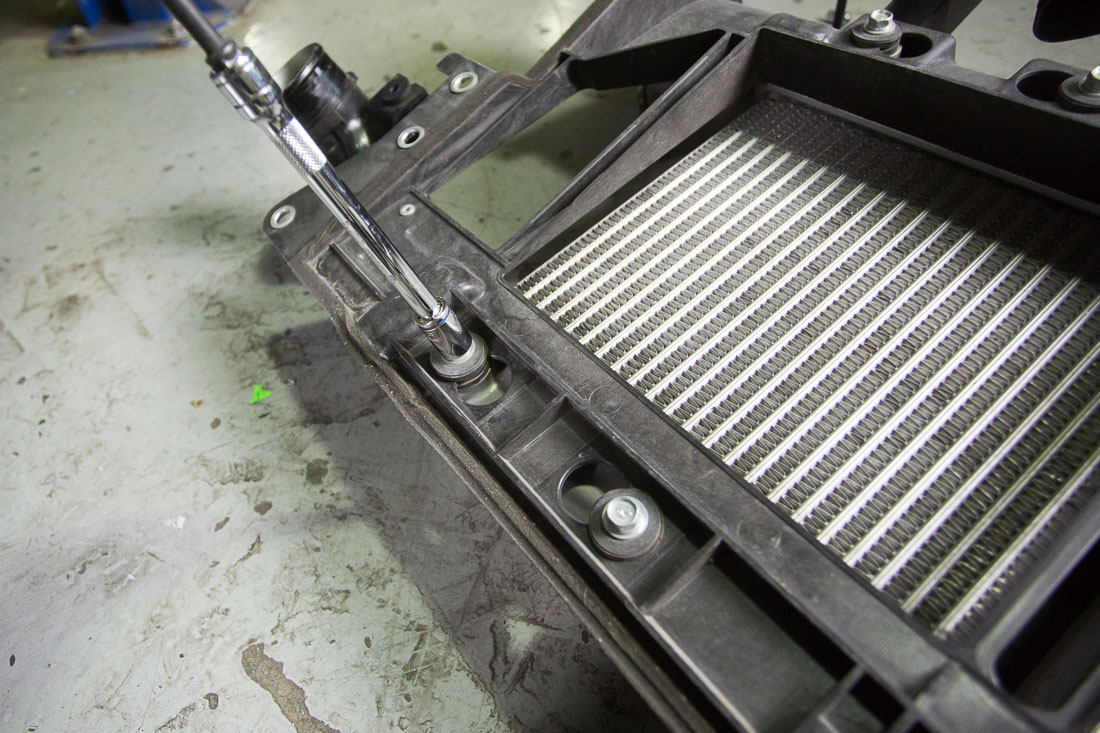
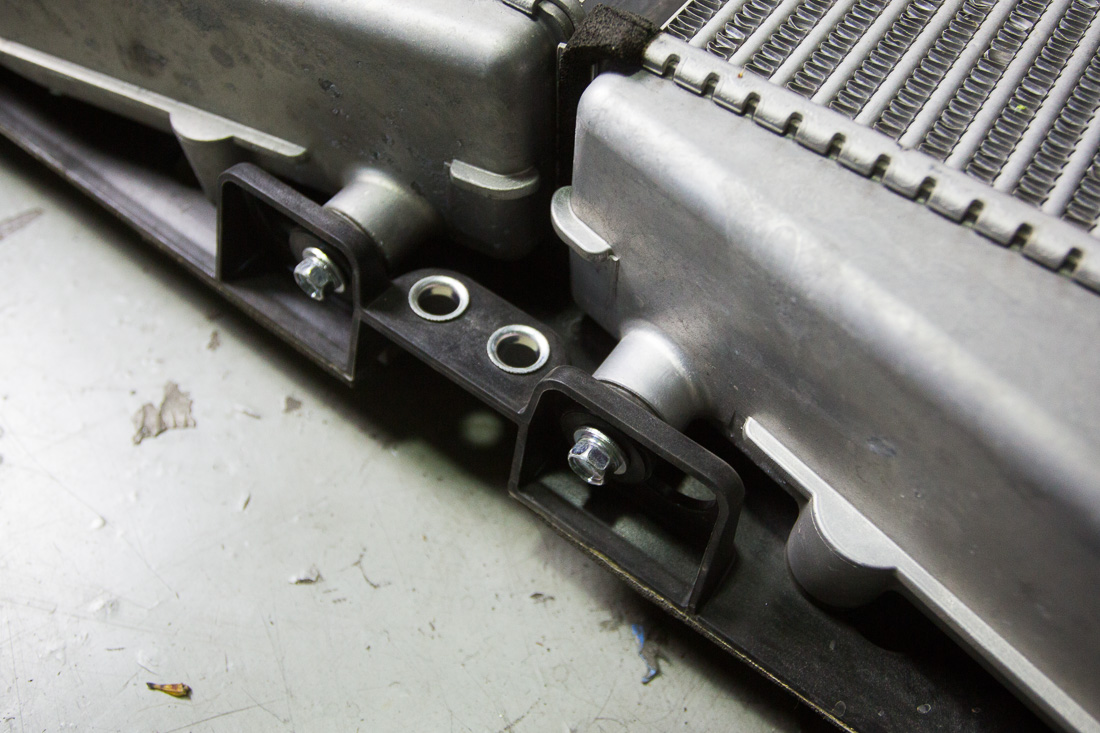
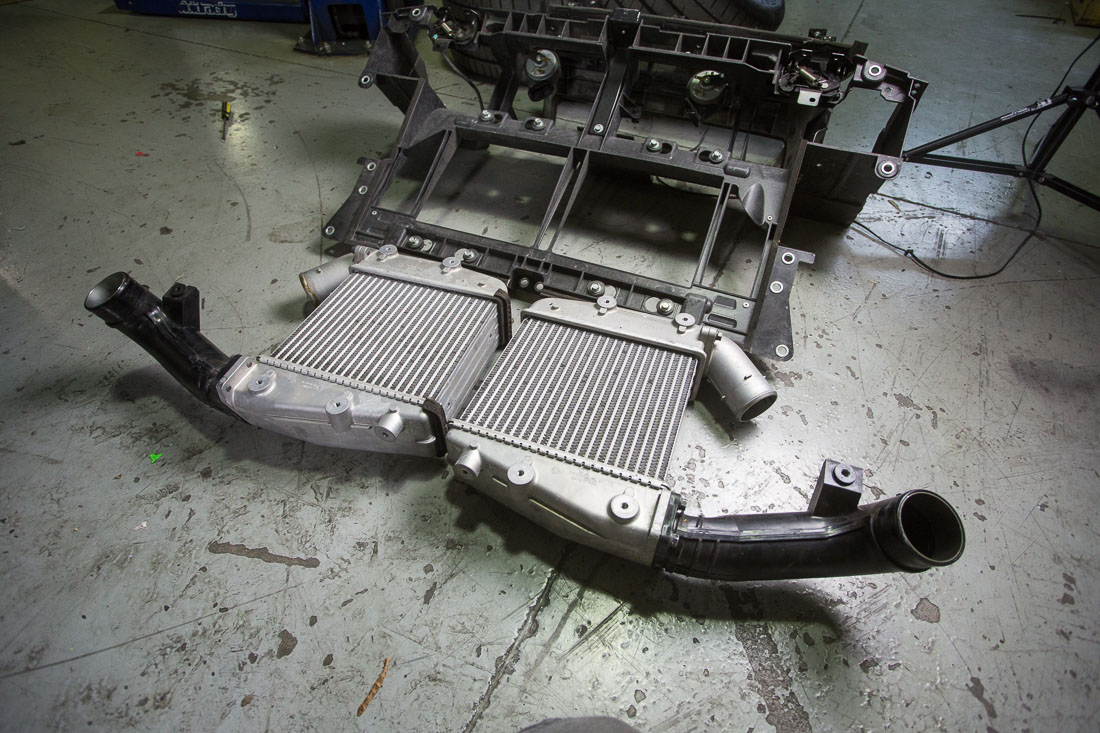 Remove the pipe clamps and bend the lower pipe towards the upper pipe to avoid contact with the intercooler when installed.
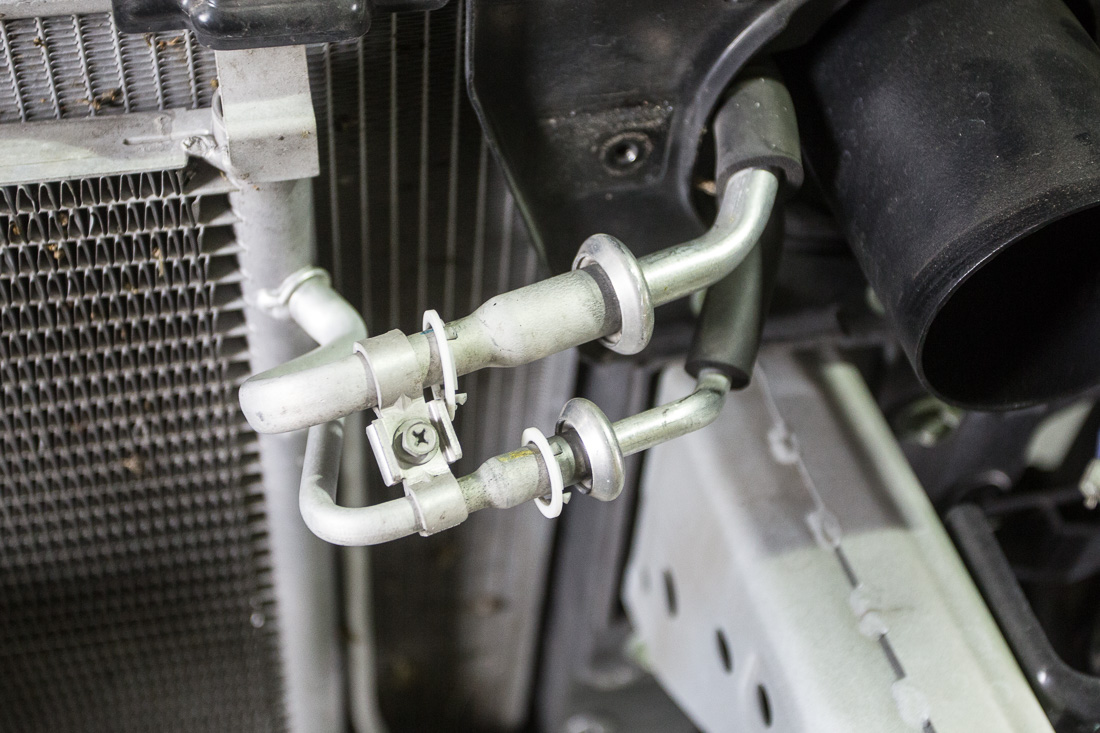
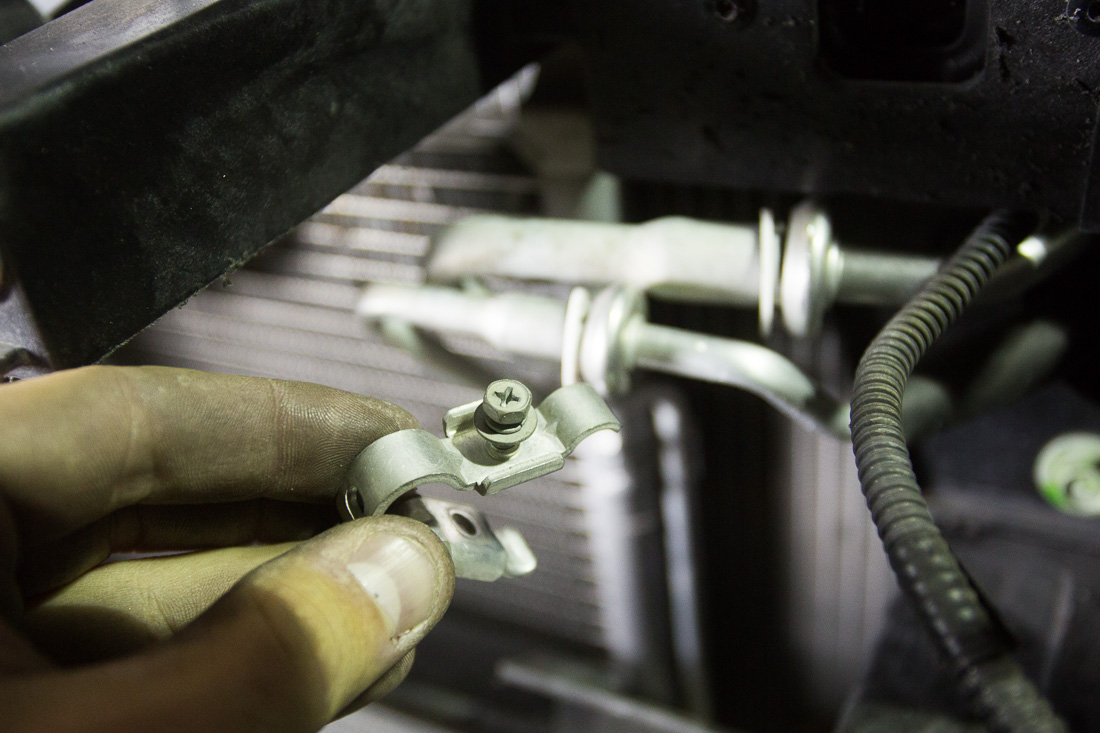
Modifying the factory air guide
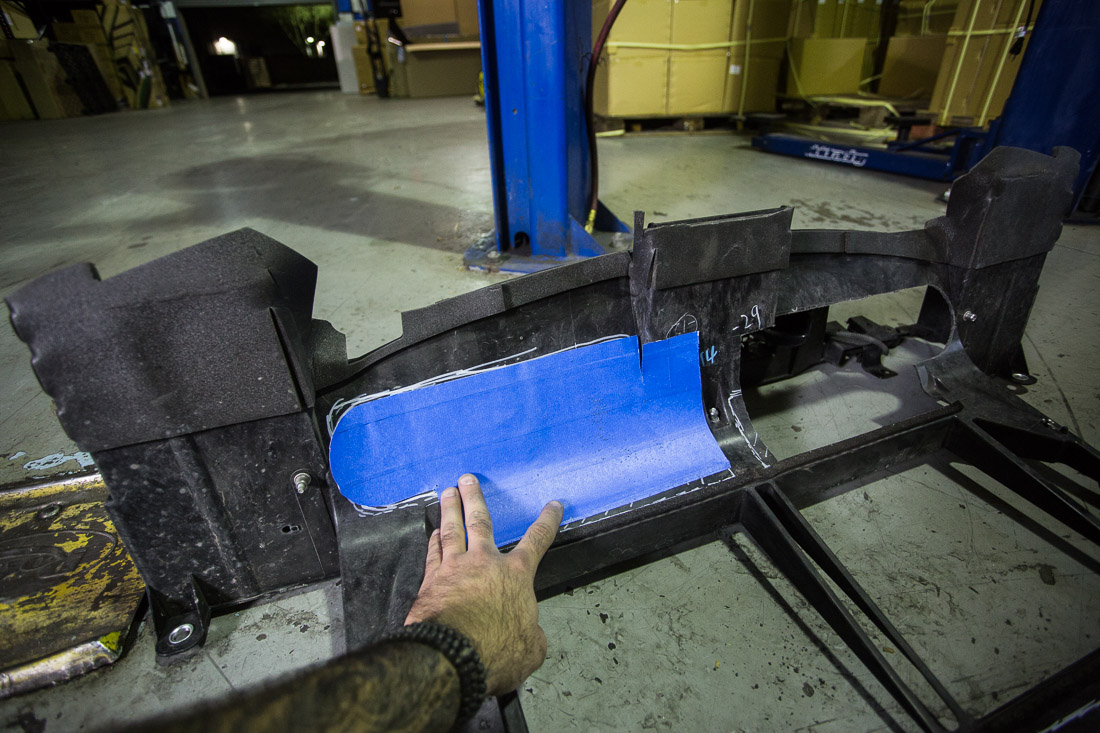
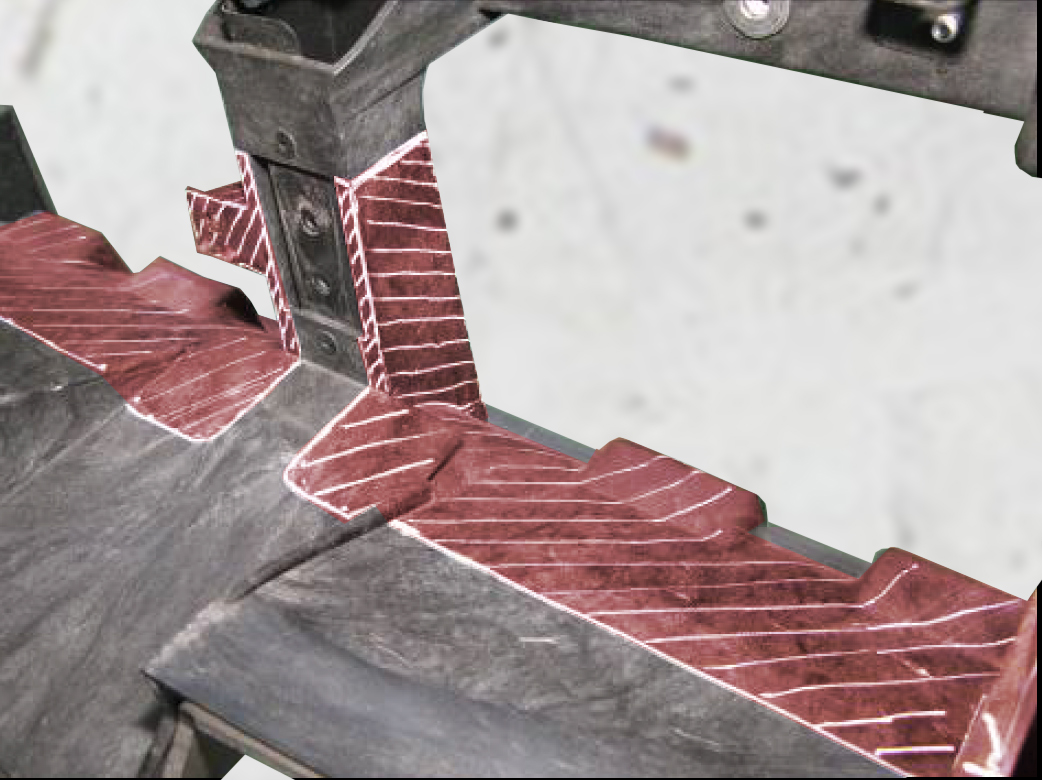
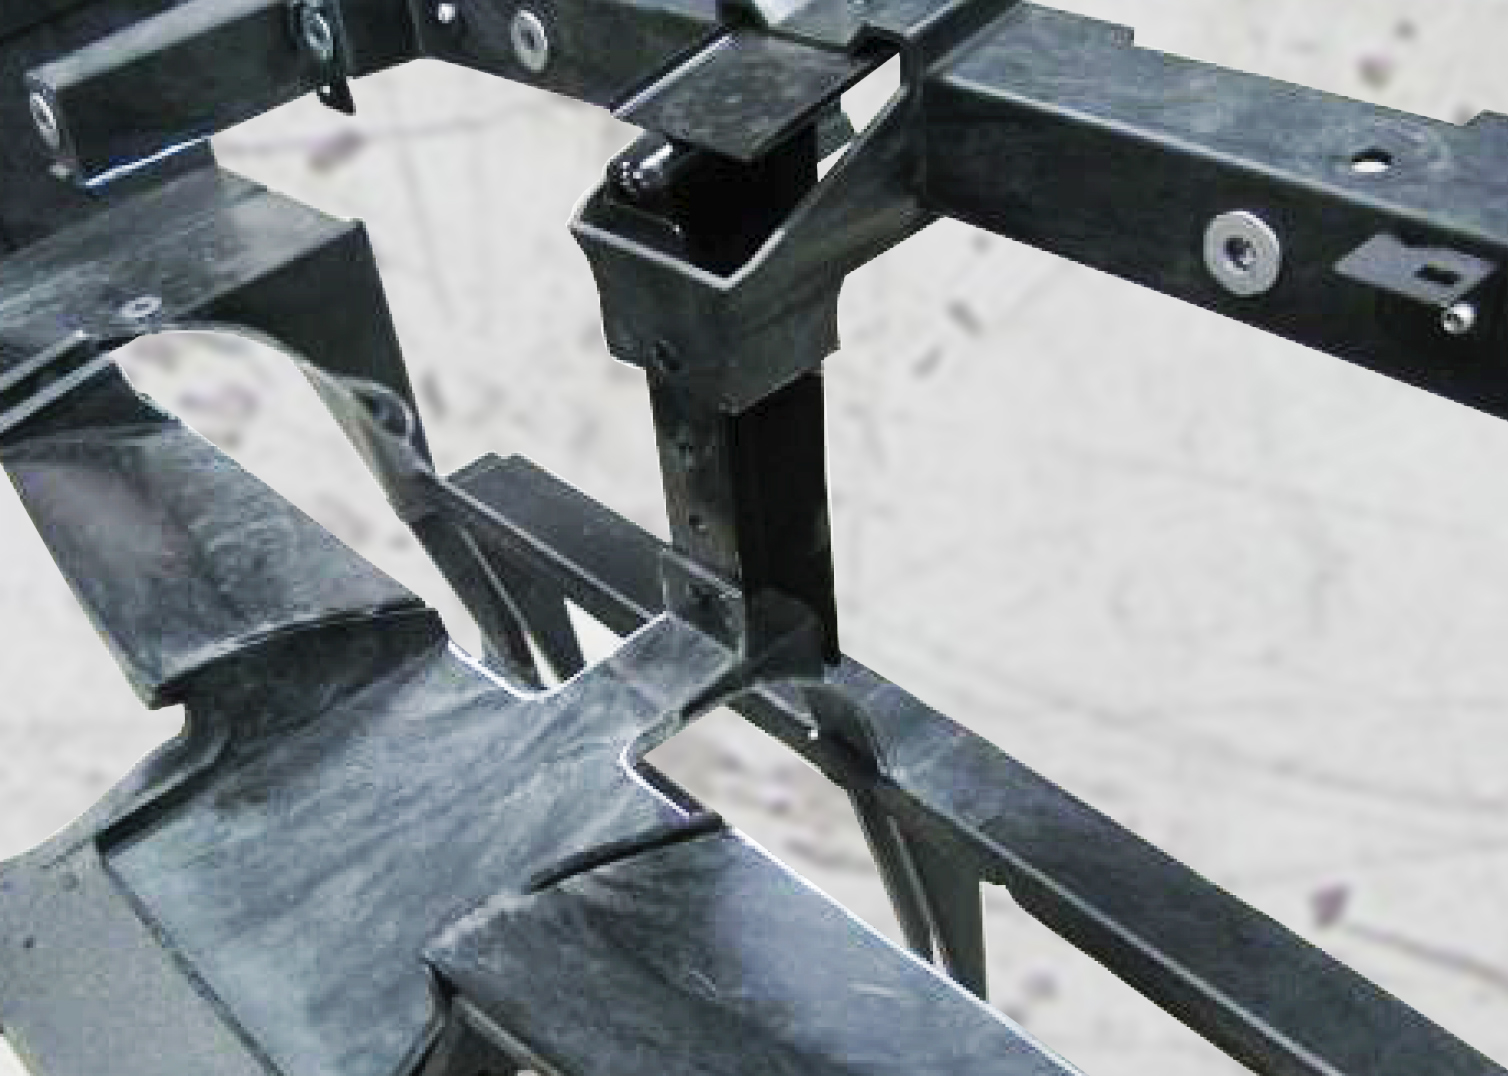
Use trim template to trim the indicated area in red/white. Test fit intercoolers and re-trim if necessary. The intercoolers should not come in contact with the radiator air guide.
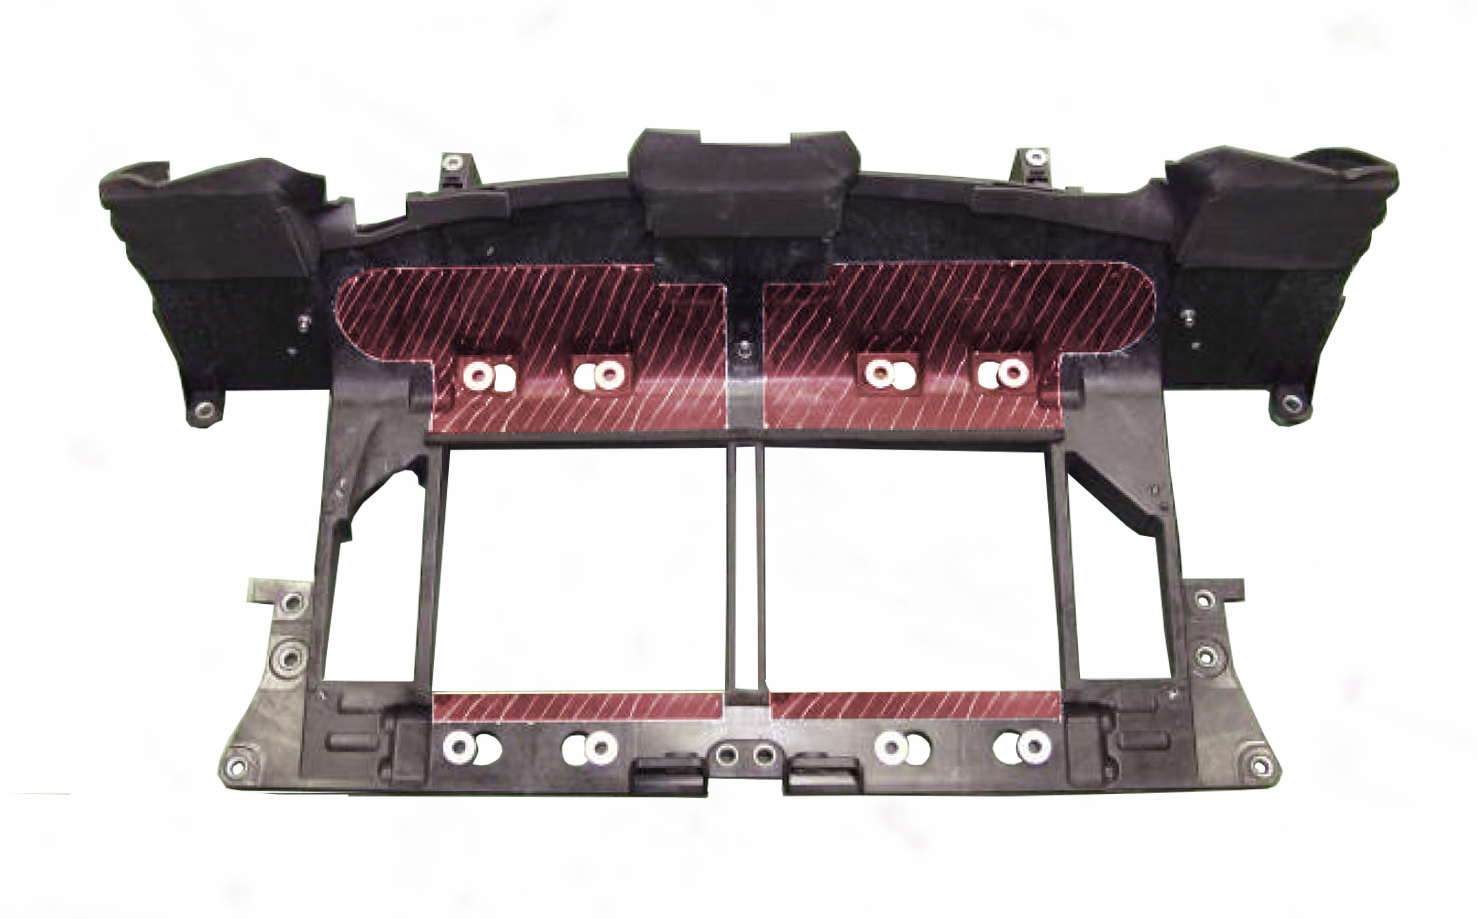
Before Modification
After Modification
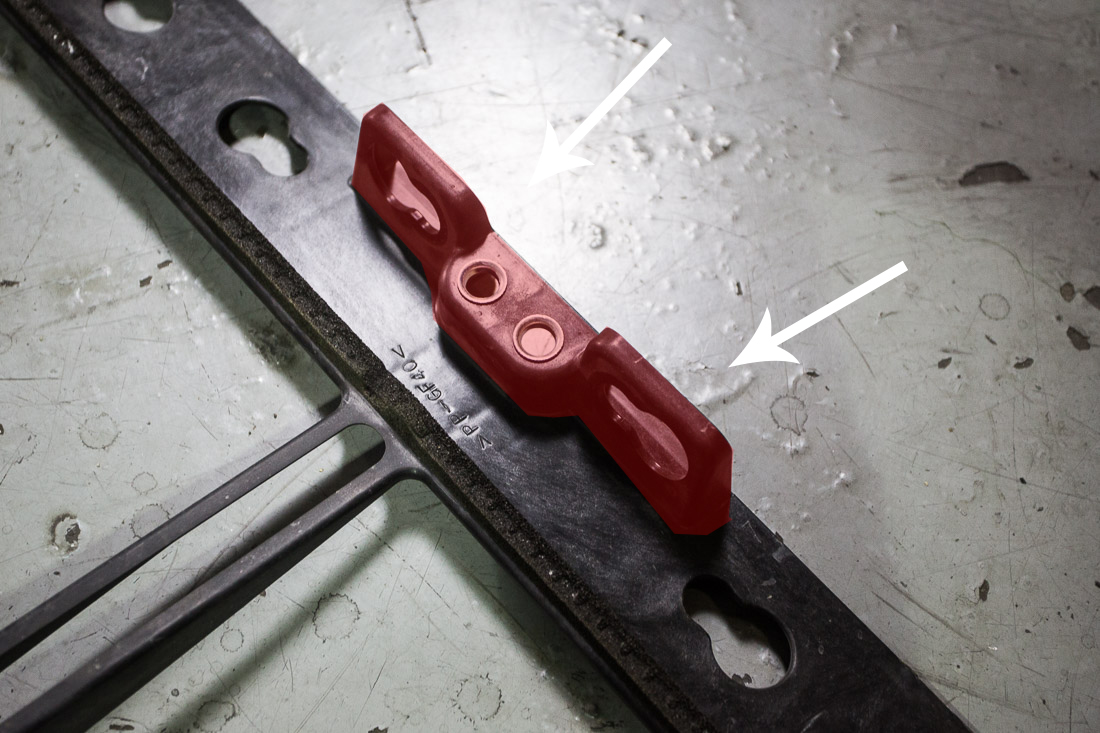
Before Modification
After Modification
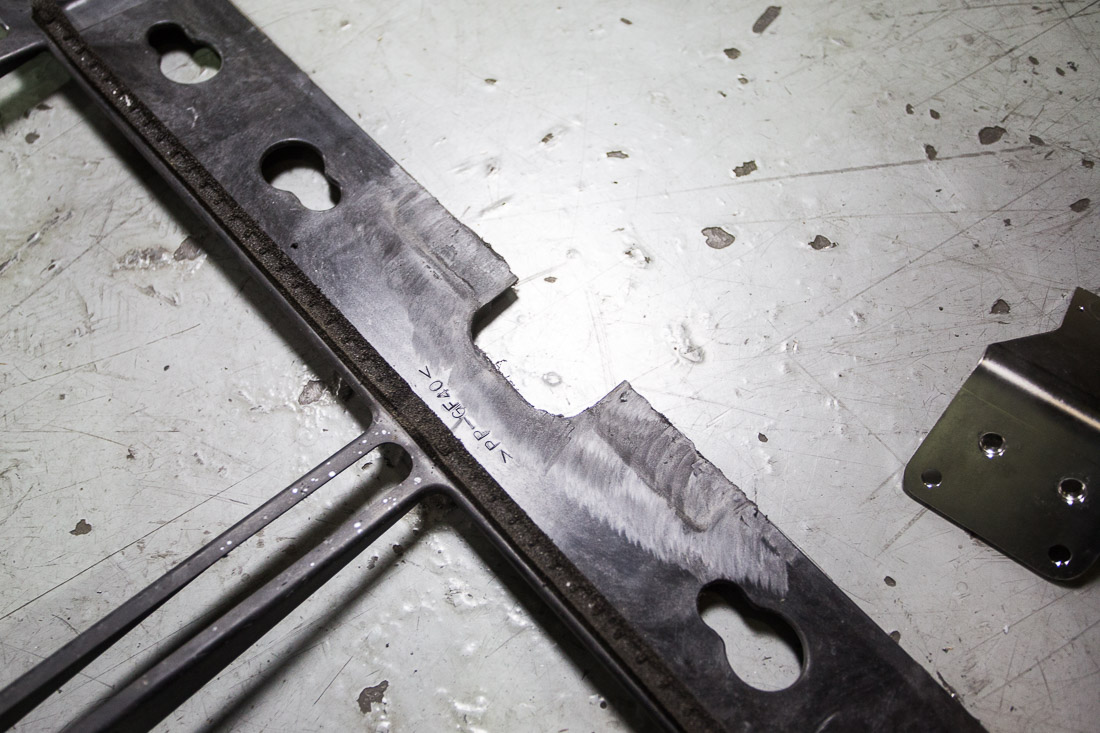
After Modification
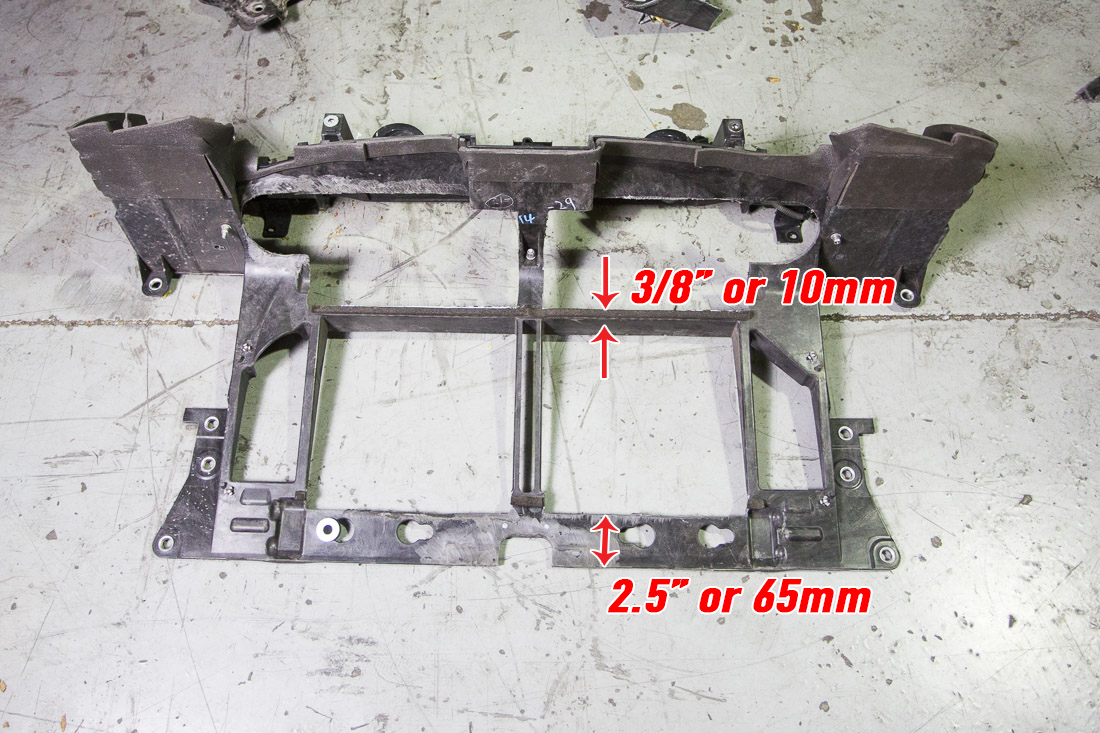
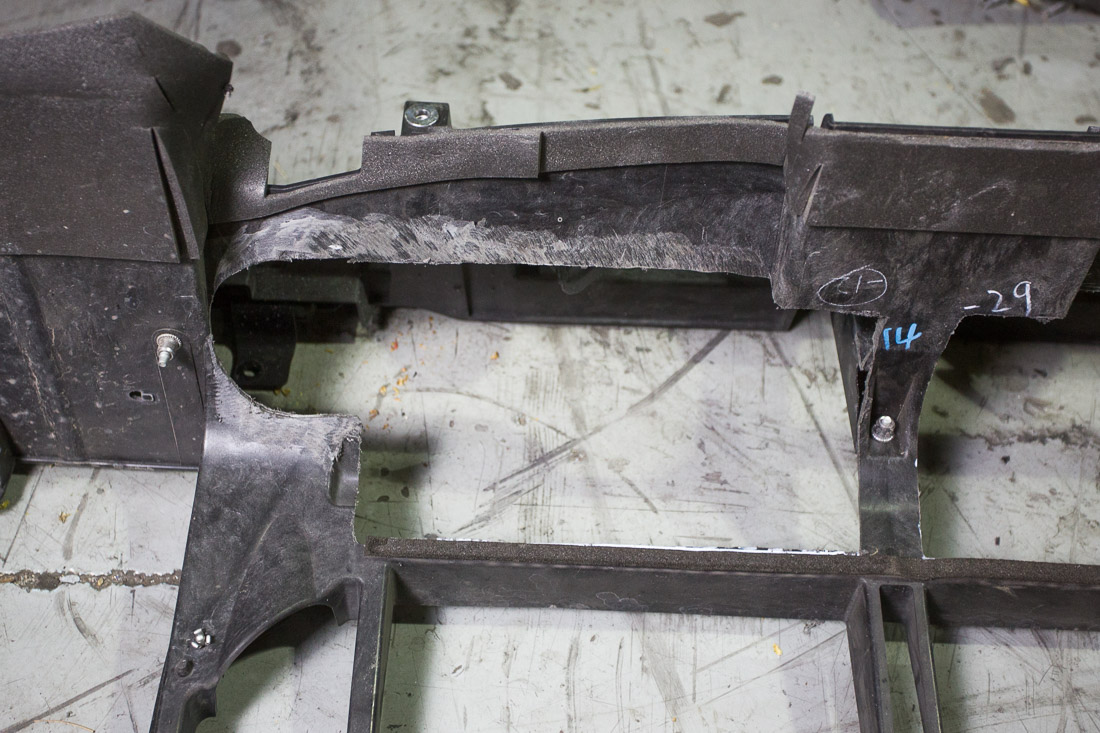
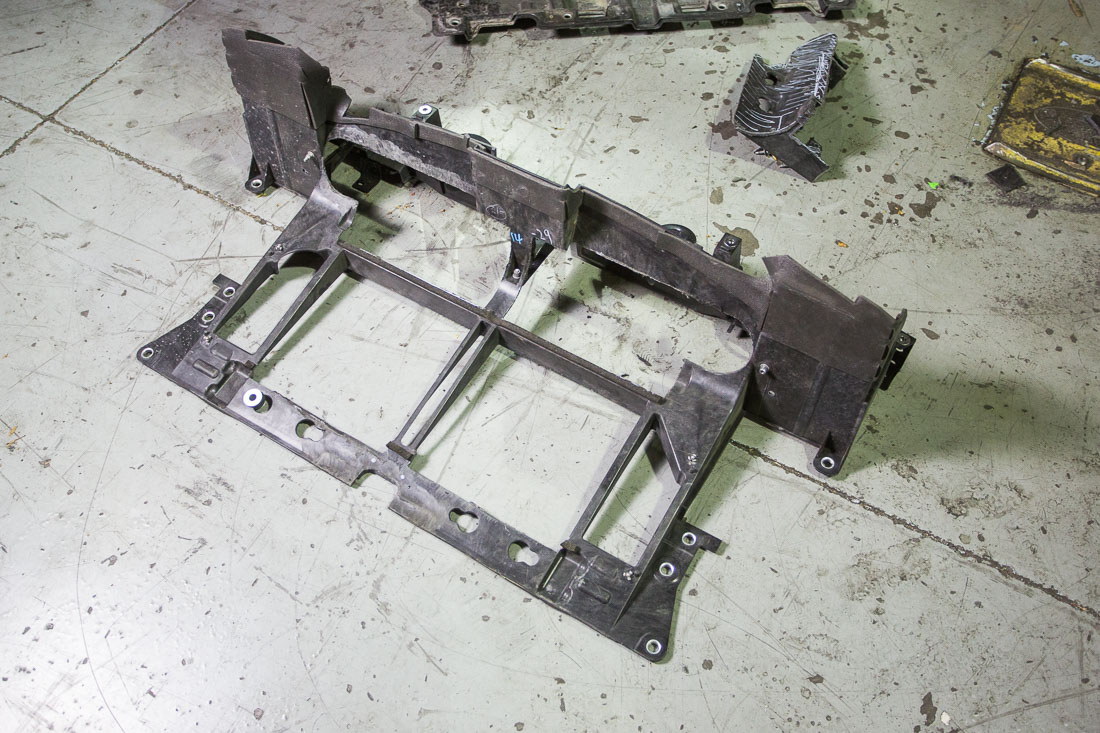
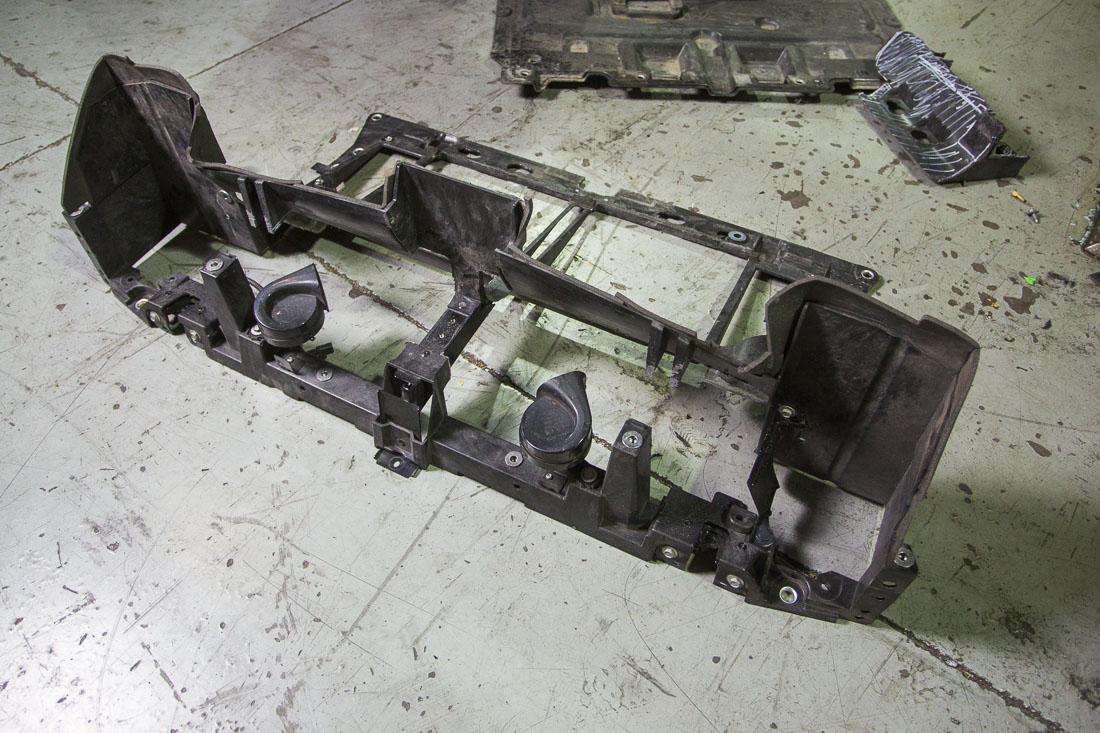
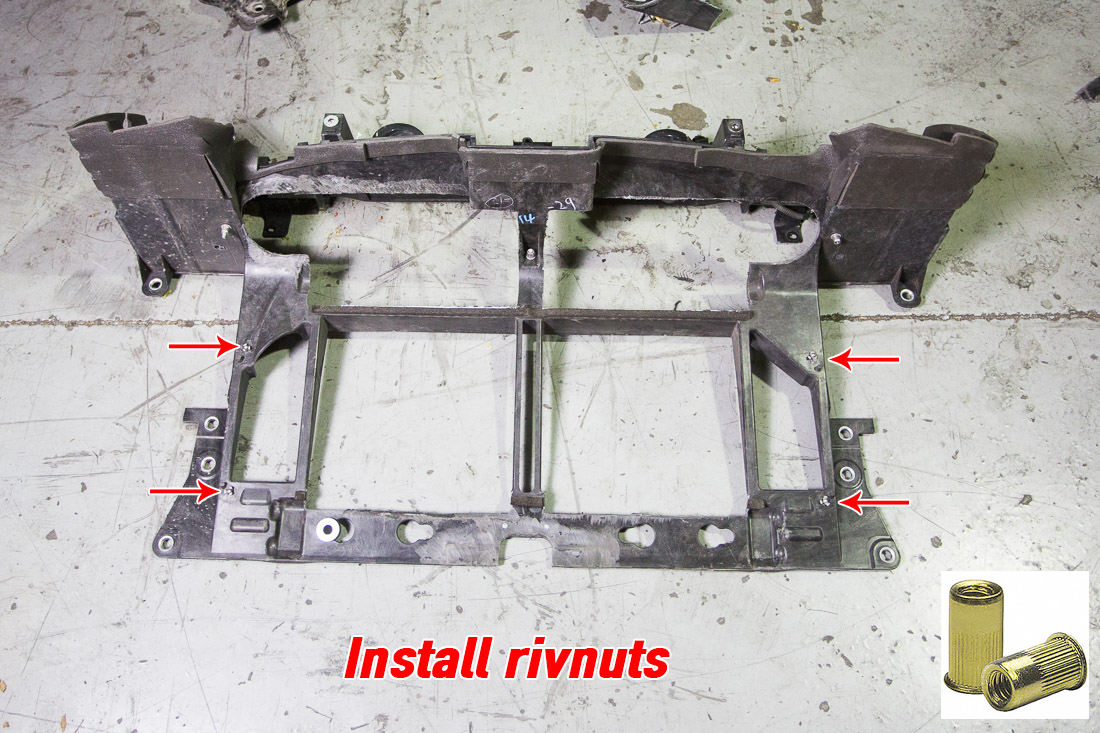
Install the supplied (4x) M5 rivnuts in the existing location of the old rivets. These will be used to bolt the intercooler air guide back onto the radiator air guide
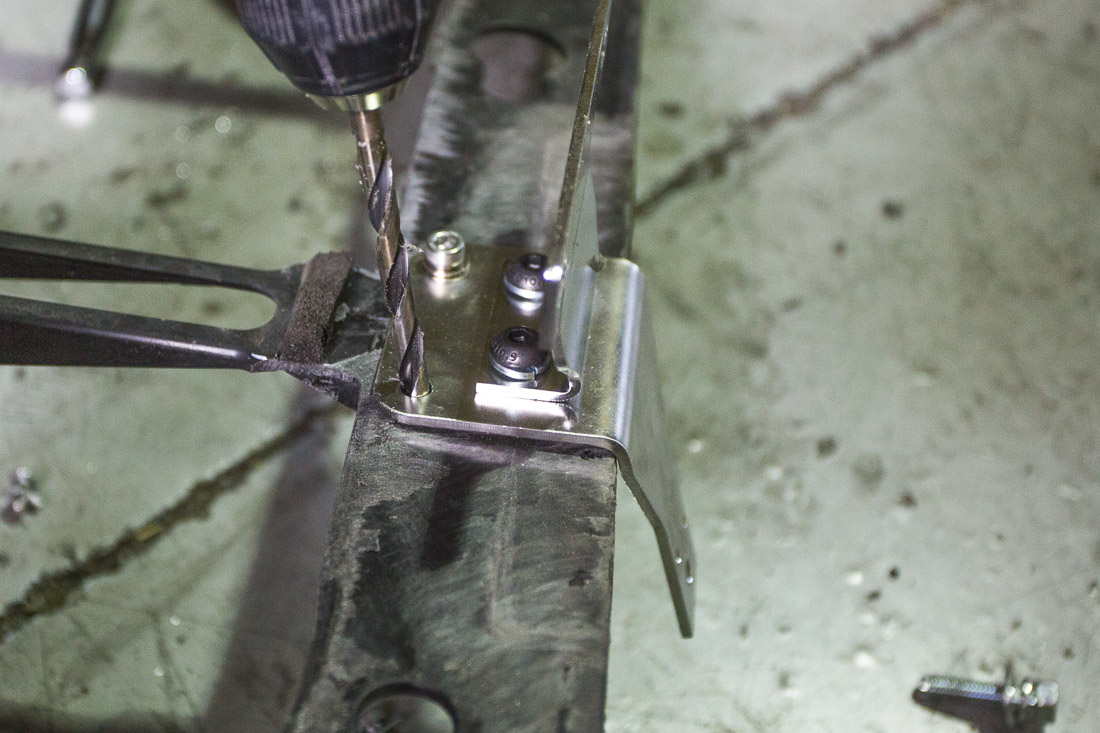
Remove the lower factory intercooler bracket and place the trimmed radiator guide back onto the vehicle. Mount the Agency Power Lower Intercooler bracket using the factory hardware and use a marker to mark the location of the two holes on the radiator air guide. Remove the air guide and drill two 1/4 holes using the holes in the bracket. Install the bracket using the provided hardware.
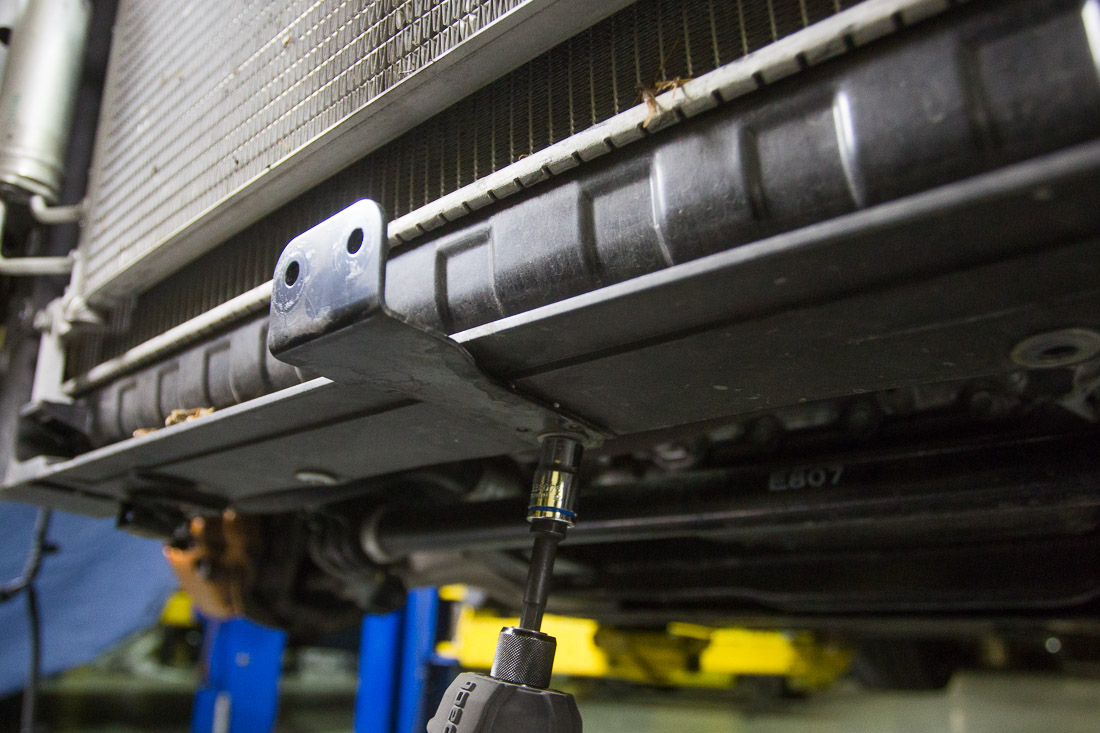
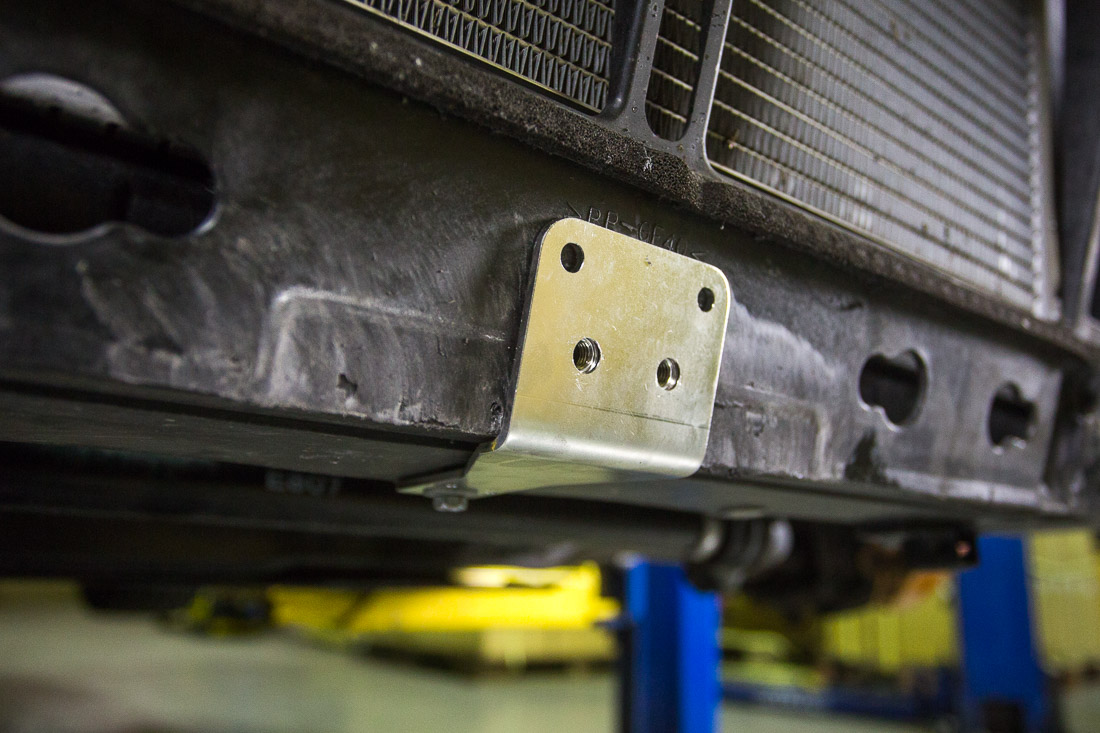
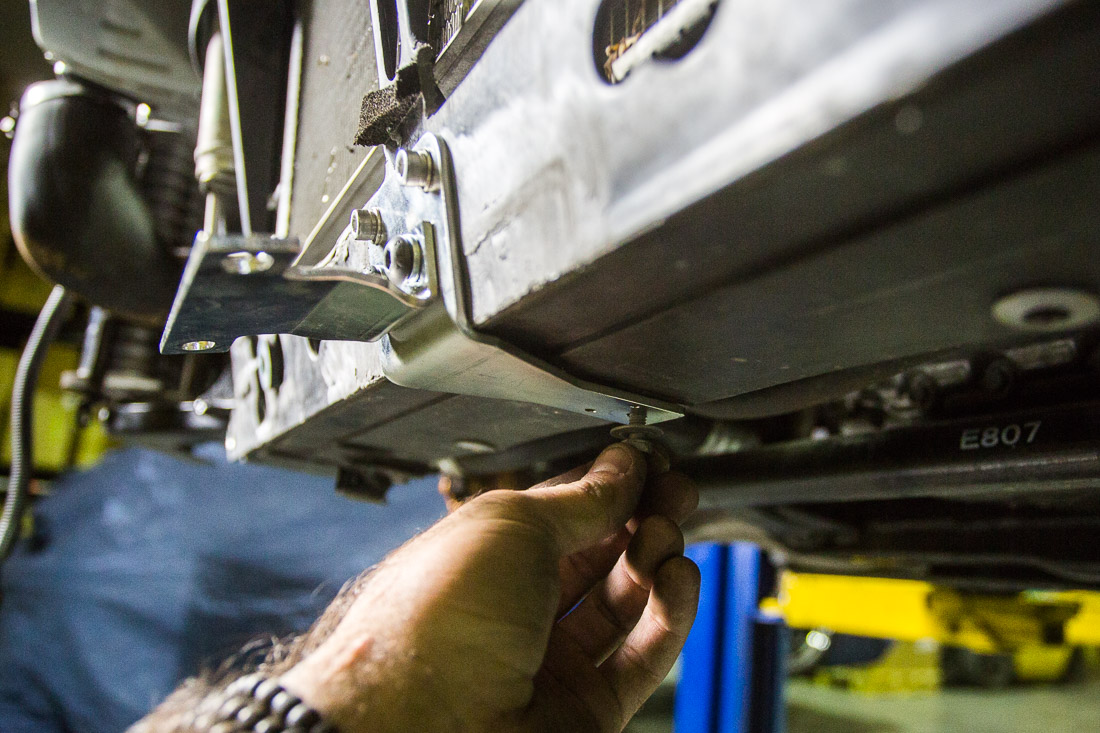
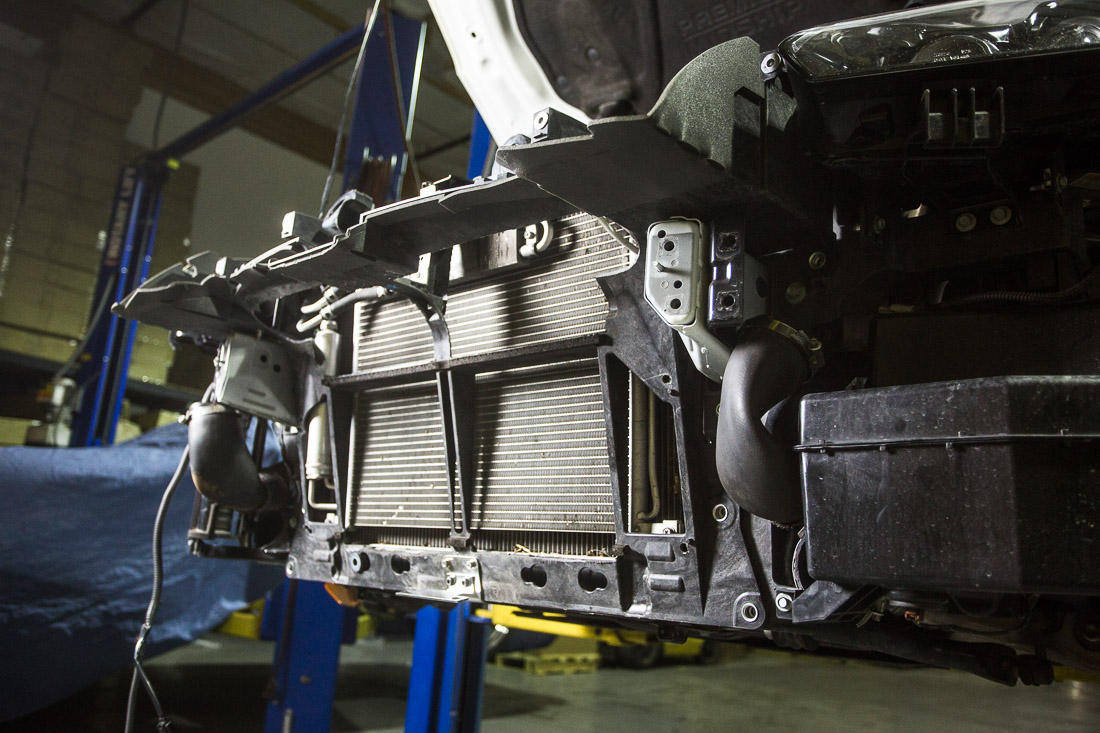
Install the upper radiator bracket using provided hardware. Use the provided aluminum spacer in between the intercooler bracket and the radiator air guide. (Relocate the horns to the upper intercooler bracket as shown below)
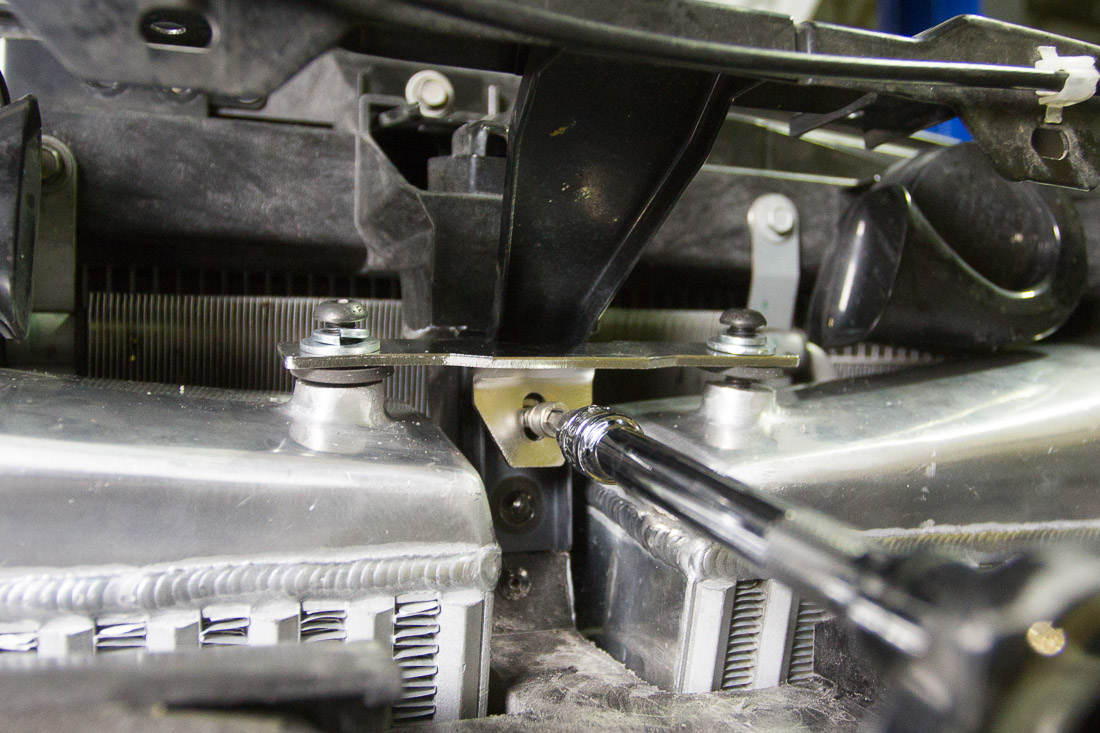
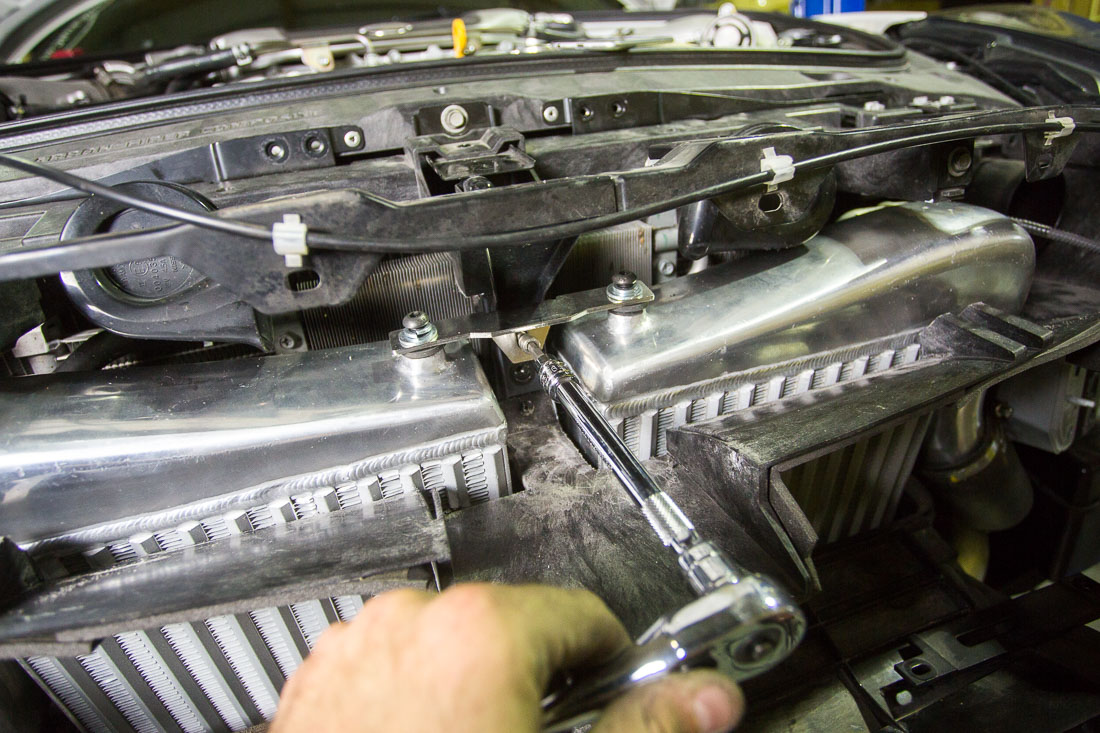
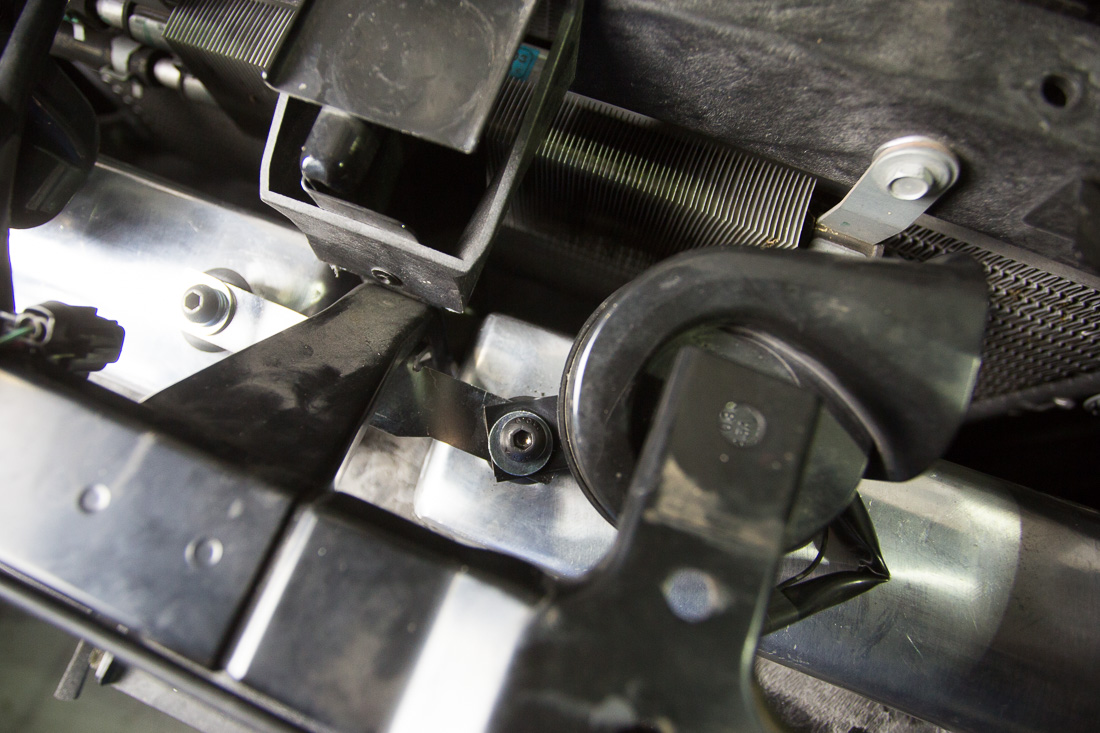
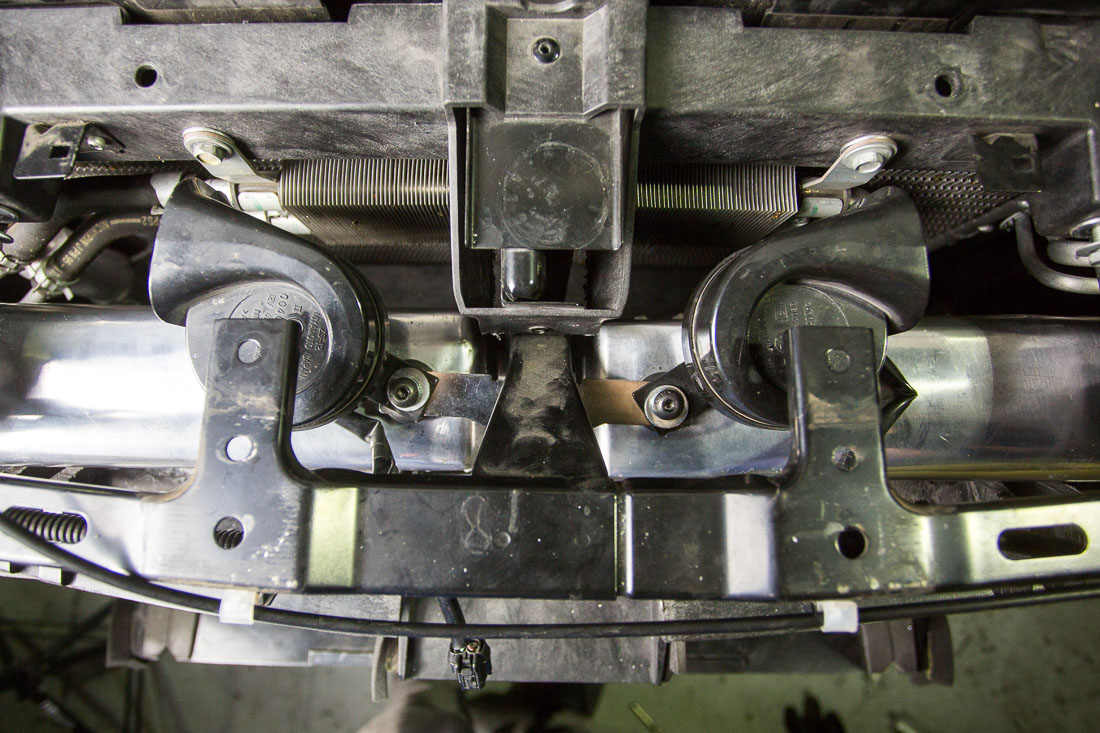
Install intercooler air guide using the supplied hardware to the newly installed rivnuts
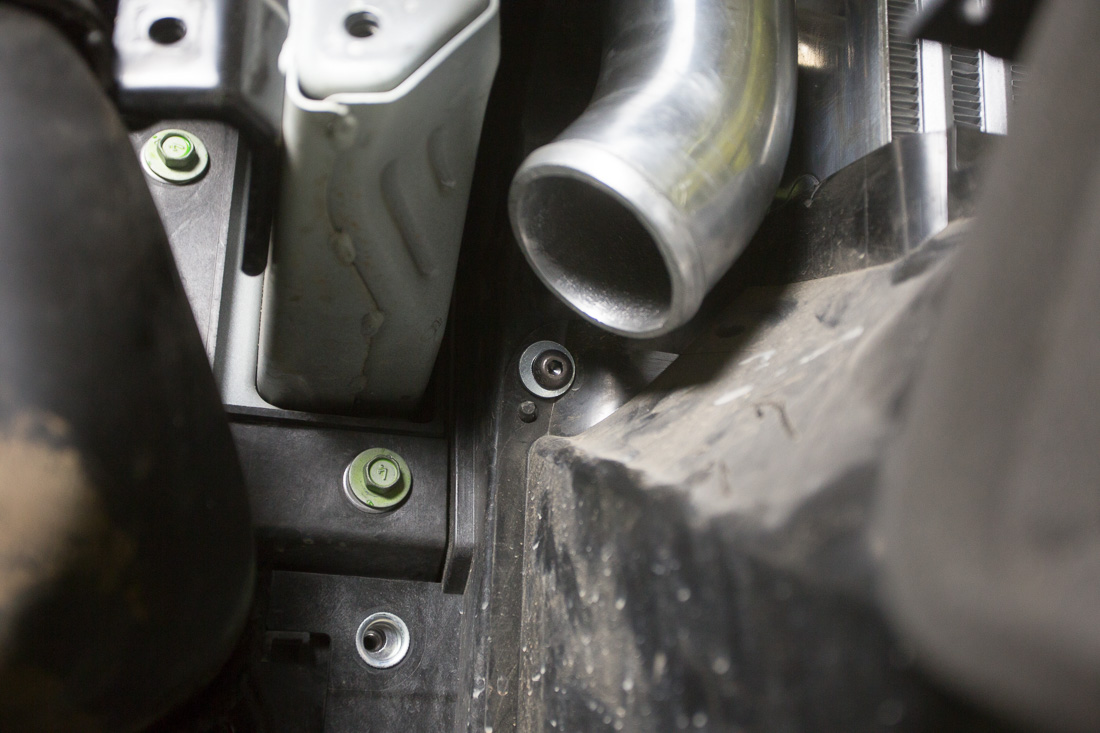
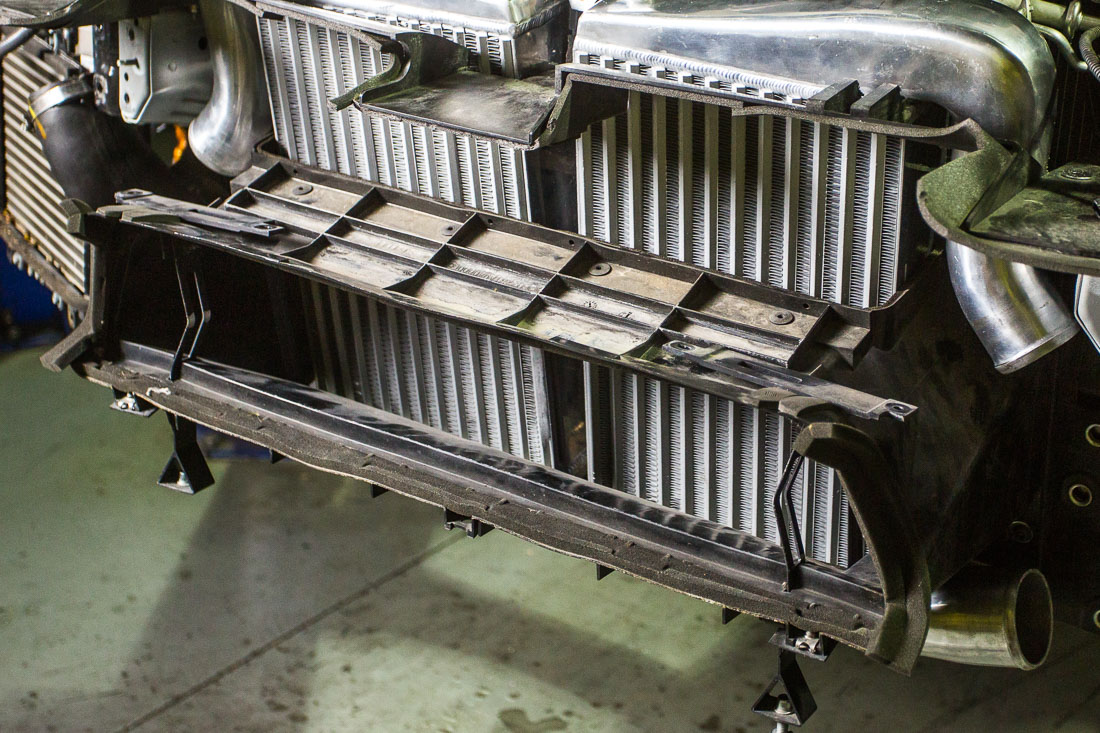
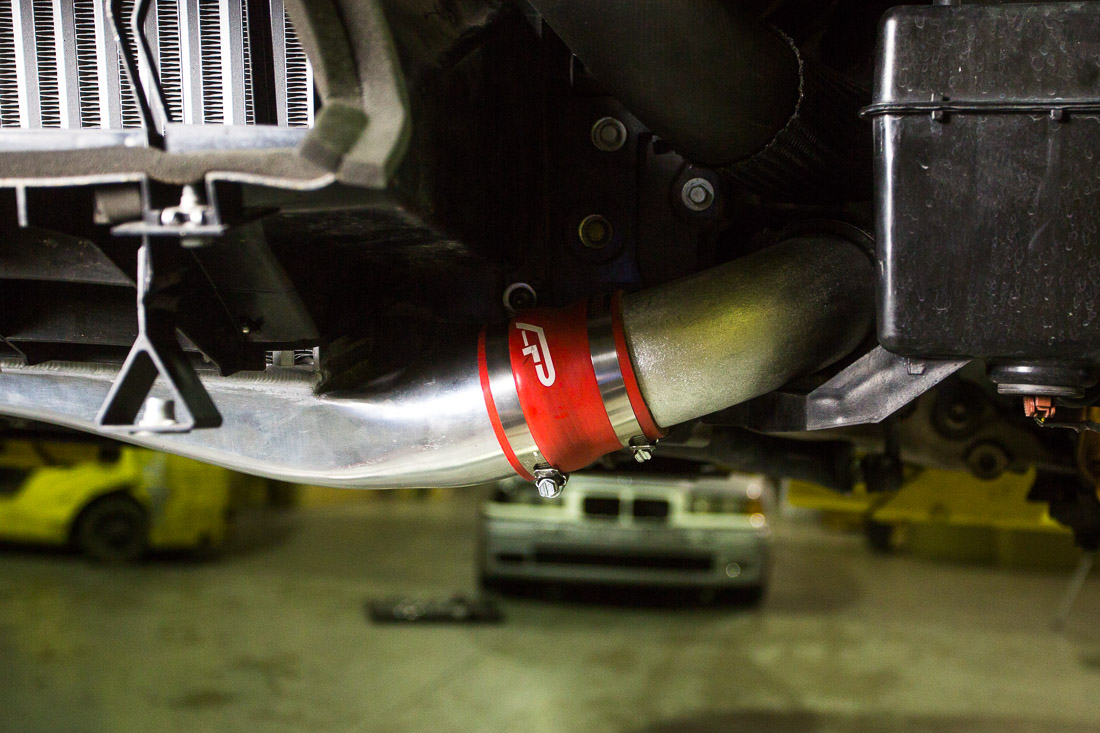
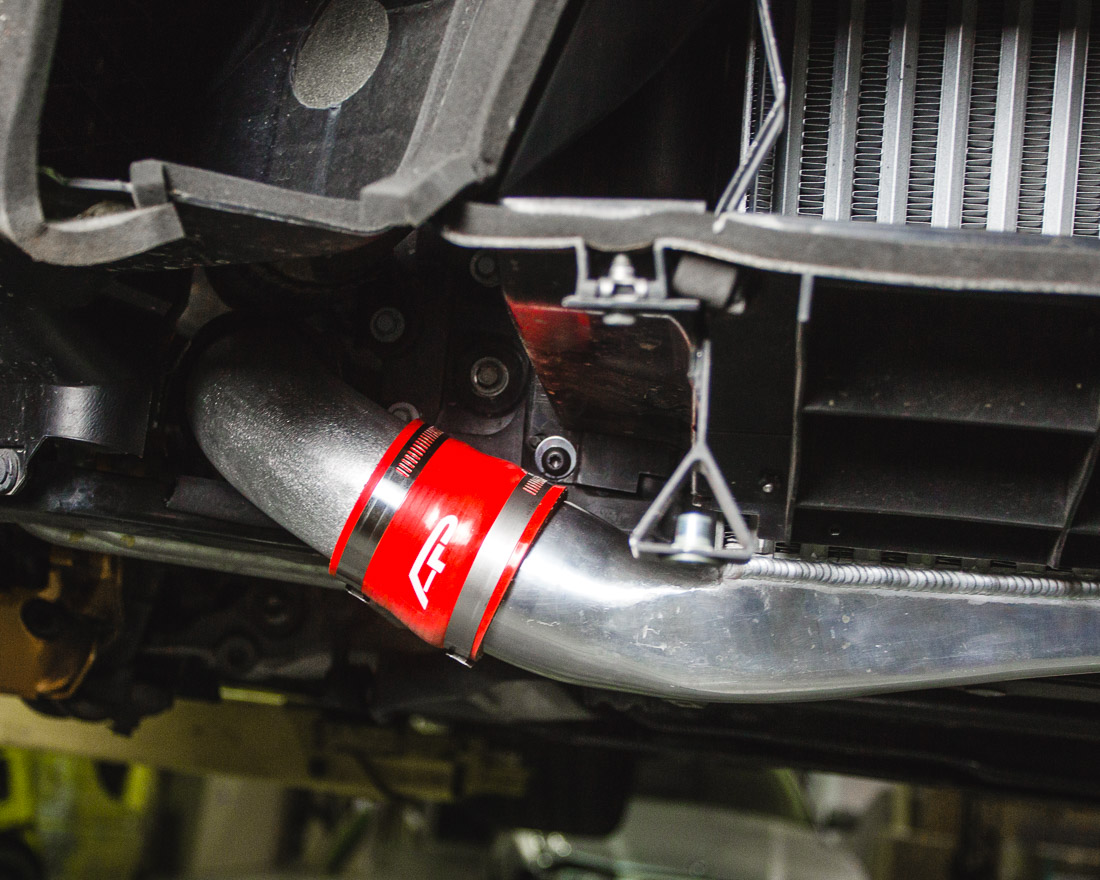
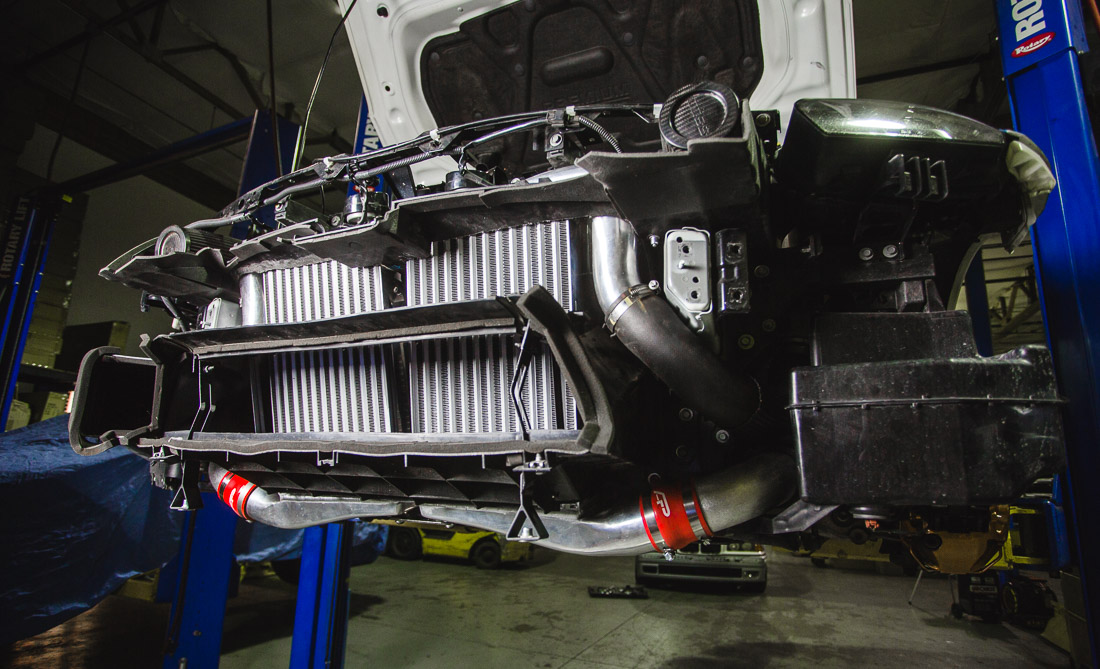
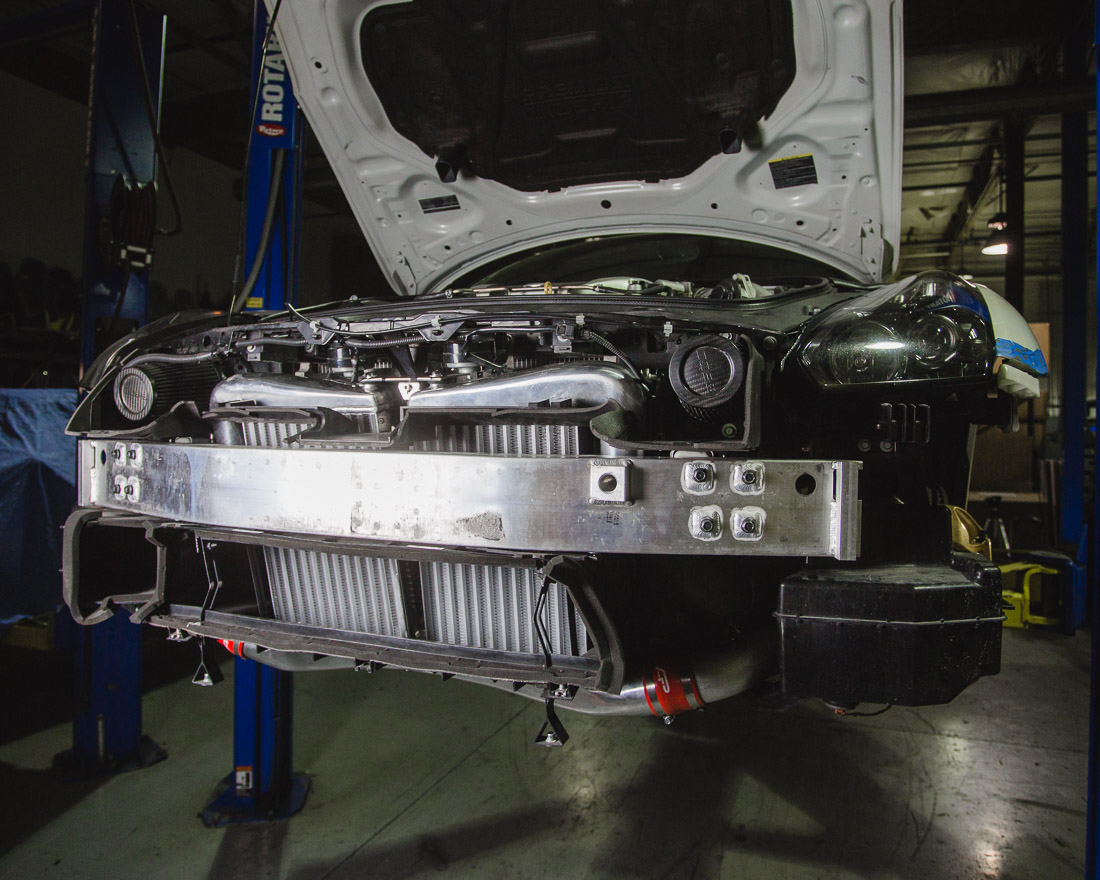
Step 24. Reattach intercooler hoses using provided pipes, clamps and silicone couplers.
