Agency Power Carbon Fiber Dash Install 2019 Can-am Maverick X3
Agency Power Carbon Fiber Dash install & Trim guide for the 2019 Can-am Maverick X3

The 2019 Can-am X3 does not require the additional bracket needed like the the 17-18 models. Although slight trimming is required on the 2019 X3 models due to Can-ams recent update to the chassis.
Step 1. Remove the four plastic clips and four T30 Torx screws (two are located near the fuse box on top of the dash under the lid) .
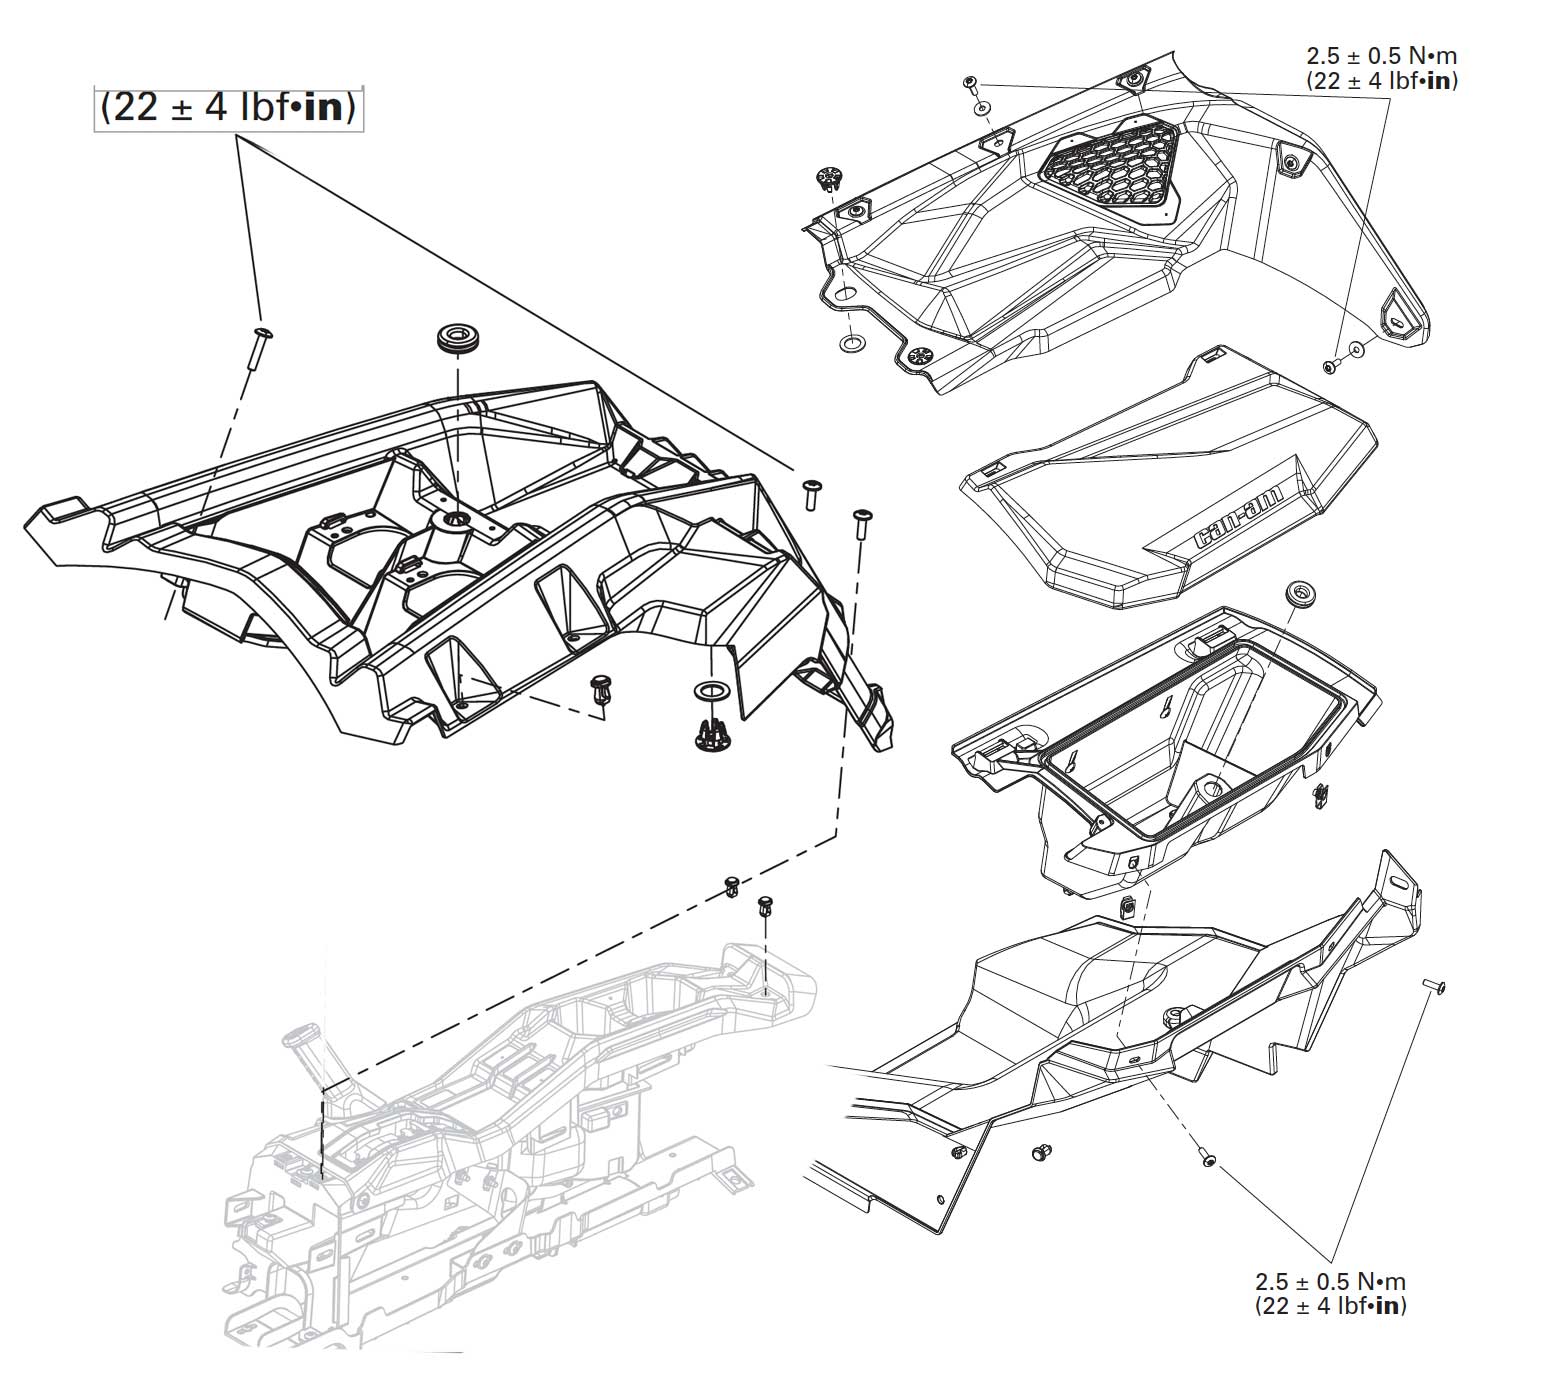
Step 2. Next Remove the passenger side dashboard/glove box. This will allow better access to the under side of the dash to disconnect the toggle switches, proximity key and wiring harness. It will also allow the dash to be lifted out of the vehicle once disconnected. This is held in with 9 T30 Torx Screws (two located in the glove box) Use the diagrams below to located fasteners.
Diagram showing location of fasteners
Step 3 Disconnect Proximity key, switches and unclip the wiring harness from the underside of the dash. To avoid mixing up the toggle switches when reinstalling, use tape and marker to indicate the orientation of the switches.
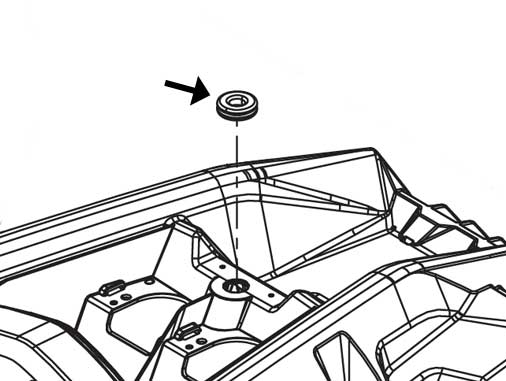
Step 4. Remove the dash from the vehicle and swap the rubber grommet from the factory plastic dash to the new Agency Power Carbon Fiber Dash
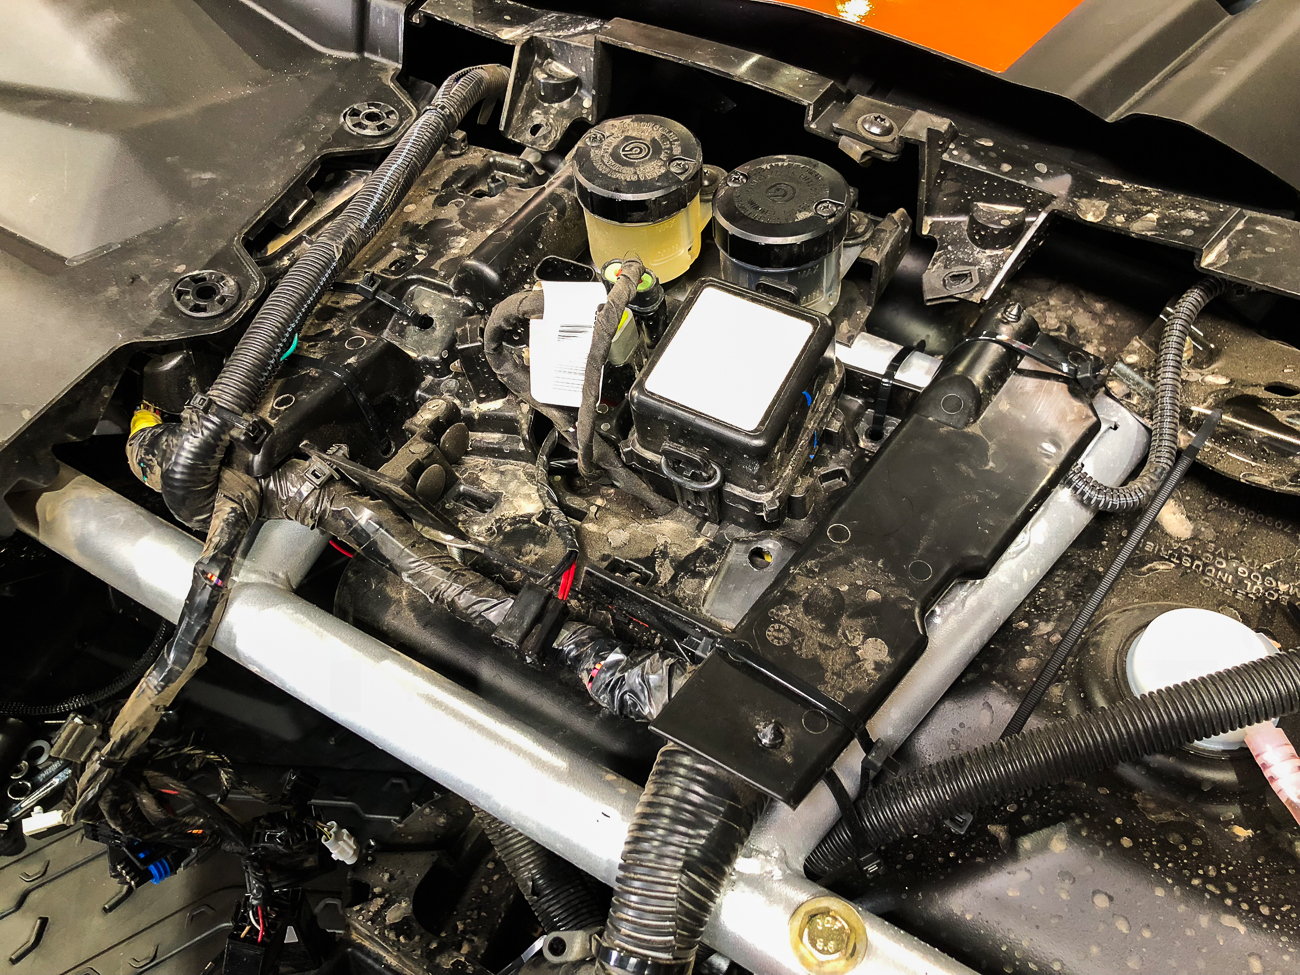
Step 5. Use cable/zip ties to secure the plastic fuse box/wiring tray to the chassis.
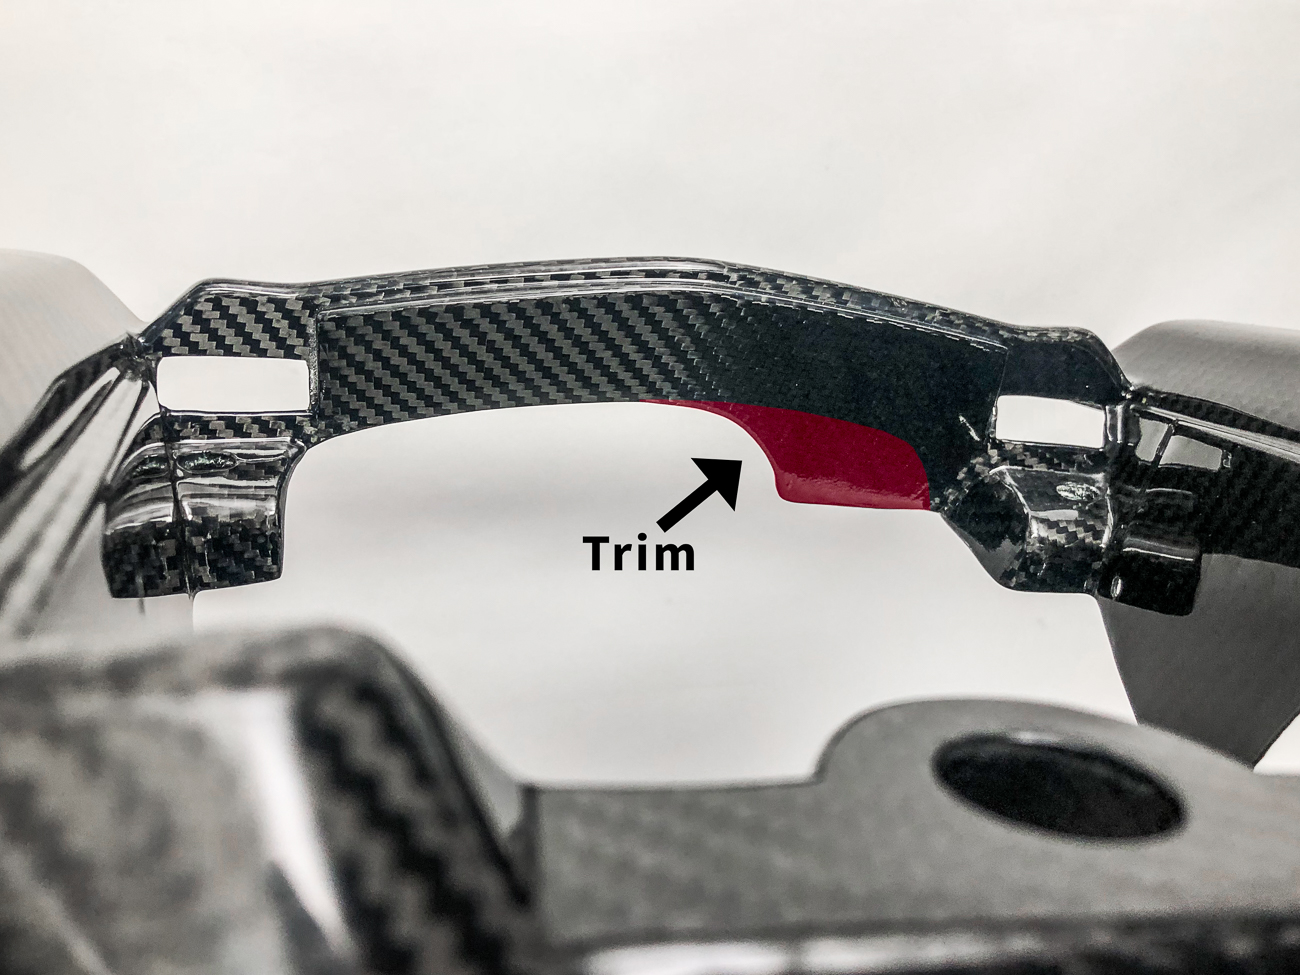
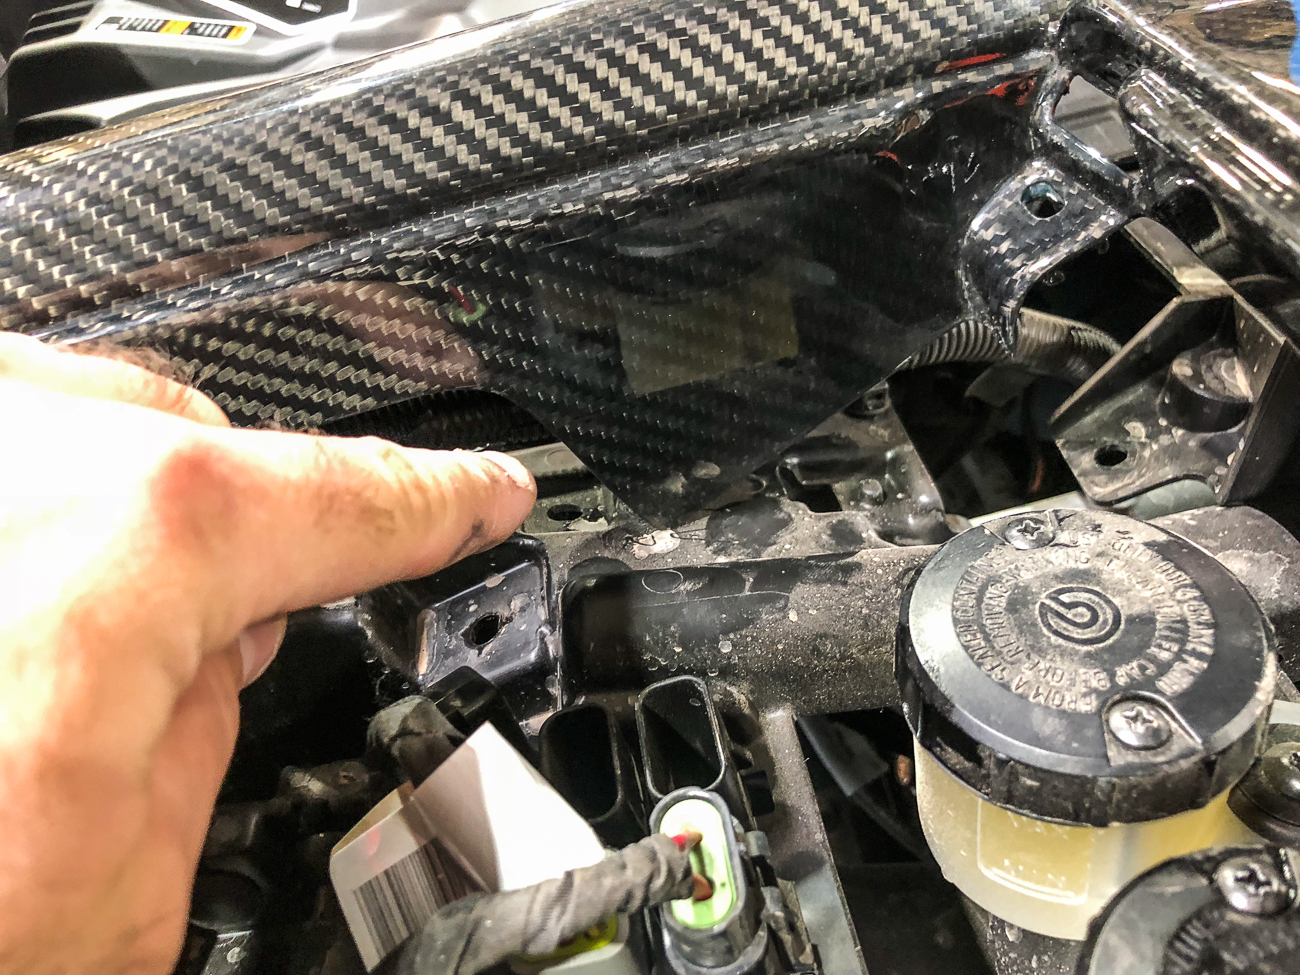
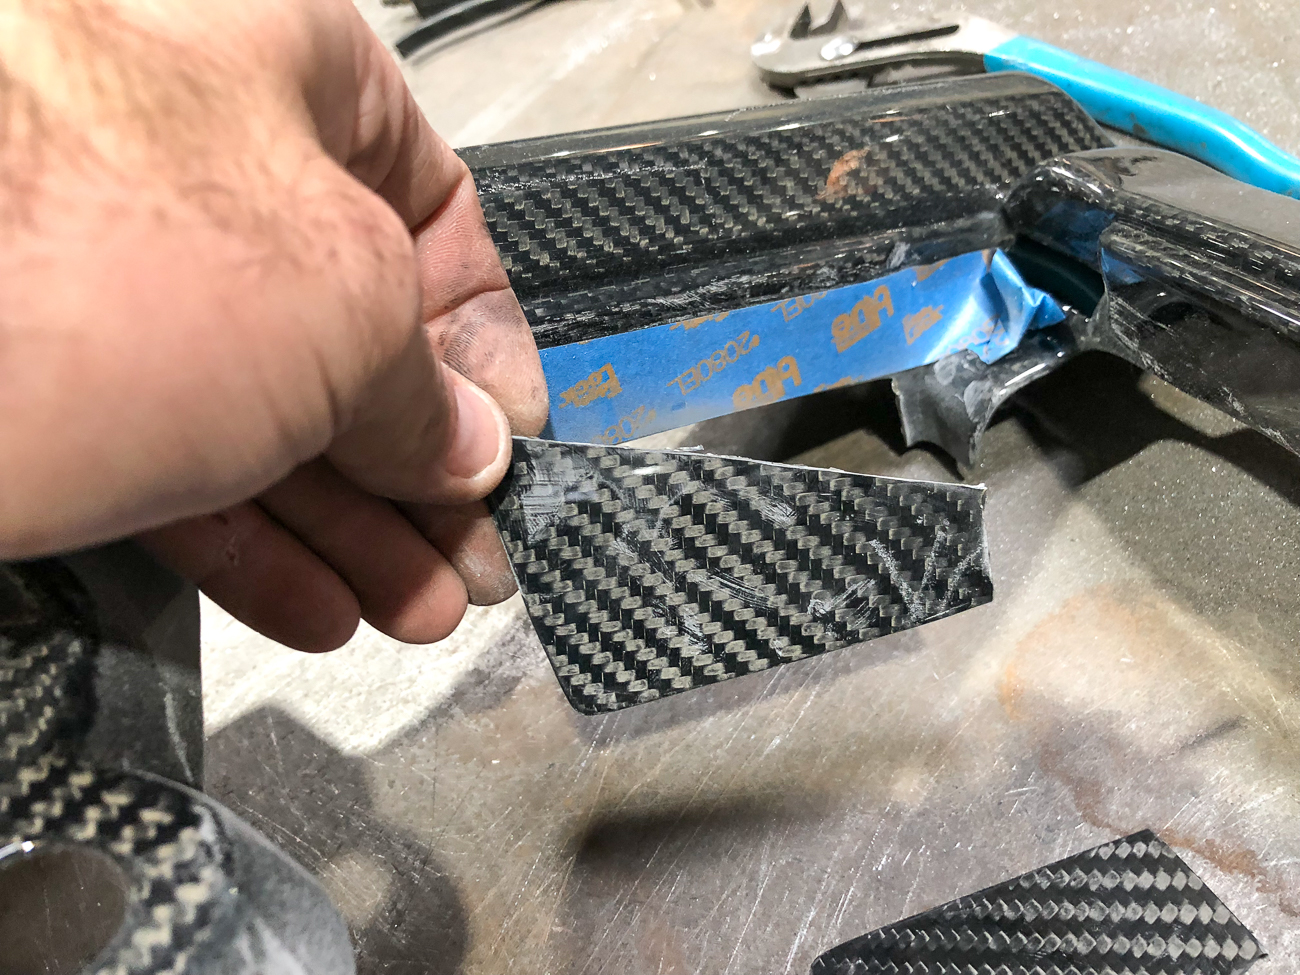
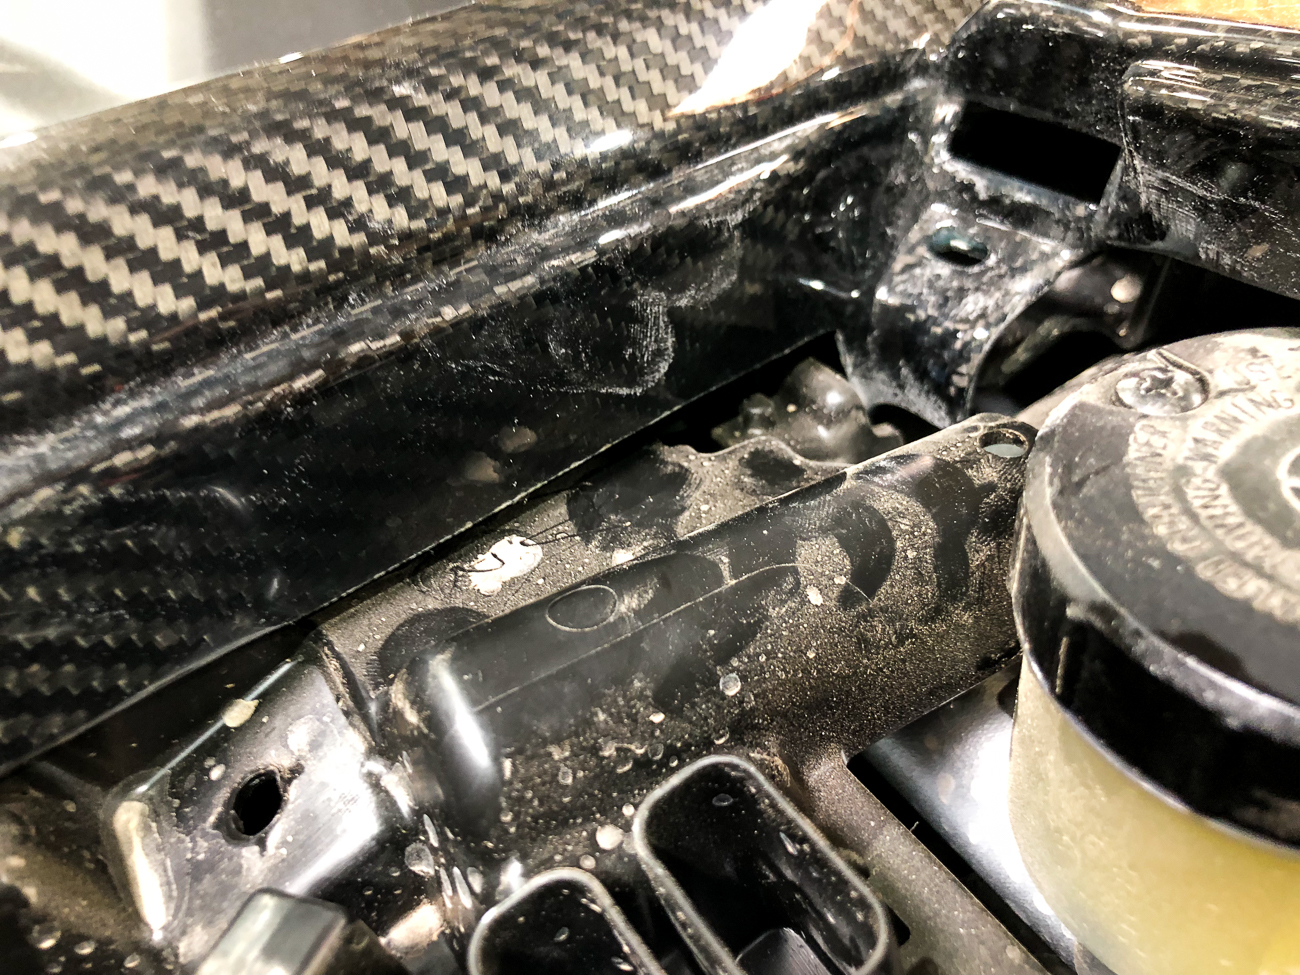
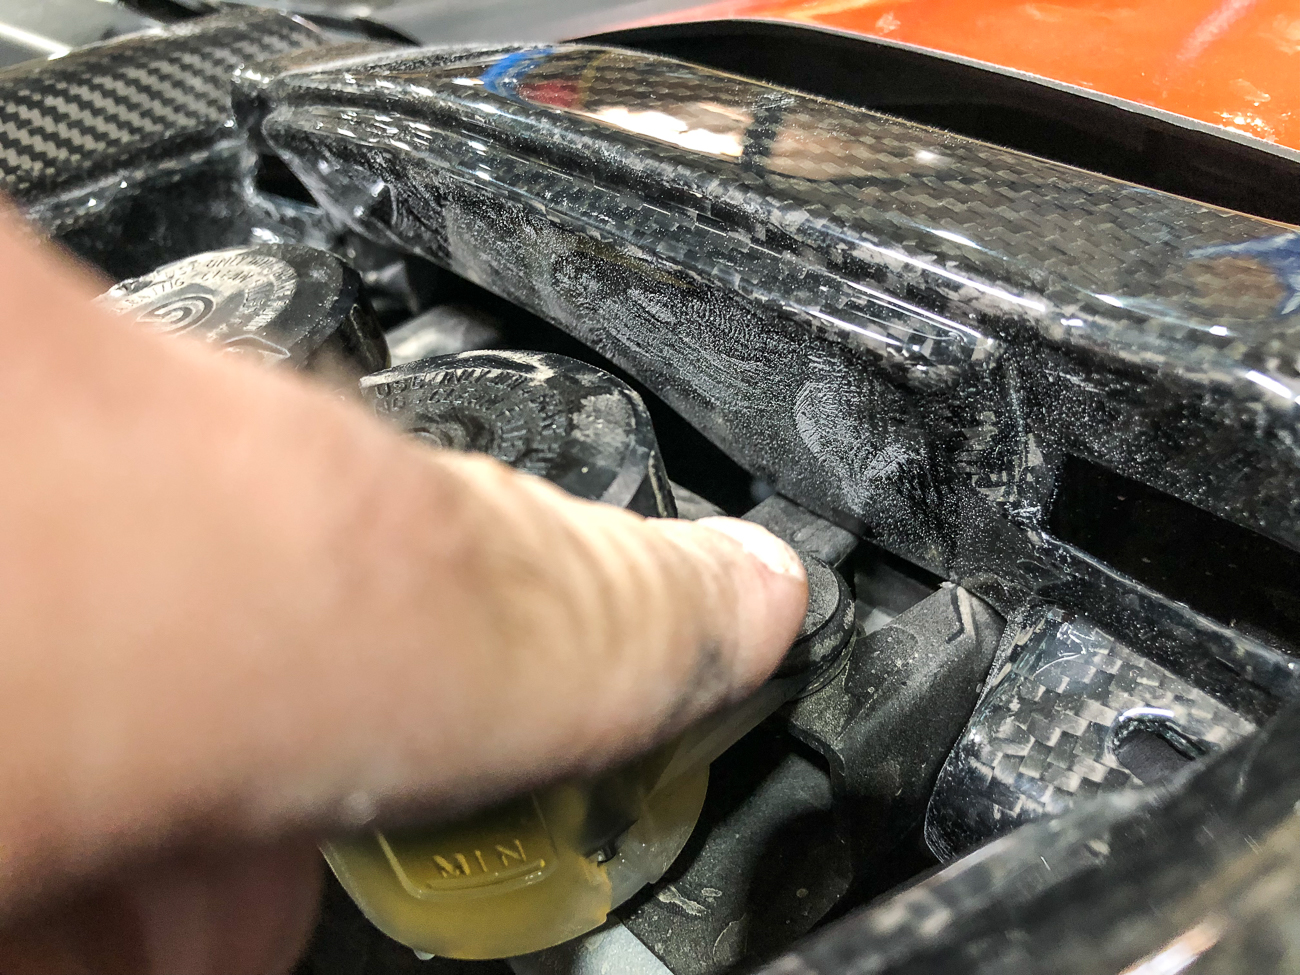
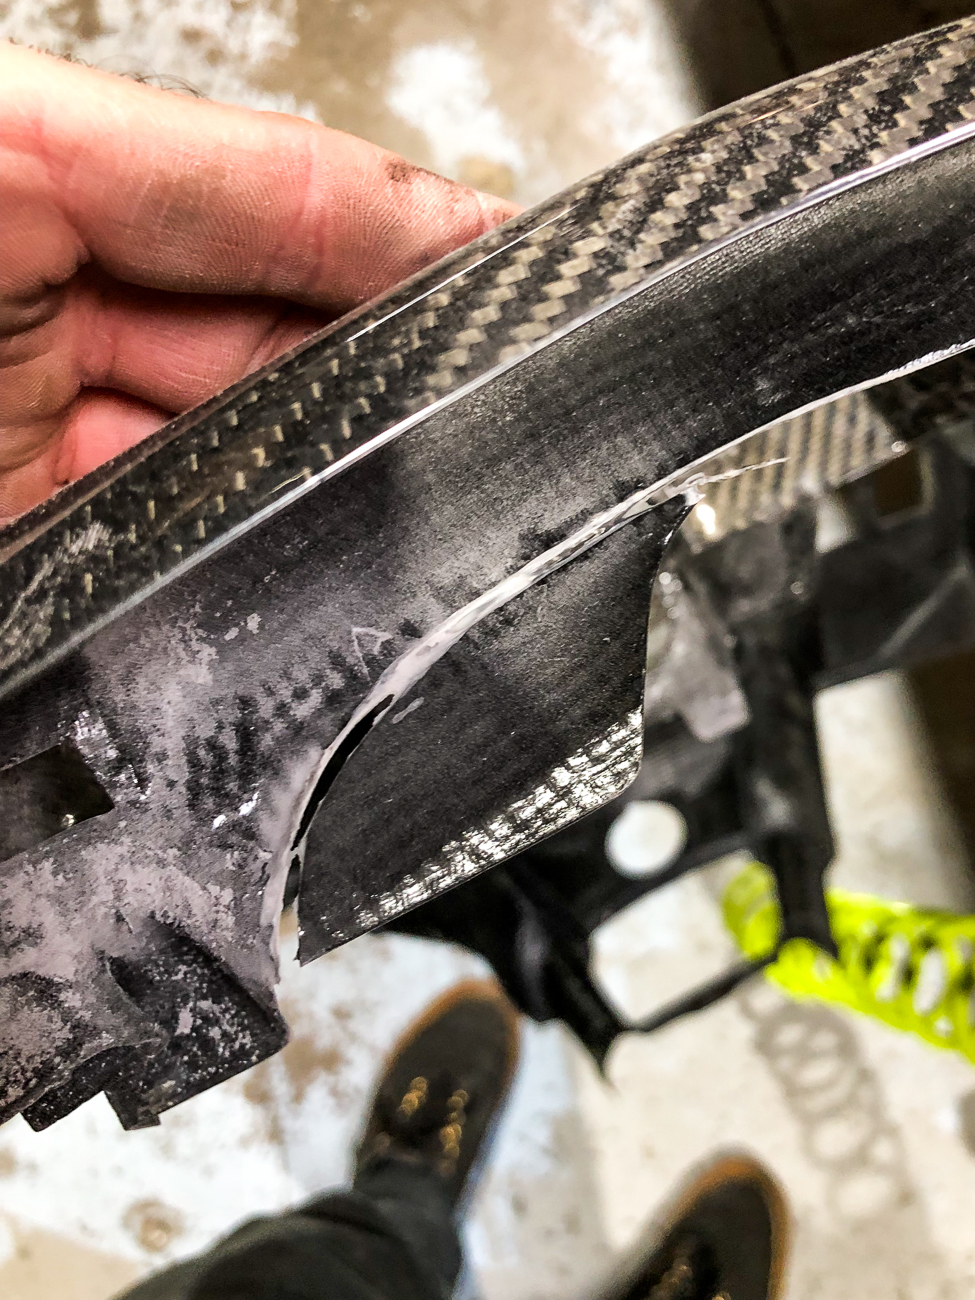
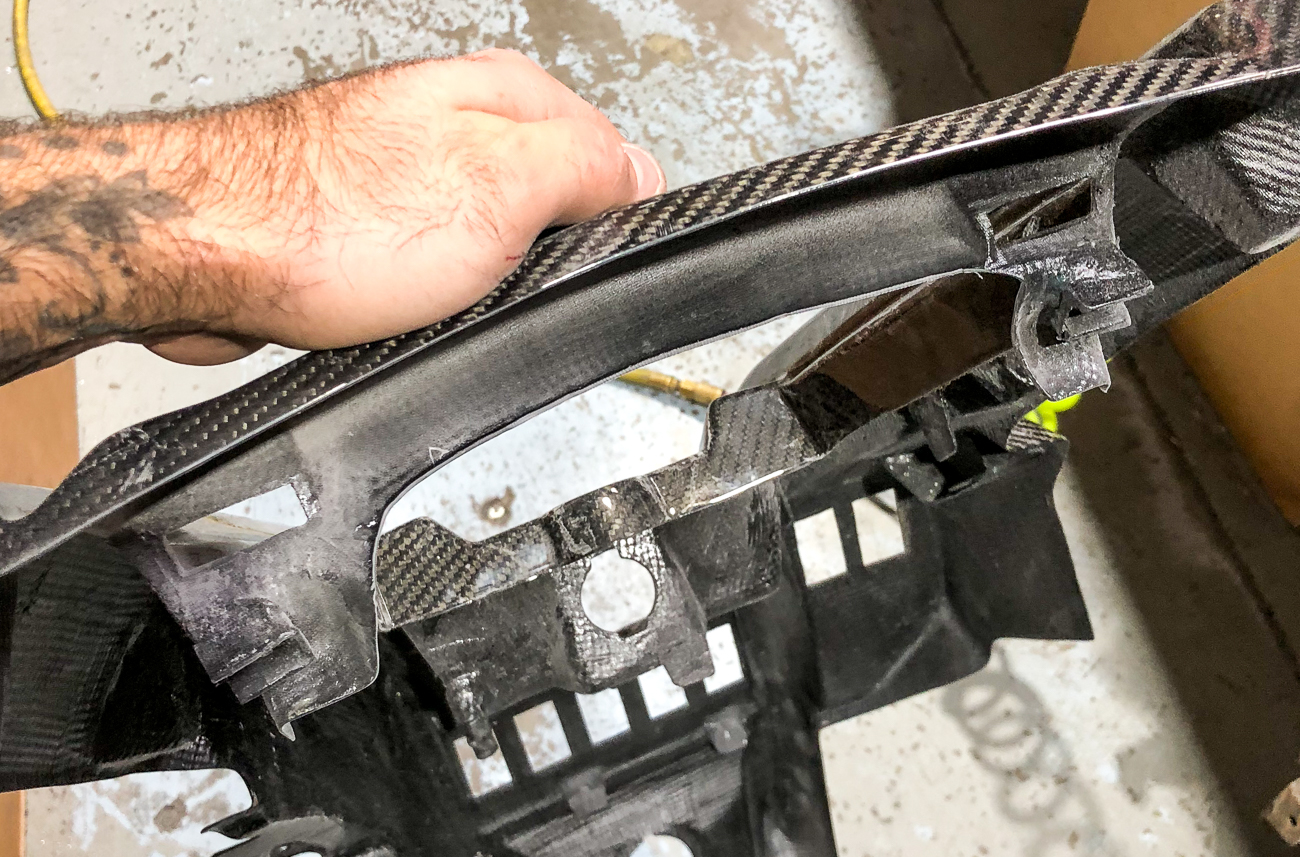
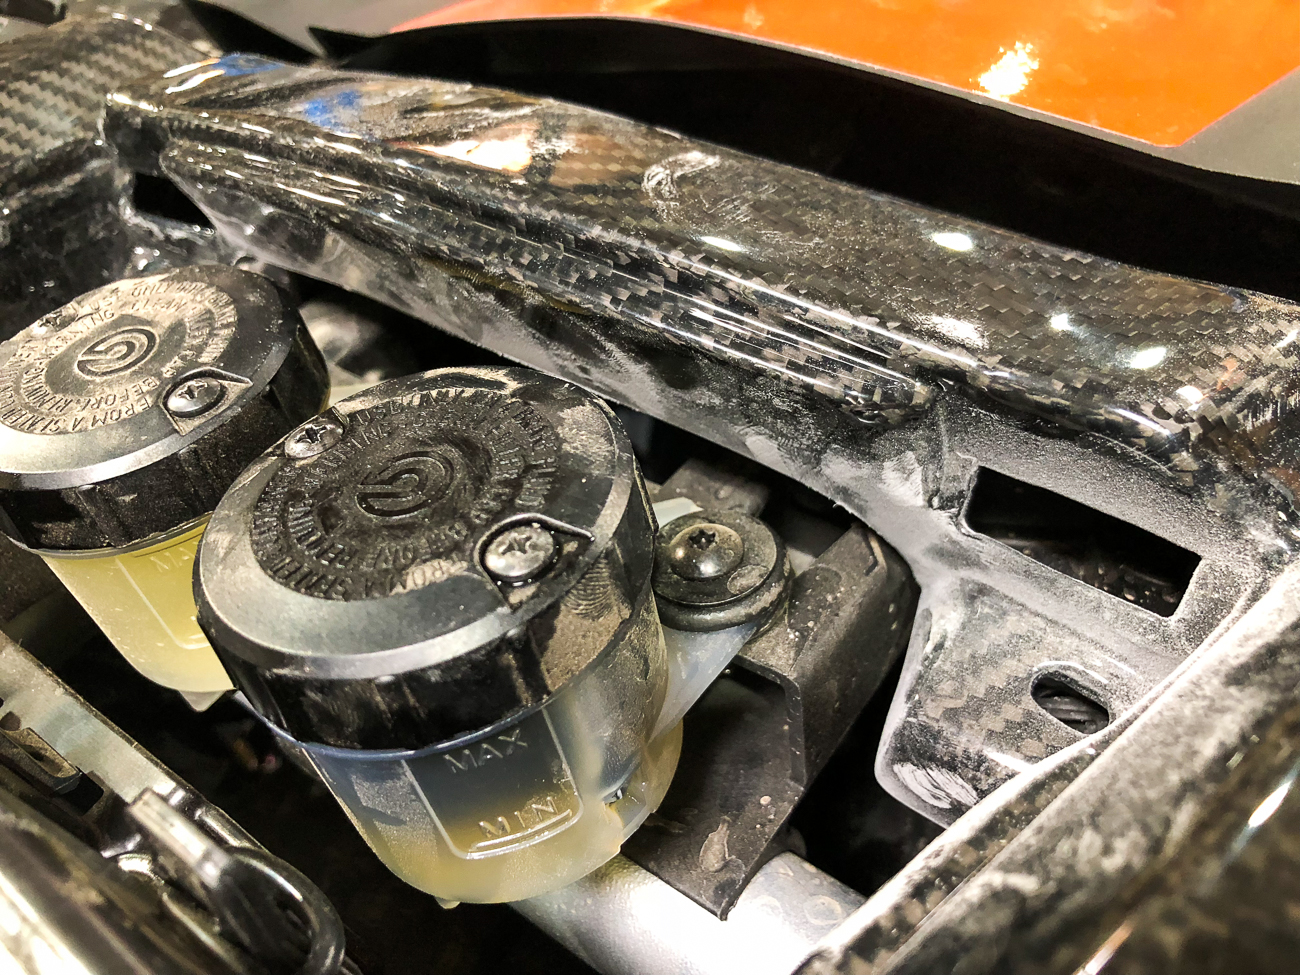
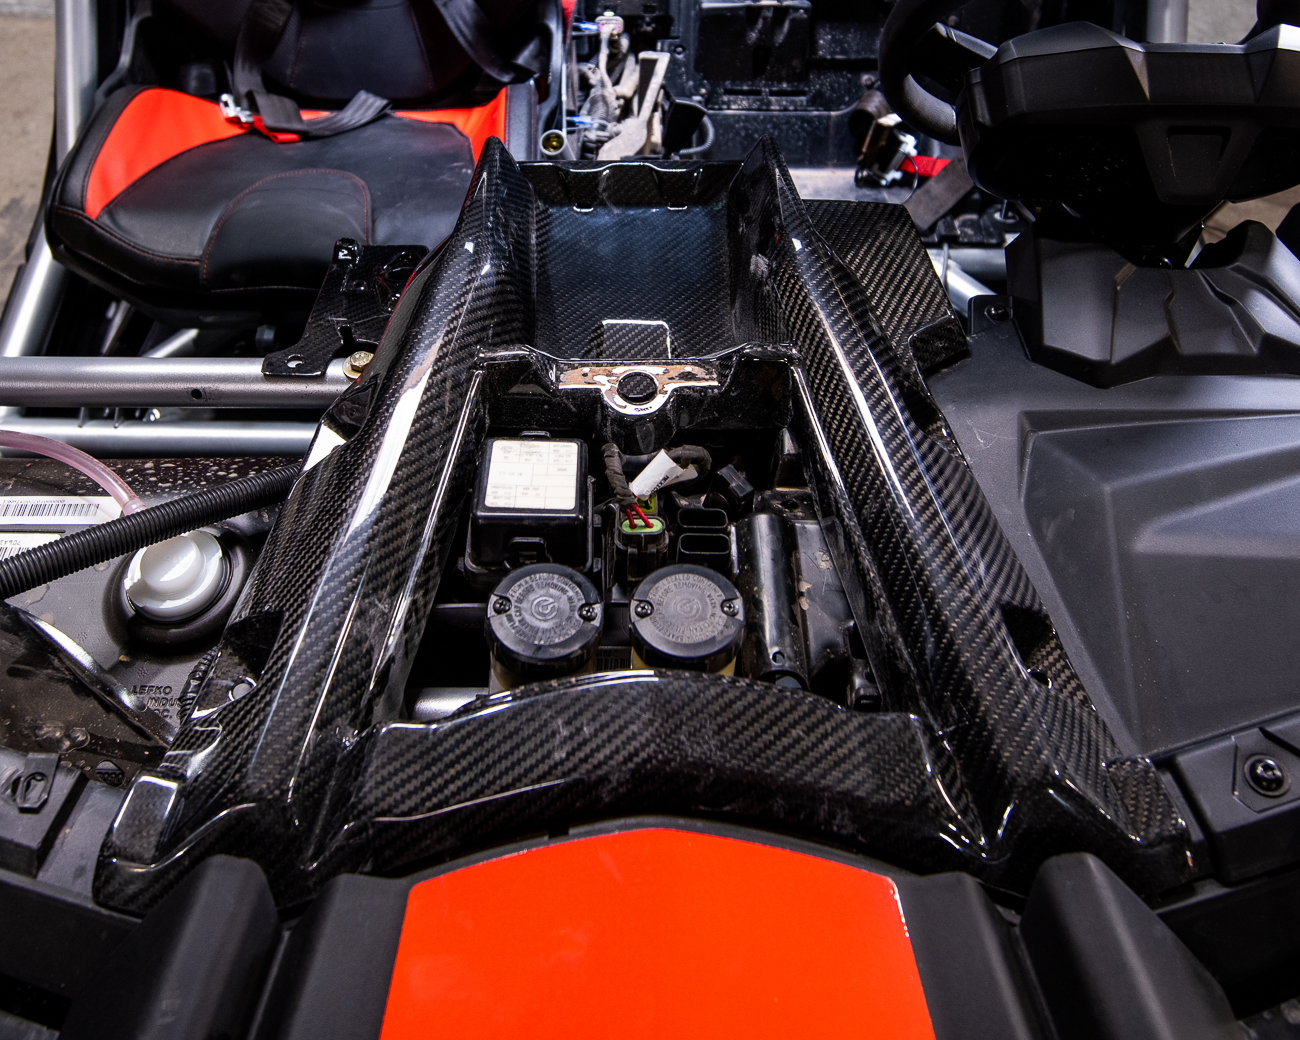
Step 6. Trim dash slightly to clear plastic fuse box/wiring tray and brake reservoirs. Repeat Figure (A) on both inner sides of the dash.
FIGURE A
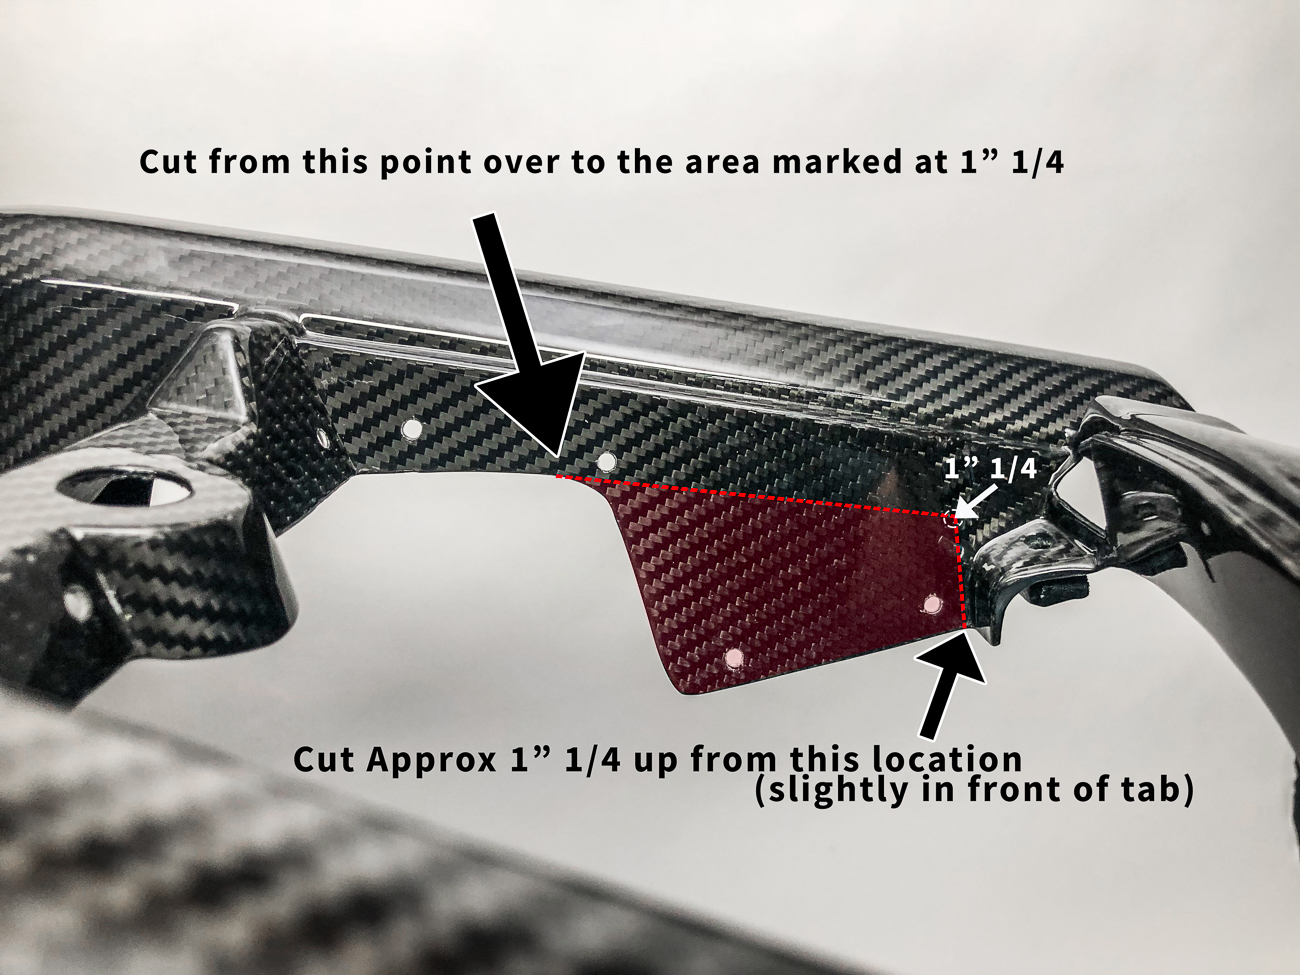
Figure (B) Trim the front of the dash to mimic the other side. Test fit and trim more if necessary.
FIGURE B
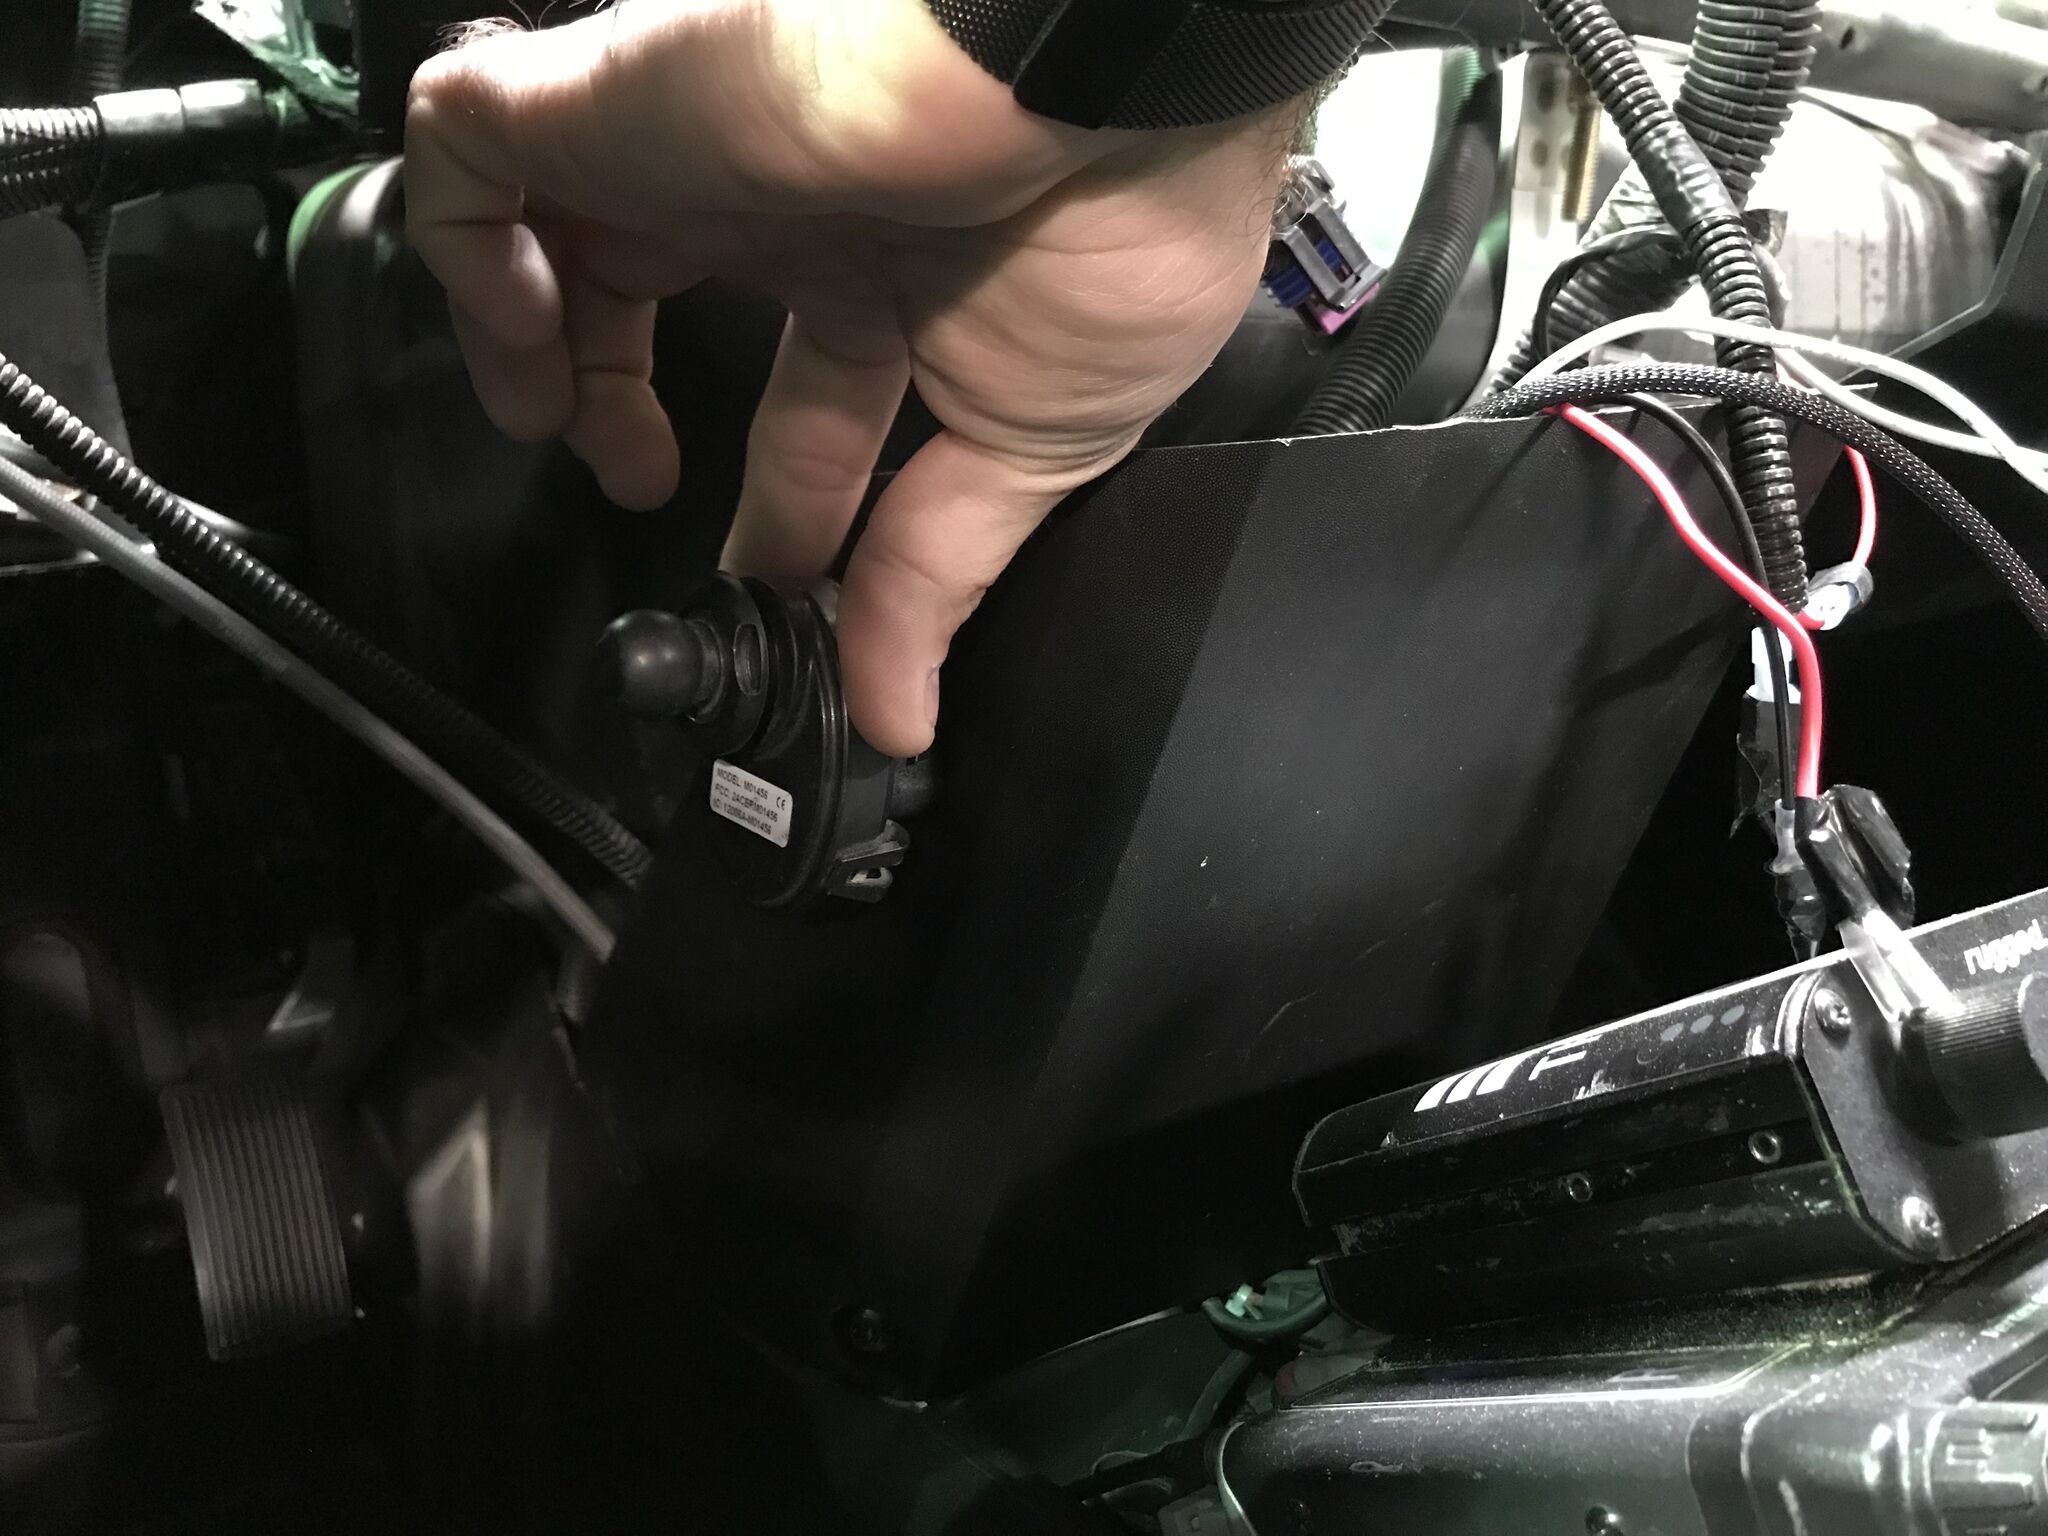
Step7 . Relocate the Proximity key under the dash onto the plastic center console panel. Due to the carbon fiber construction the proximity key’s RFID signal will not operate through the carbon fiber material.
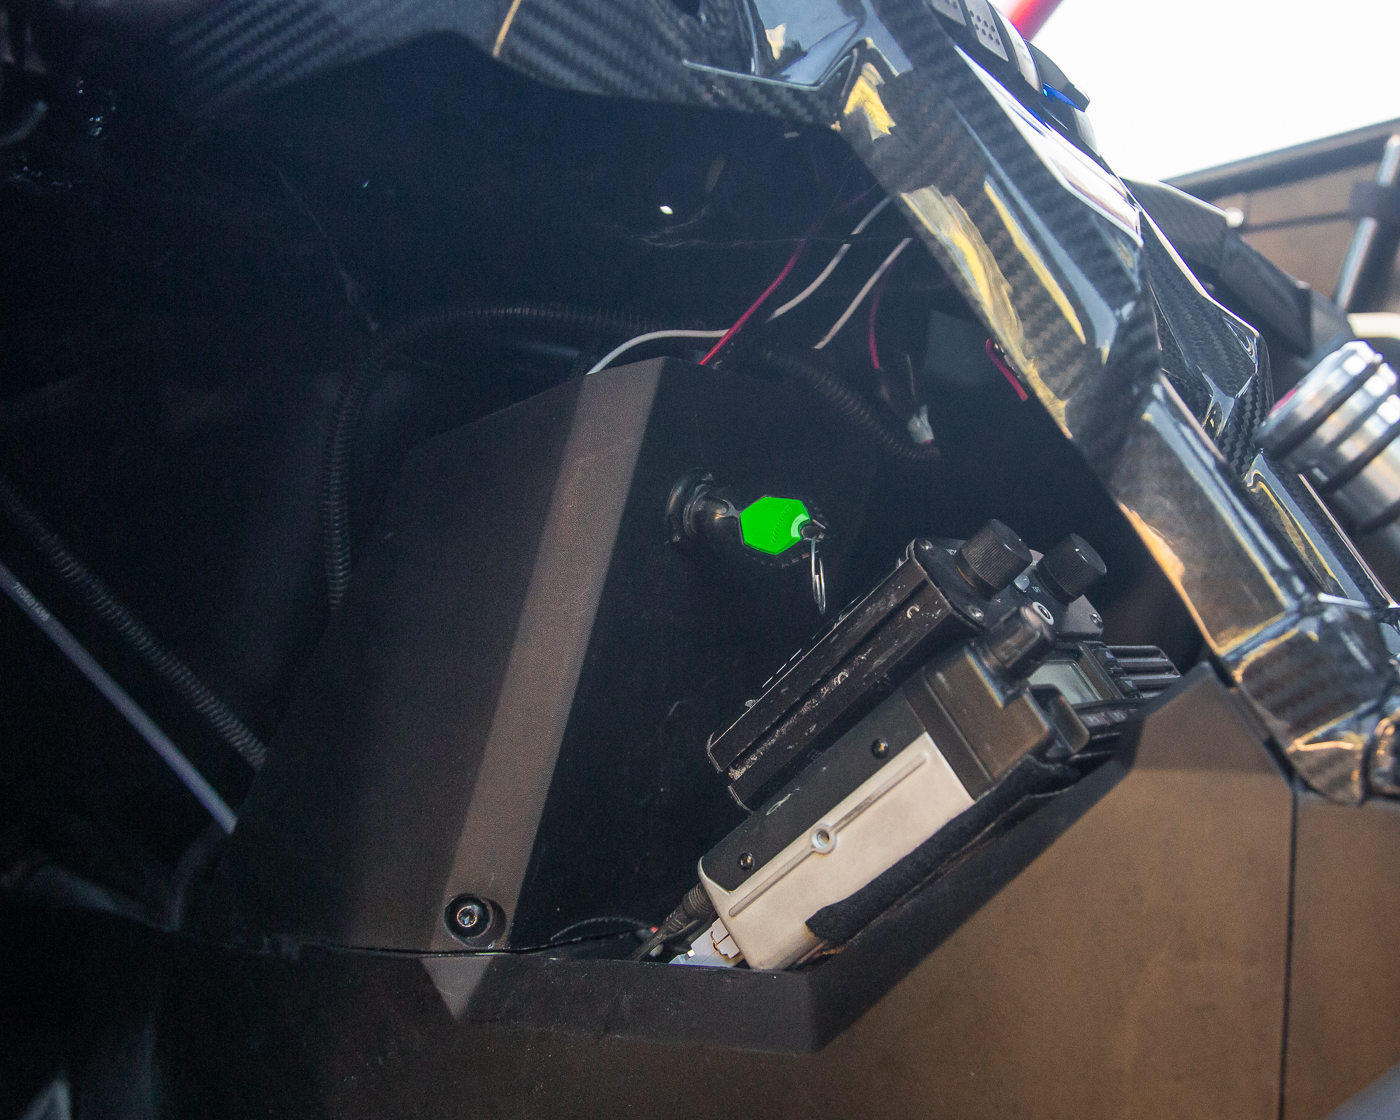
Step 8. Complete the install by reinstalling the toggle switches, wiring, glovebox and dashboard. Refer to the illustrations above for fastener locations.


