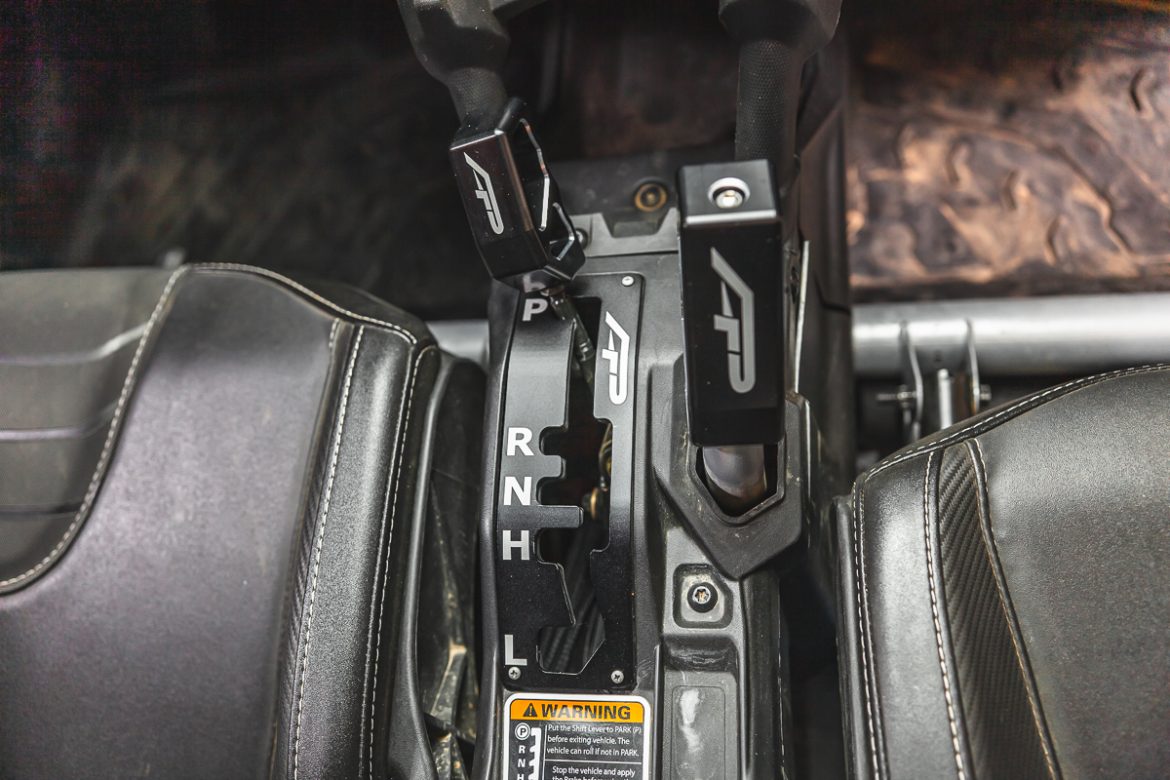
Agency Power Can-Am X3 Interior Kit Installation Guide
In this guide, we will be going over the installation process of the Agency Power interior kit step-by-step on your Can-Am Maverick X3.
Installation Difficulty:

Estimated Install Time: 45 minutes for the whole kit
Tools Needed:
- Electric Drill With 5/32nd Drill Bit
- 3/8th ratchet
- HW4 Bit – 4mm Allen
- 13mm Wrench
- Scribe (5/32nd drill bit will work)
- PH1 Philips Screwdriver
- T-35 Torx Bit
- Long Flathead Screwdriver
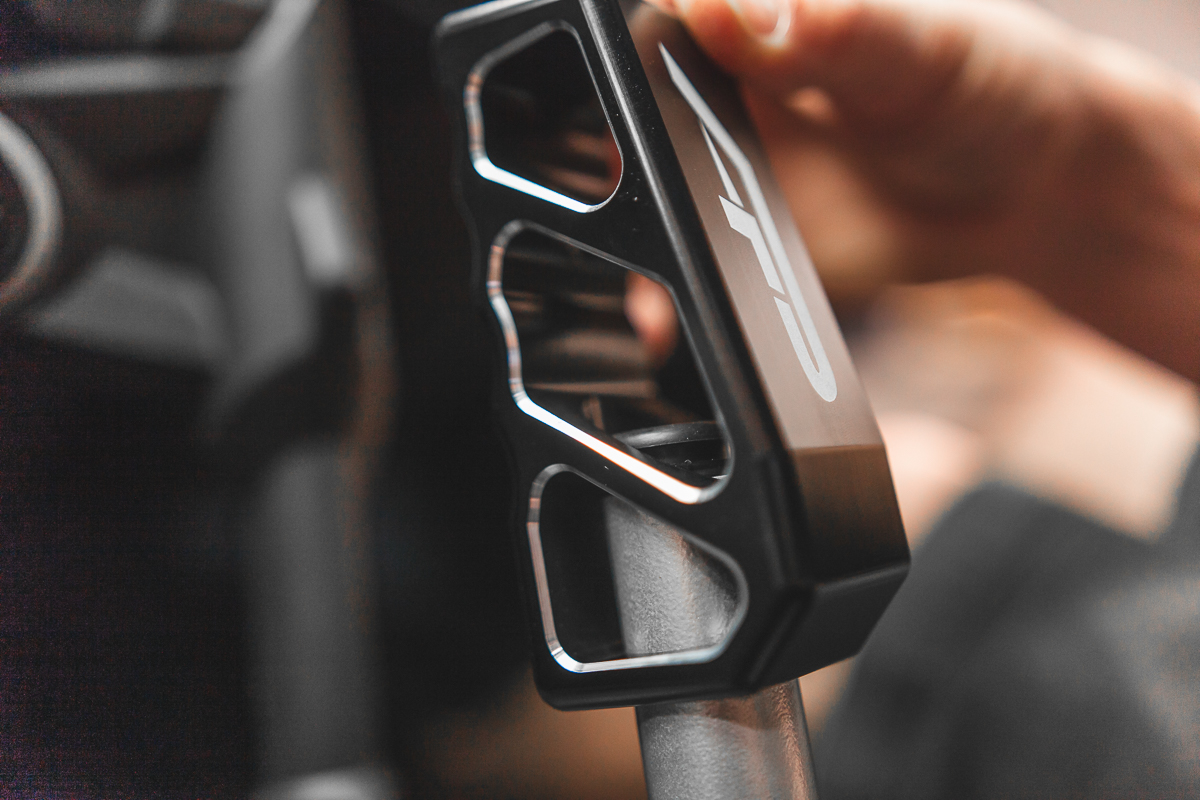
Shift Knob Installation
Step 1: Loosen the shift knob jam nut by turning it right with the 13mm.

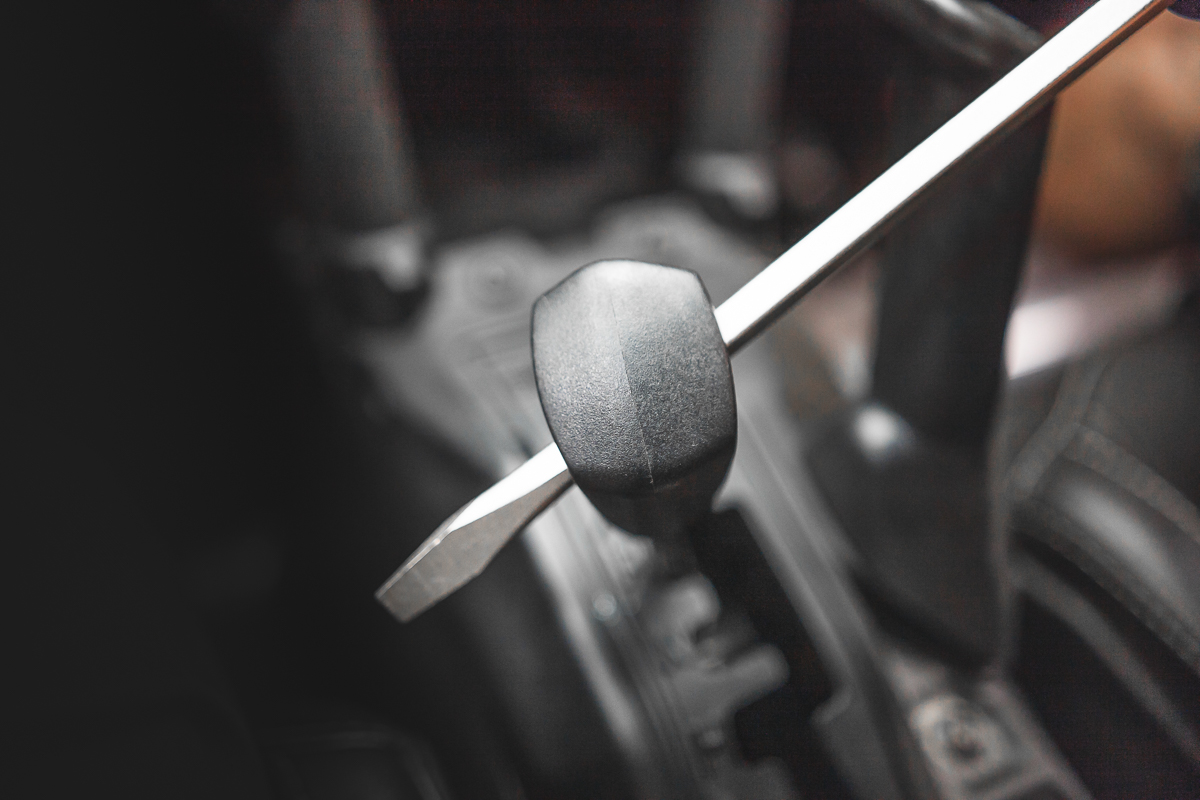
Step 2: Use the long flathead to loosen shift knob from the shifter.
Step 3: Thread the Agency Power shift knob on the shifter.
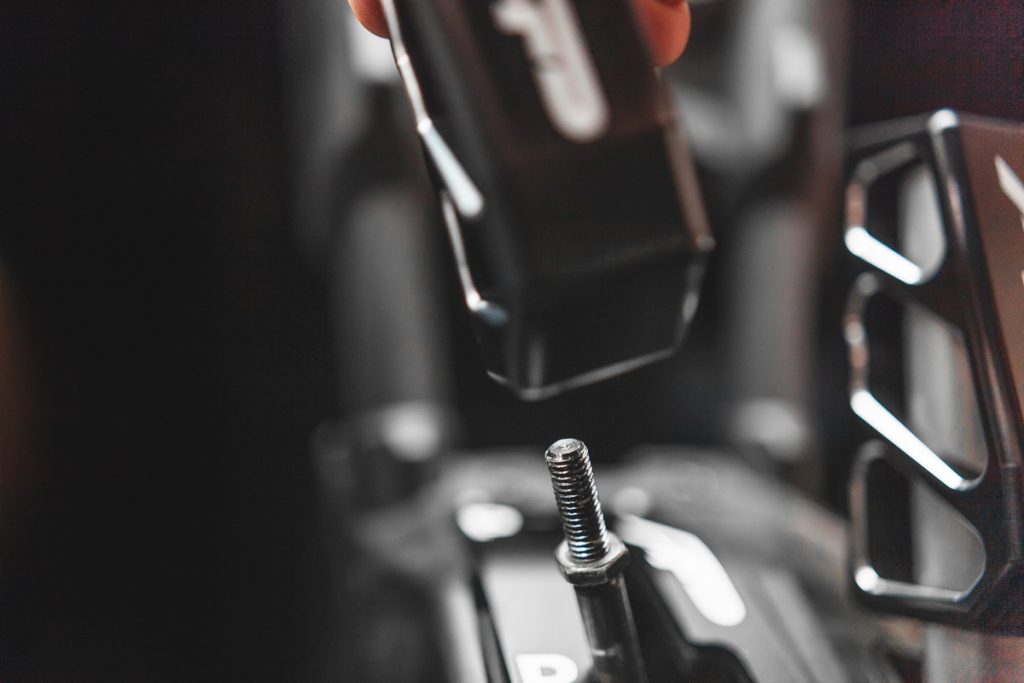
Step 4: Tighten the jam nut against the shift knob with the 13mm wrench.

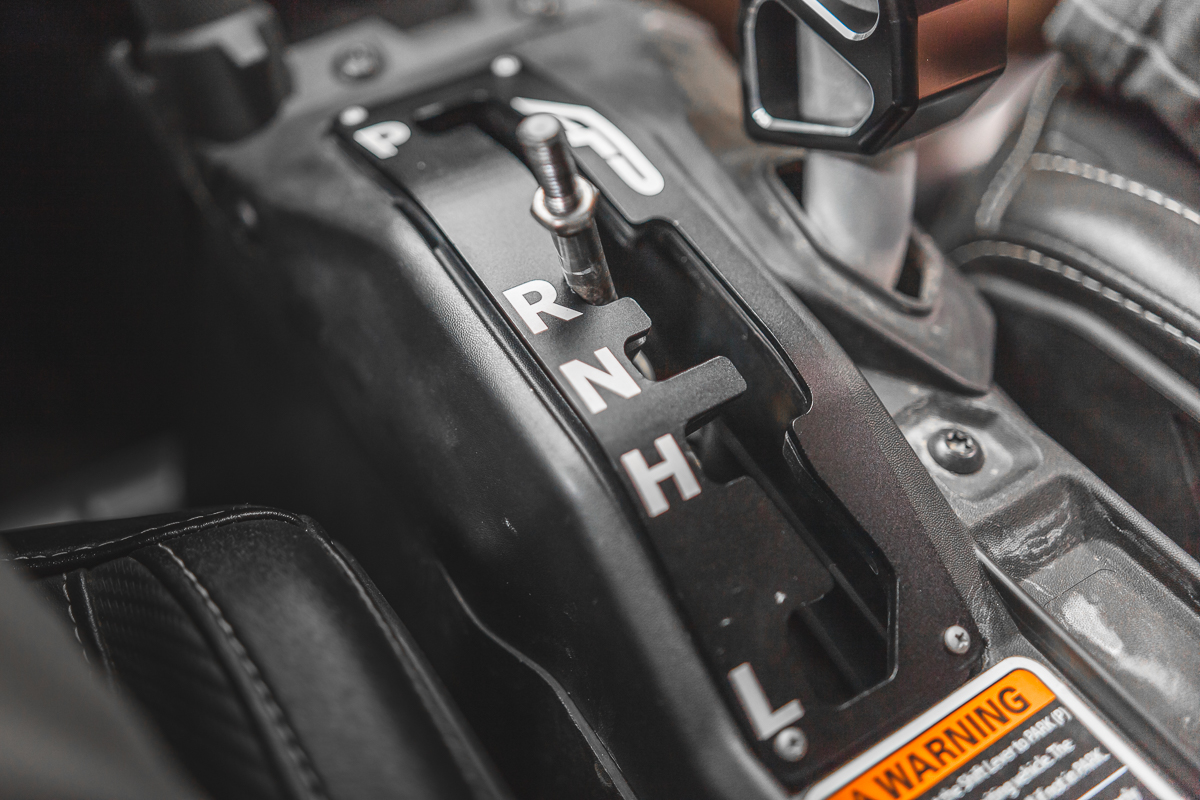
Shift Gate Installation
Step 1: Place shift gate over the factory plate and hold shifter away from the gate.
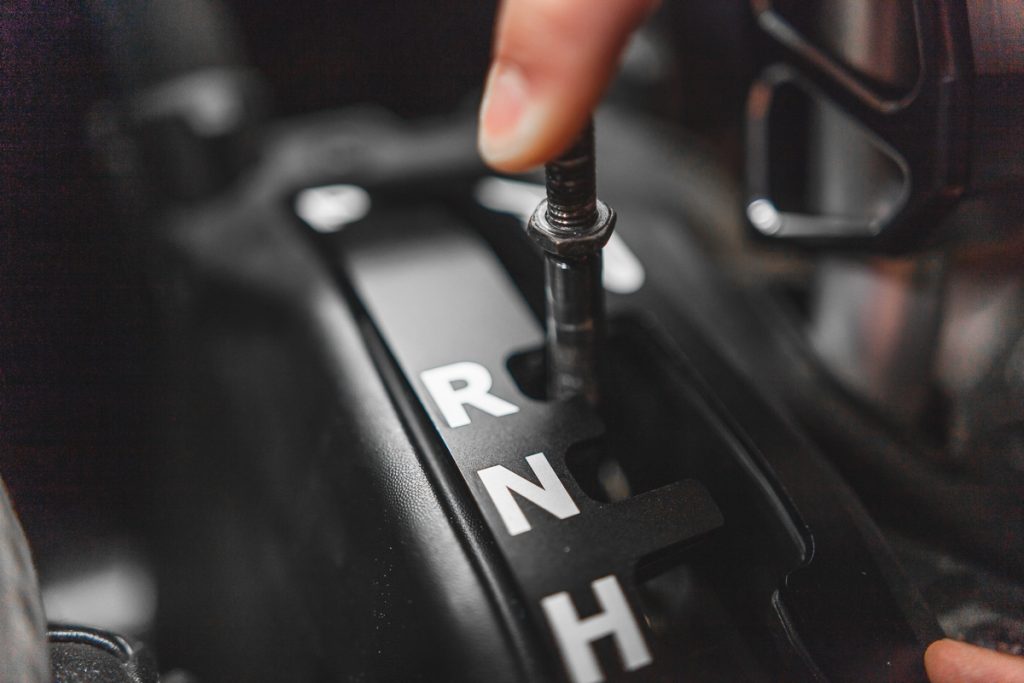
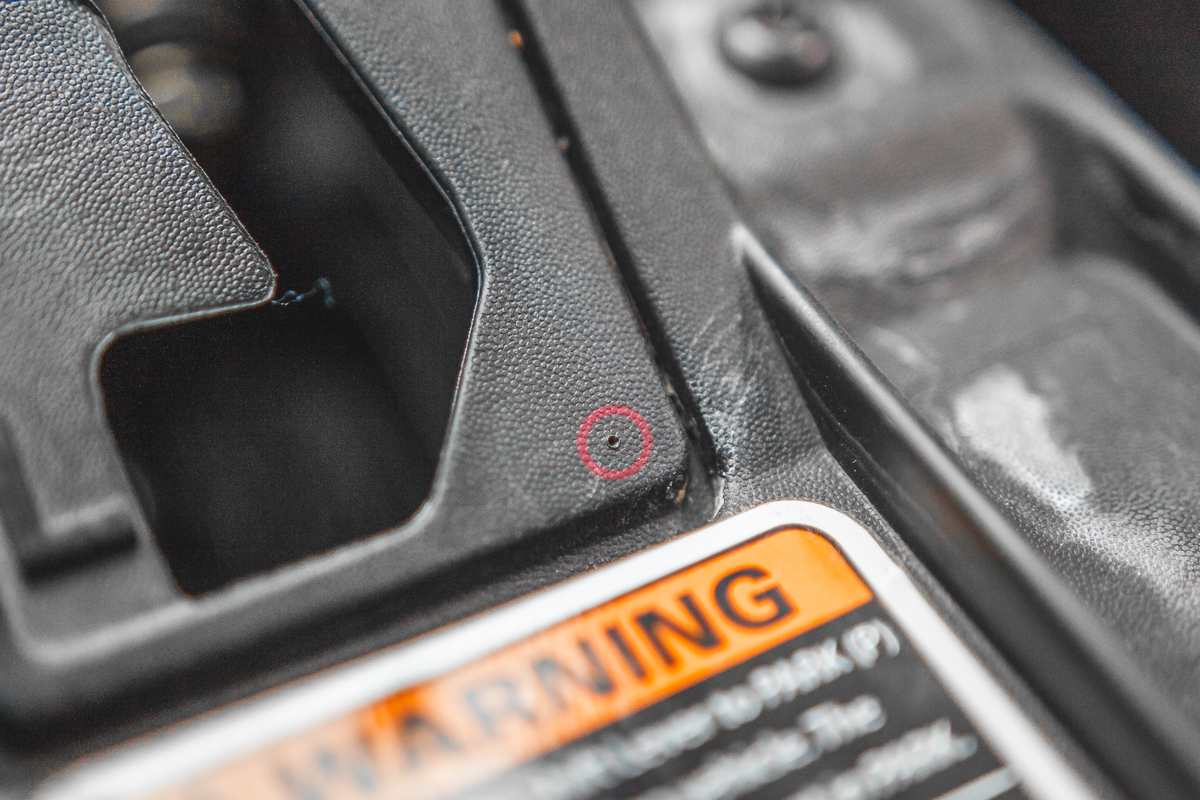
Step 2: Use the scribe or drill bit to mark each hole.
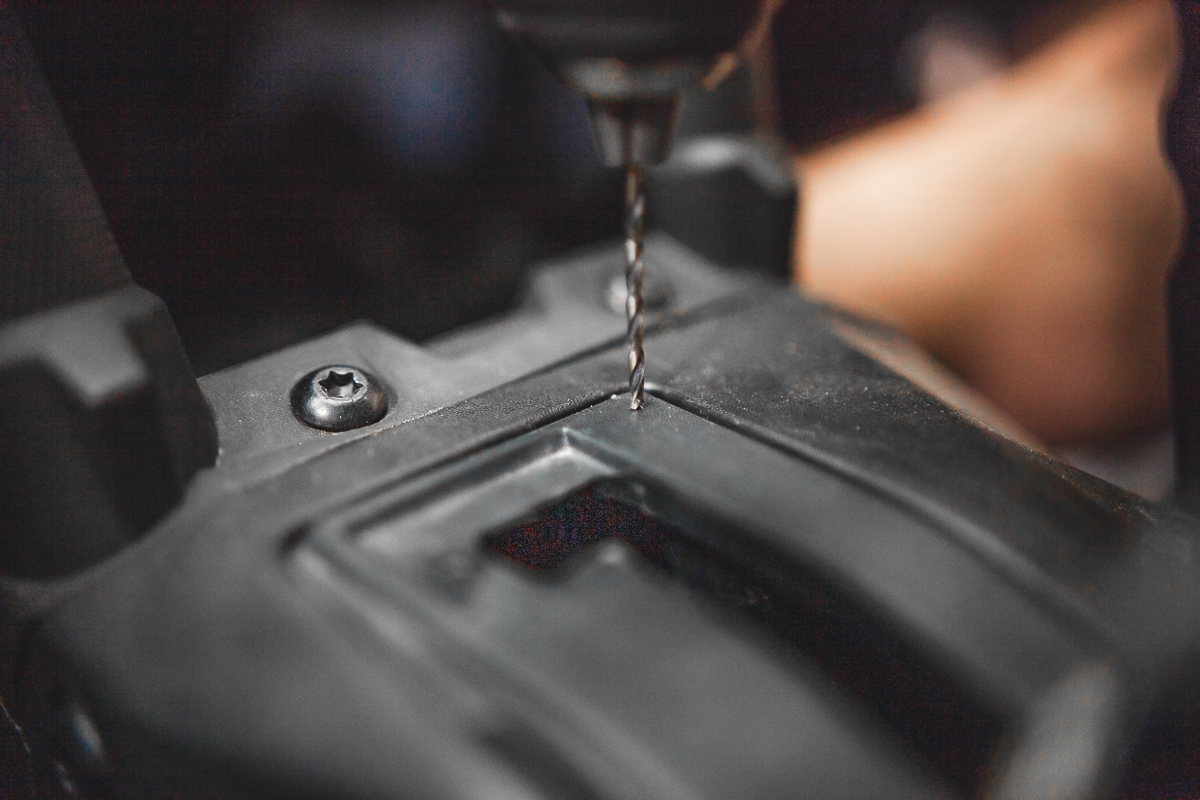
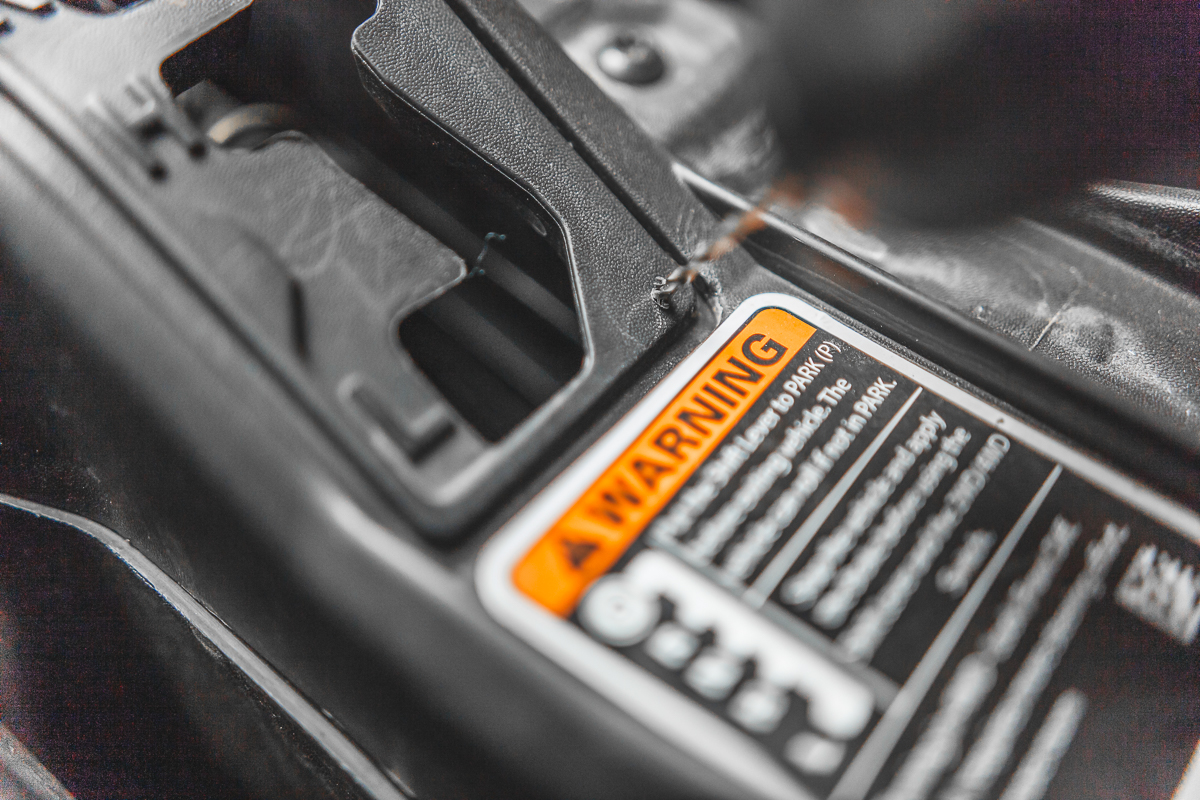
Step 3: Drill the four holes for the mounting of the shift gate.
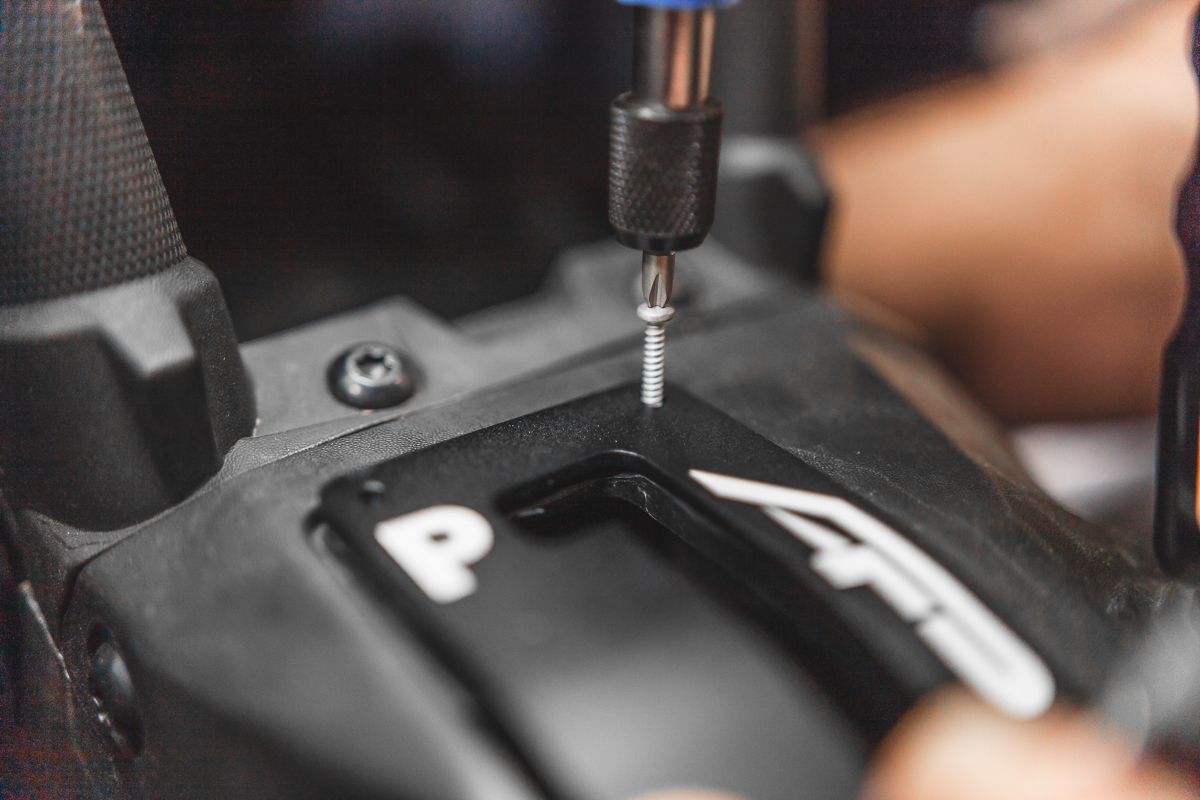
Step 4: Place the shift gate down and use the provided hardware to screw it in place.
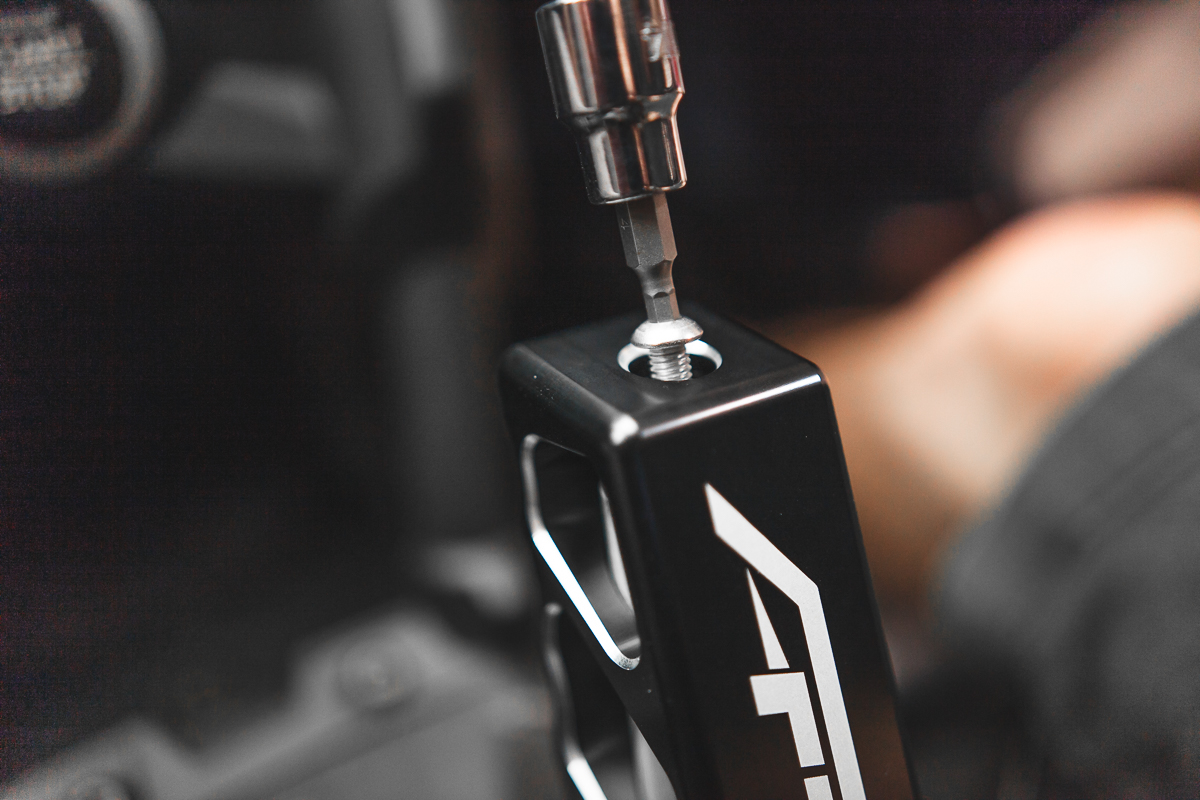
Grab Handle Installation
Step 1: Use the T-35 bit to remove the top bolt of the grab handle.

Step 2: Twist and pull the factory grab handle.
Step 3: Place rubber grommet on top of the factory grab bar.

Step 4: Slide the Agency Power grab handle over the tube and screw down with HW4 bit and provided hardware.










Contact with me
Send an email over to sales@agencypower(dot)com and our sales team can answer any questions you have.