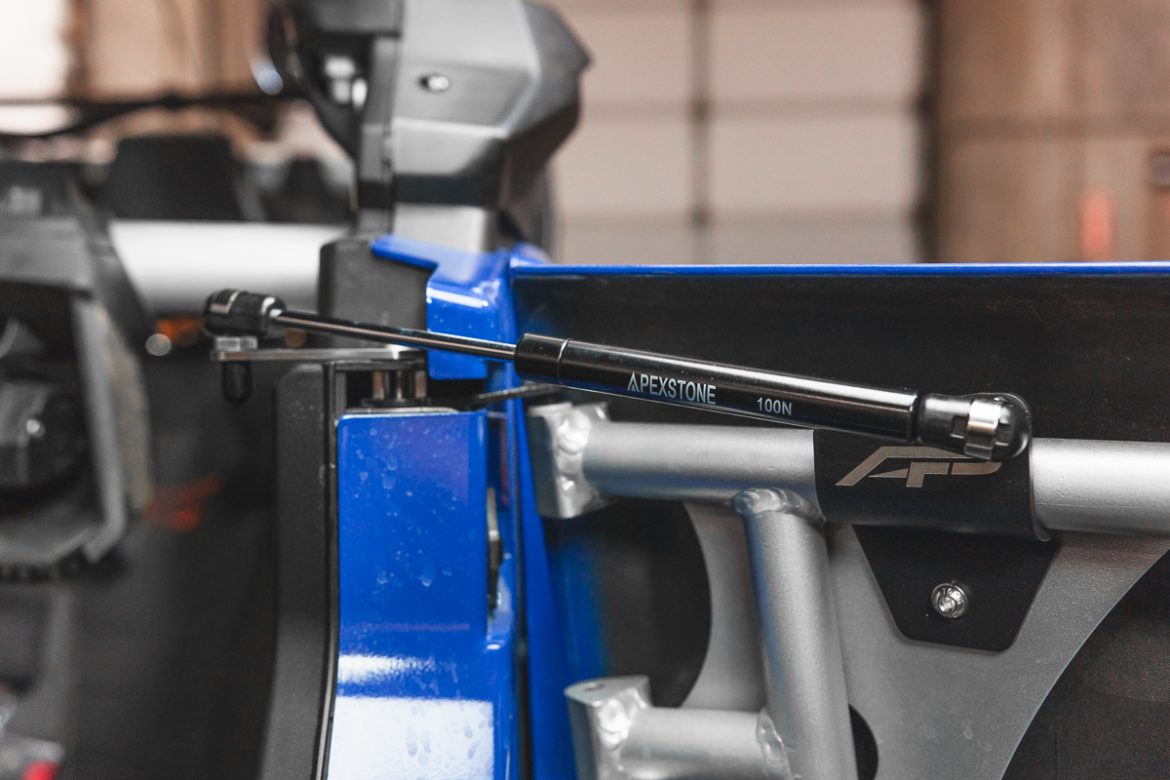
Agency Power Can-Am X3 Door Spring Kit Installation Guide
This is a step-by-step guide on how to install the Agency Power door spring kit on your Can-Am Maverick X3!
Installation Difficulty:

Estimated Install Time: 15-20 minutes per door.
Tools Needed:
- 3/8 Ratchet
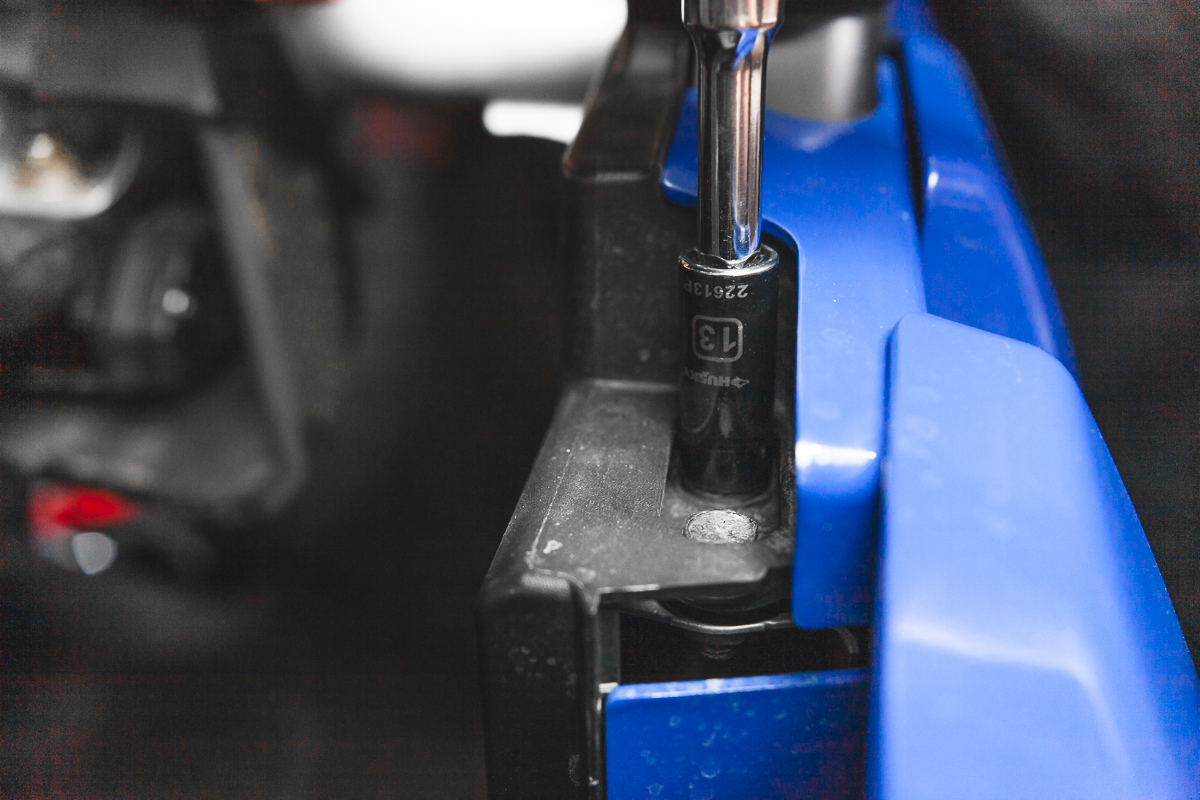
- 13mm Socket
- T-30 Torx Bit
- HW4 Bit – 4mm Allen Key
- HW5 Bit – 5mm Allen Key
Front Doors Installation
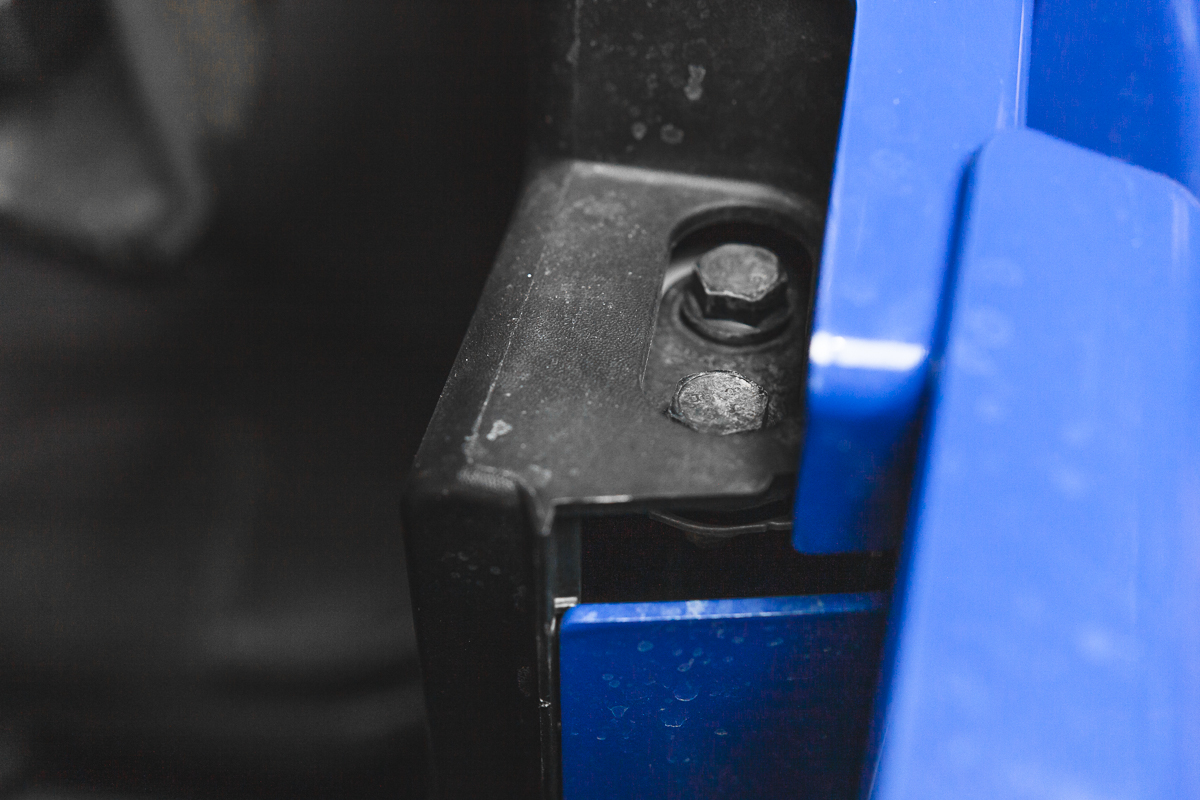
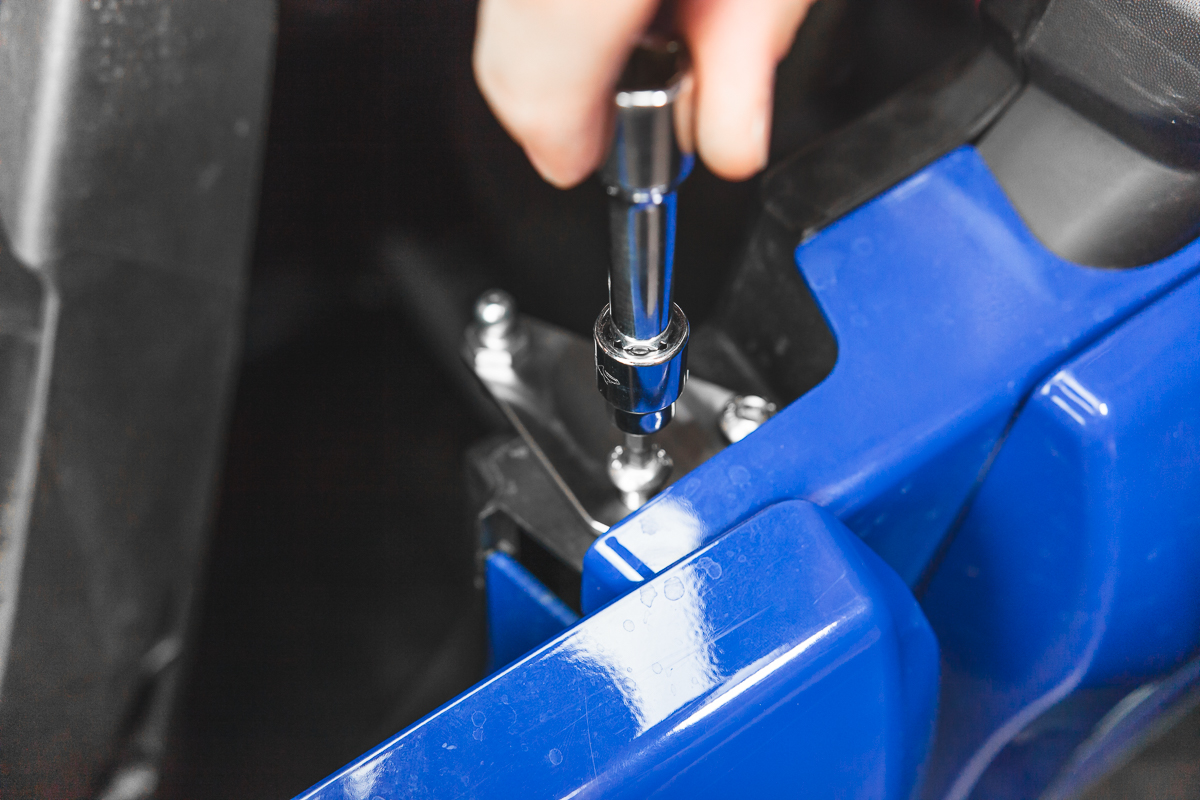
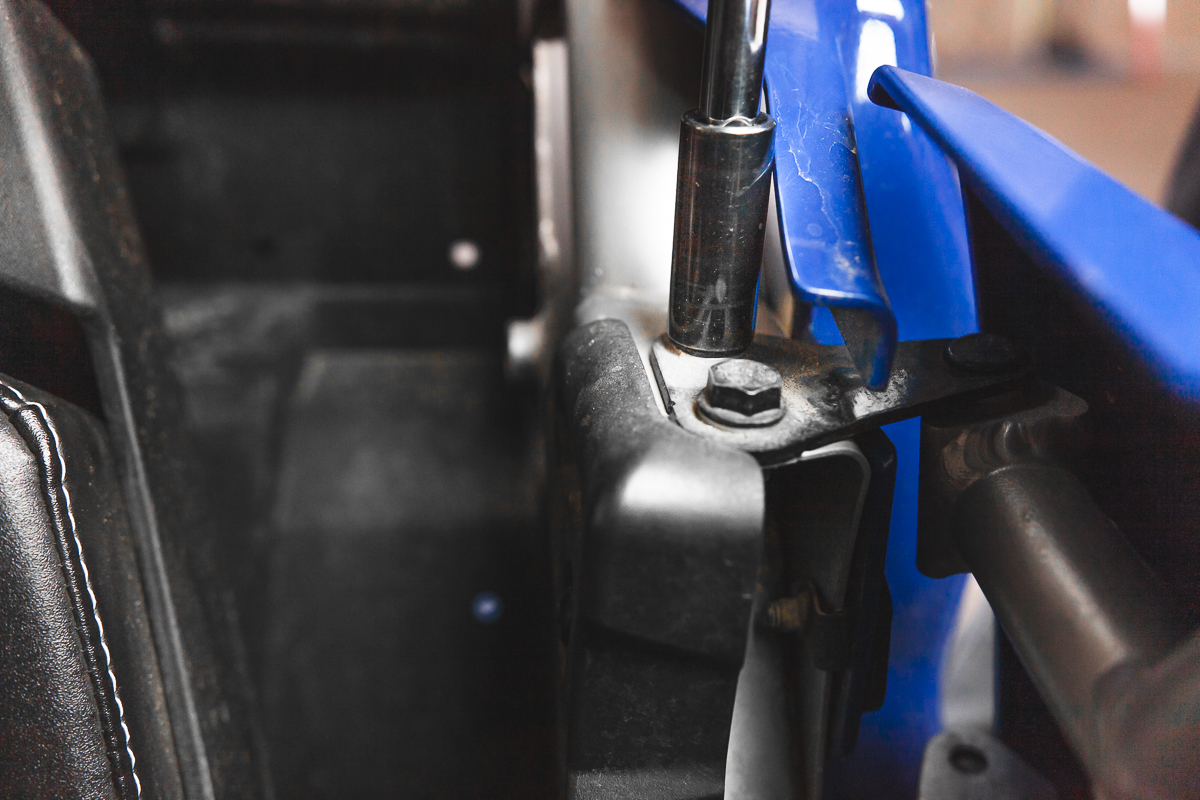
Step 1: With the door closed, loosen and remove the two bolts for the door hinge with a 13mm socket.
Step 2: Place spacer between the two bolts.
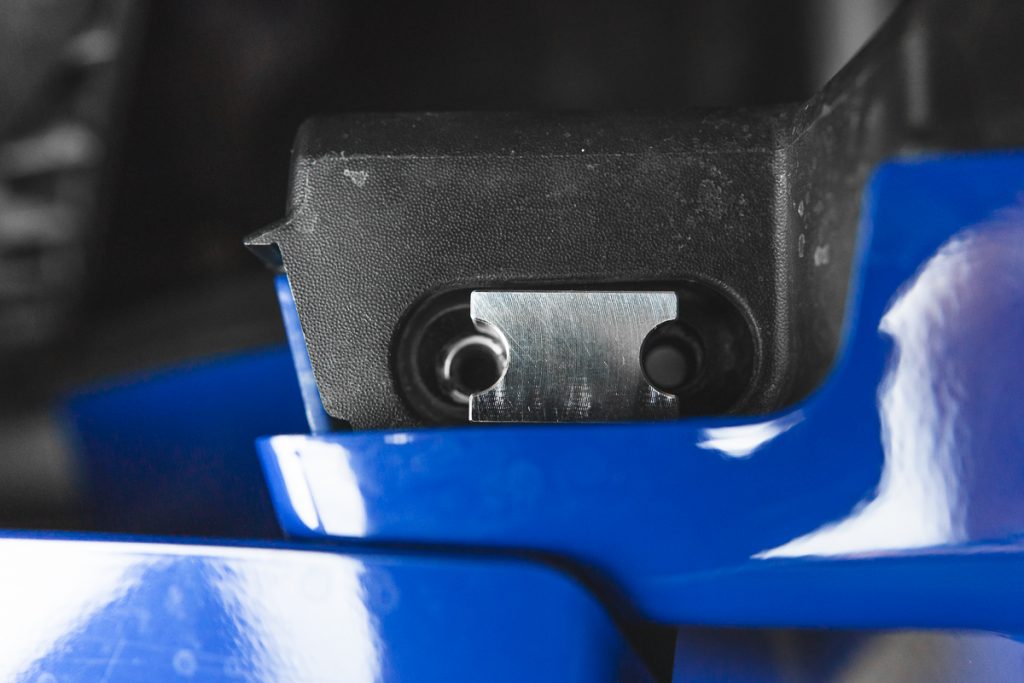
Step 3: Place one provided bolt in the rear hole and tighten slightly with HW5 bit.

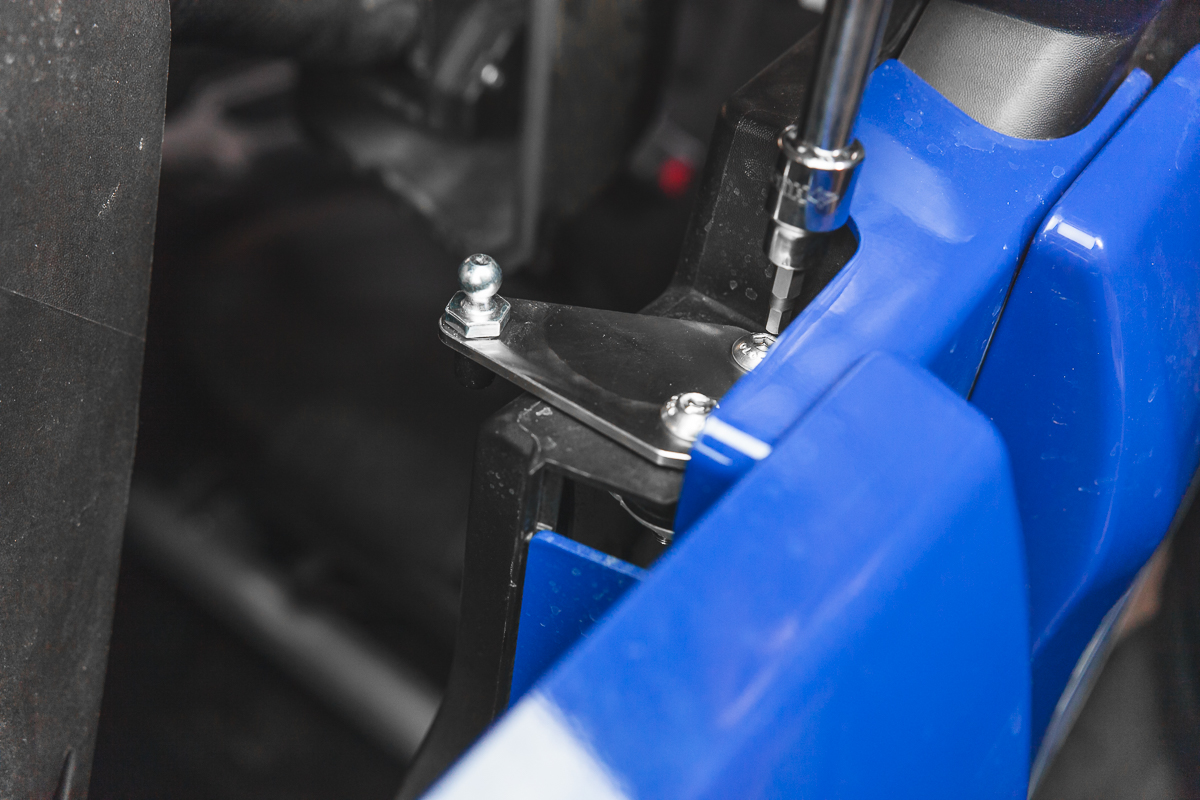
Step 4: Slide the mounting plate in place.
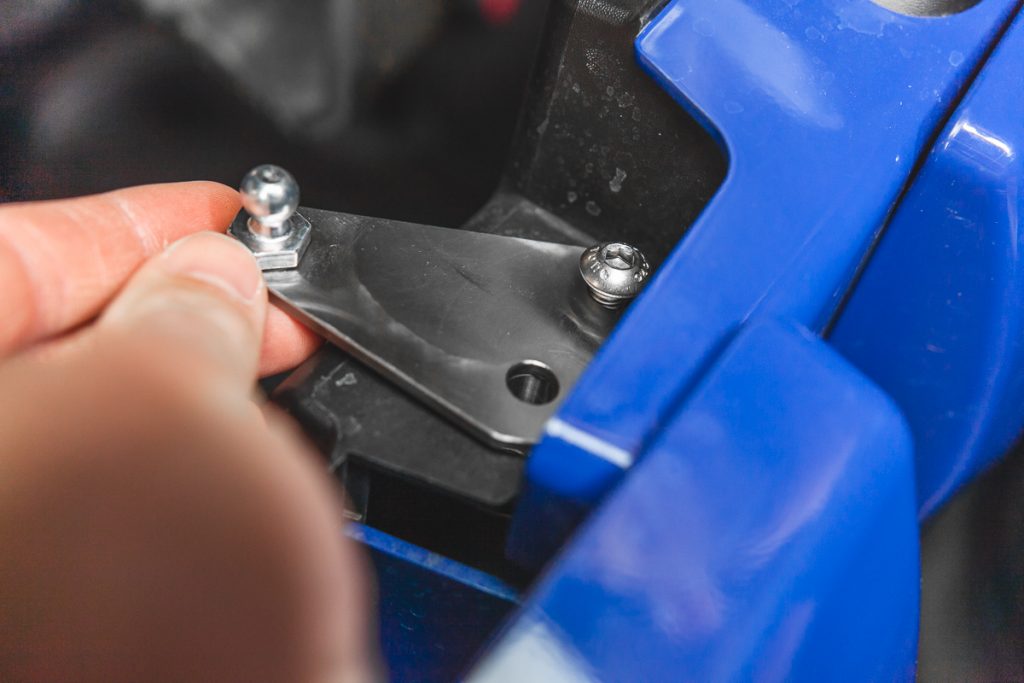
Step 5: Tighten both door hinge bolts with the HW5 bit and provided hardware.
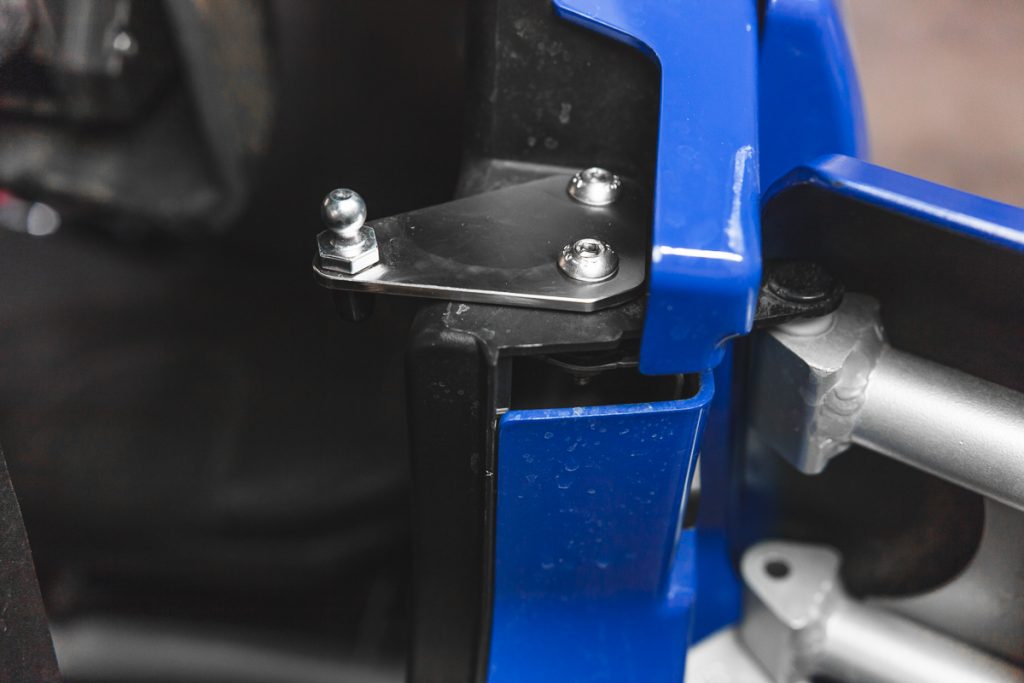
Step 6: Use the T30 bit to remove the door skin bolt.
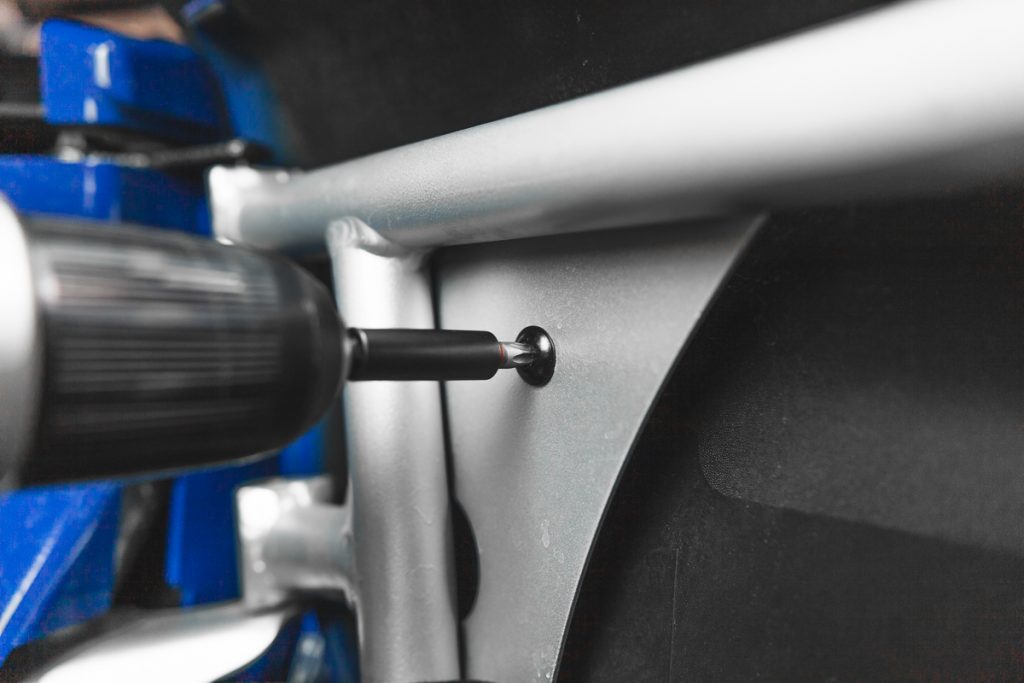
Step 7: Place the bracket on the door frame and tighten back down with HW4 bit and provided hardware.
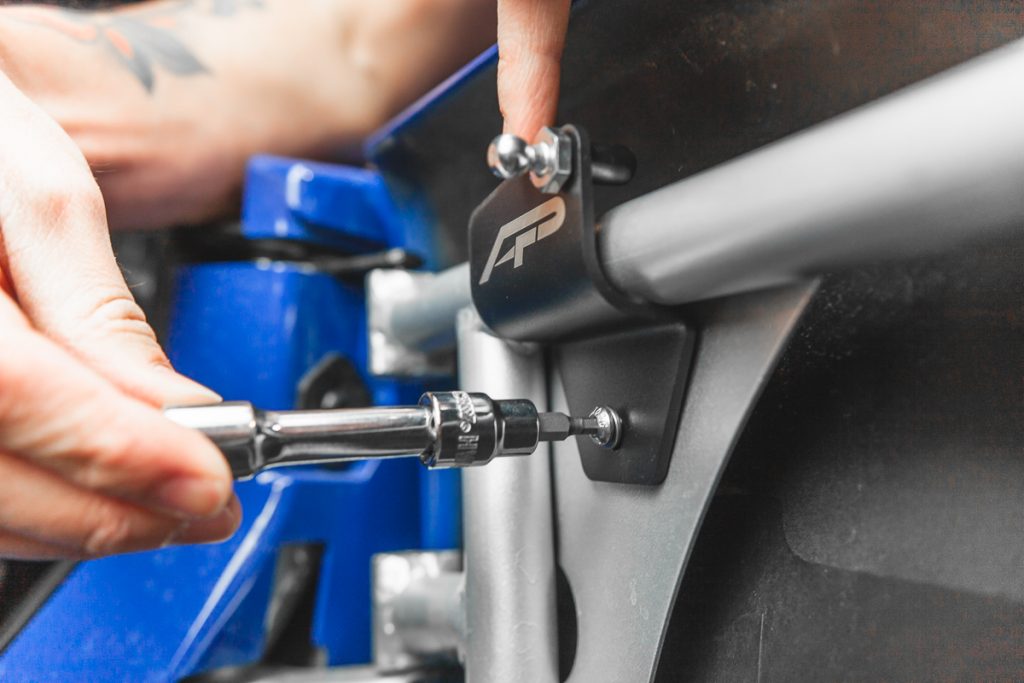
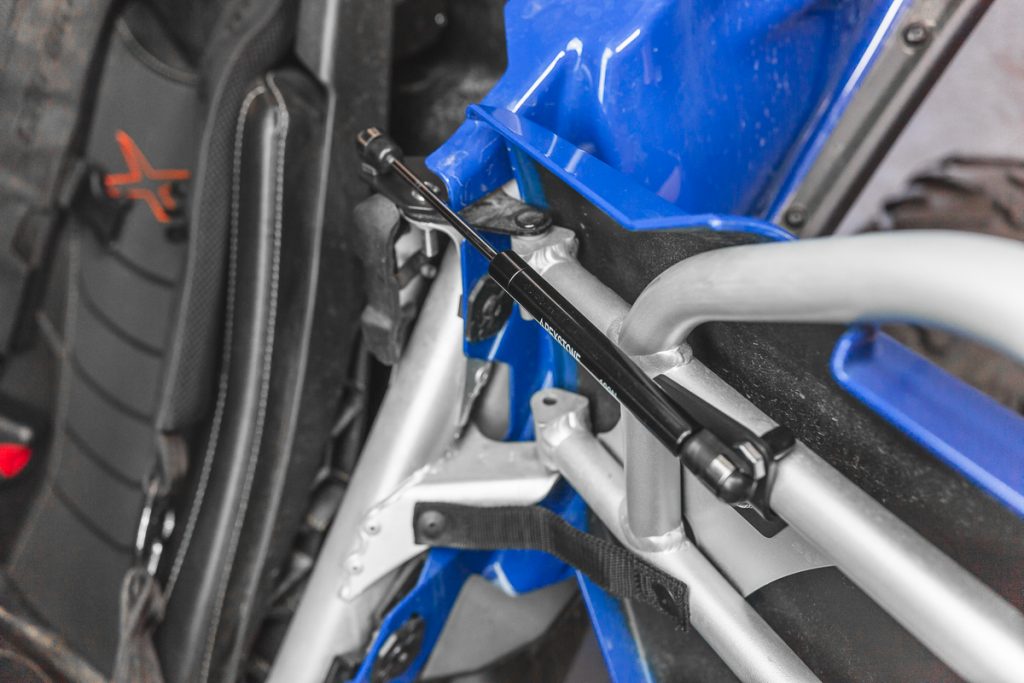
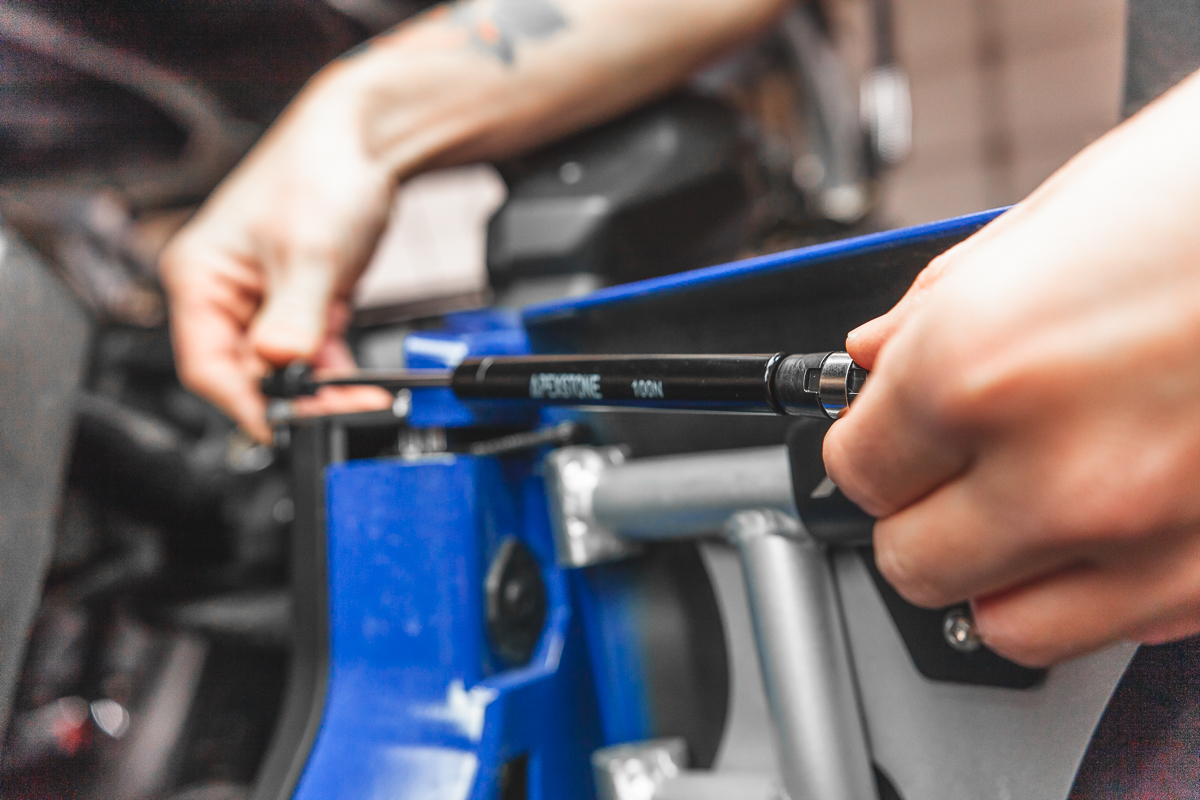
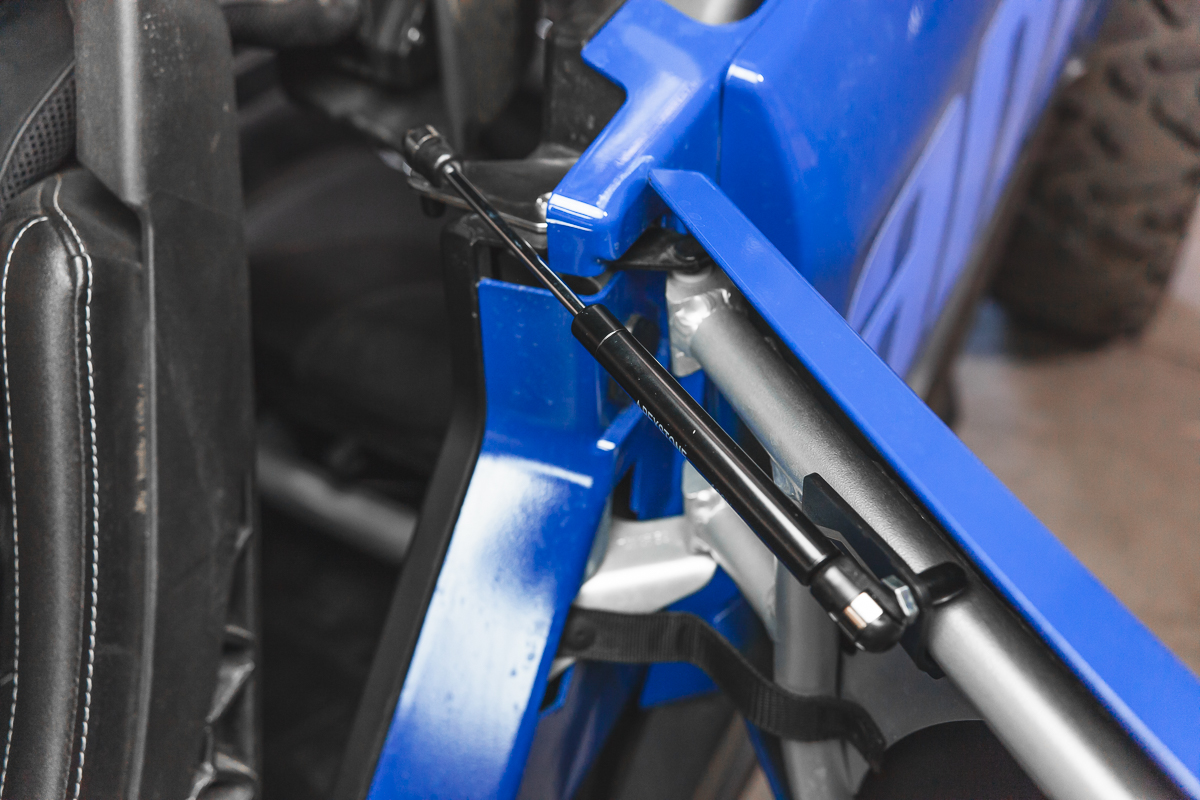
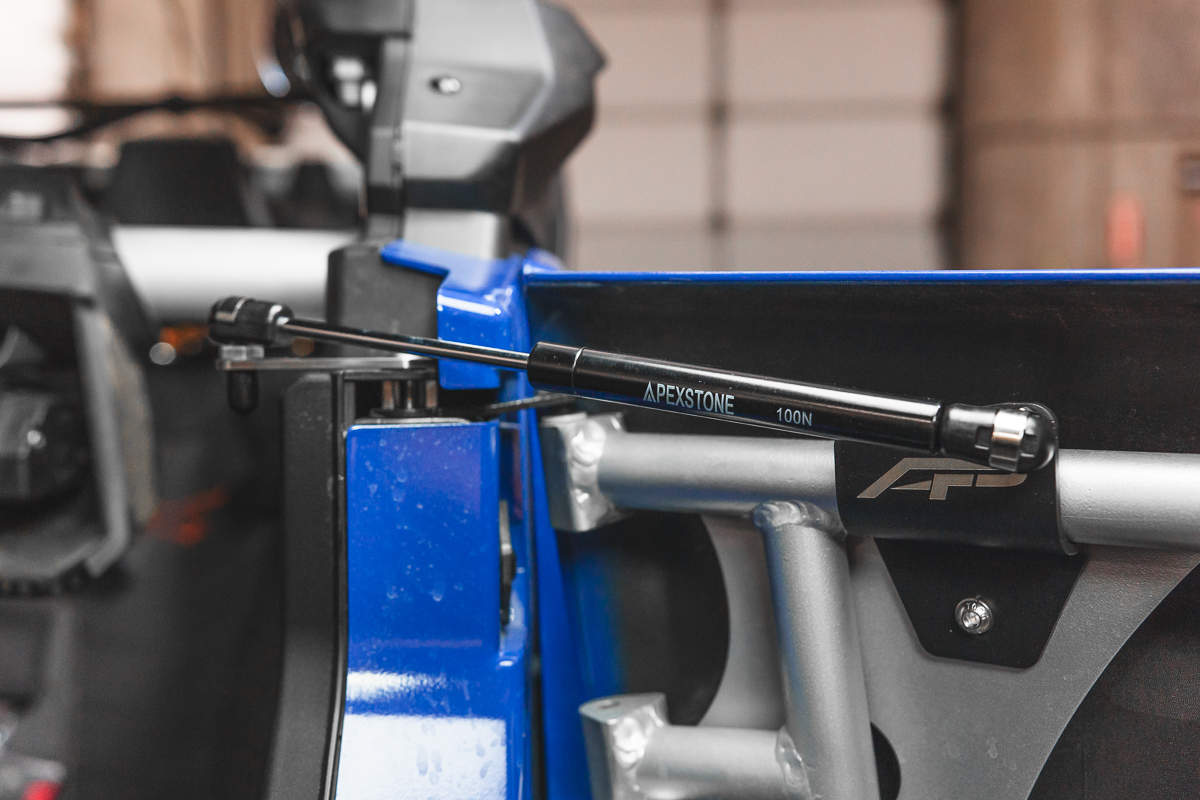
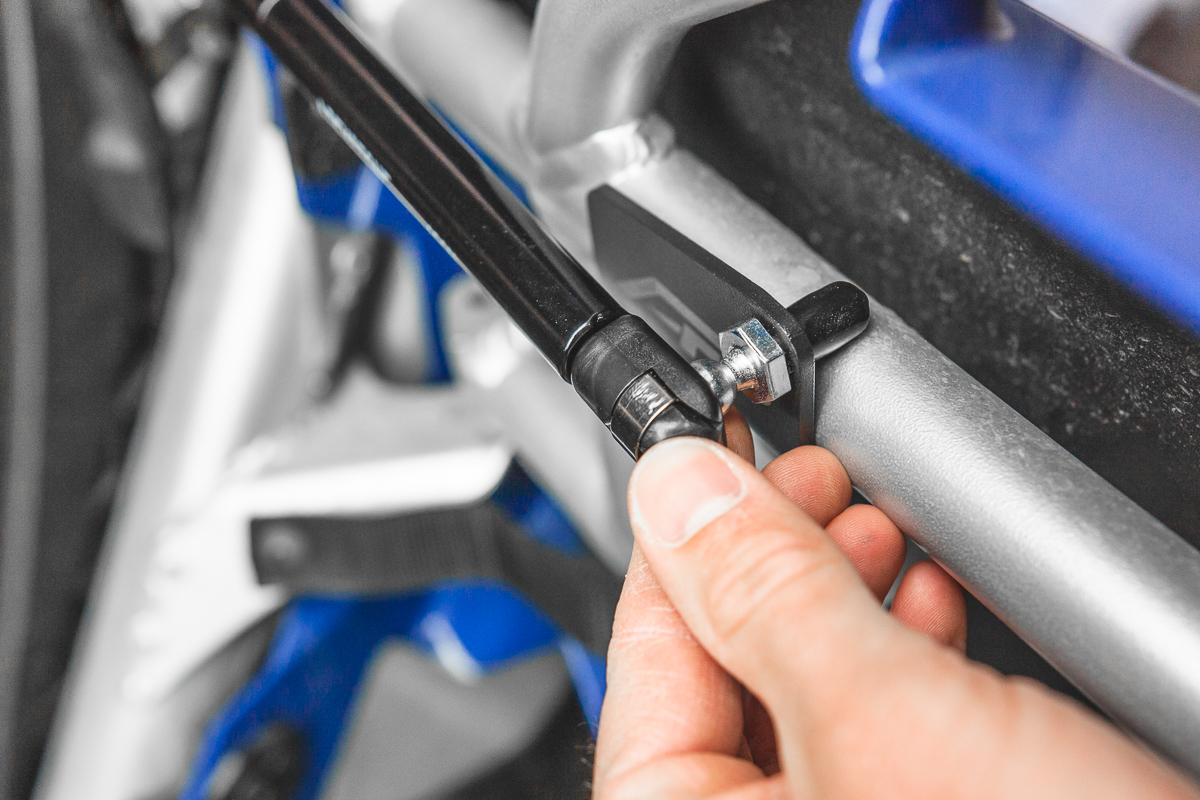
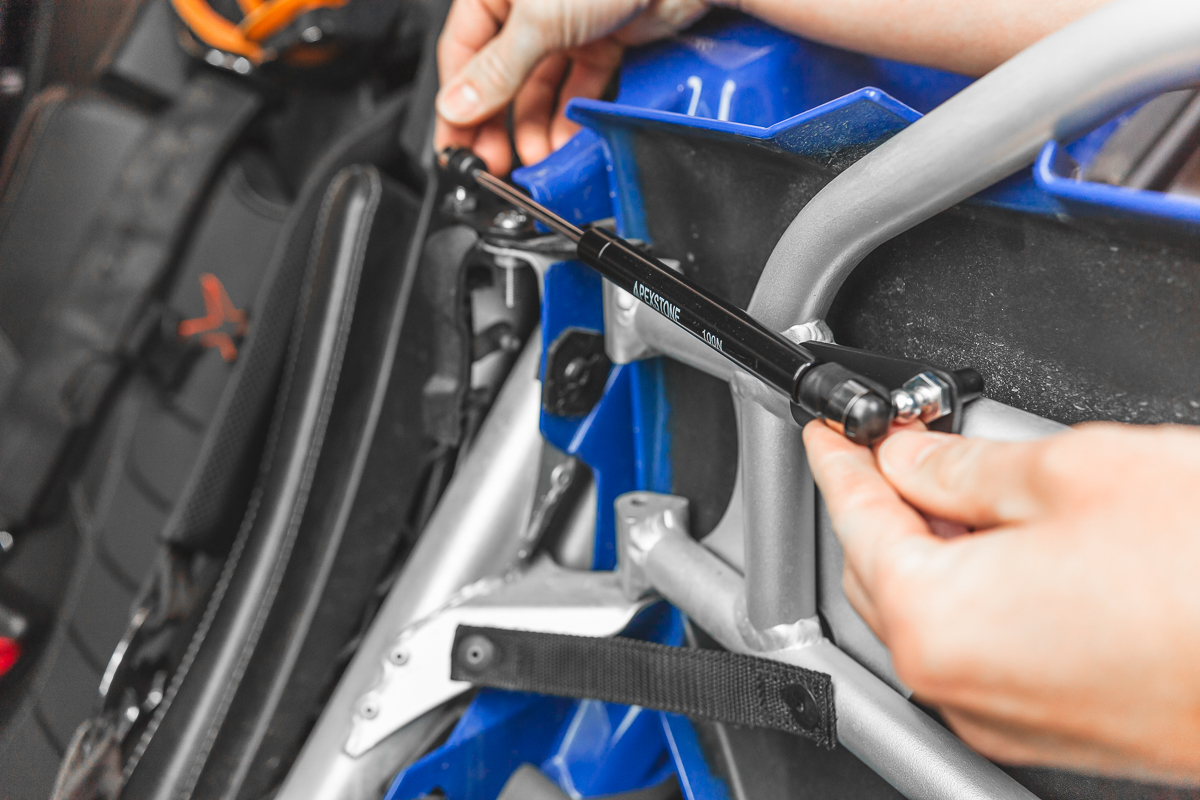
Step 8: Push each end of the door spring onto the mounting nubs on each bracket.
Rear Door Installation

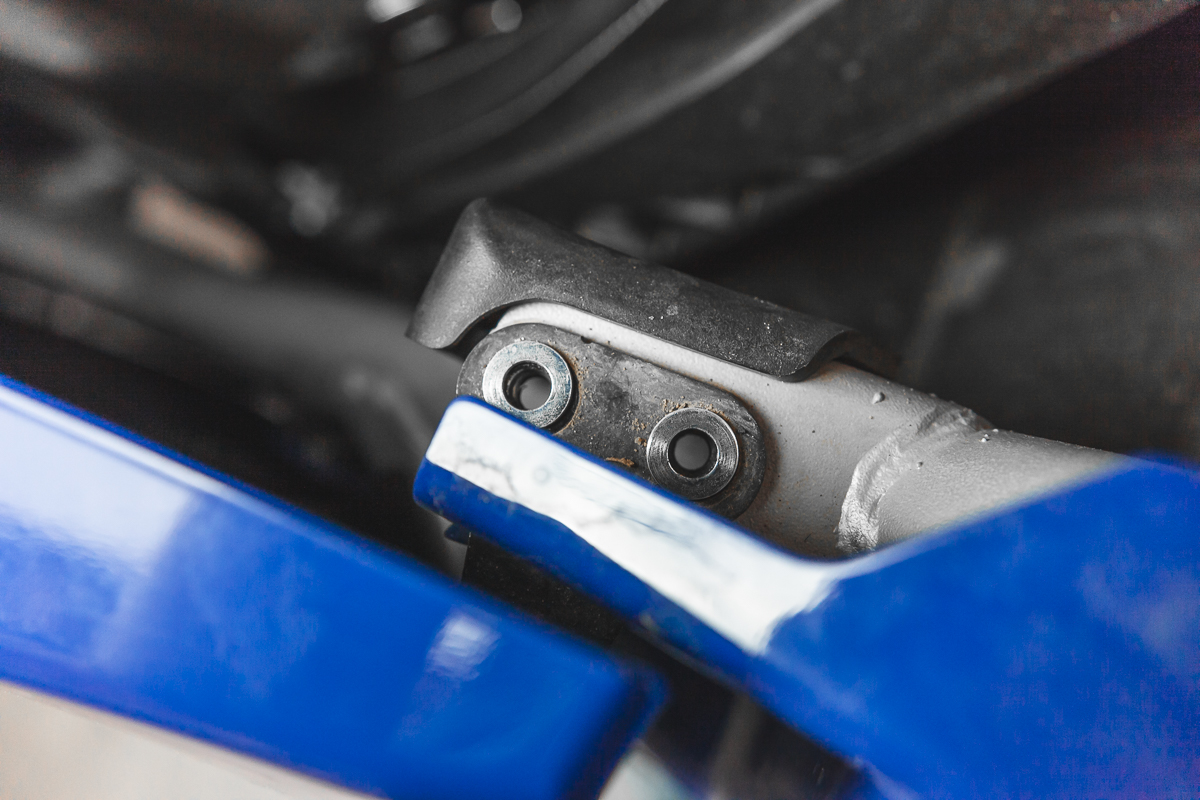
Step 1: With the door closed, remove the door hinge bolts and leave the factory washers in place.
Step 2: Using one of the provided bolts tighten down slightly with the HW5 bit.
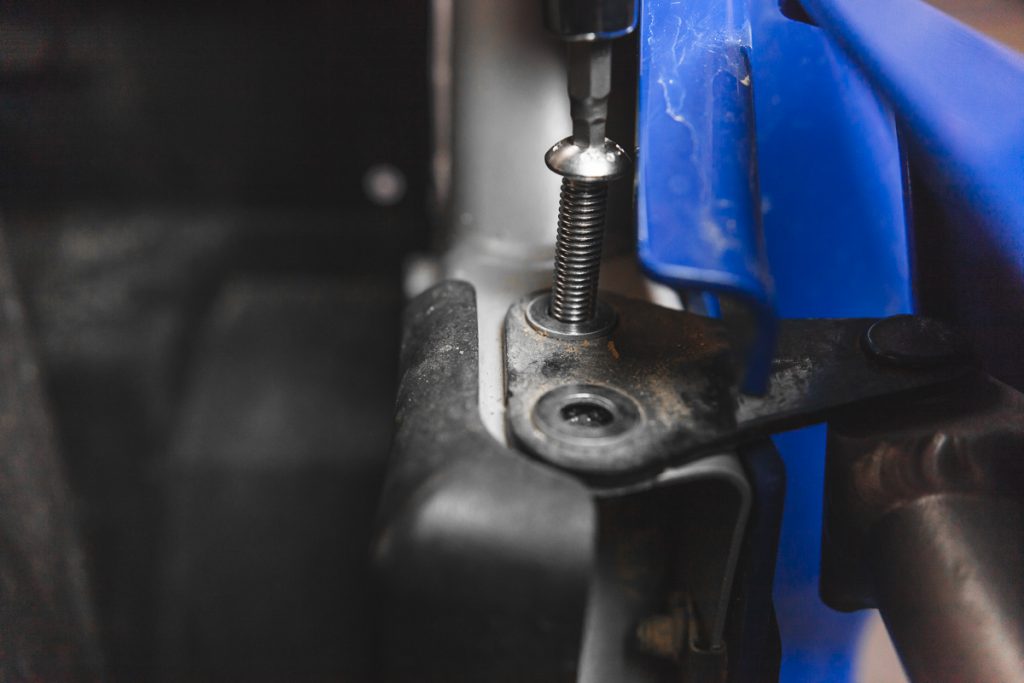
Step 3: Slide the mounting bracket in place and tighten down the second provided bolt.
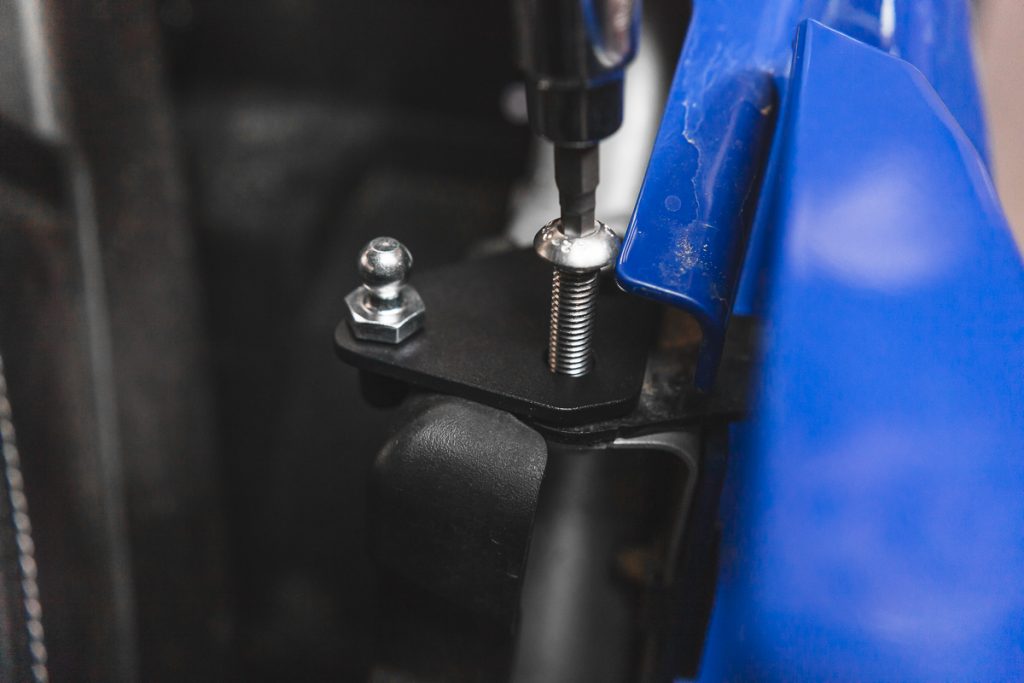
Step 4: Loosen the door skin bolt with the T-30 bit.
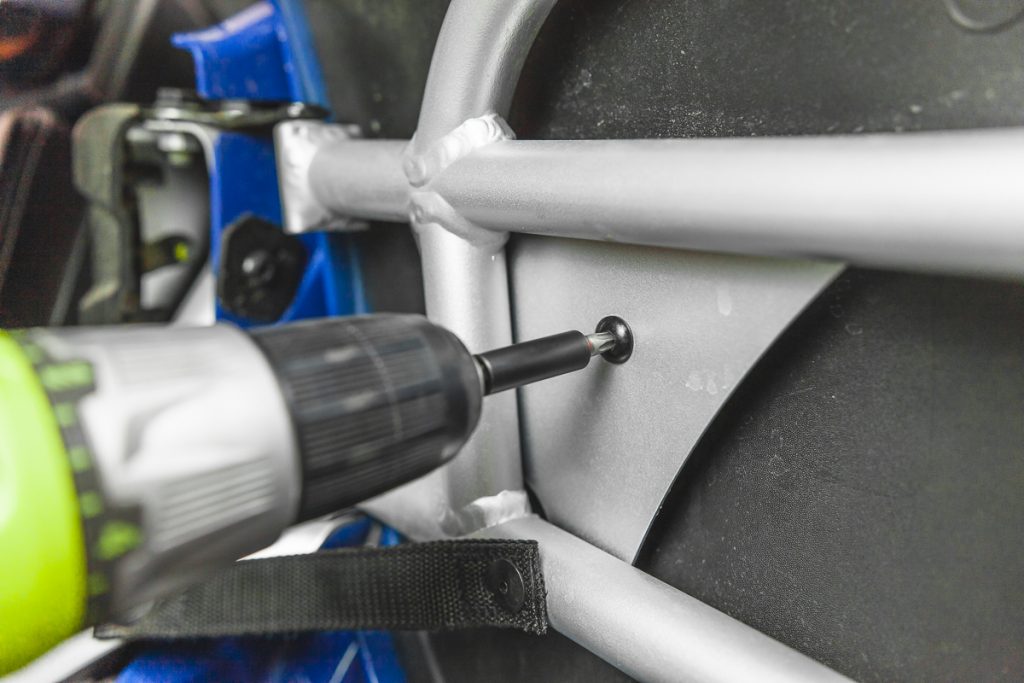
Step 5: Using the provided hardware, tighten the door spring mounting kit to the door frame with the HW4 bit.
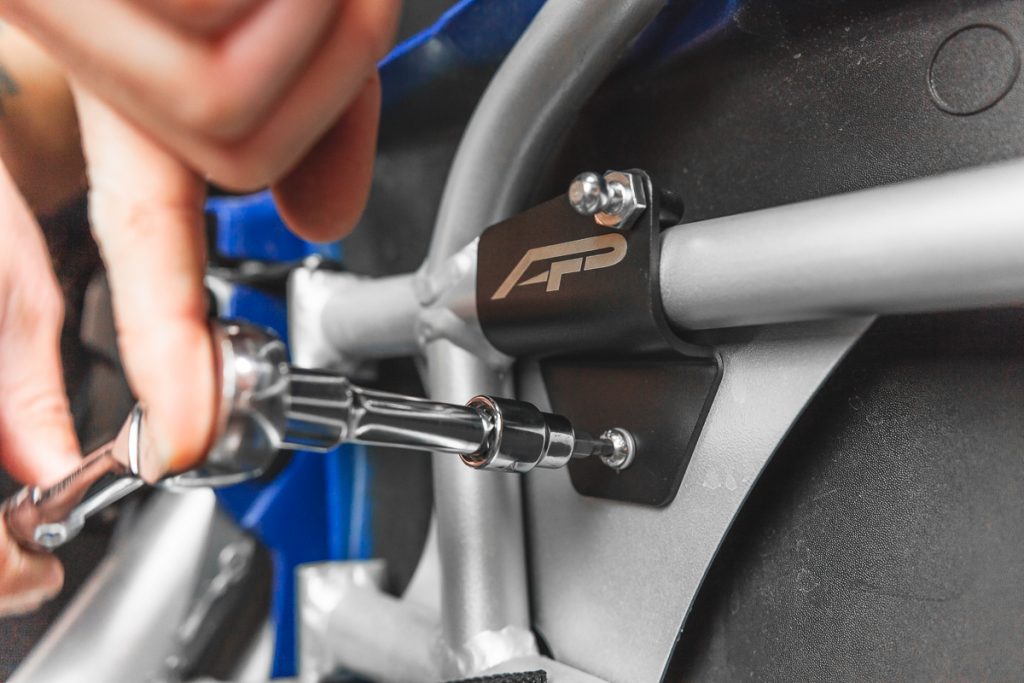
Step 6: Line up the door spring and press it onto the mounting stubs on each bracket.
