How to Install Agency Power 6-Speed Short Shifter in Subaru STI
This guide is to help with the installation of the Agency Power 6-Speed Short Shifter Subaru STI 2004-2017
Order own Agency Power 6-Speed Short Shifter by CLICKING HERE
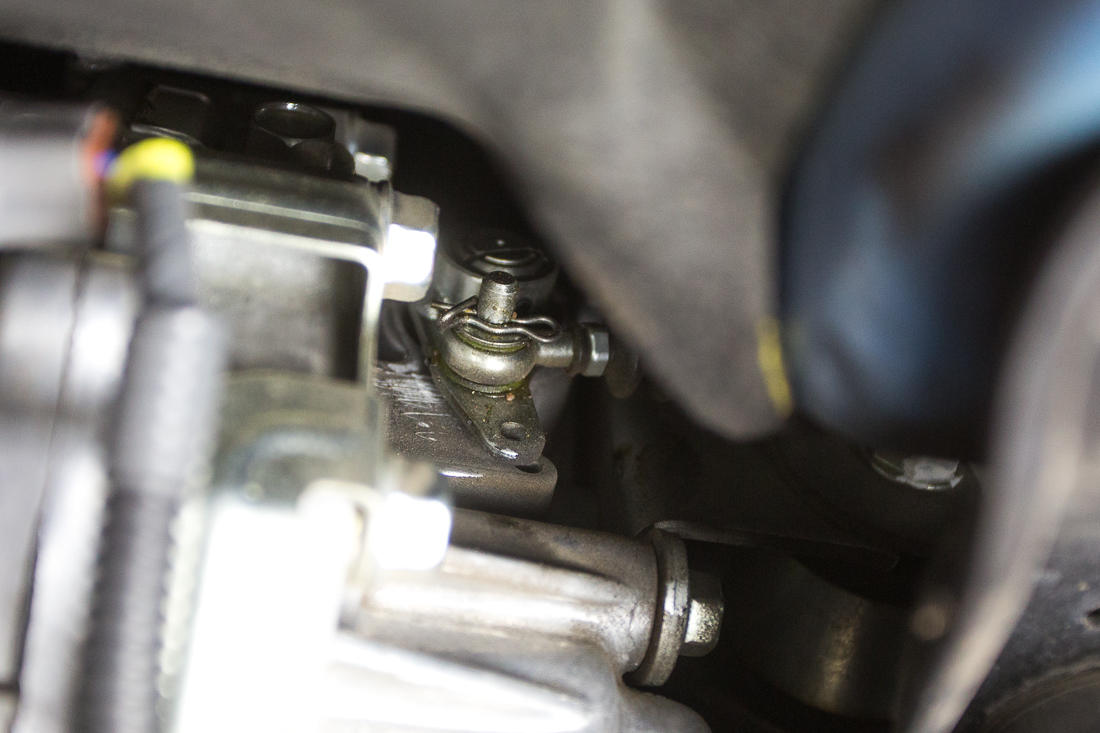
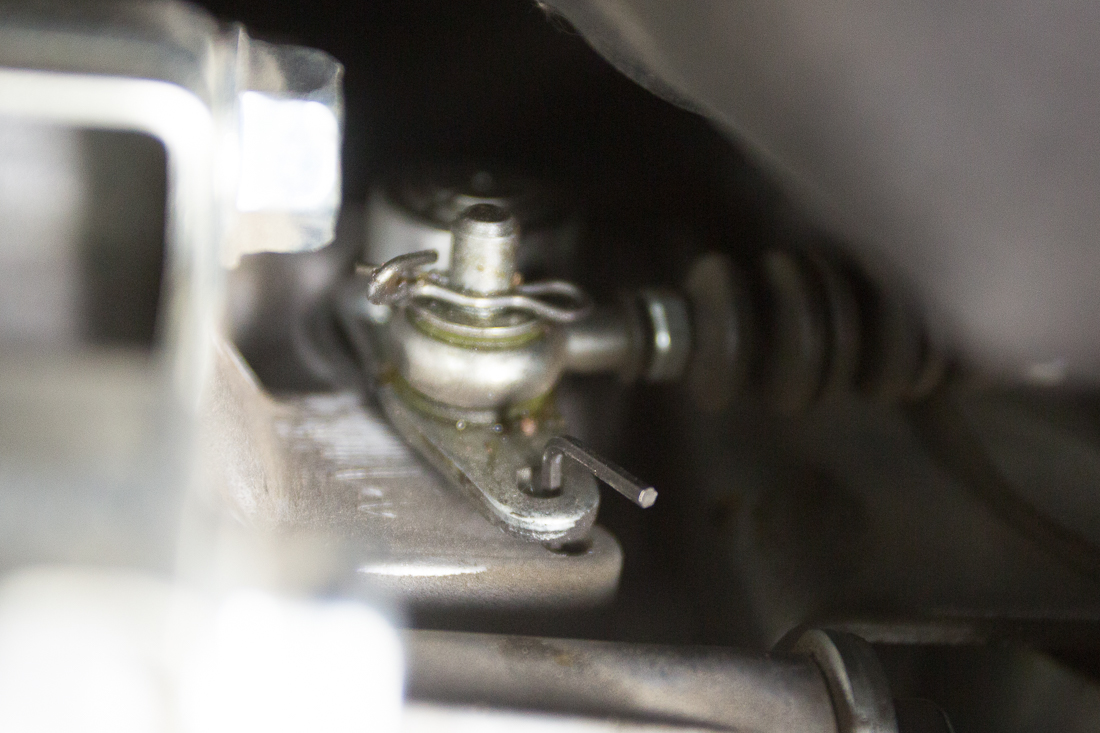
 STEP 1: Securely lift the car and locate this reverse linkage on the driver side of the transmission. You will need to line up the two holes and insert either a small Allen key, screw or nail to stop the reverse lockout linkage from moving during installation. Do not lift up on the reverse lockout while you have this linkage locked.
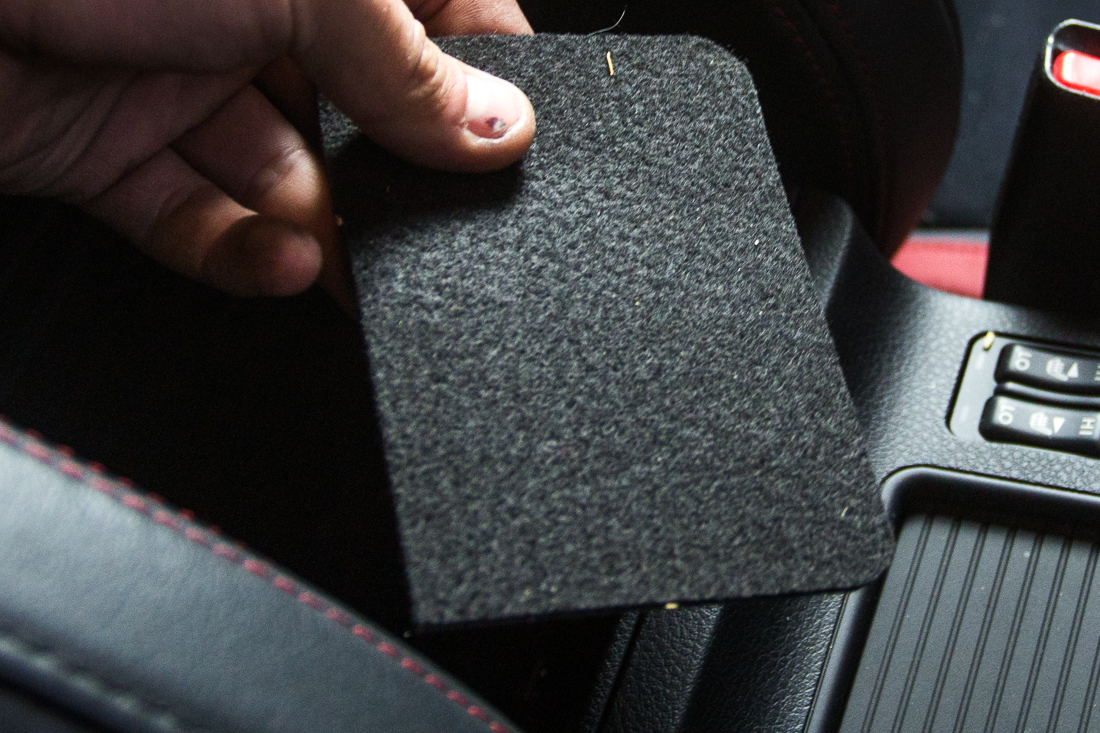
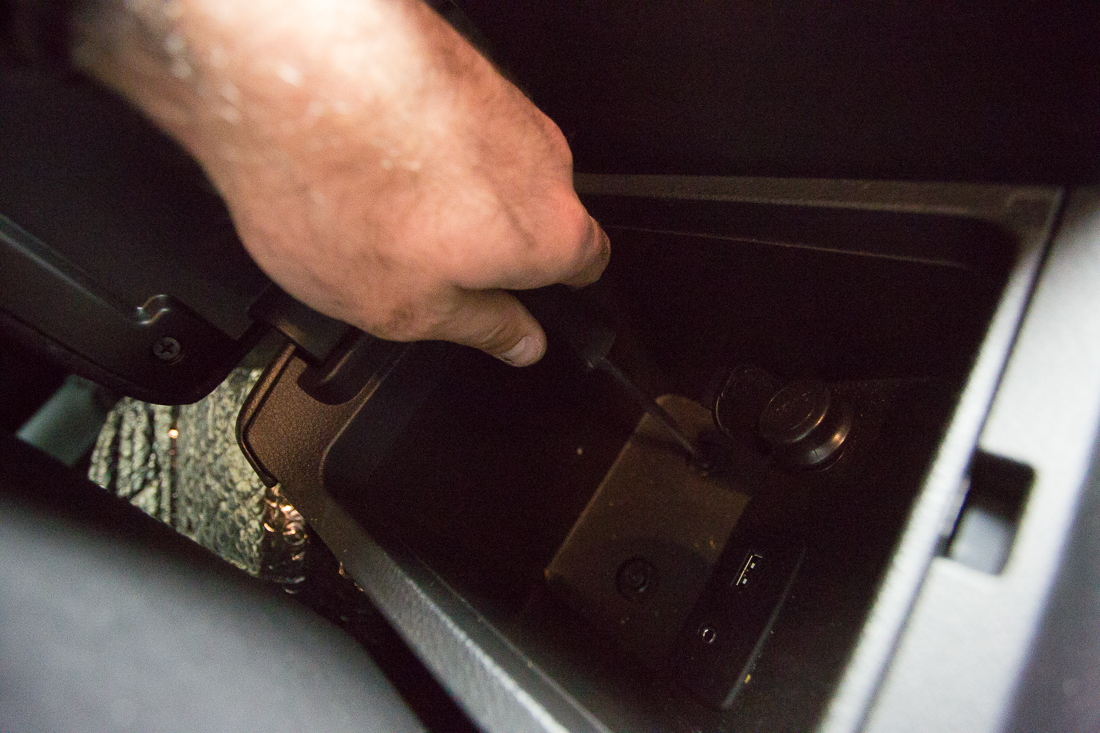
 STEP 2: Remove the small carpet liner from inside of the center console compartment to reveal the (2x) Phillip/10mm screws. Remove these two screws.
STEP 3: Remove Shift knob
STEP 4: Engage the e-brake and lift up on the boot to expose the (1x) Phillips Head Screw. Remove this screw.
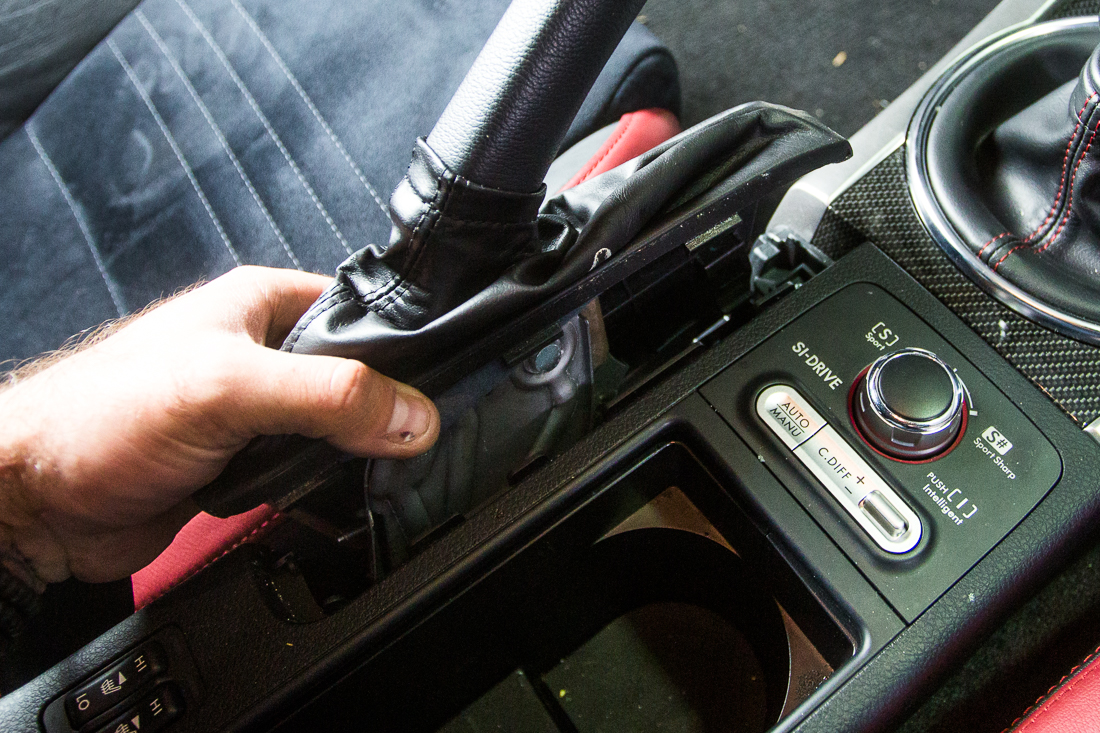
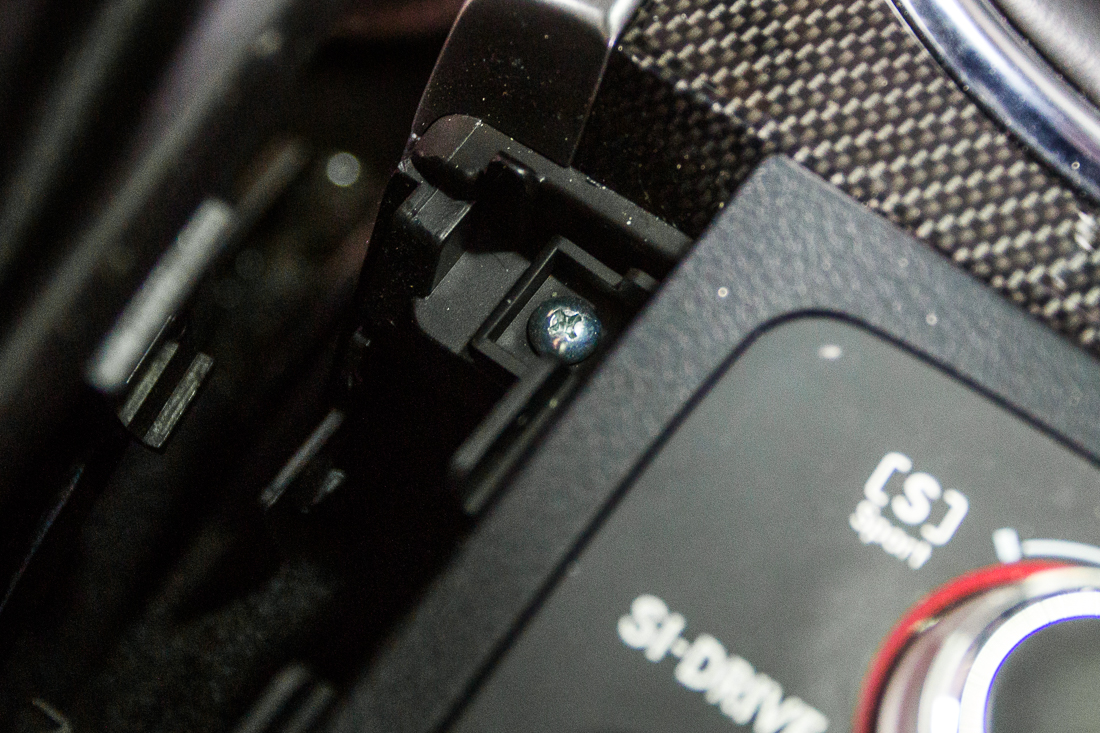
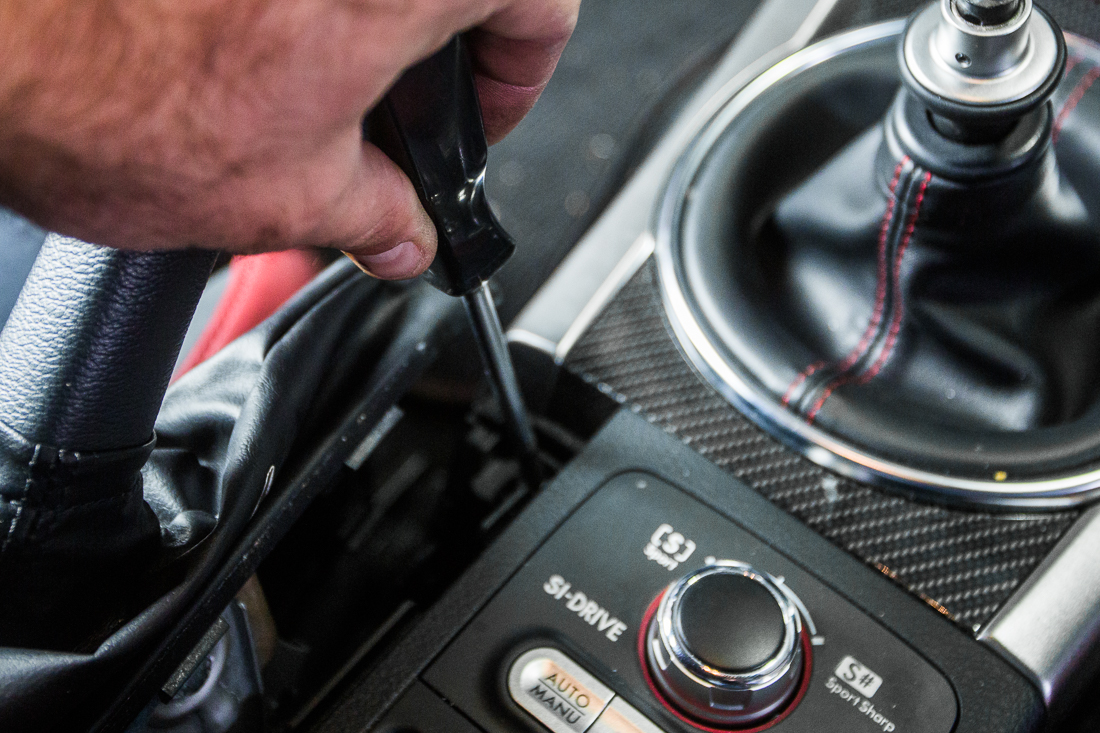 STEP 5: With the center console now loose, slide it back out of the way.
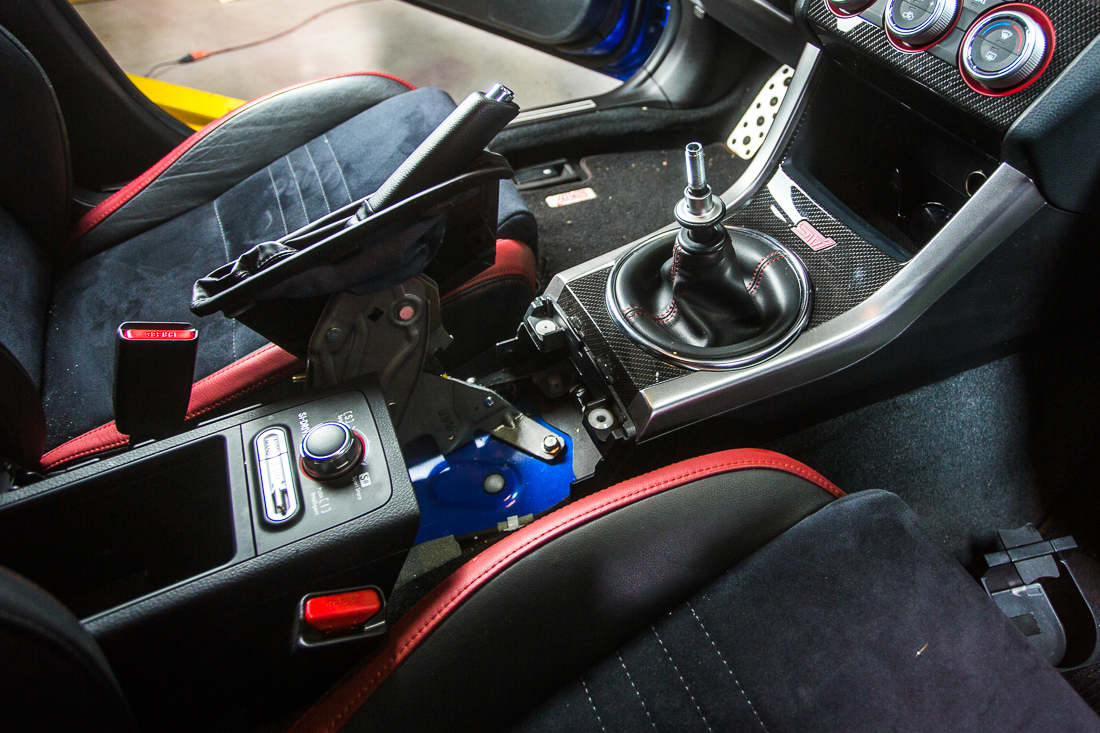 STEP 6: Pull back on the front portion of the center console trim to free it from the plastic clips.

 STEP 7: Lift up and remove the trim. You will also need to undo the electrical connection on the underside of the trim.
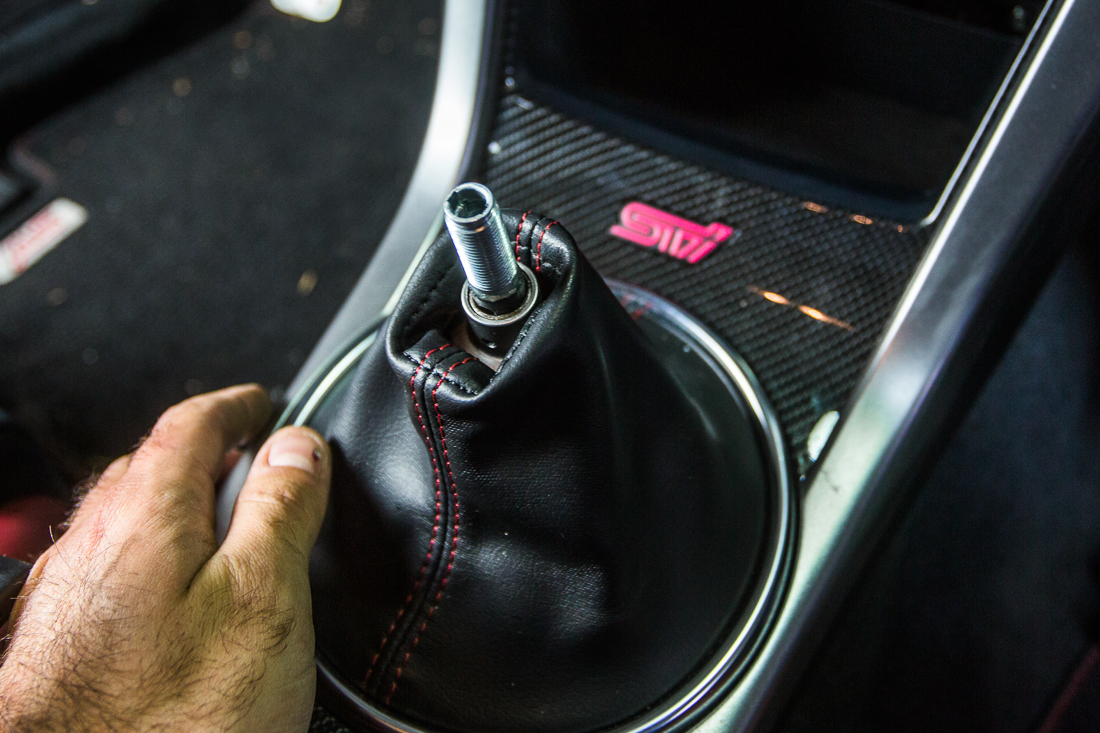
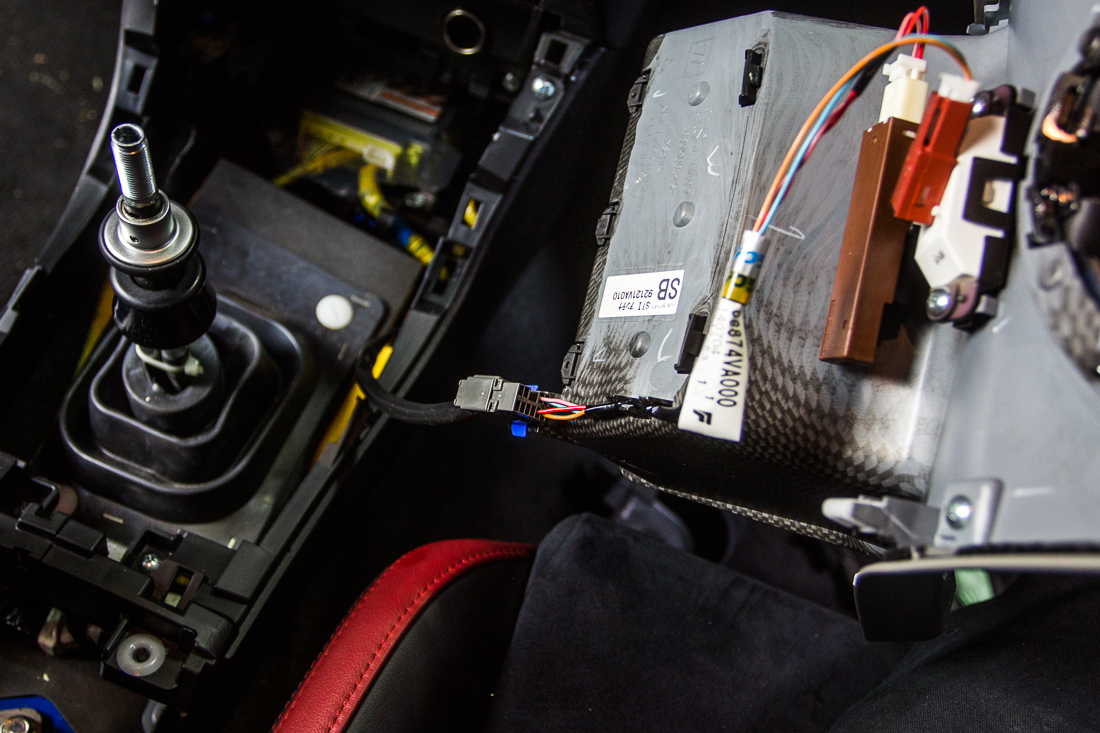 STEP 8: Use a punch and small hammer tap out the roll pin. This will release the reverse lockout cable. You can now lift off and remove the reverse lockout lever and spring from the shifter.

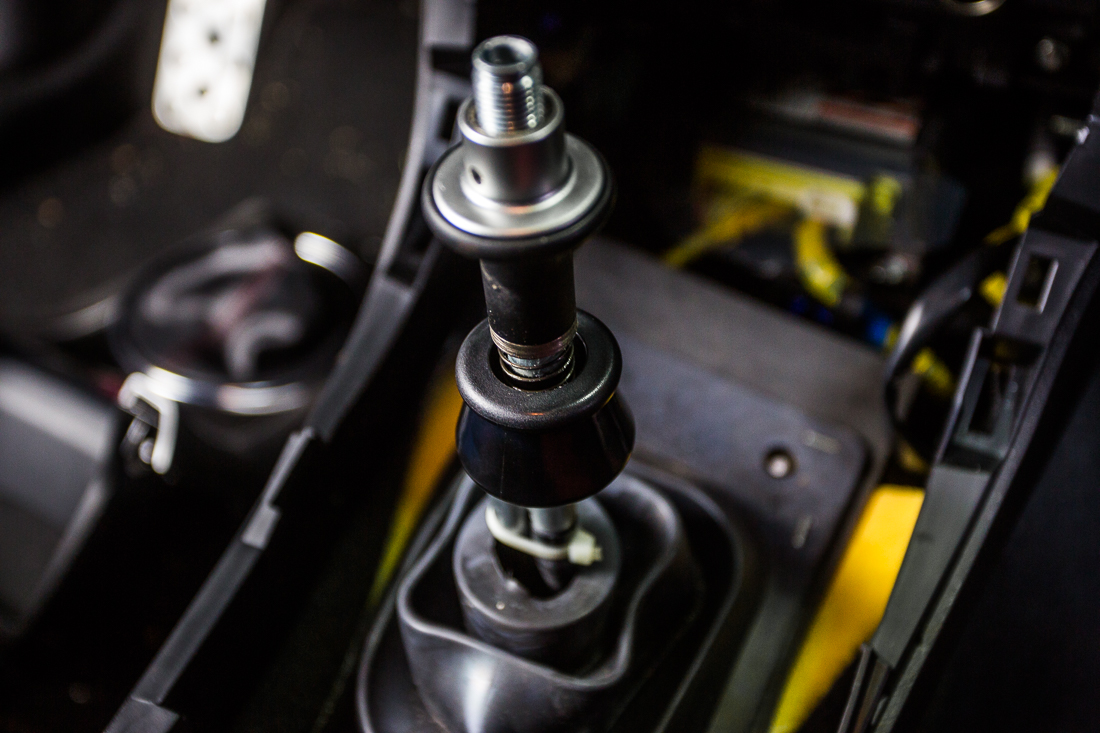
 STEP 9: Remove the (2x) Plastic screws that hold the rubber boot in place.
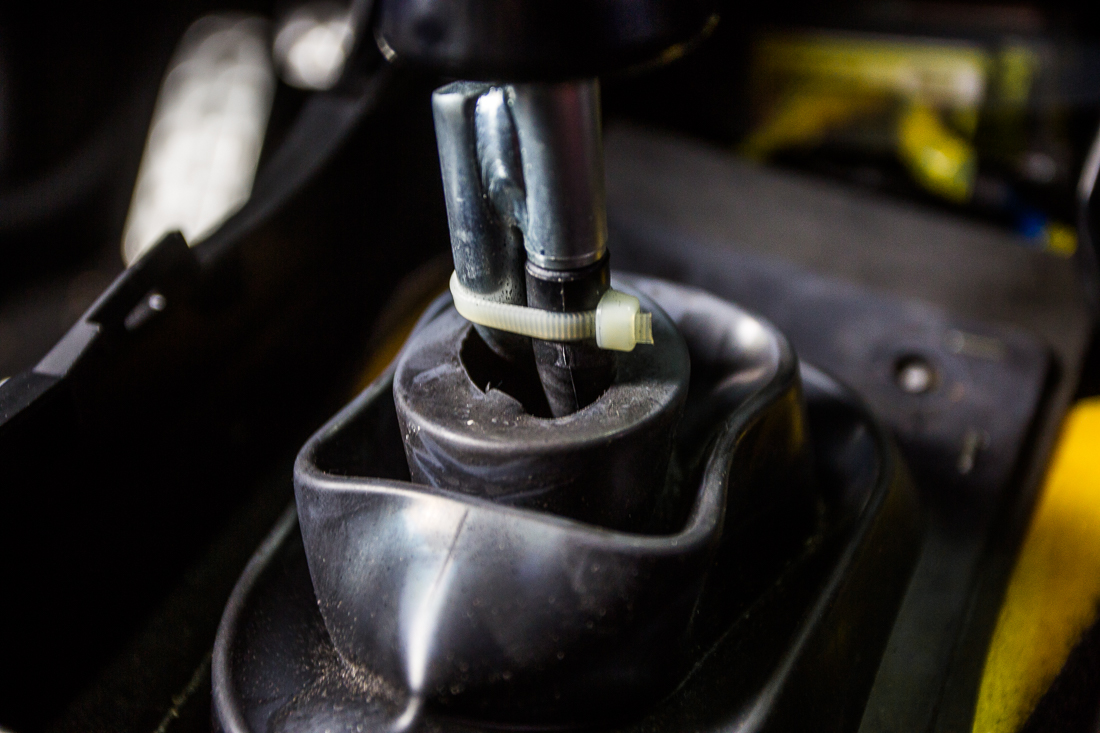
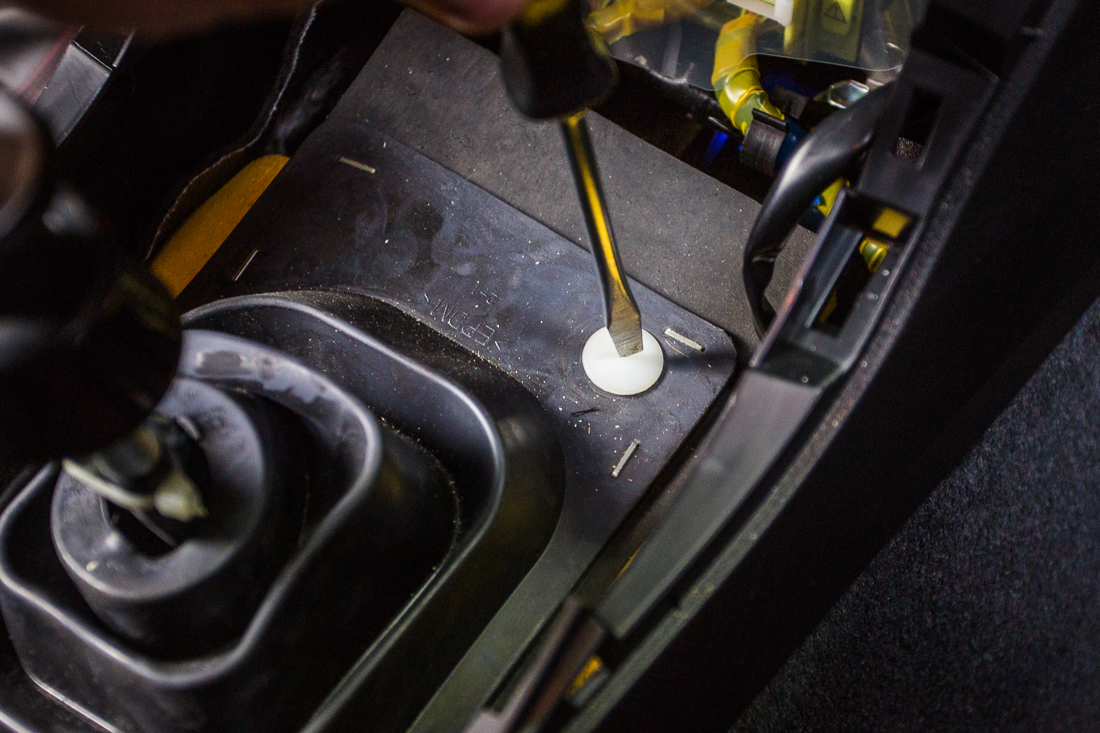 STEP 10: Cut and remove the zip tie. You can now lift up and remove the rubber shifter boot
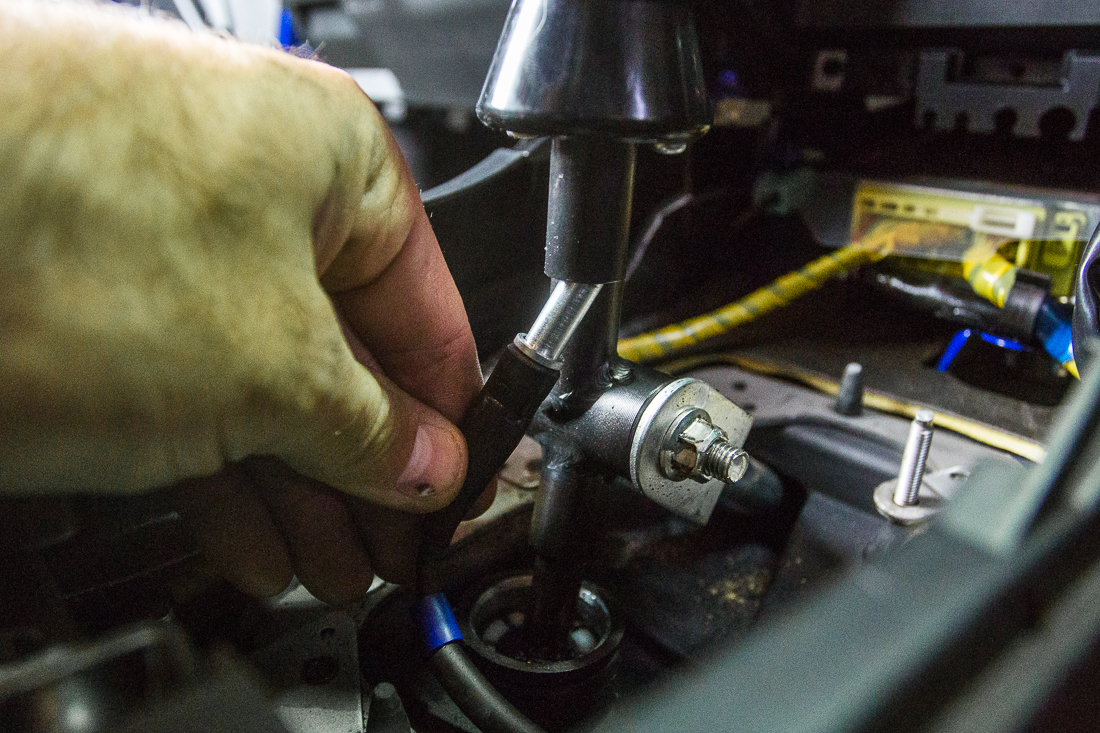
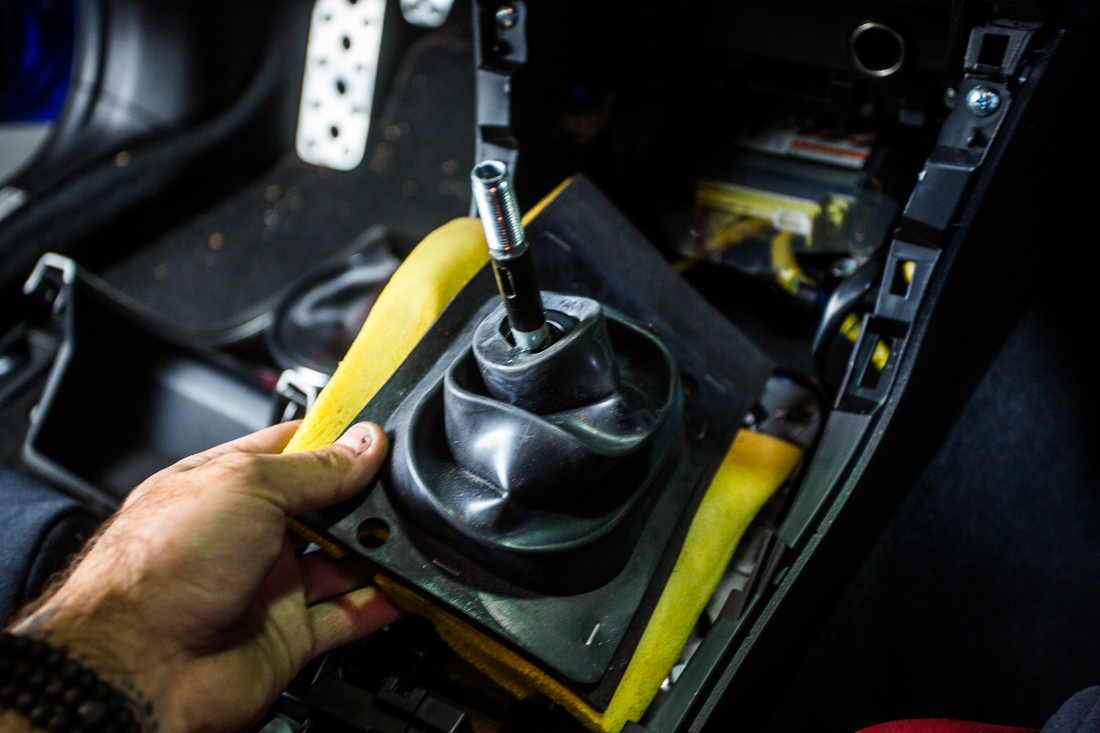 STEP 11: Pull down to remove the reverse lockout cable from the shifter.
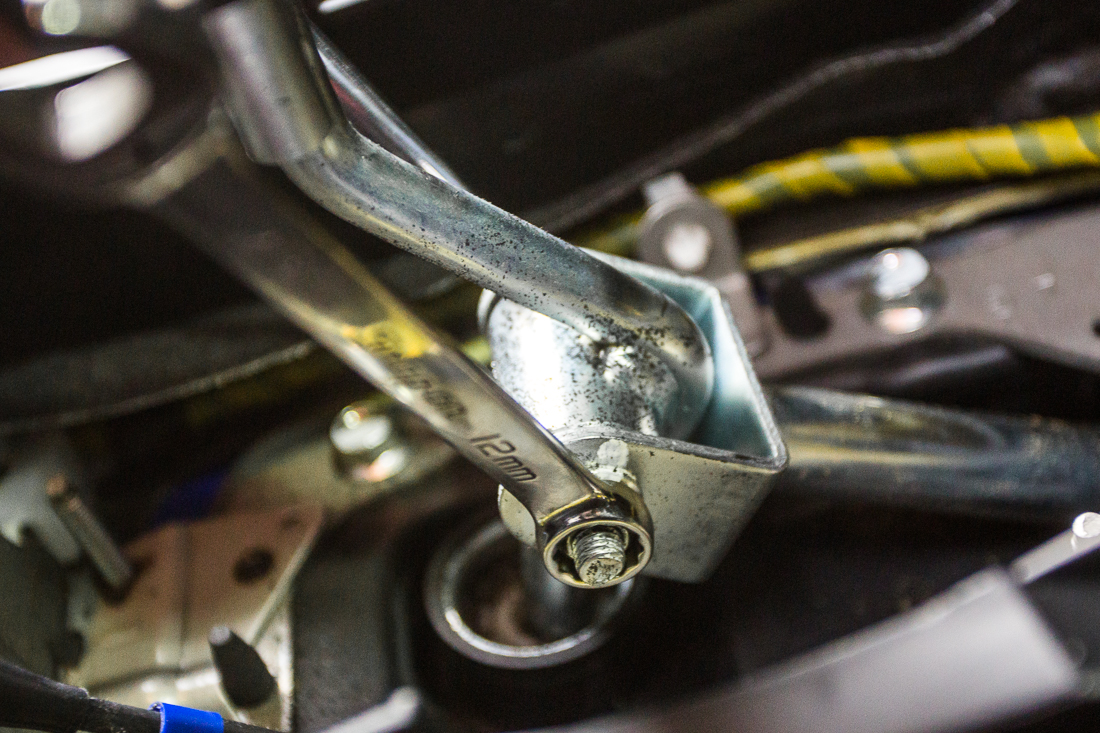
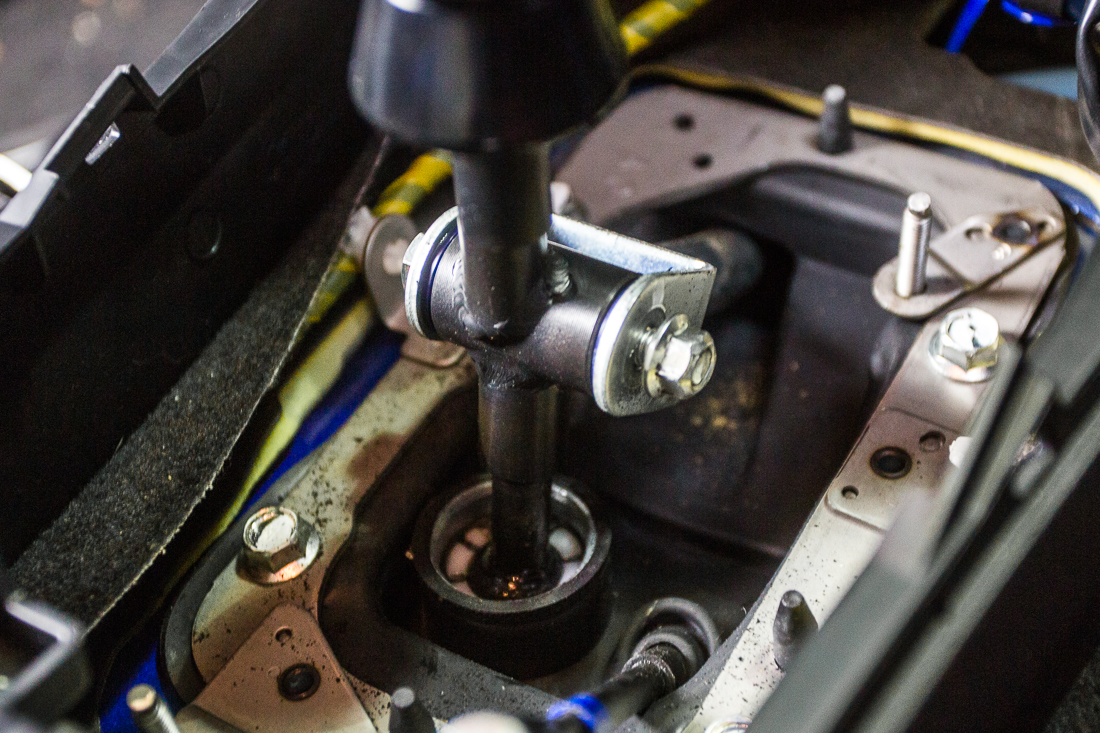
 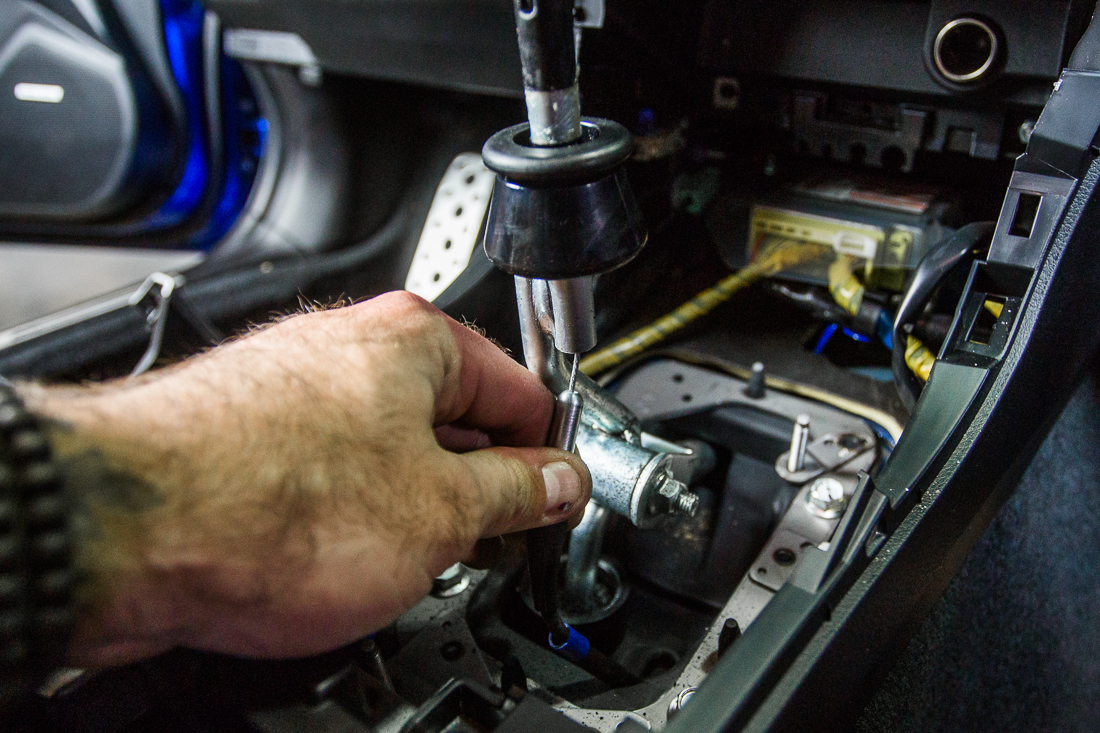 STEP 12: Use (2) 12MM wrenches to remove the bolt that attaches the shifter to the main linkage.
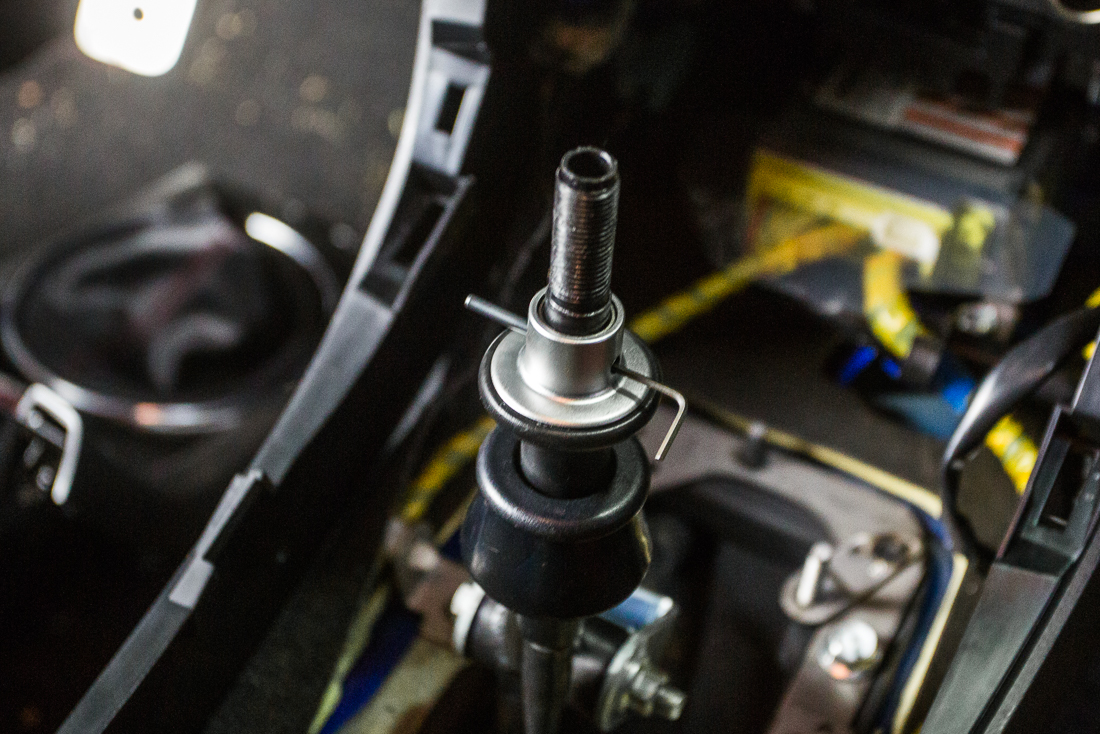
STEP 13: Use a C-clip tool to remove the c-lip. Once removed you can now lift up and remove the shifter from the vehicle. Be careful not to drop or loose any of the rubber o-rings.
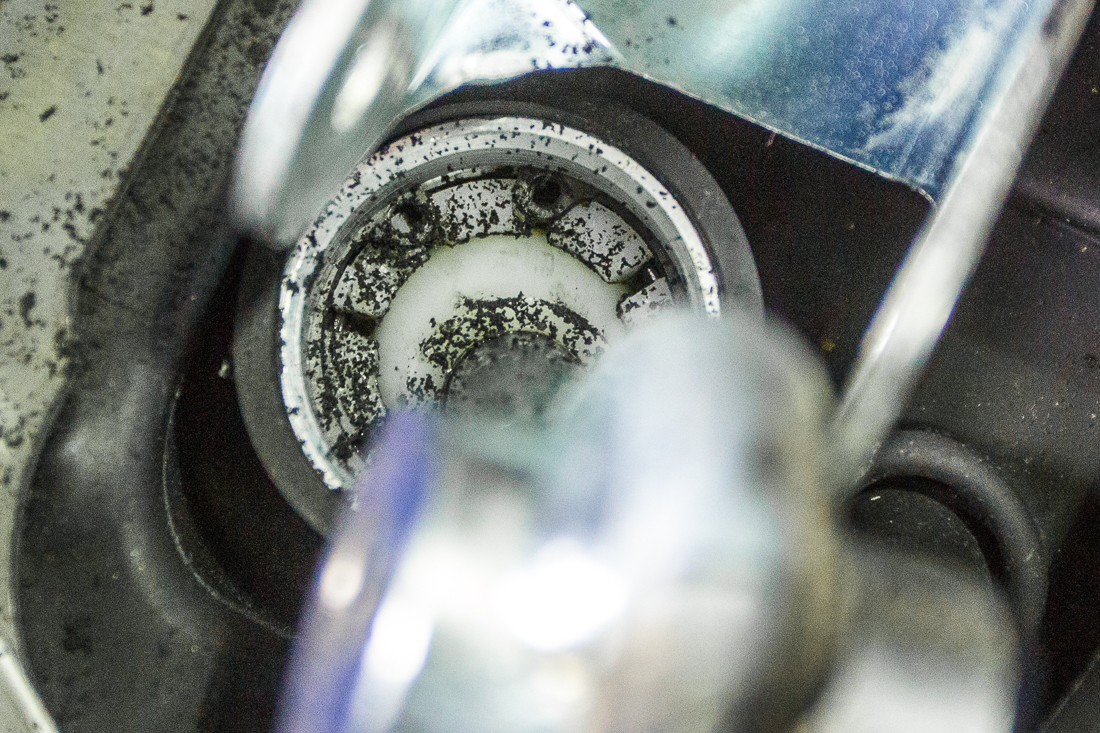
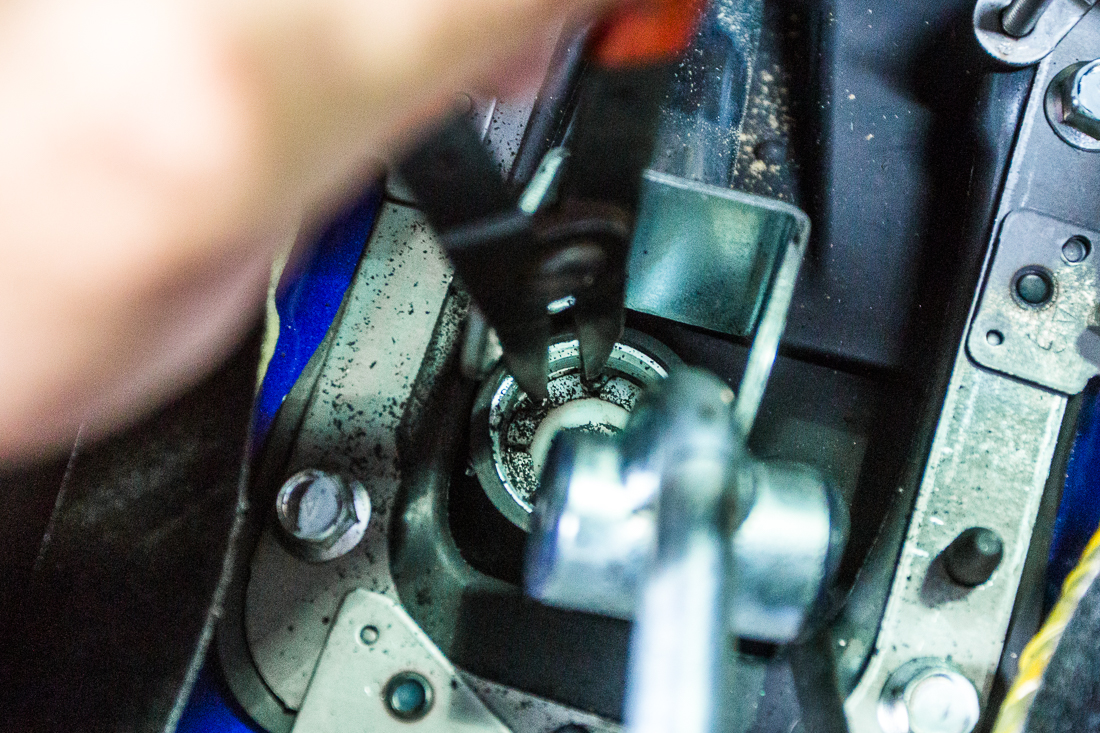
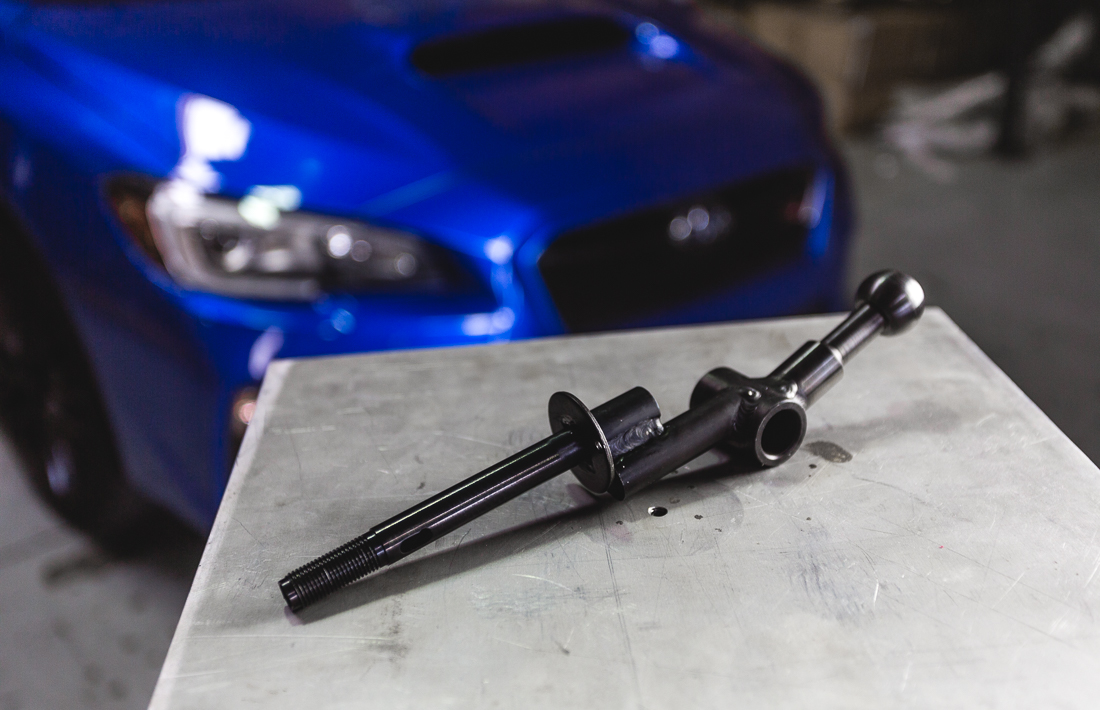
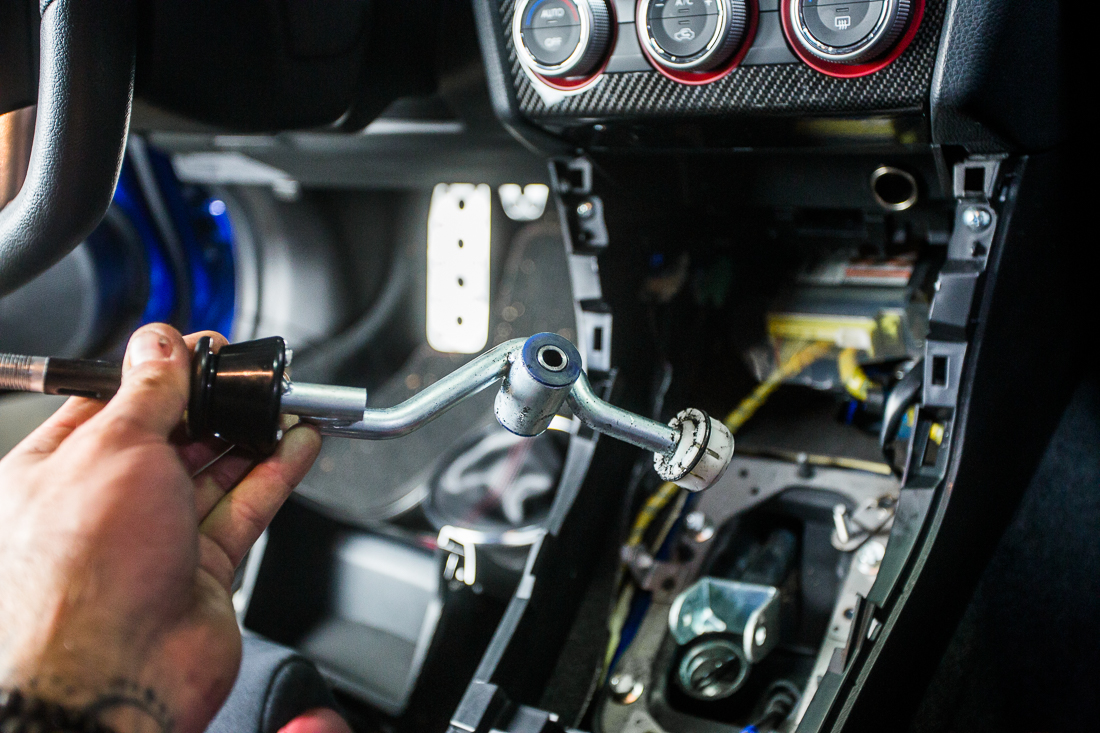 STEP 14: Swap over all the bushings, Rubber o-rings and plastic cup on to the new Agency Power Short Shifter. Make sure to apply new grease before reassembling.
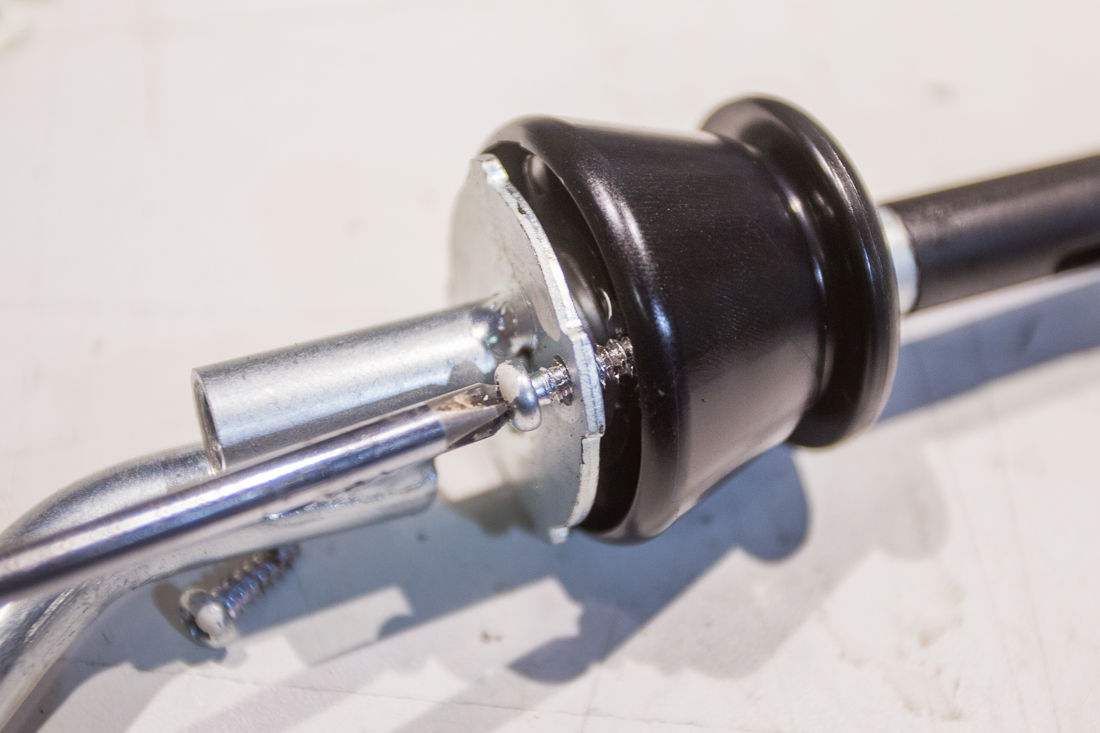
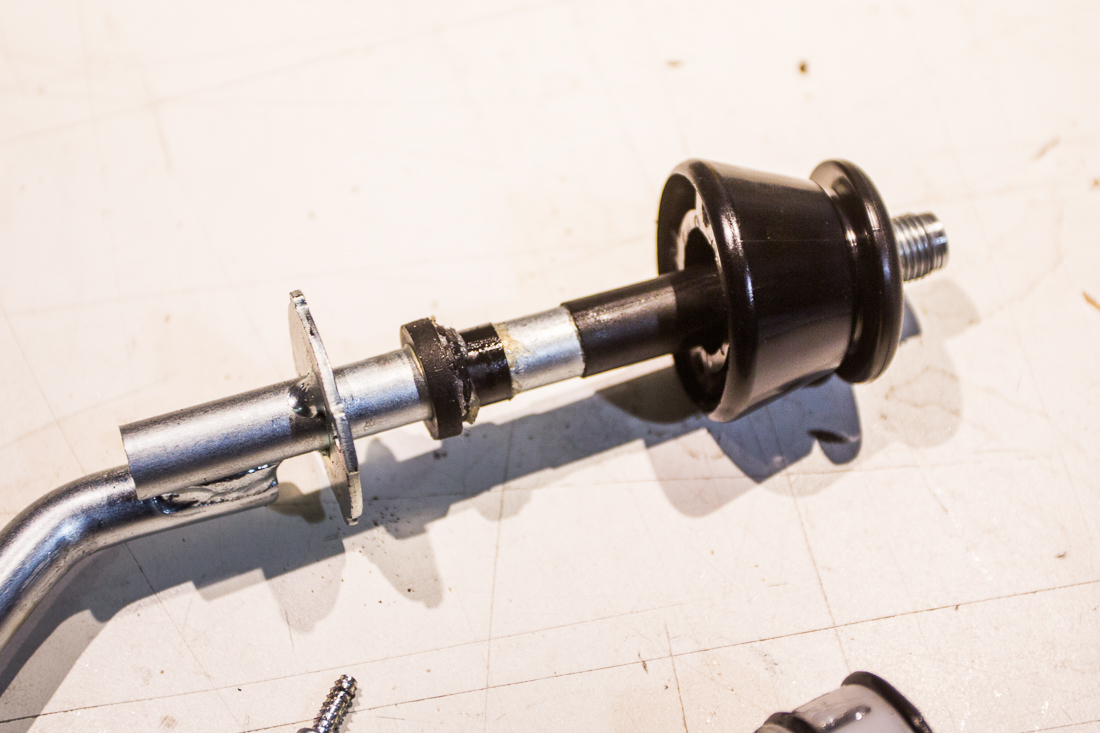
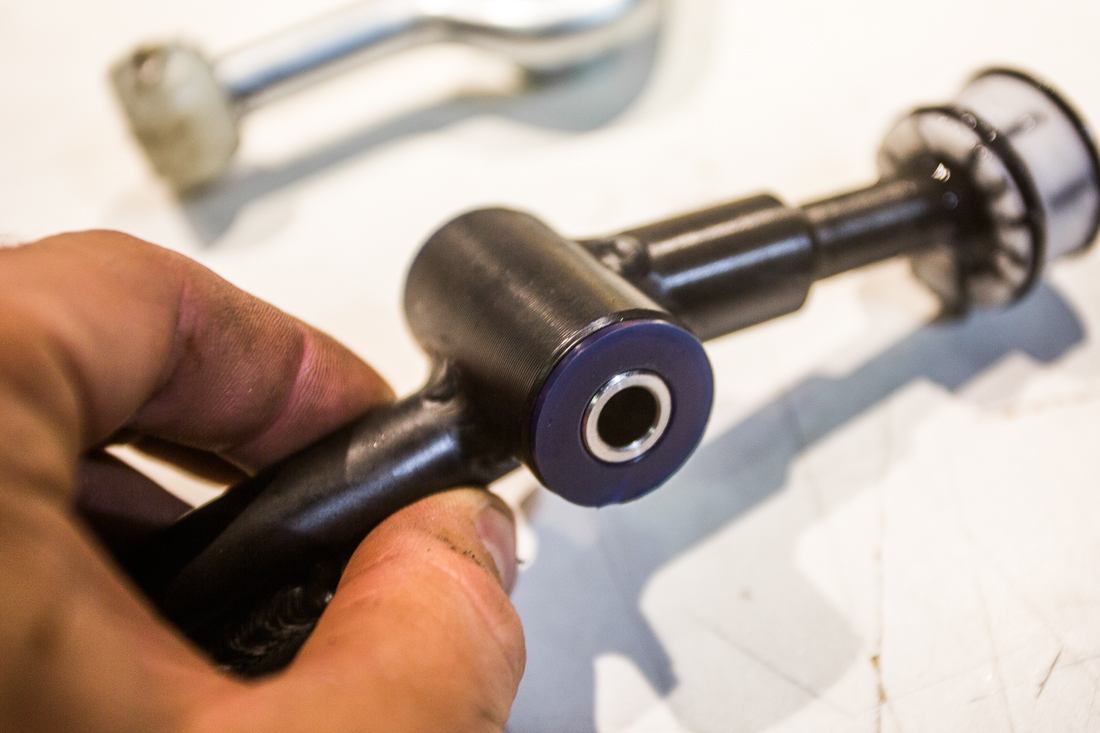
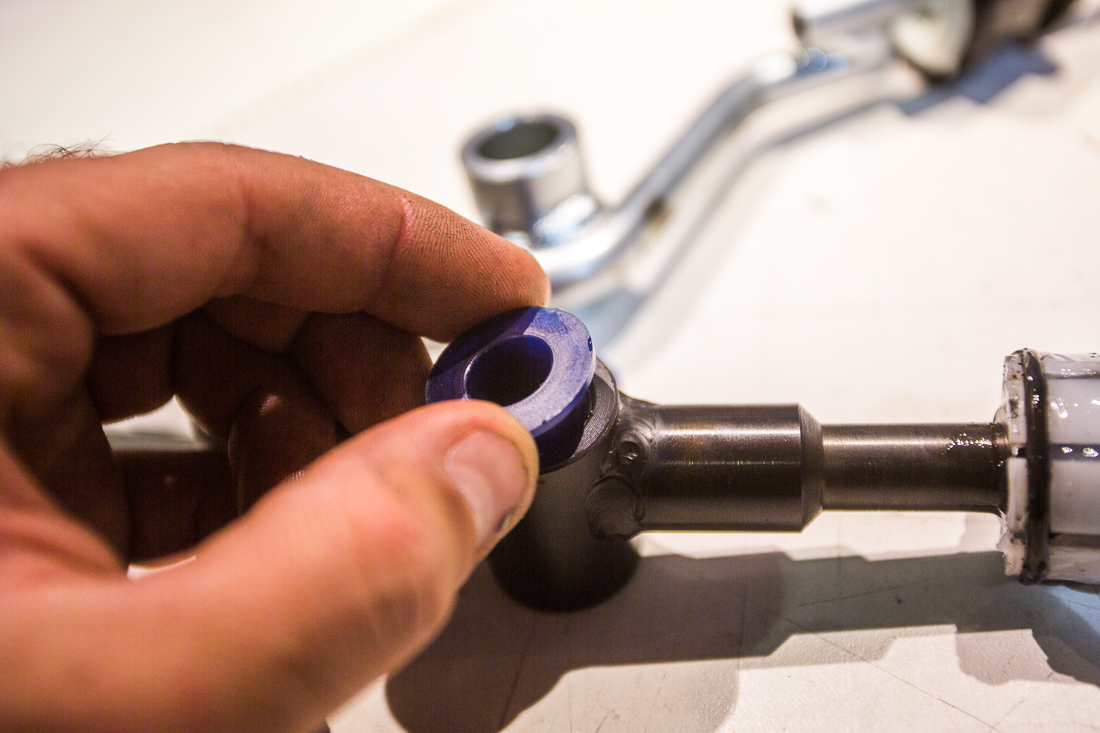
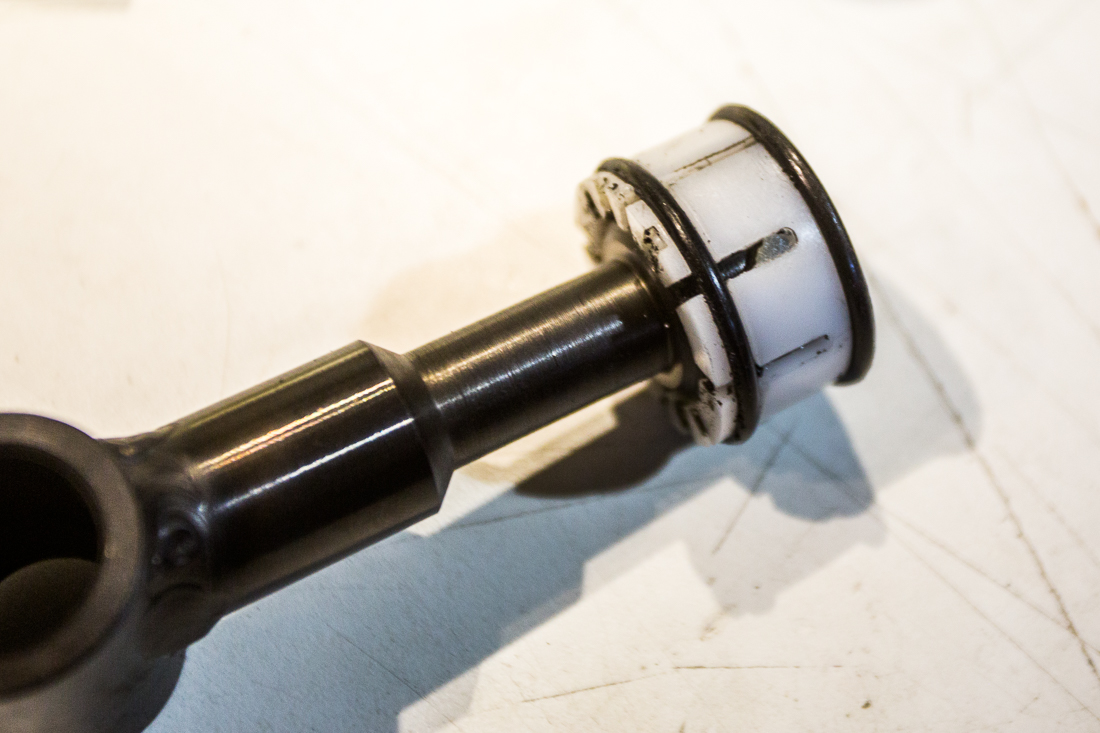
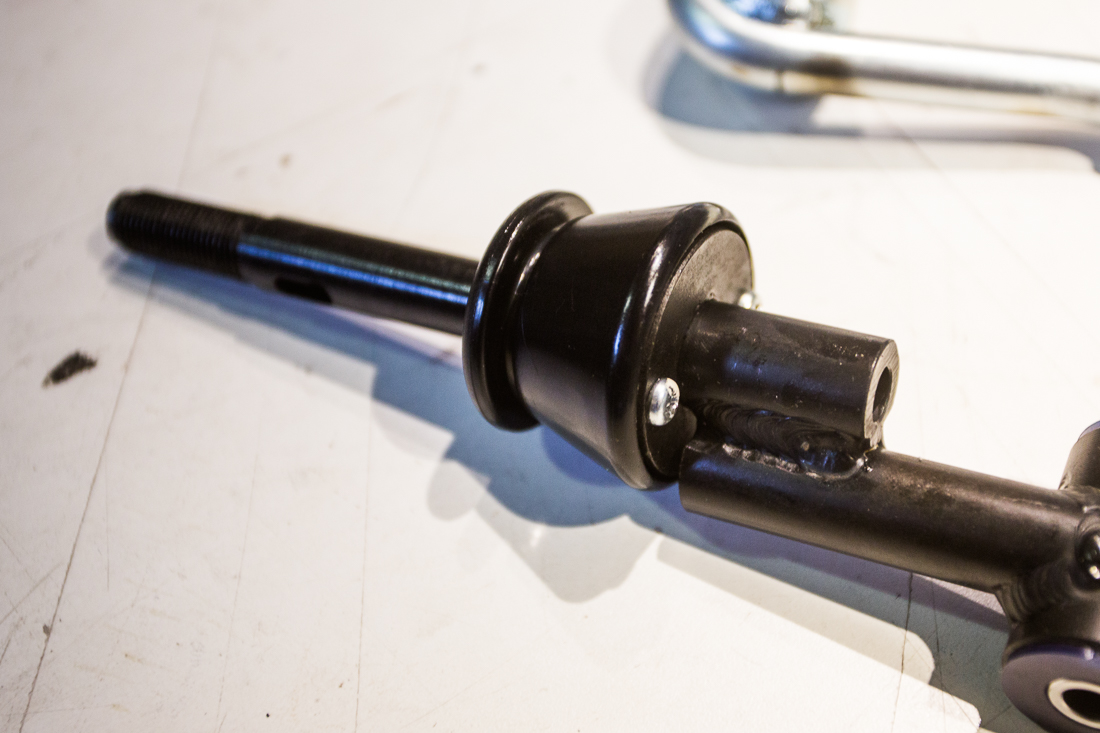
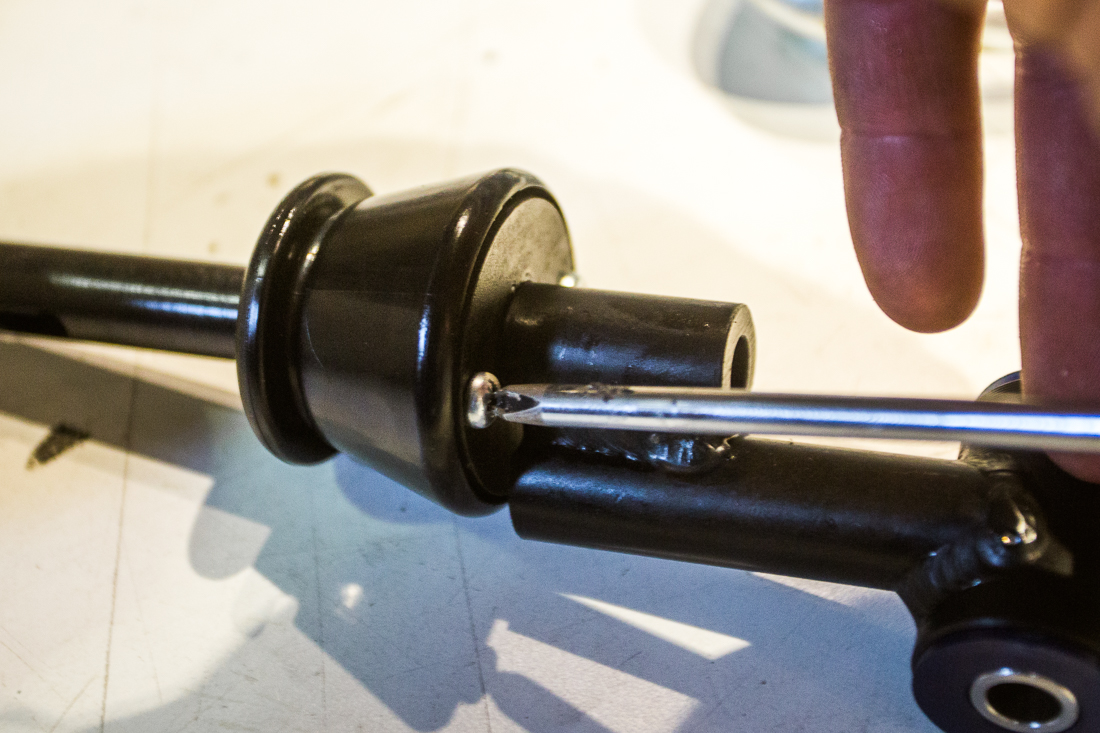 STEP 15: Re-install the newly assembled Agency Power Short Shifter into the cup and re-install the C-Clip.
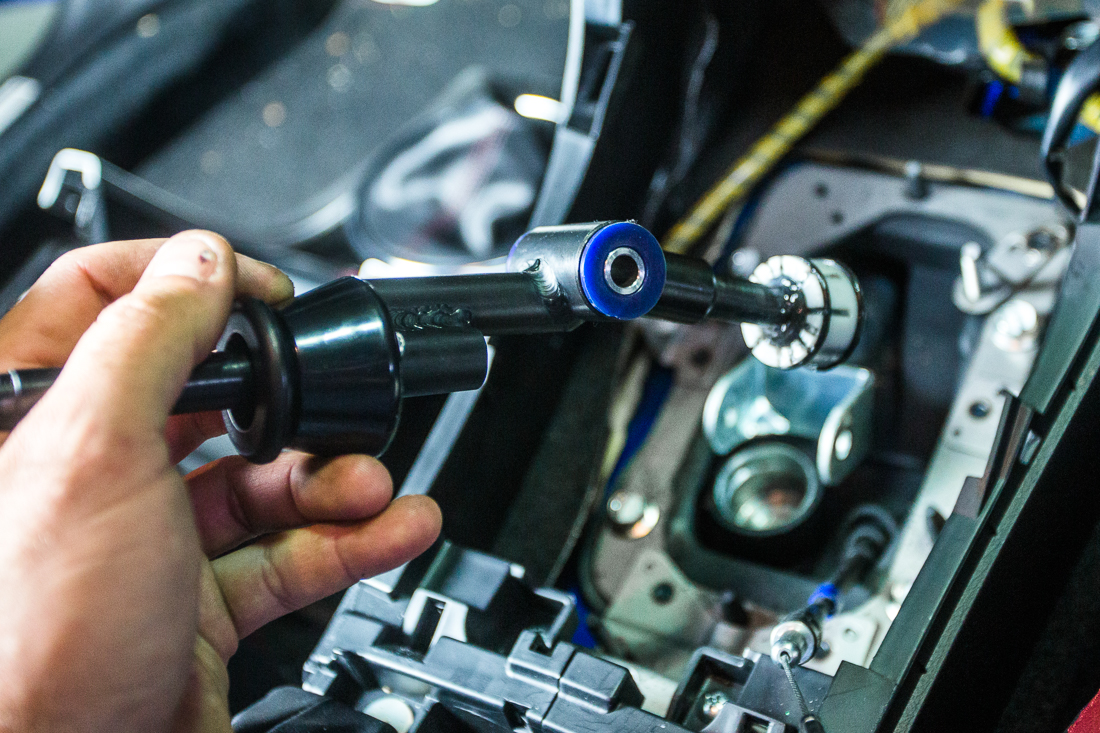
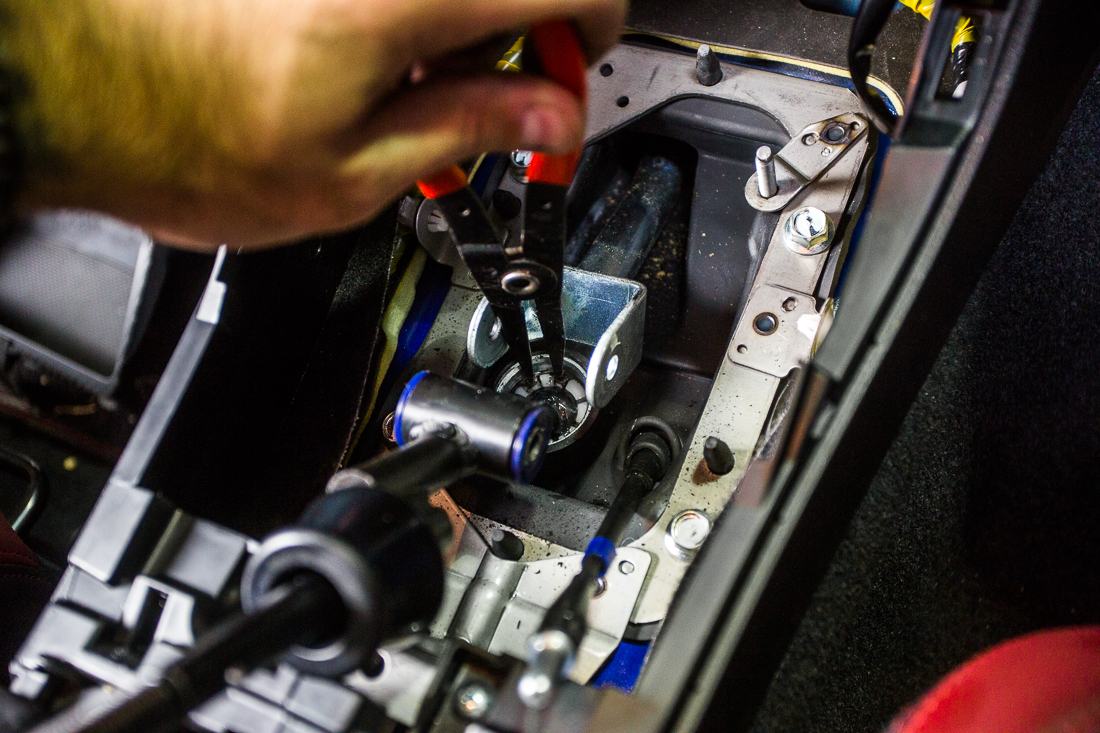 STEP 16: The following images show the shift linkage attached, but we recommend getting the reverse lockout lever and cable with roll pin back together before attaching the linkage. Leaving the linkage unattached will allow you to spin the shifter making it easier to locate the roll pin hole on the reverse lockout cable.
STEP 17: Re-attach a new zip tie to replace the one that we removed earlier on STEP 10
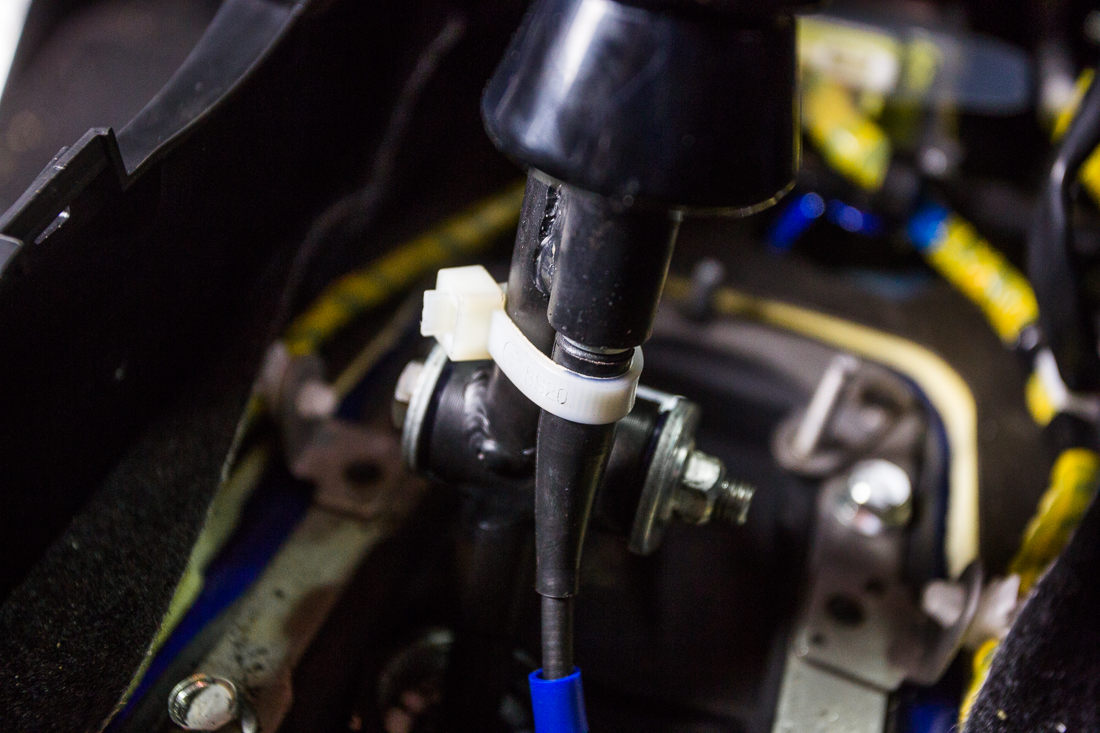 STEP 18: Re-install the rubber shifter boot and the remaining trim pieces. Reverse the steps above from #8 to finish the installation.
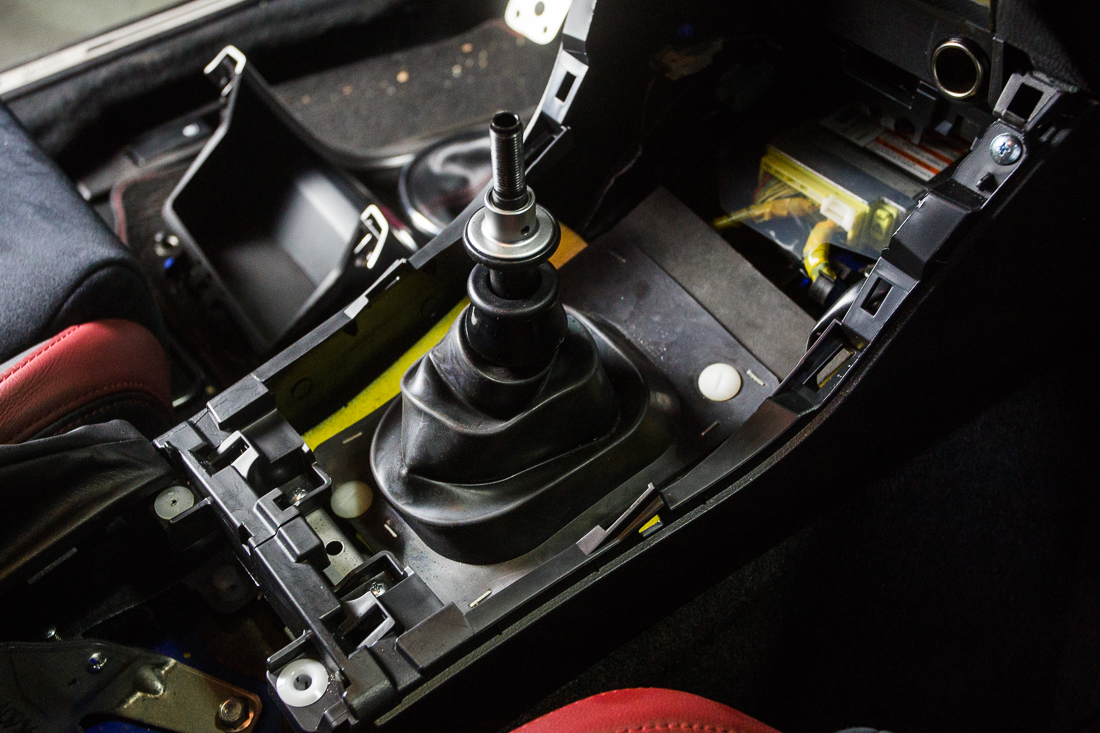
 STEP 19: Complete the install by throwing on your factory shift knob or a installing an Agency Power Shift Knob! Enjoy your new Agency Power Short Shifter!


